Warhammer 40,000 – Imperial Fists Call to Arms Pt 3
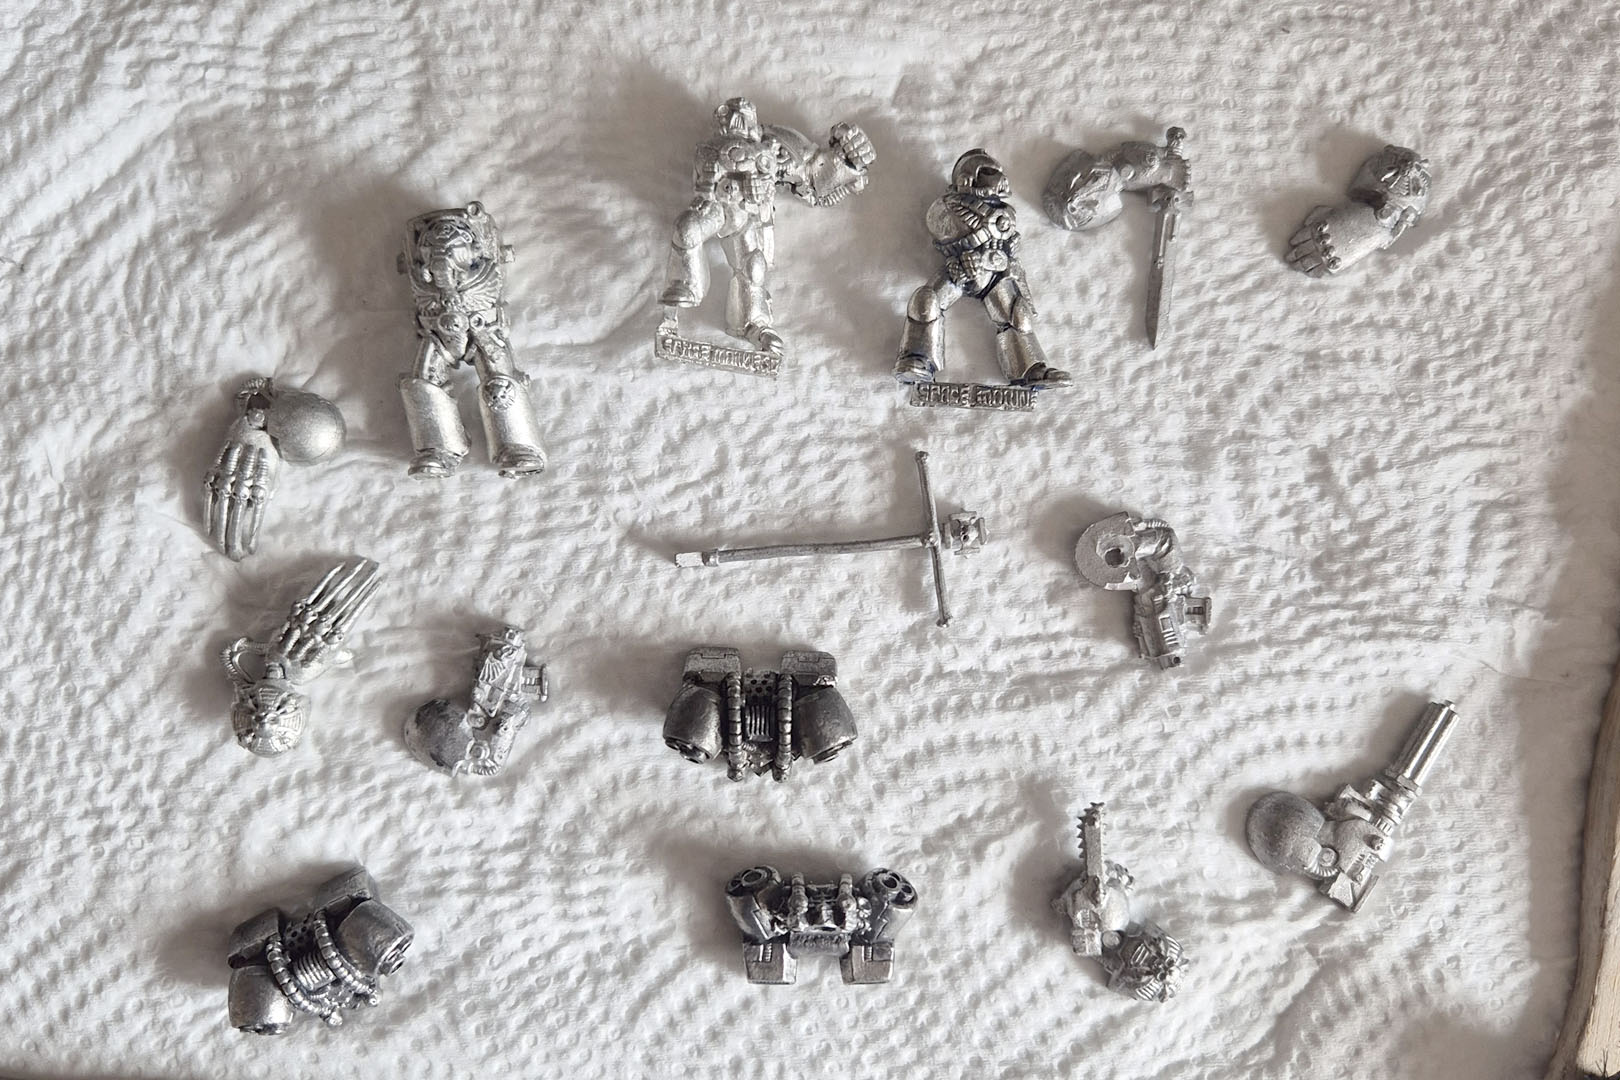
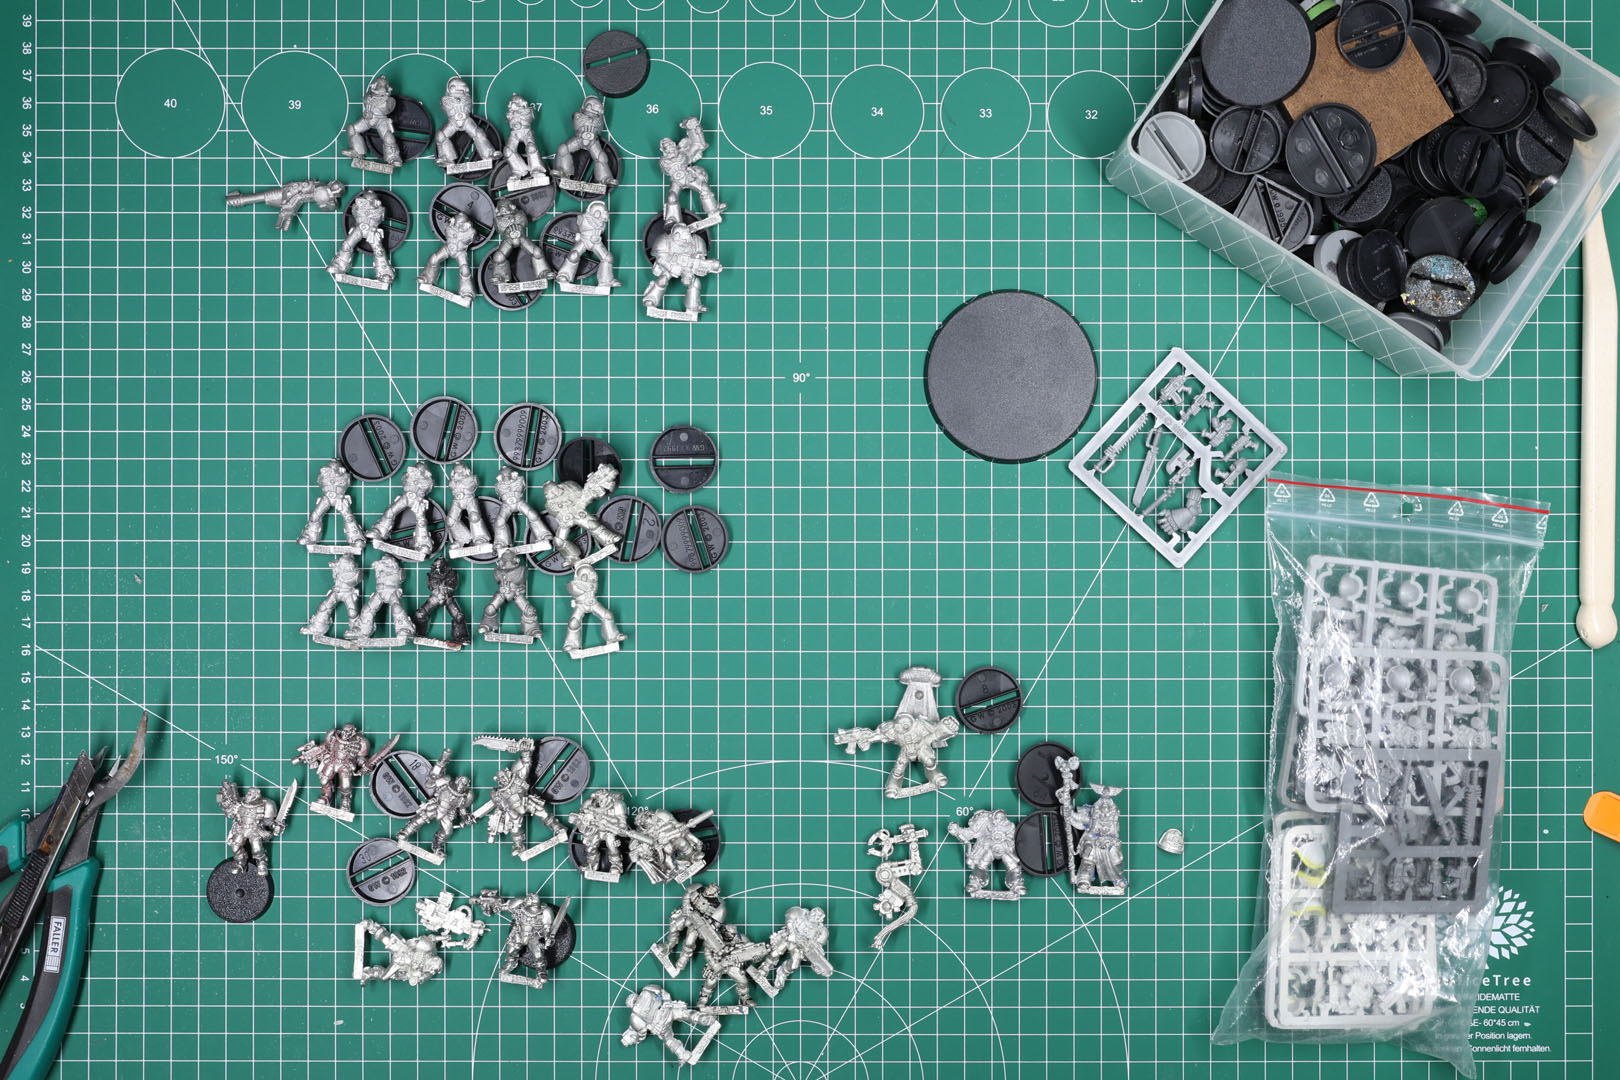
I meant to post this two weeks ago, but I got caught up. Never the less, it is time to give you an update, as I have been busy behind the scenes. We left of in part 2 of the Call to Arms with setting the tone and giving you context on the scope and that this project will depict a Space Marine force of the Imperial Fists' 3rd company. I did a quick check if I had everything that I needed to move on and for stock taking, I still wanted to clean some parts to inspect them closer, so I setup another jar for paint stripping.

These were mostly some bits and pieces, weapon options and spares for Terminator and Assault Squads. Not necessarily part of the core army project. But now everything - with the exception of some vehicle parts - is stripped.
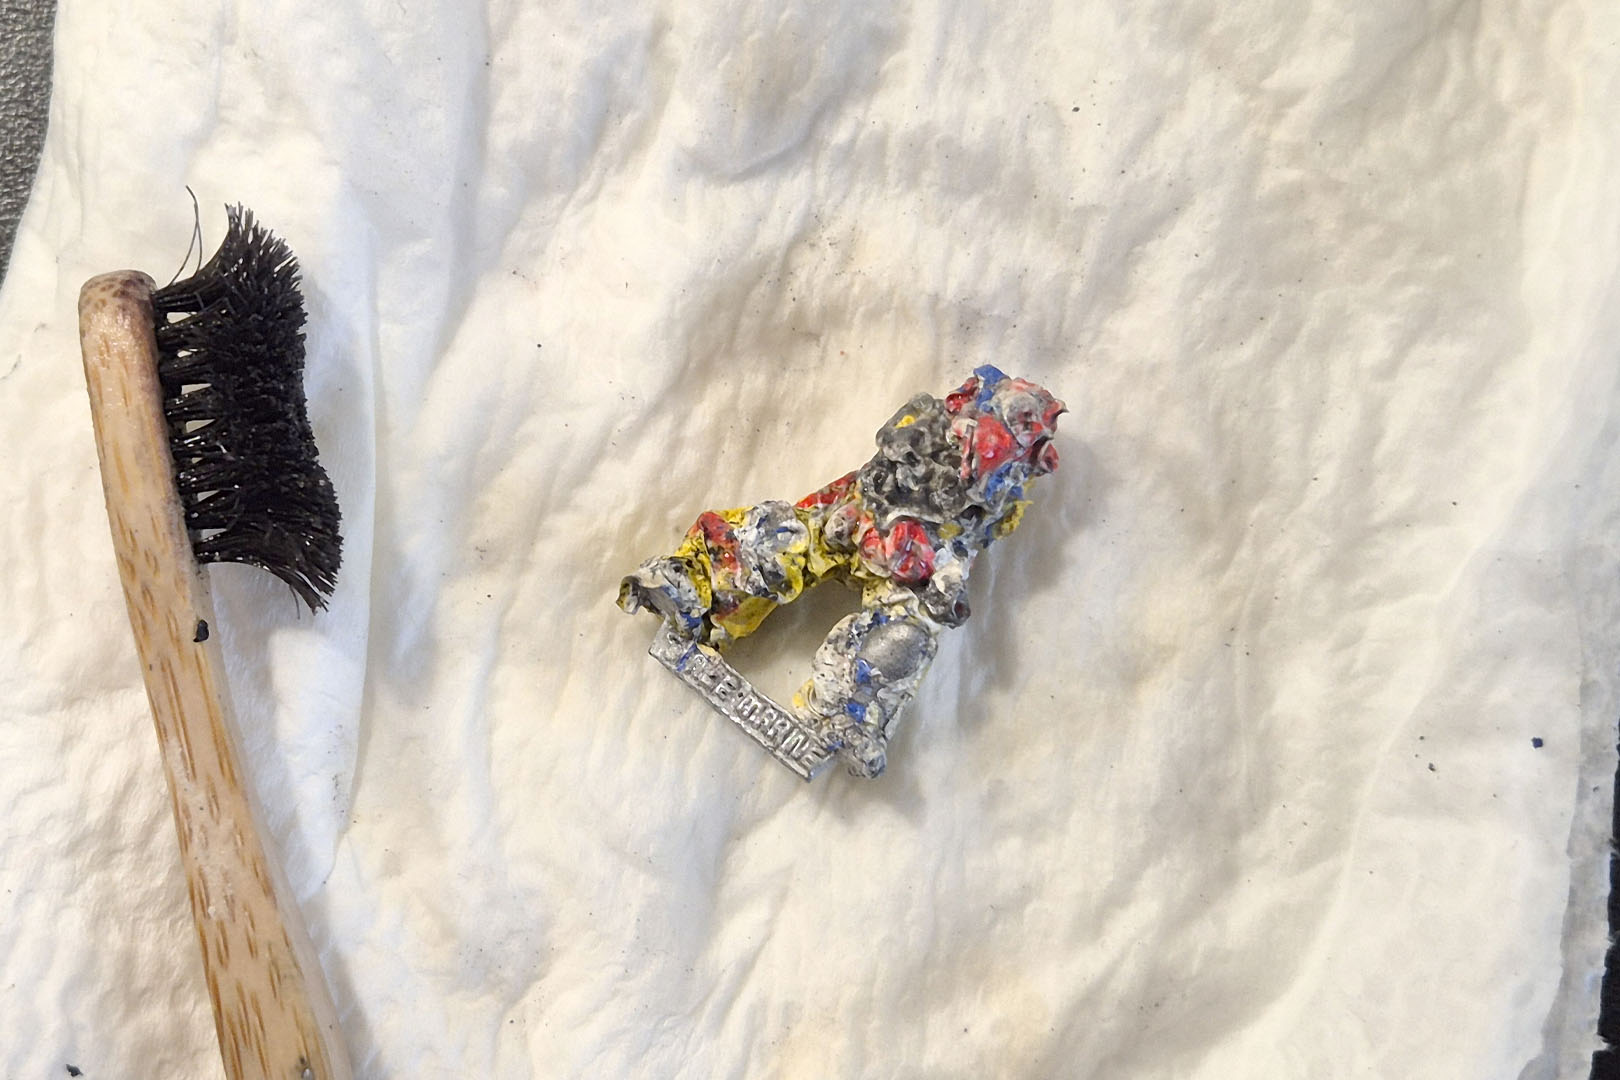
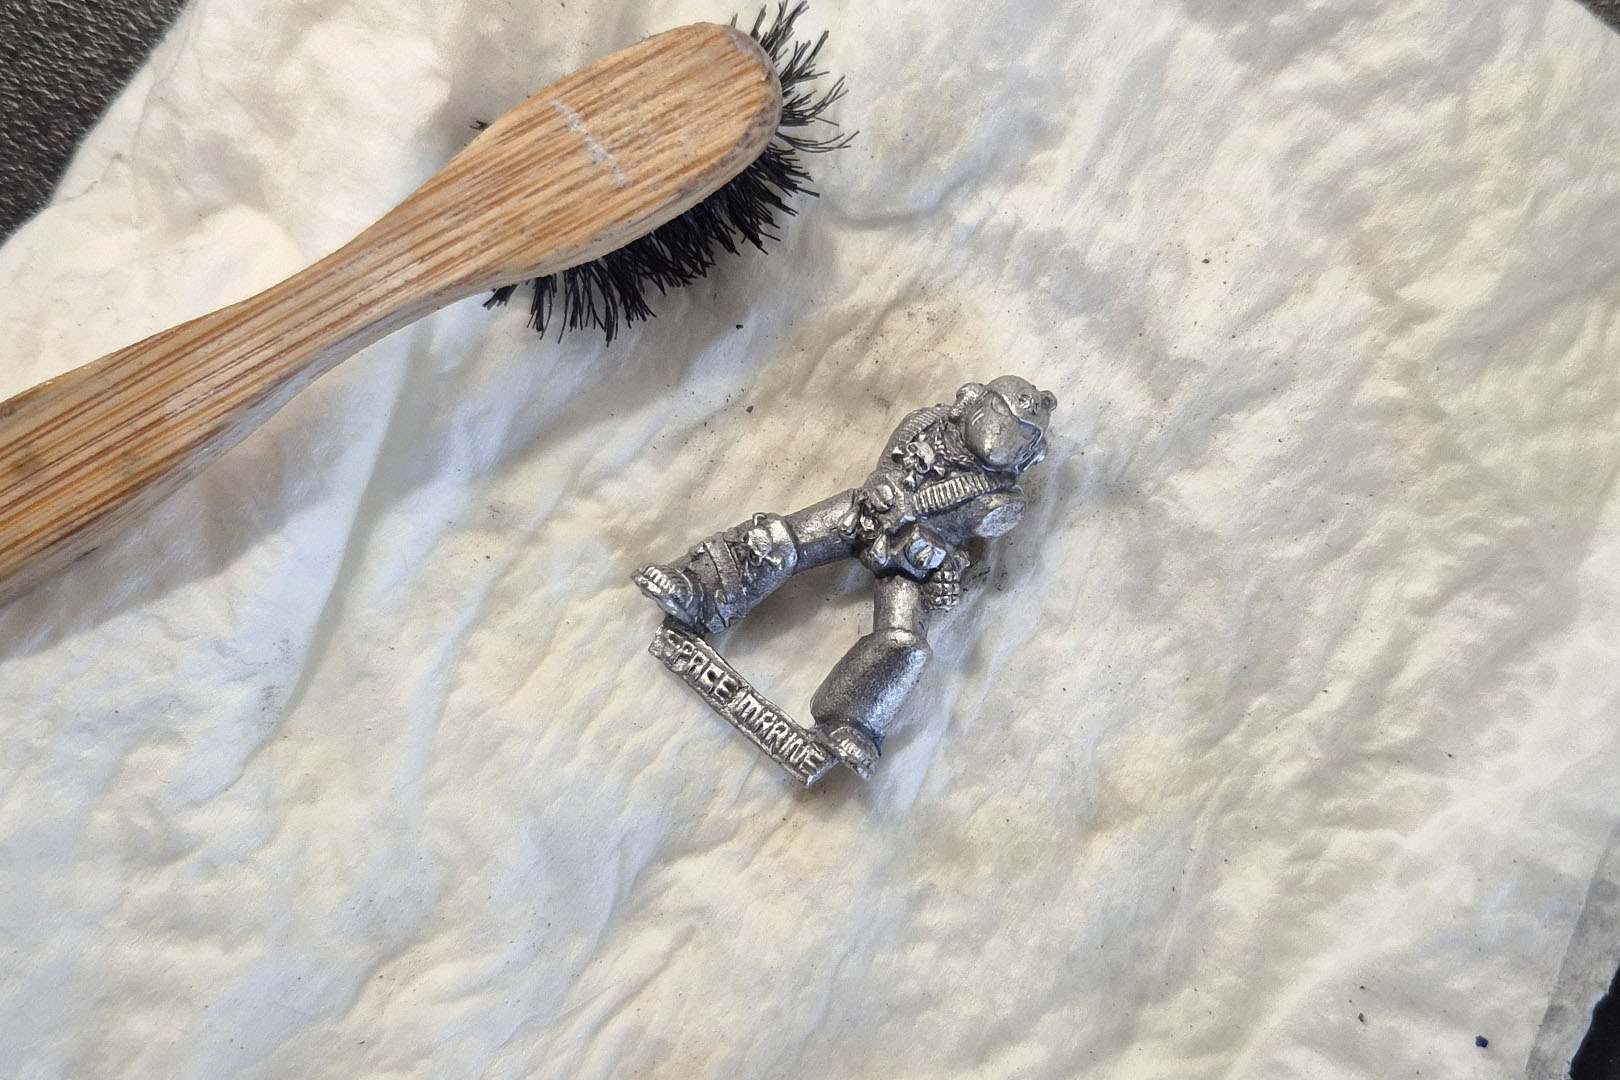
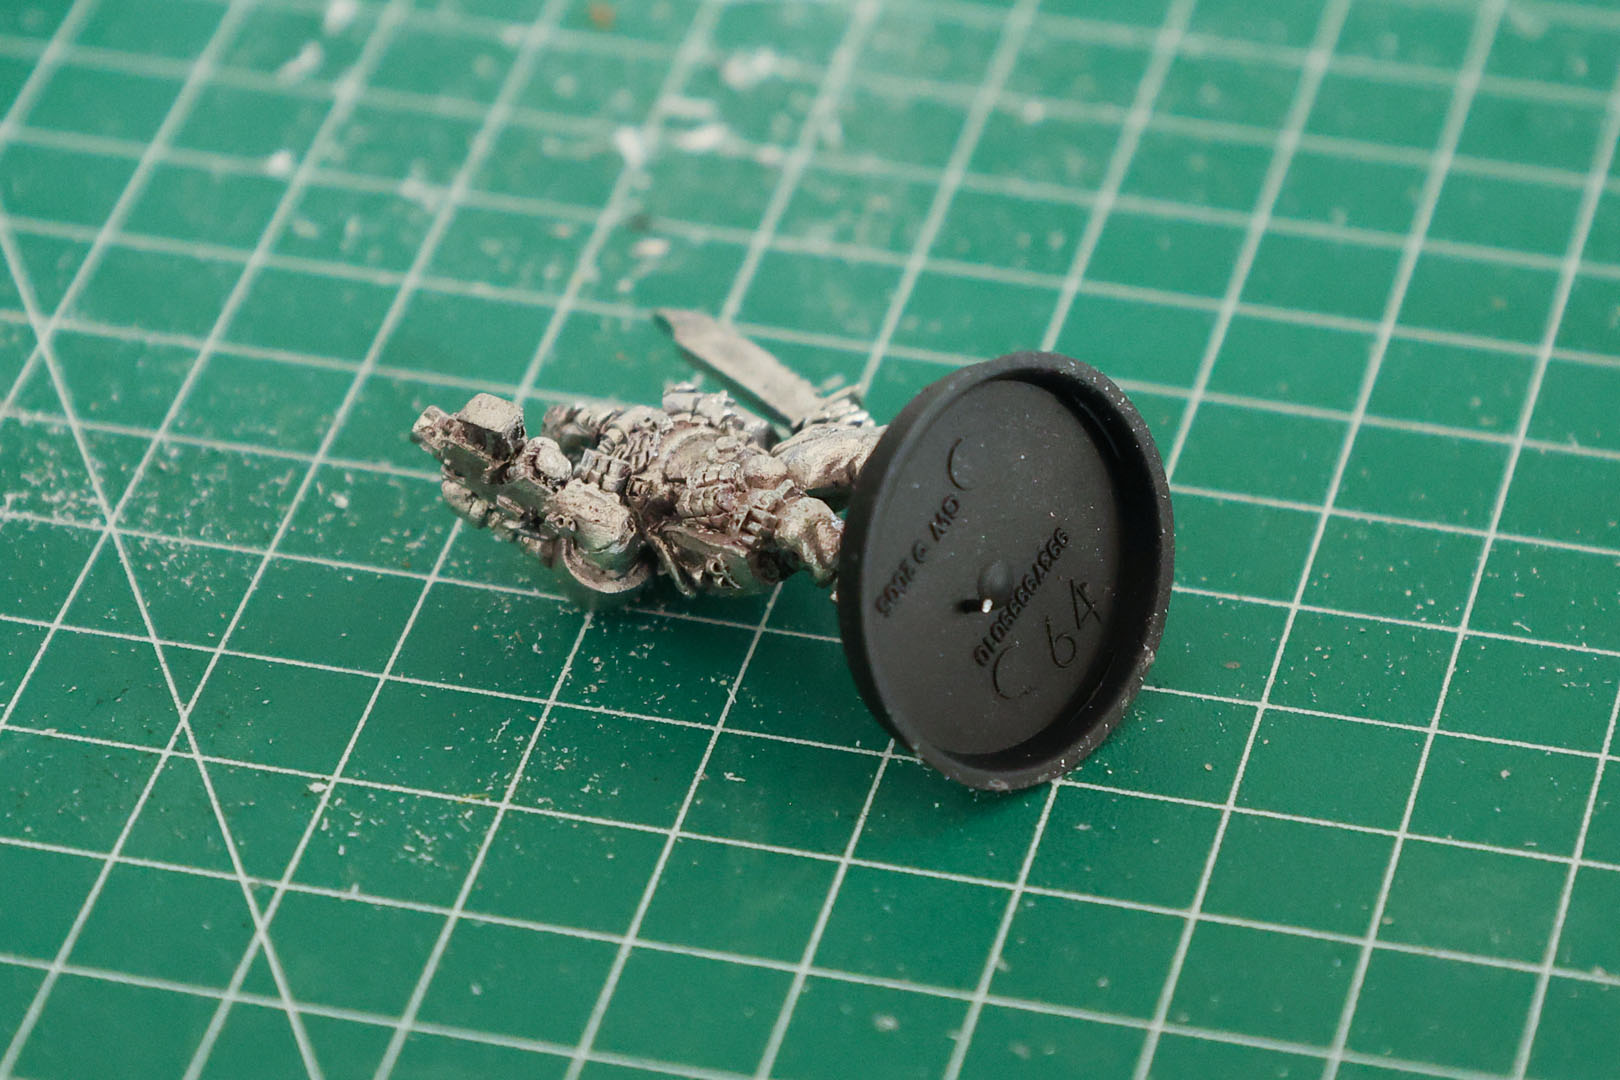
Among the "strippers" was this goofy mystery guy, who had such a thick coat of paint, that I actually could only properly identify him once the paint was off. And he's a Blood Angel Death Company miniatures in Mk VI armour.
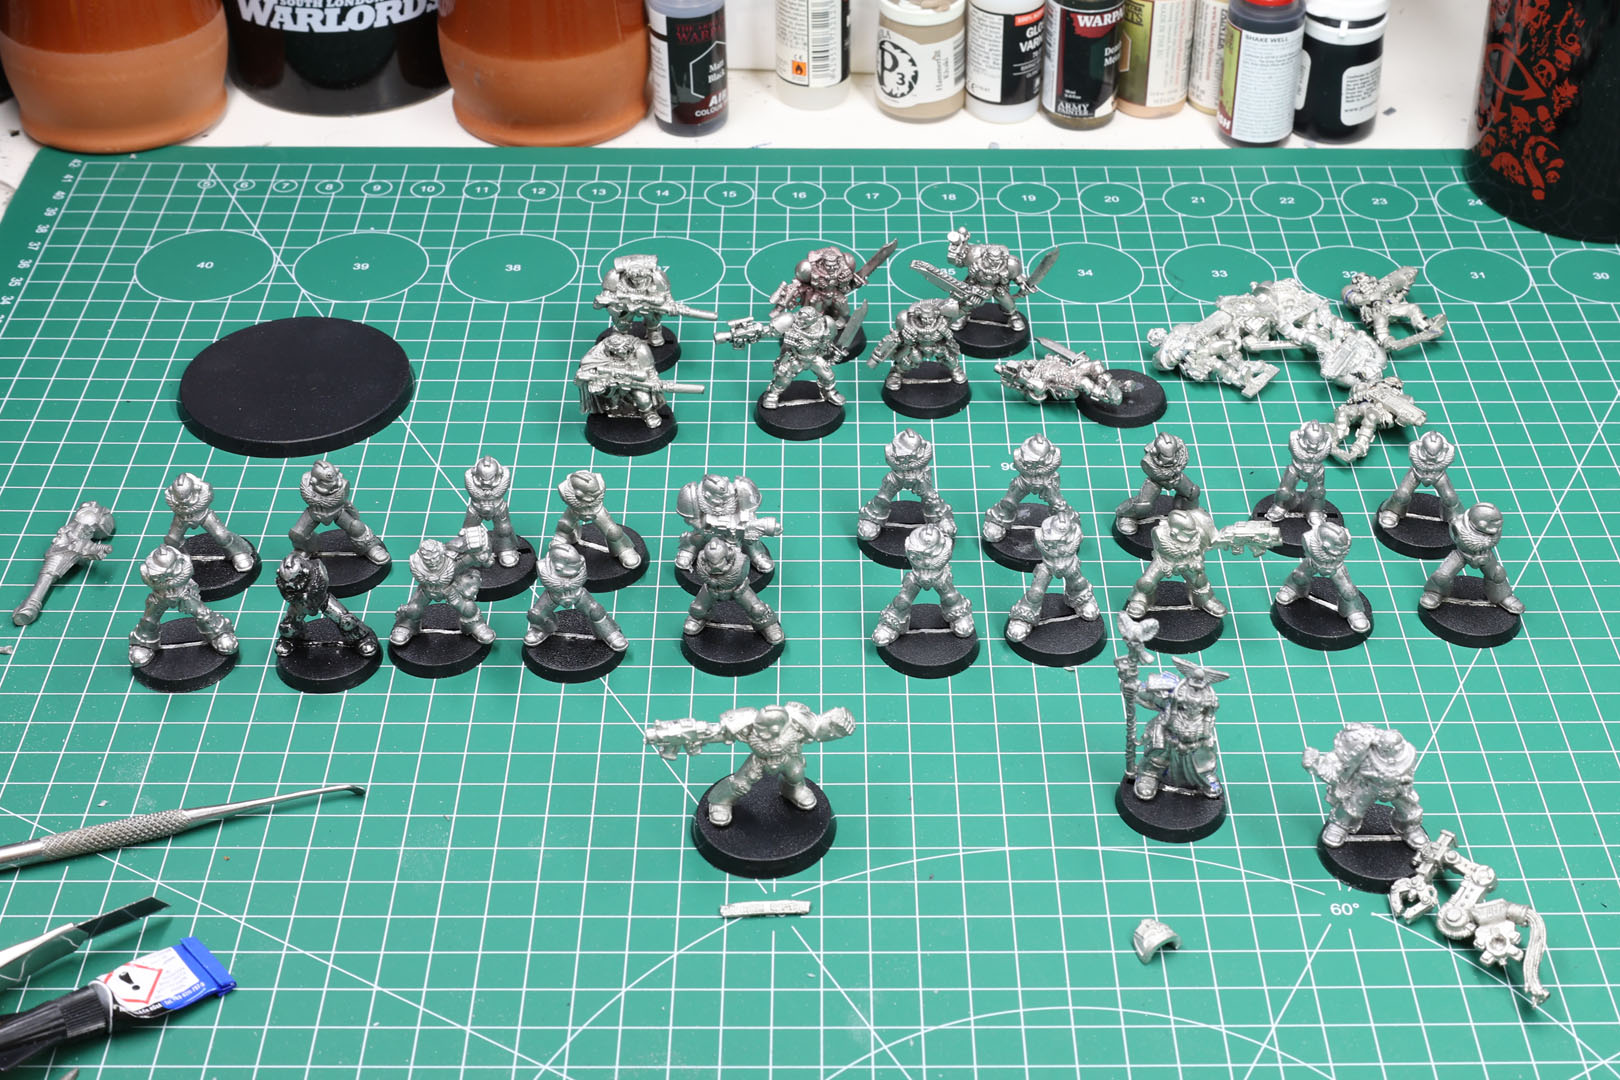
While the overall project will be something midsized to large, I need a manageable scope for the upcoming narrative event with around 1.250 to 1.500 points. I used NewRecruit to build an army of that size and will prepare the needed miniatures.
I'll go deeper into how an army is composed in a separate article and the review of the Codex Ultramarines, but as a recap from the first article, this is what I am going for at 1,250 points:
Characters:
- 1x Space Marine Captain
- 1x Techmarine
Squads:
- 1x Devastator Squad of 10
- 1x Tactical Squad of 10
- 1x Scout Squad of 5
Support:
- 1x Dreadnought
With the addition of a Librarian (another Character) and Whirlwind (Support) to go for 1,500 points. This would be a tally of 28 infantry miniatures, a dreadnought and one vehicle. If you have never worked with metal miniatures before, I suggest looking up the classic Eavy Metal: The Complete Guide to Painting Citadel Miniatures by Mike McVey from 1993 on how to get started.
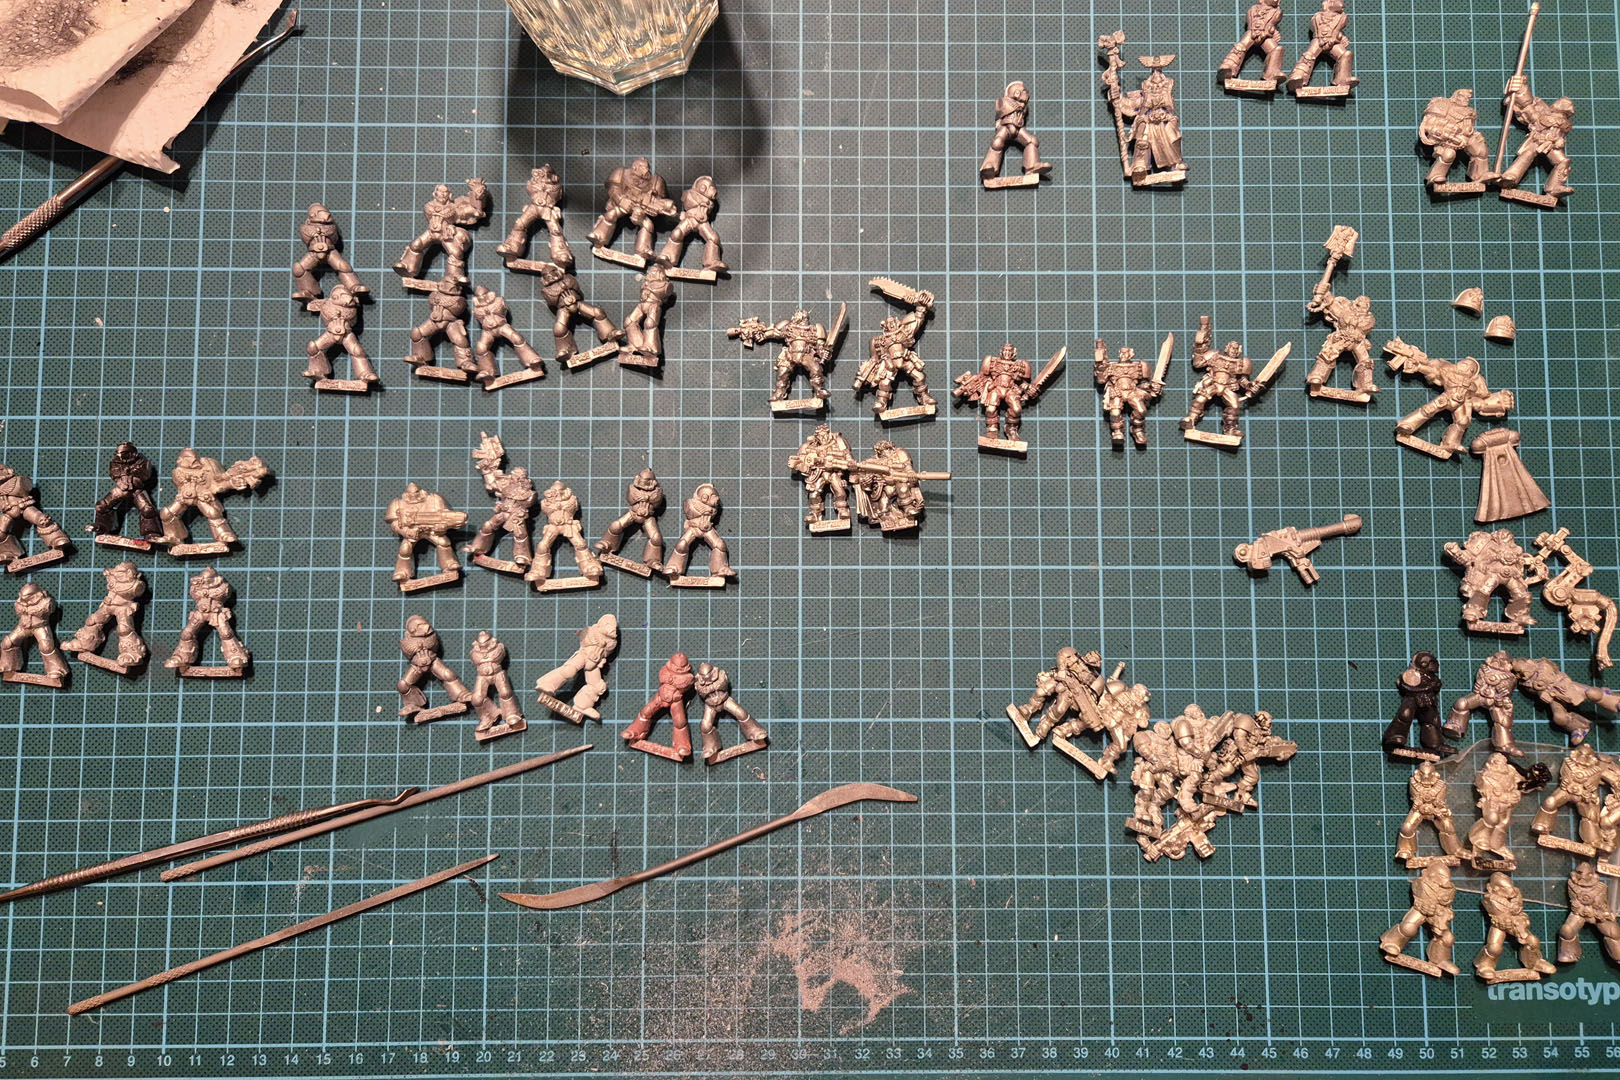
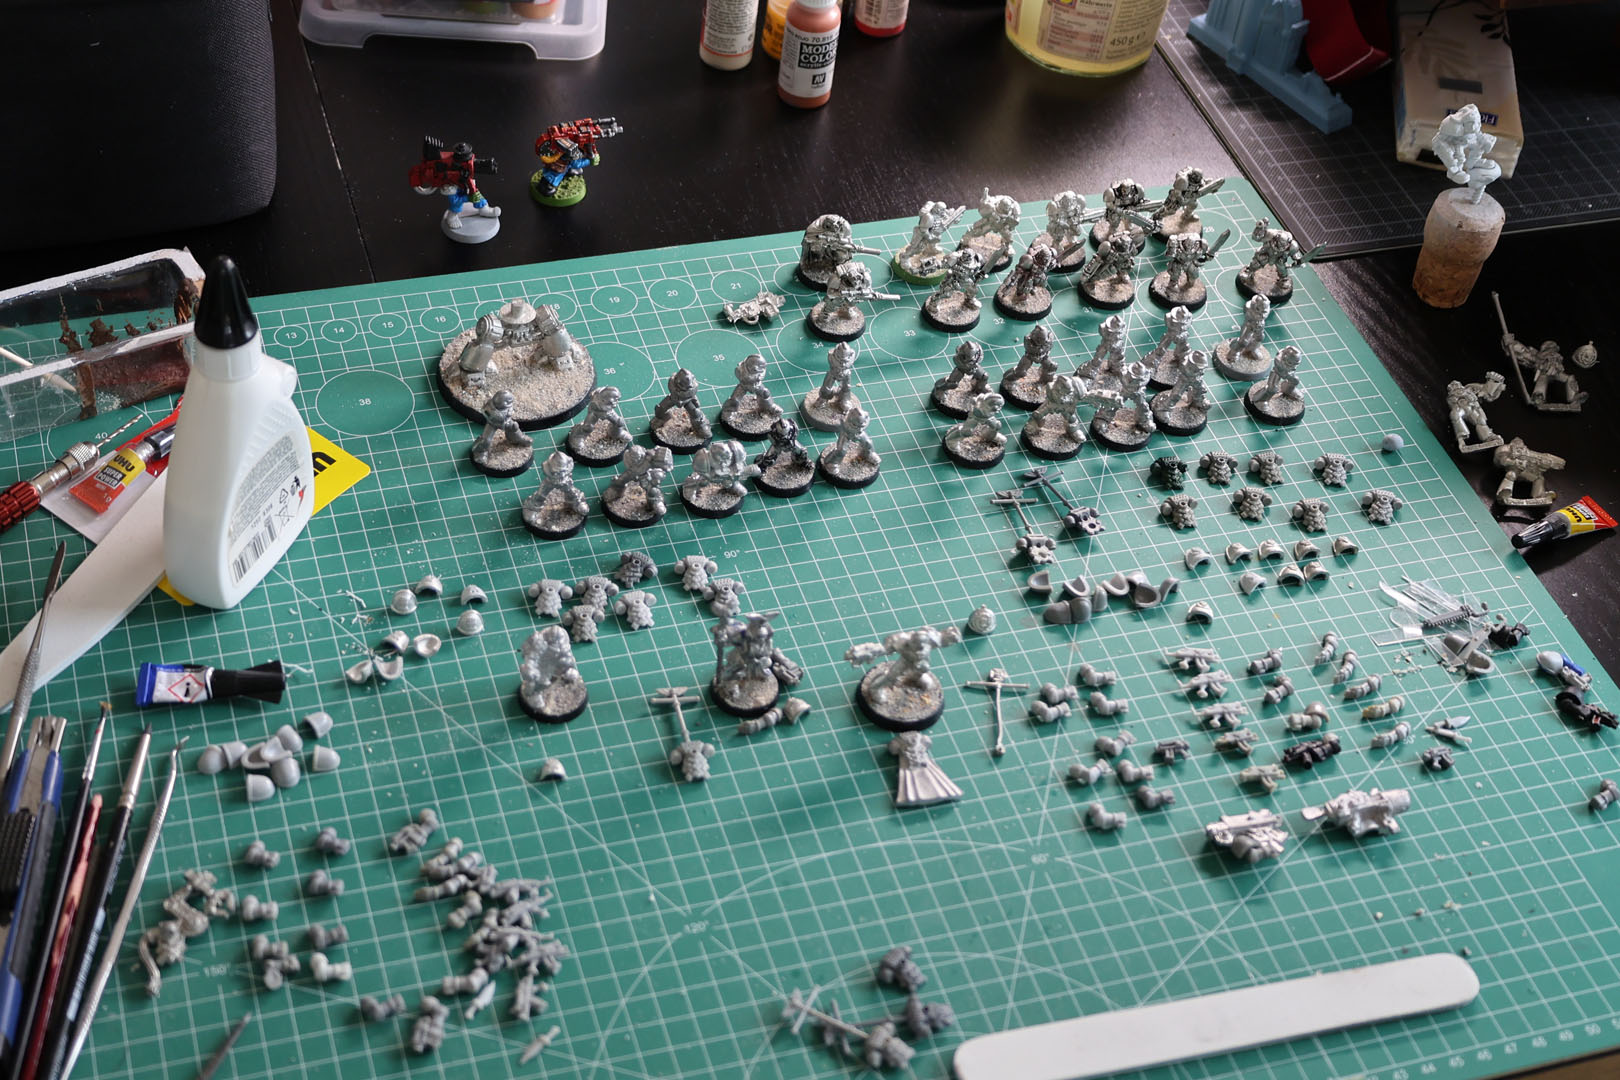
The first step after stripping the paint was clean up of the metal miniatures. Filing mould lines, picking up left over paint from stripping and everything else that could be a problem down the line, when we want to start painting them.
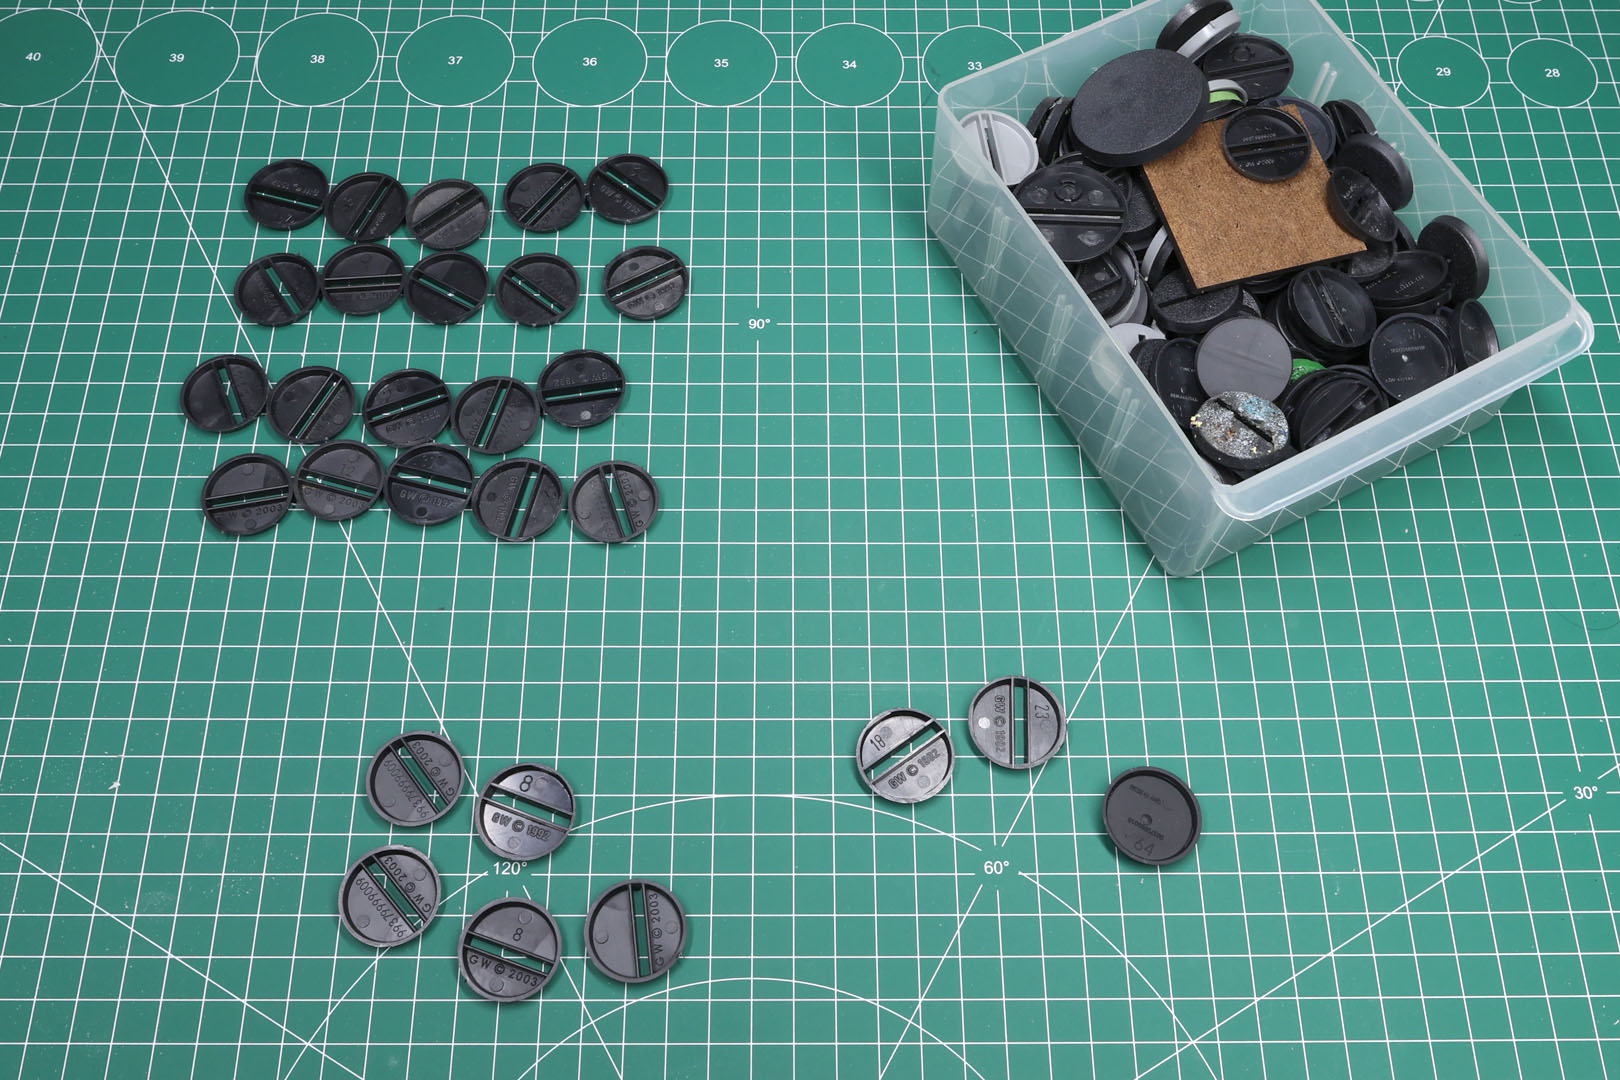
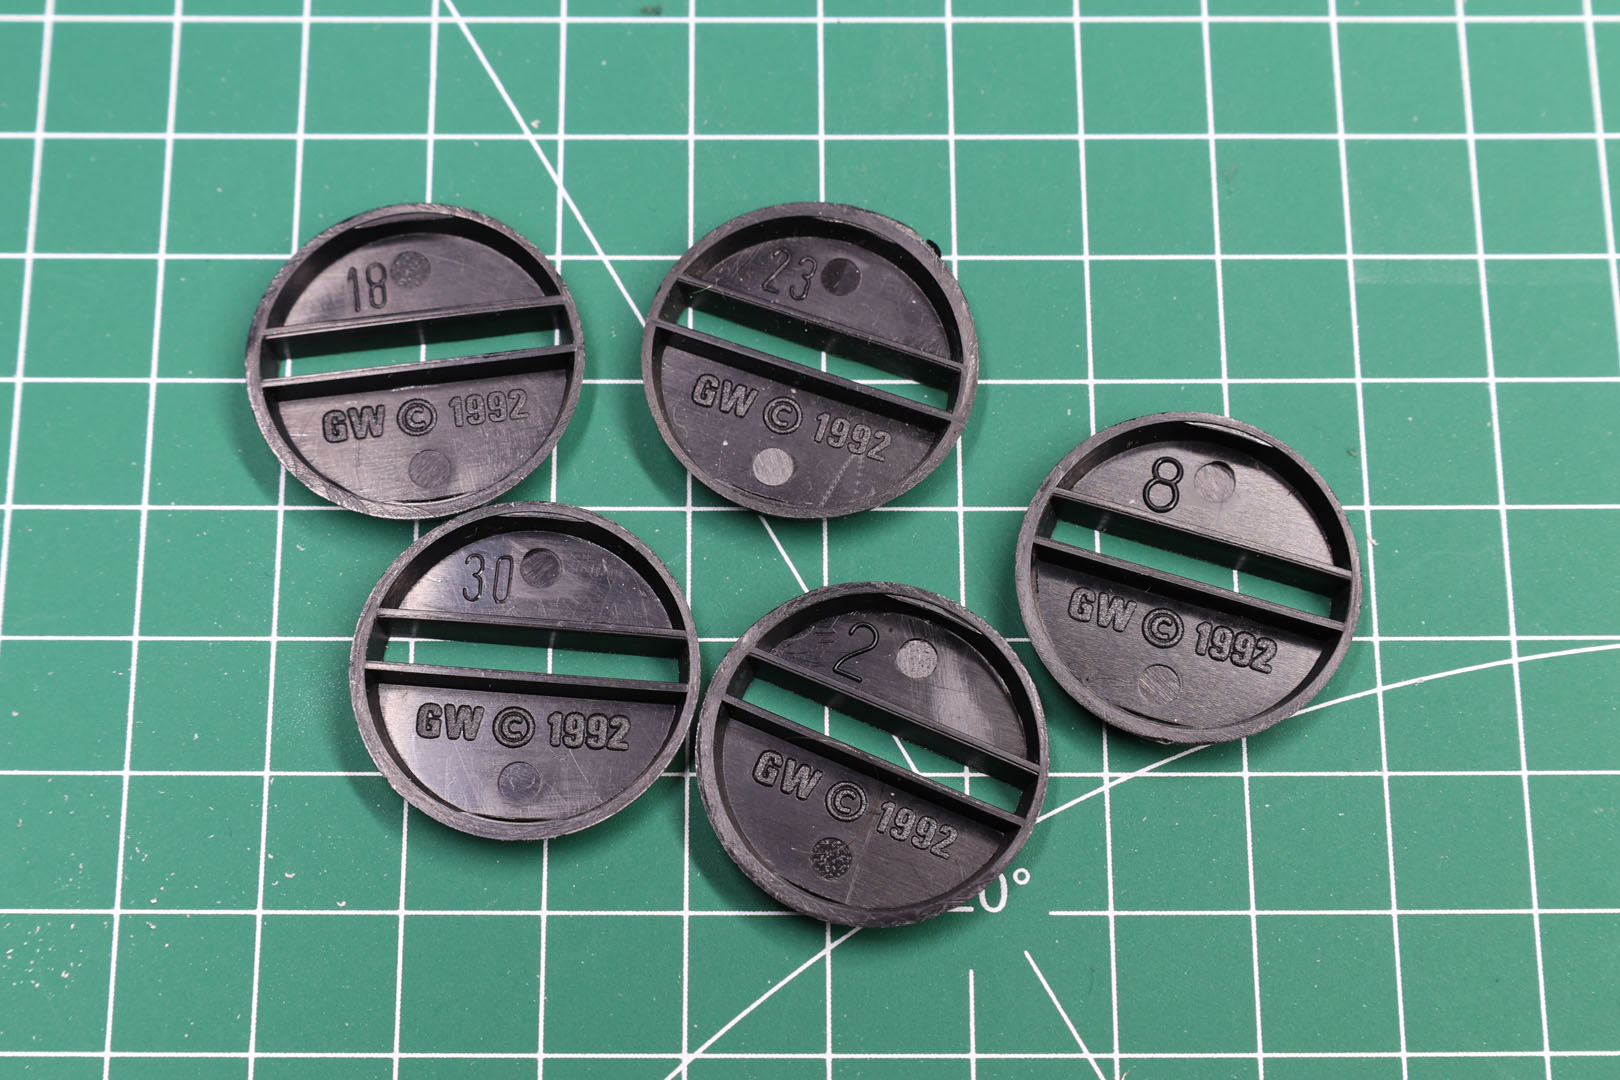
In the grim dark future of the mid 90s, you had round bases and all of them were 25mm with a slot. While there are several producer for these, I wanted to keep it "real" and used original Citadel / Games Workshop bases for this project, as I wanted to have the angles on the bases and everything else coherrent. Just a side note - I'll use different base sizes for this project, this will affect some character and larger miniatures, as you can see for example with the captain or Dreadnought on the fourth picture.
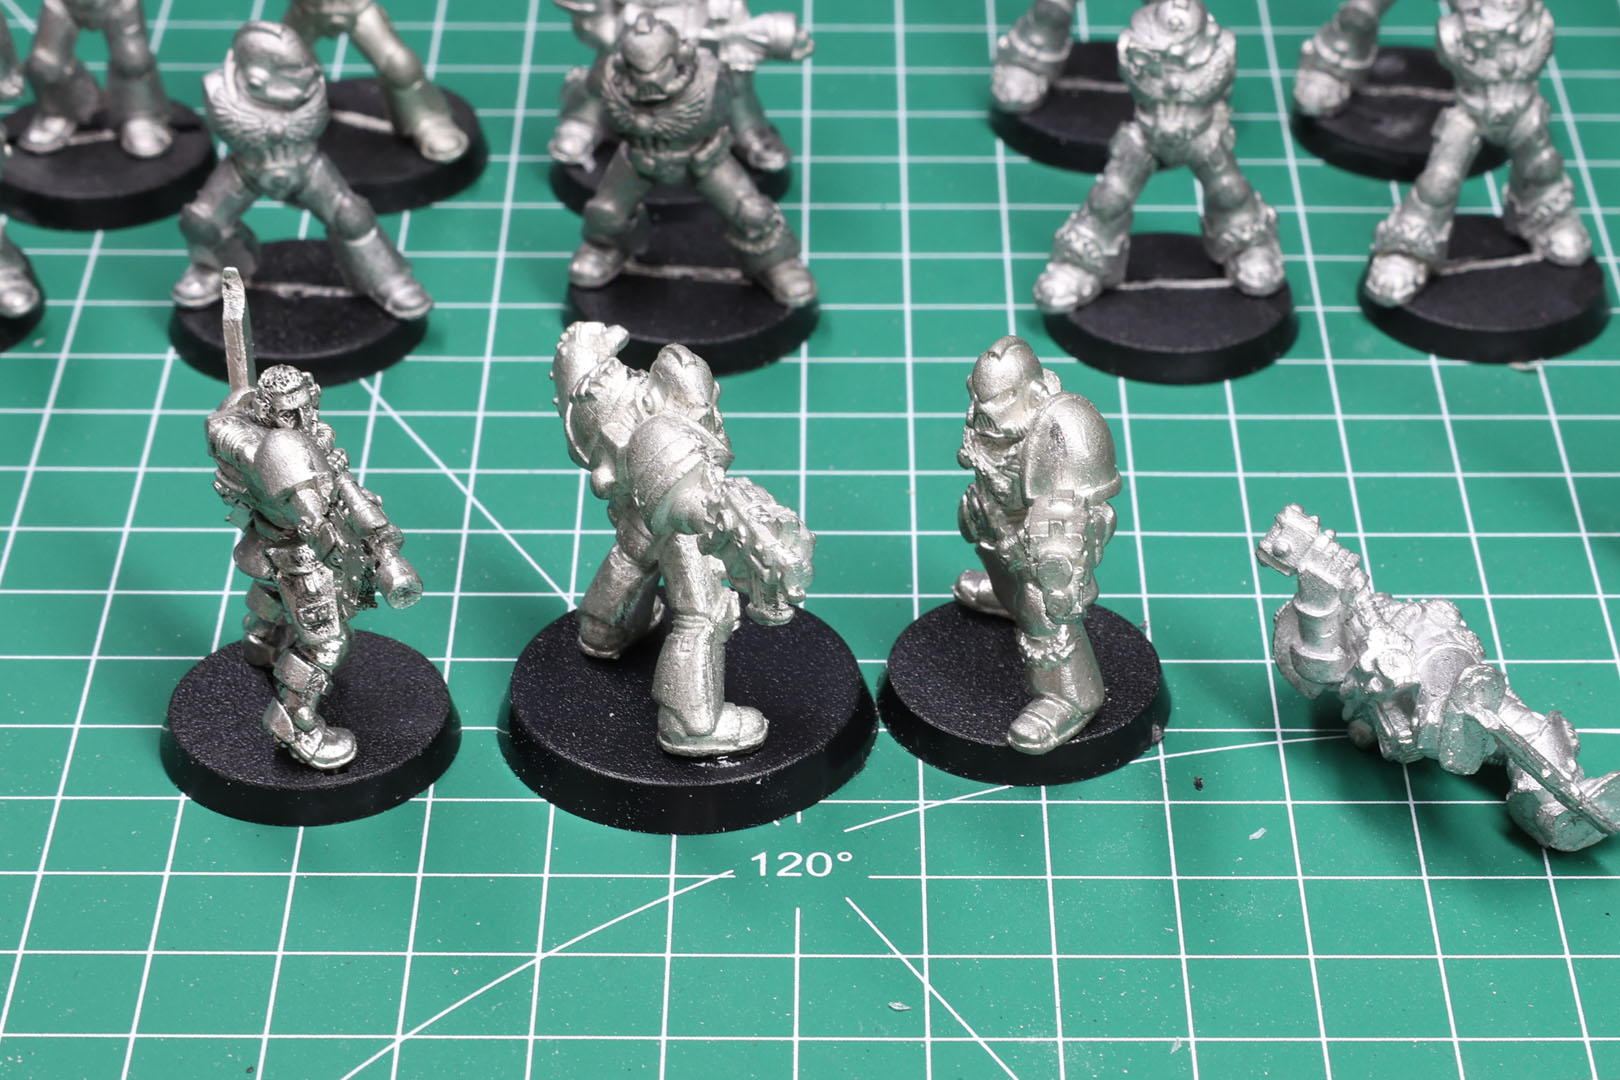
Older miniatures might have taken some damage over time, due to storage, handling and stripping. Therefore this is the perfect time to check if there are some touch ups needed. What am I talking about? Worst case would be lead rot, but that is usually not something we have to worry really about in the post-Rogue Trader era, but I am talking about broken details, flattened noses or scratched surfaces (if somebody went a bit too hard with the brass brush for stripping the paint).
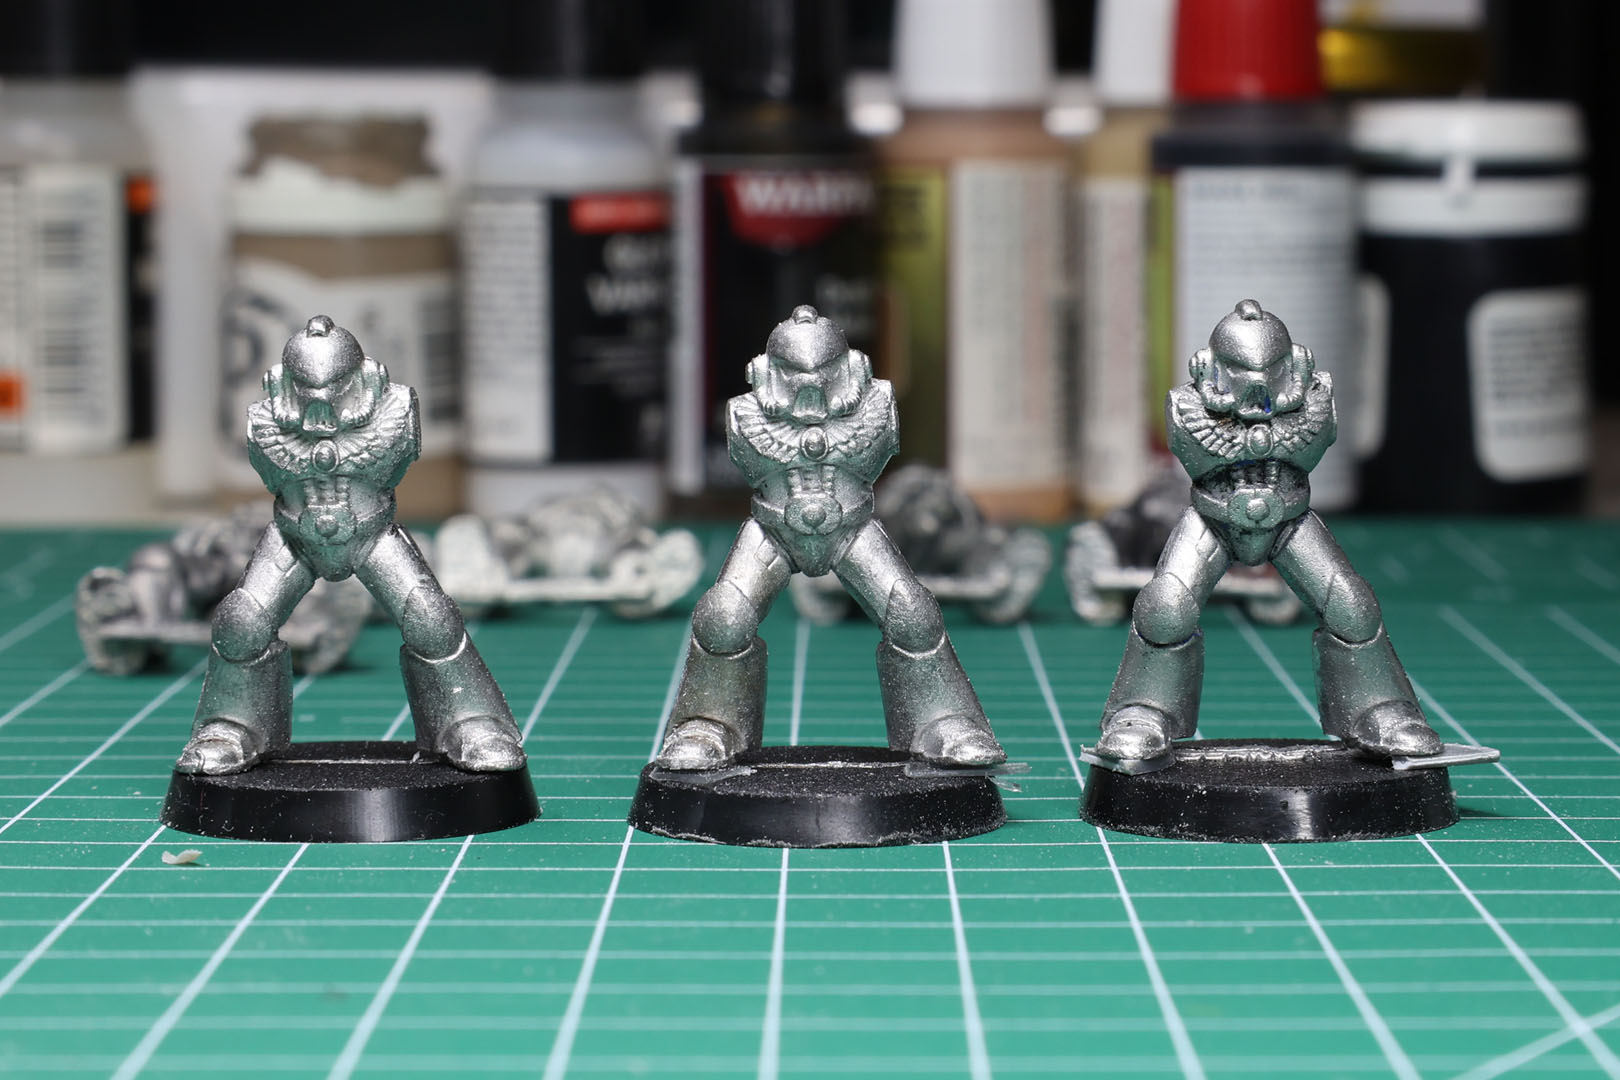
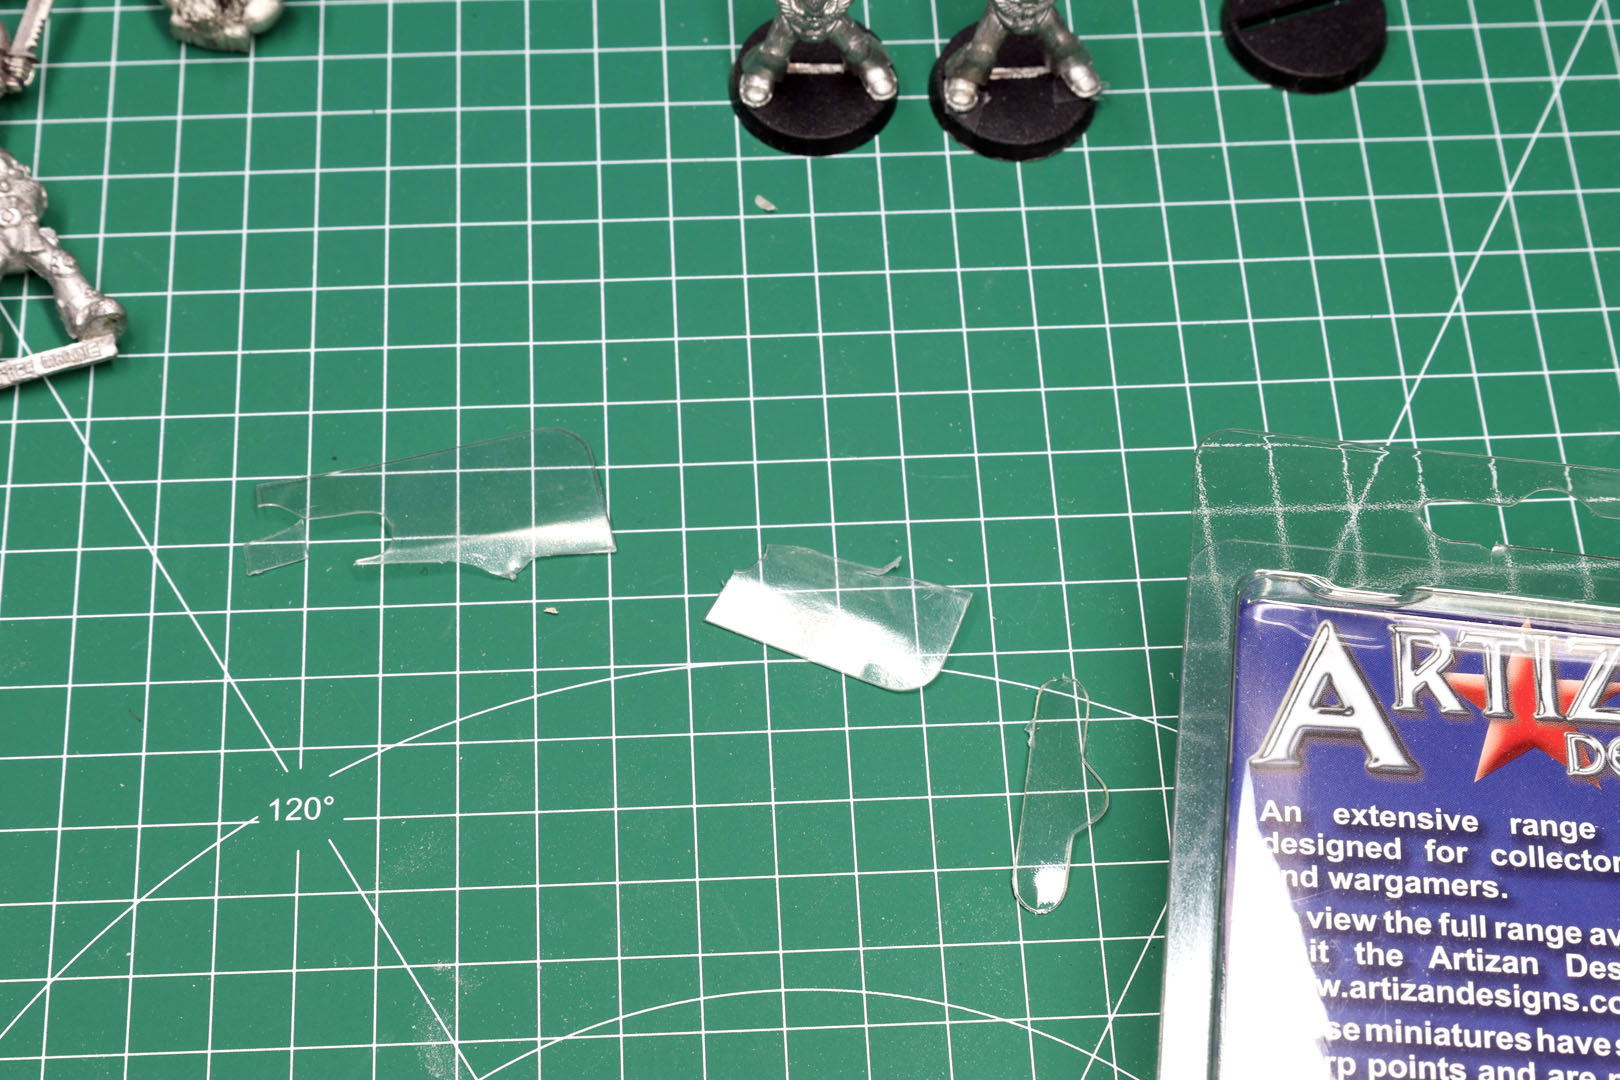
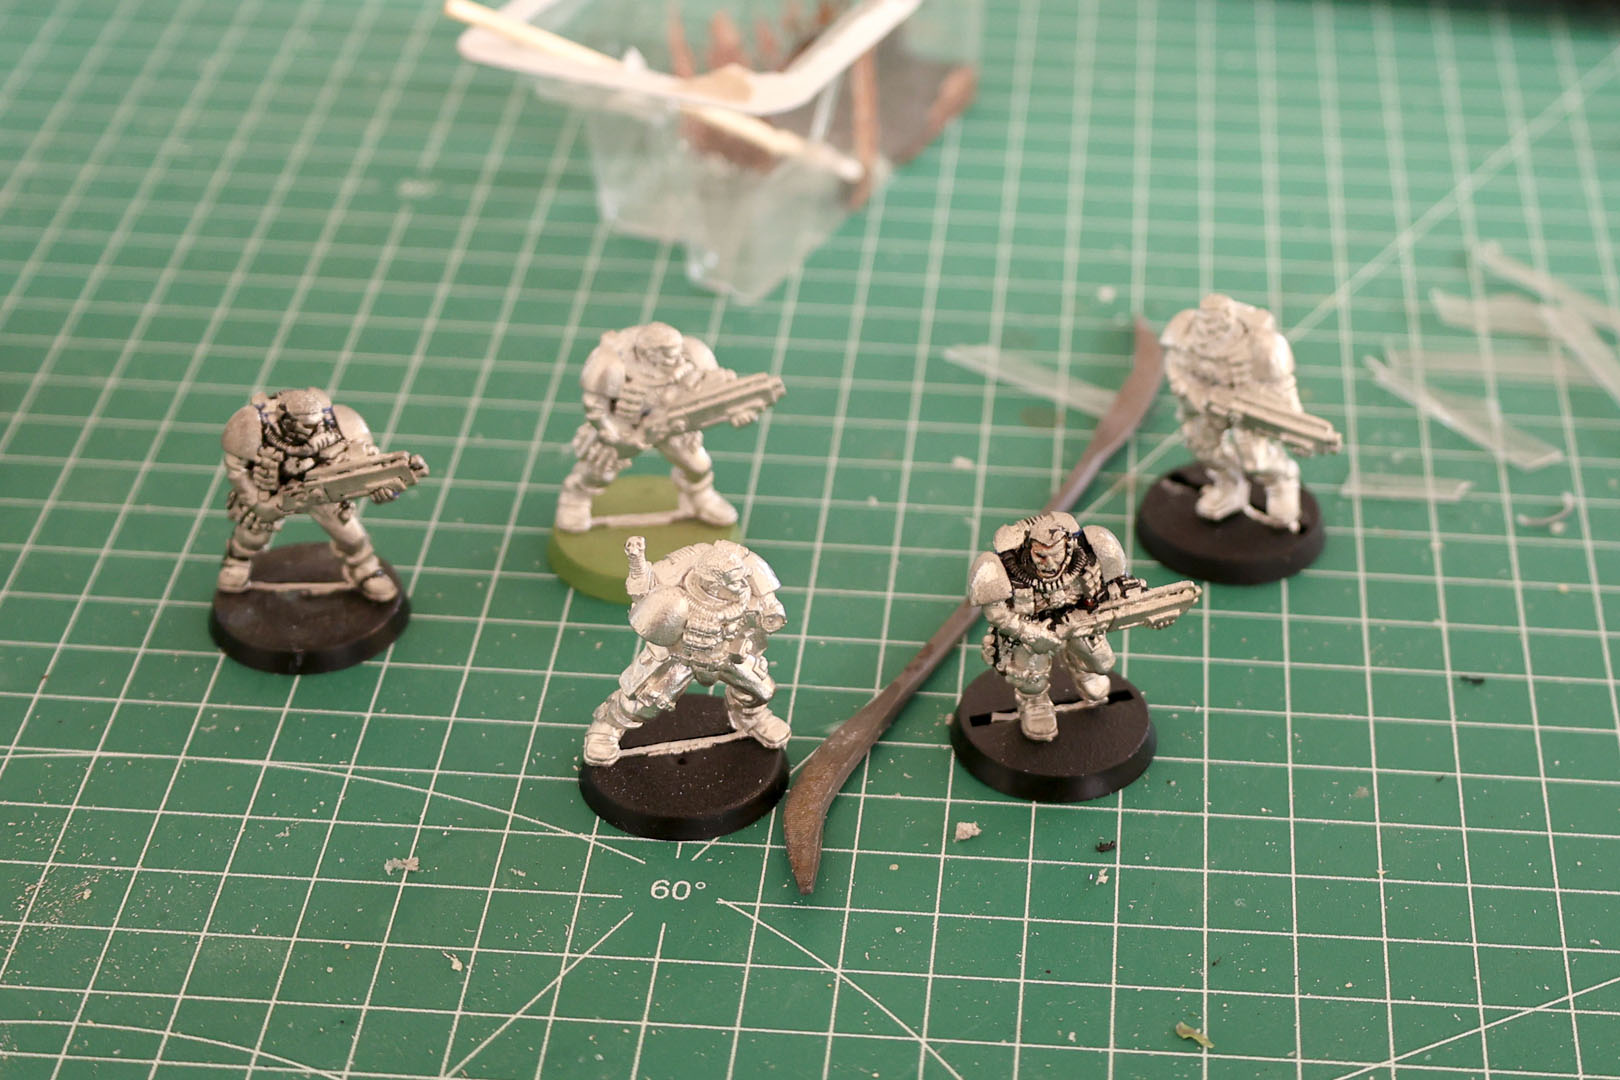
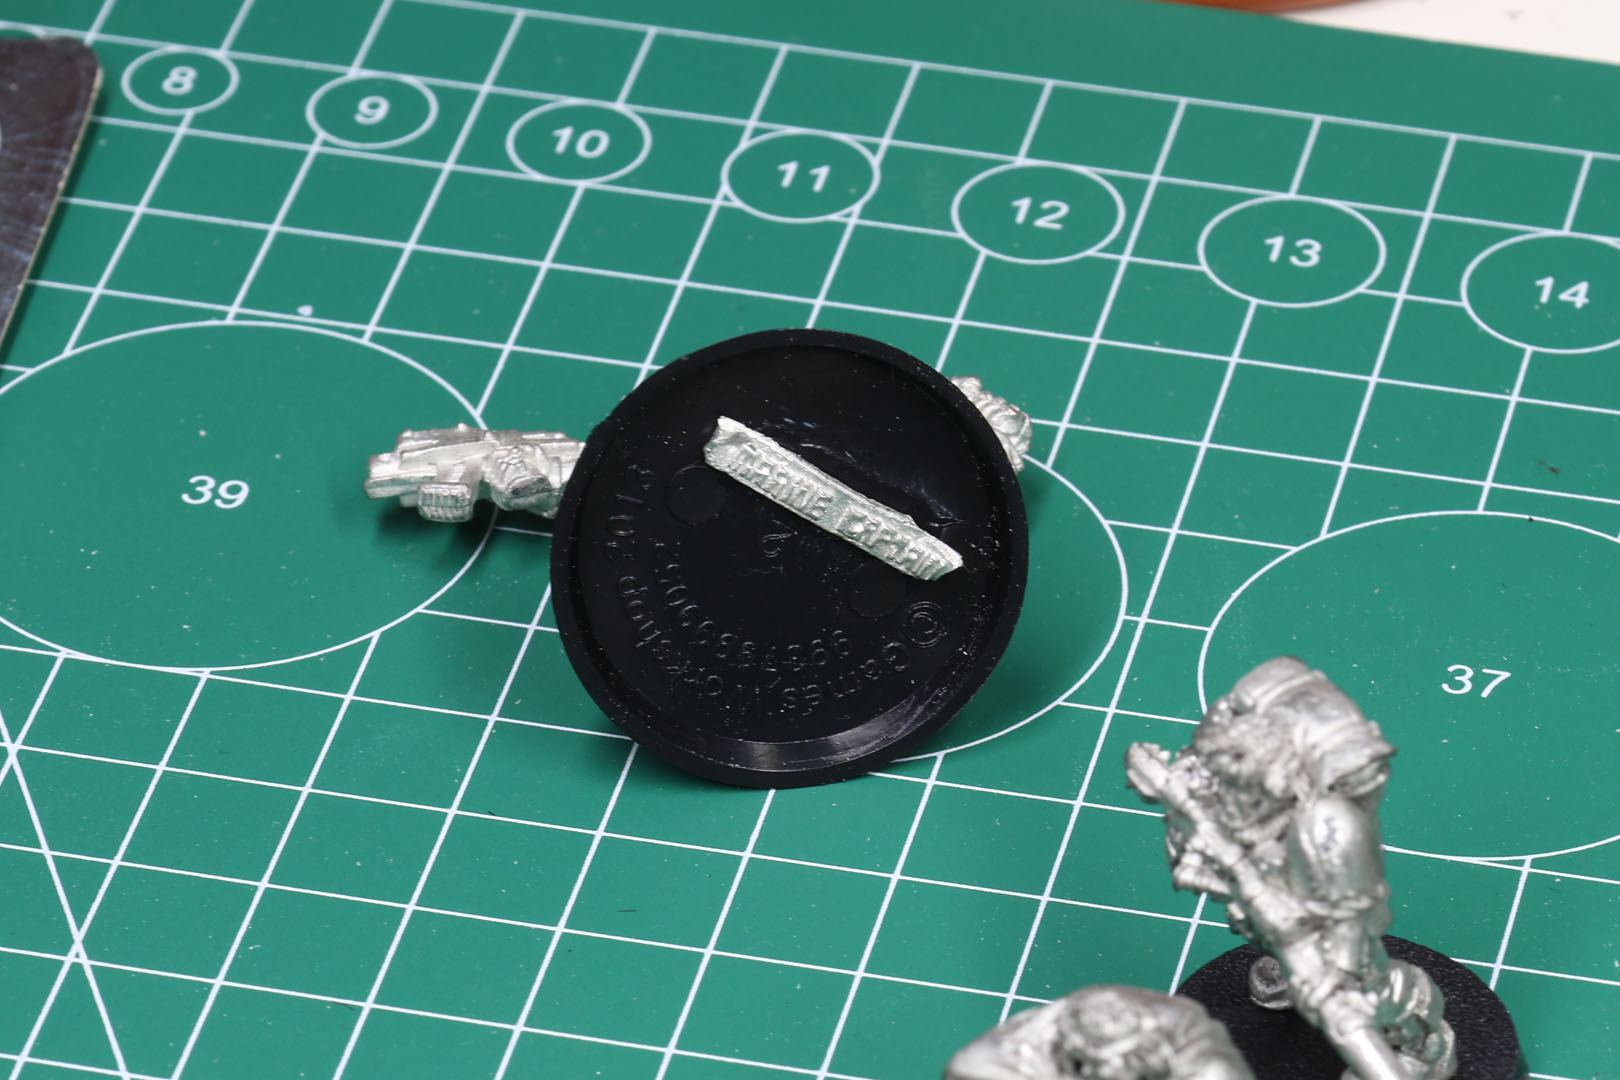
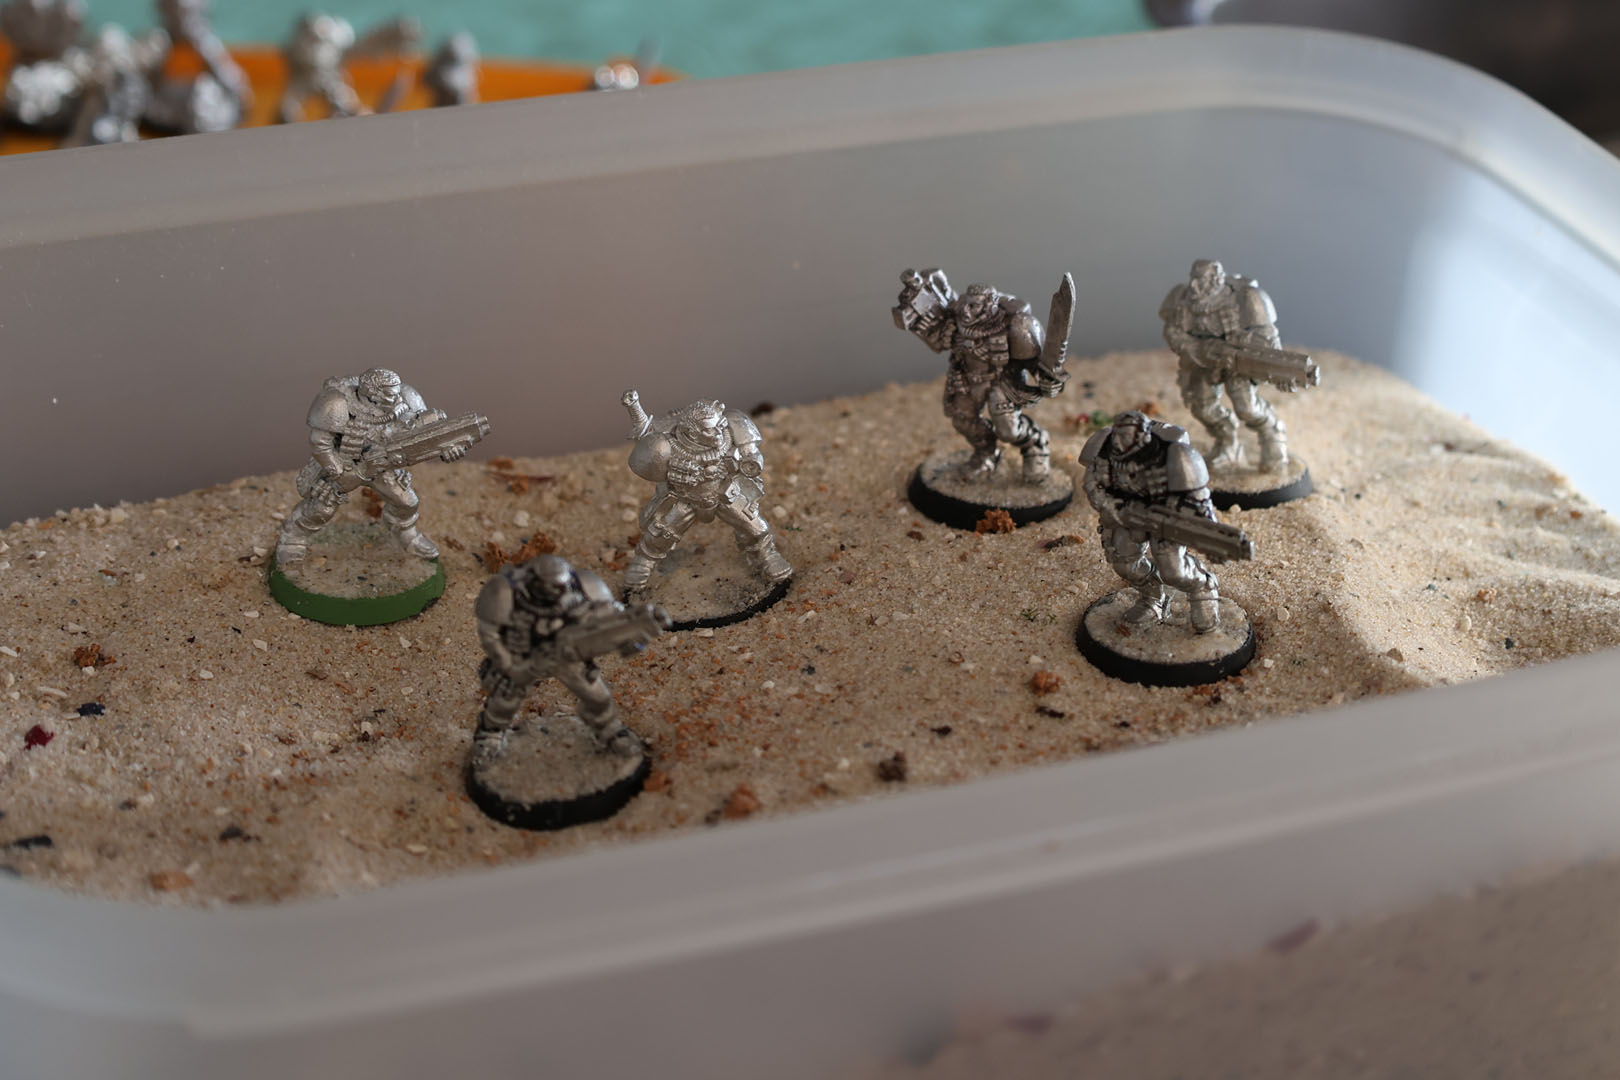
After the clean up and fixing minor damages, I moved on to base the miniatures. The later basing will be kept simple, but I want to avoid the Space Marine sinking into the ground, so I tinkered around giving them smaller "boost" (imagine shoe lifts). I tried cutting up thin bases and the clear plastic from blister packs. You can see in the first picture, the marine to the left has none, the one in the middle the clear plastic and the one on the right a thin plastic sheet. I think the middle version works best.
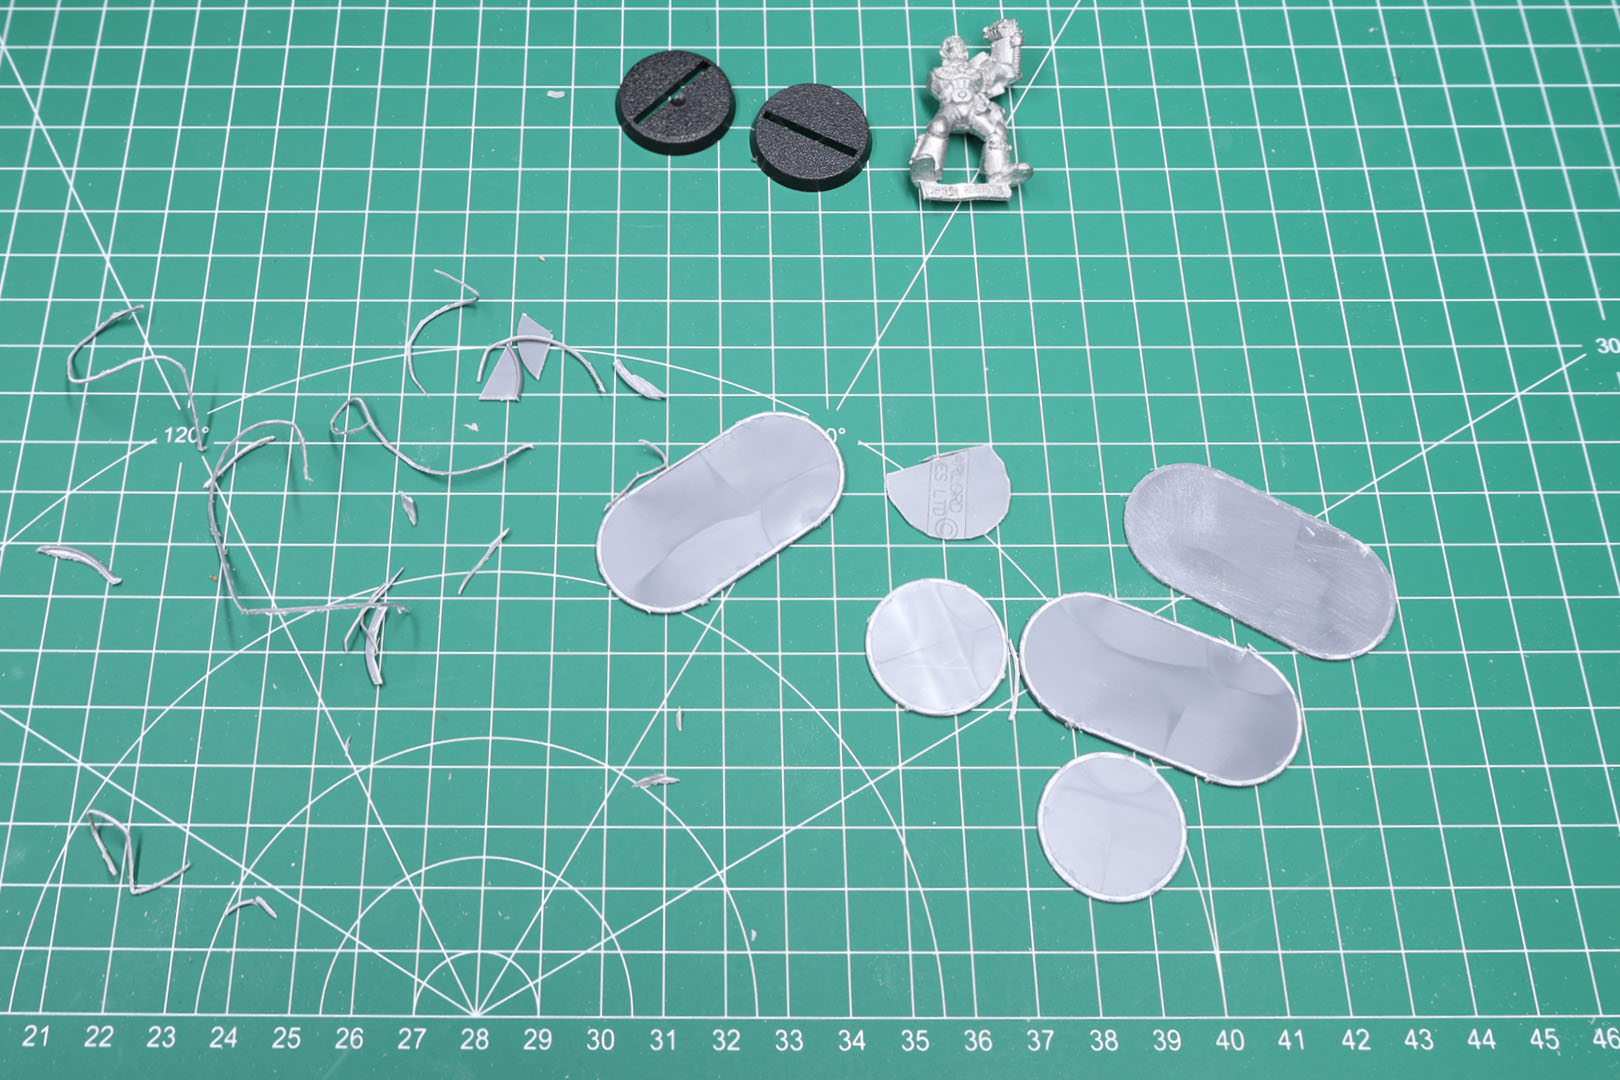
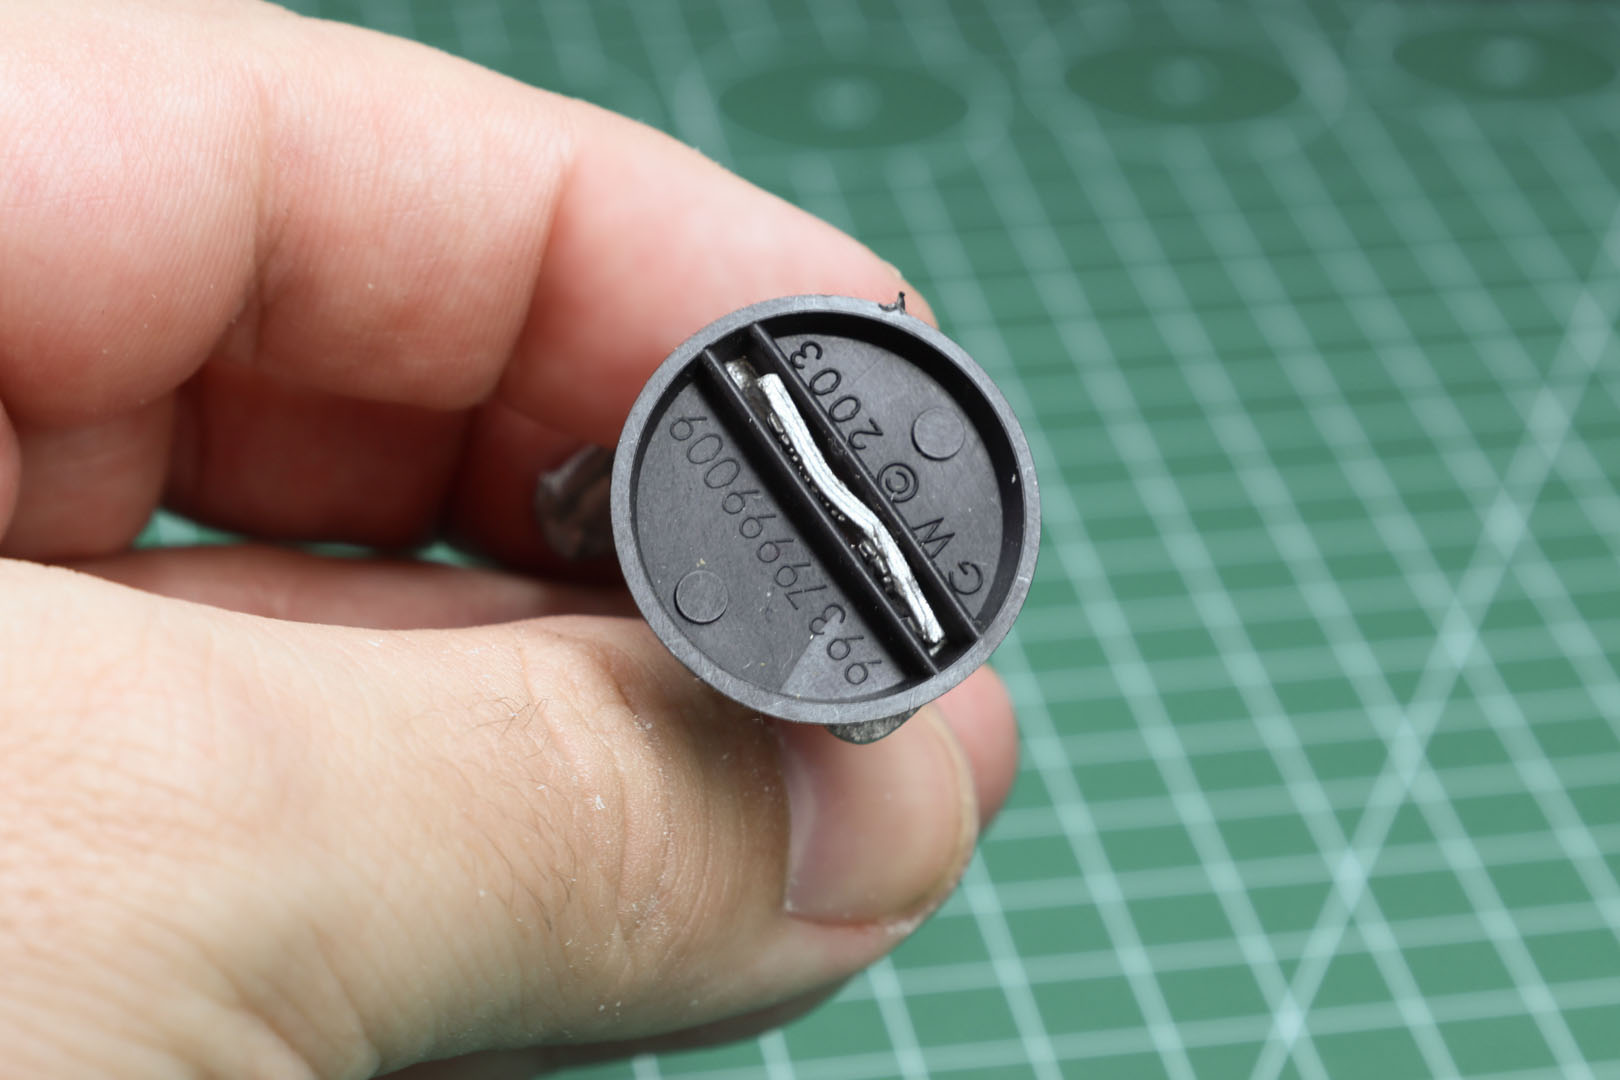
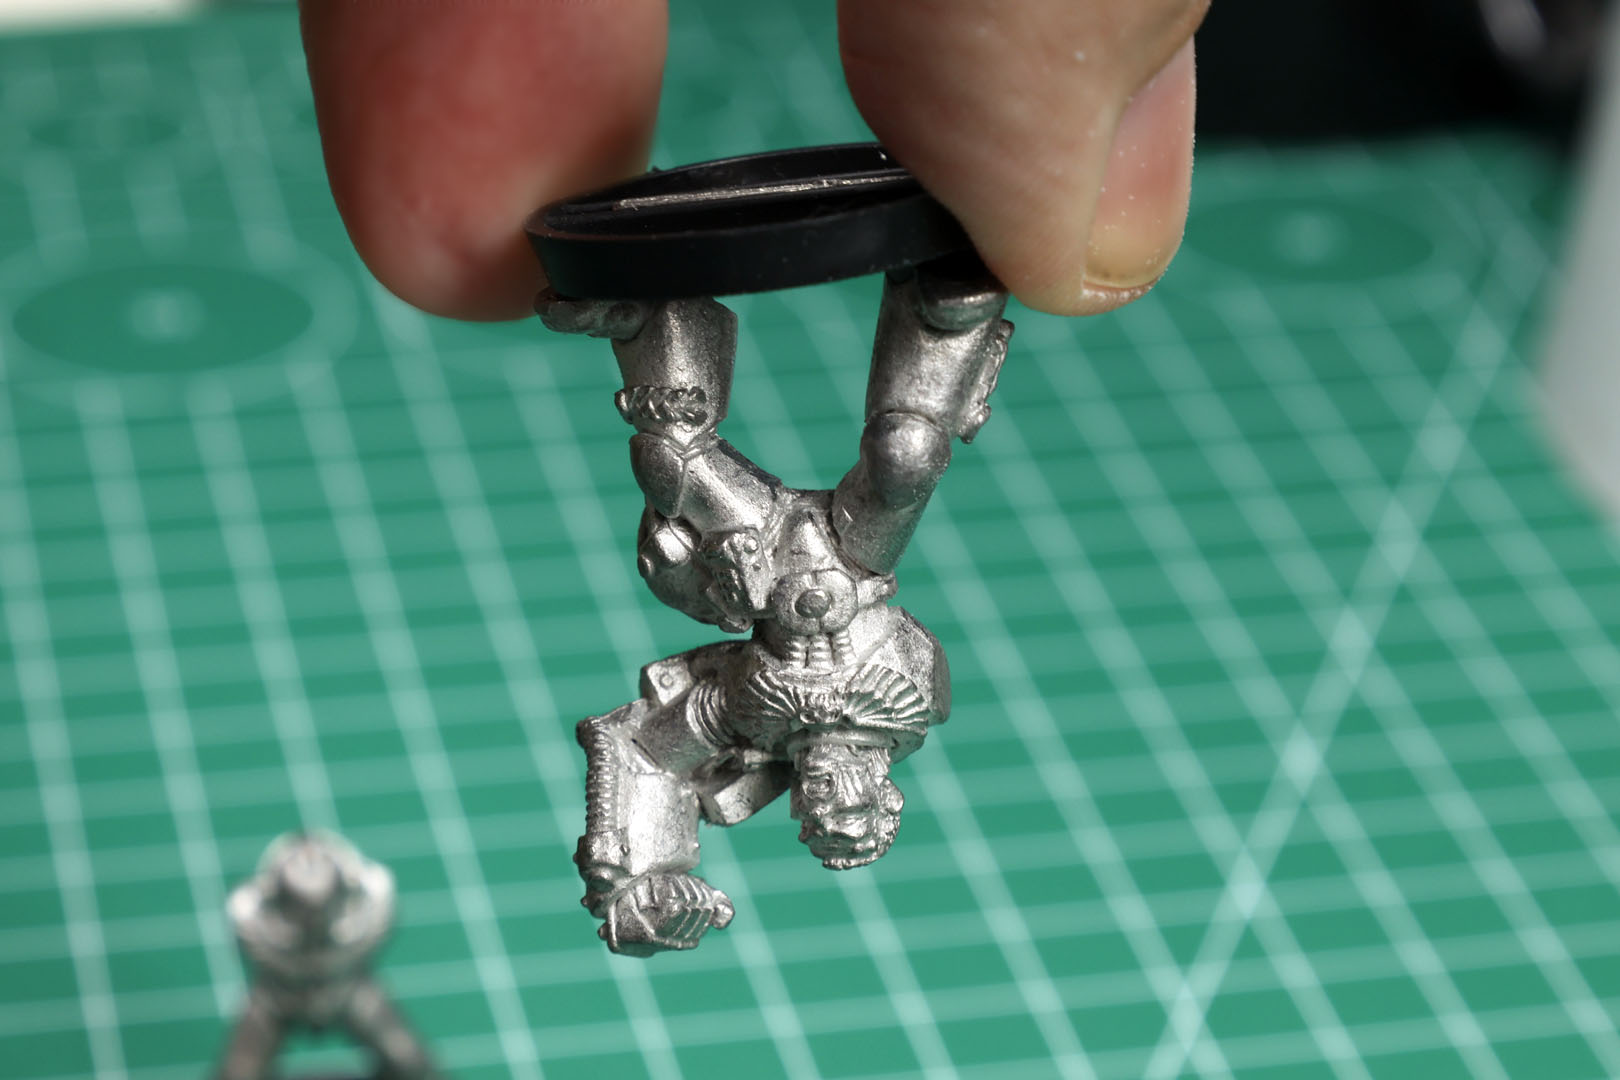
You will notice that these old miniatures had a tab, which fitted into the slot-a-bases, but without glue they would usually slip right out. So there was a trick, to bend the tab in a S-shape to make it stick. And as you can see, it creates enough tension or grip for the miniature to stay in place.
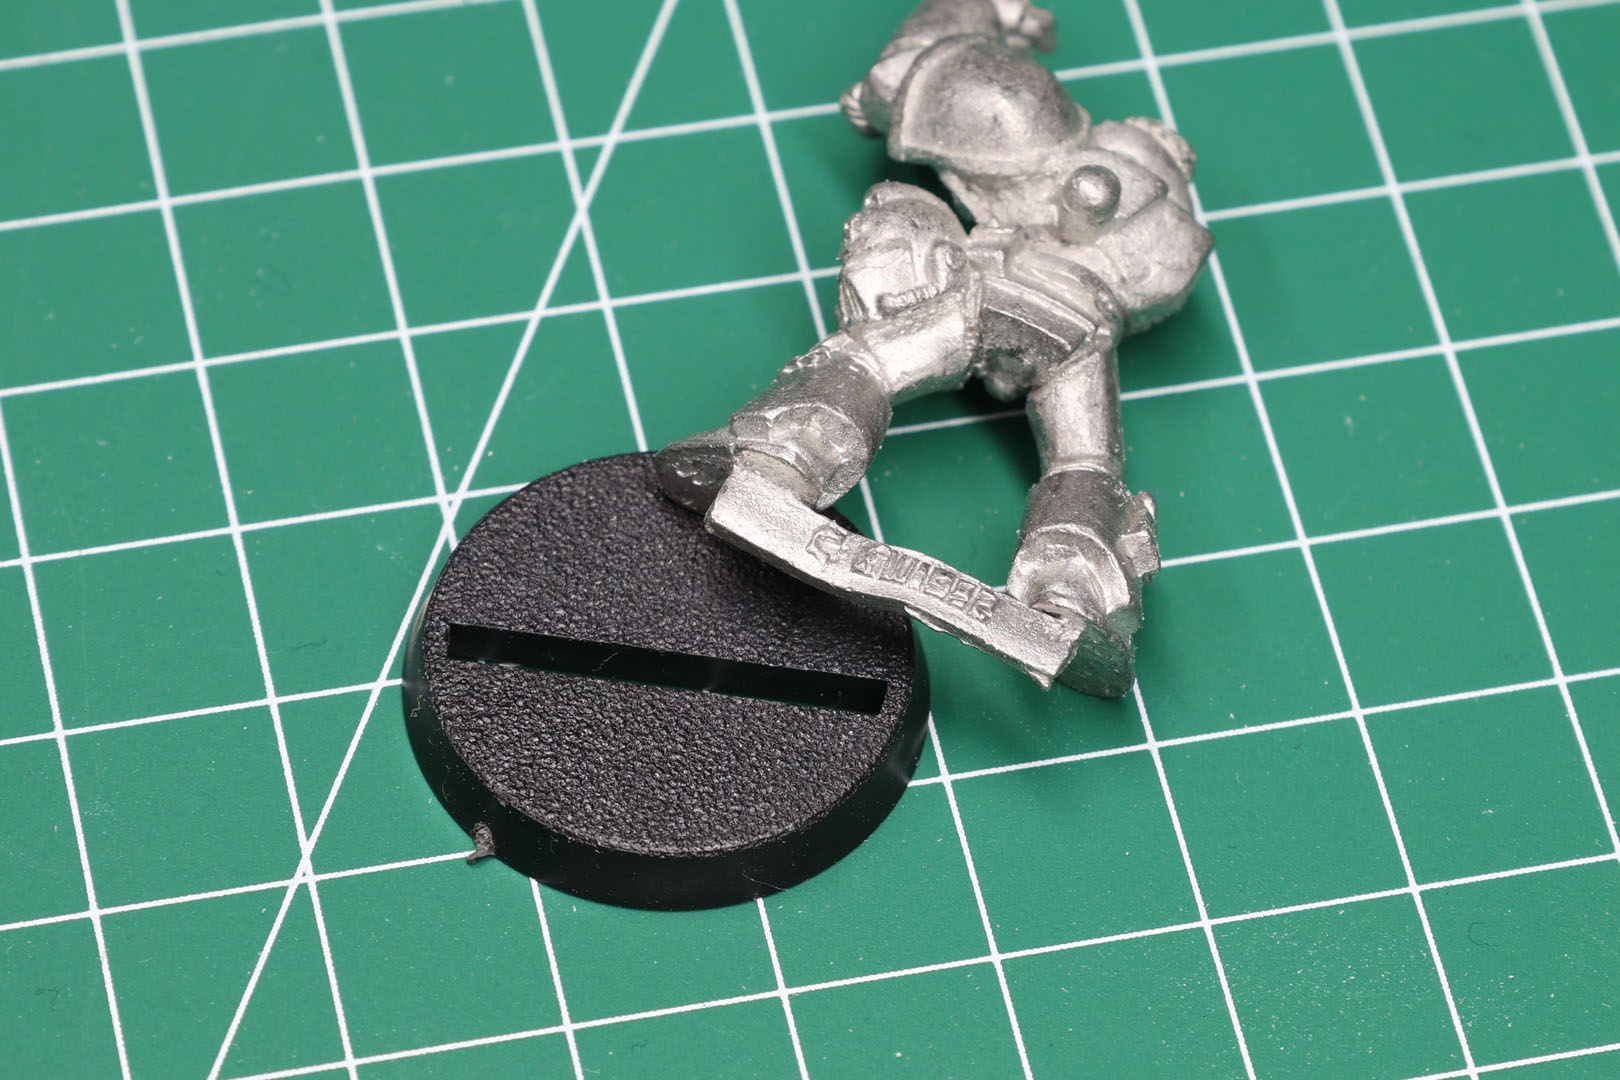
In some cases, miniatures might have broken tabs. Most miniatures can simply be superglued to the bases, but in some cases you might need to pin them to the bases. With Space Marines a rare need, but with more dynamics poses - I am looking at you Eldar Aspect Warriors - this is more often the case.
As mentioned further above, I'll use bases of different sizes for different purposes. You could argue, that this might be considered modelling for advantage, but as this affects template weapons in both ways, as well as close combat scenarios it should even itself out. Especially as it is something that only applies to a very small amount of miniatures in this project.
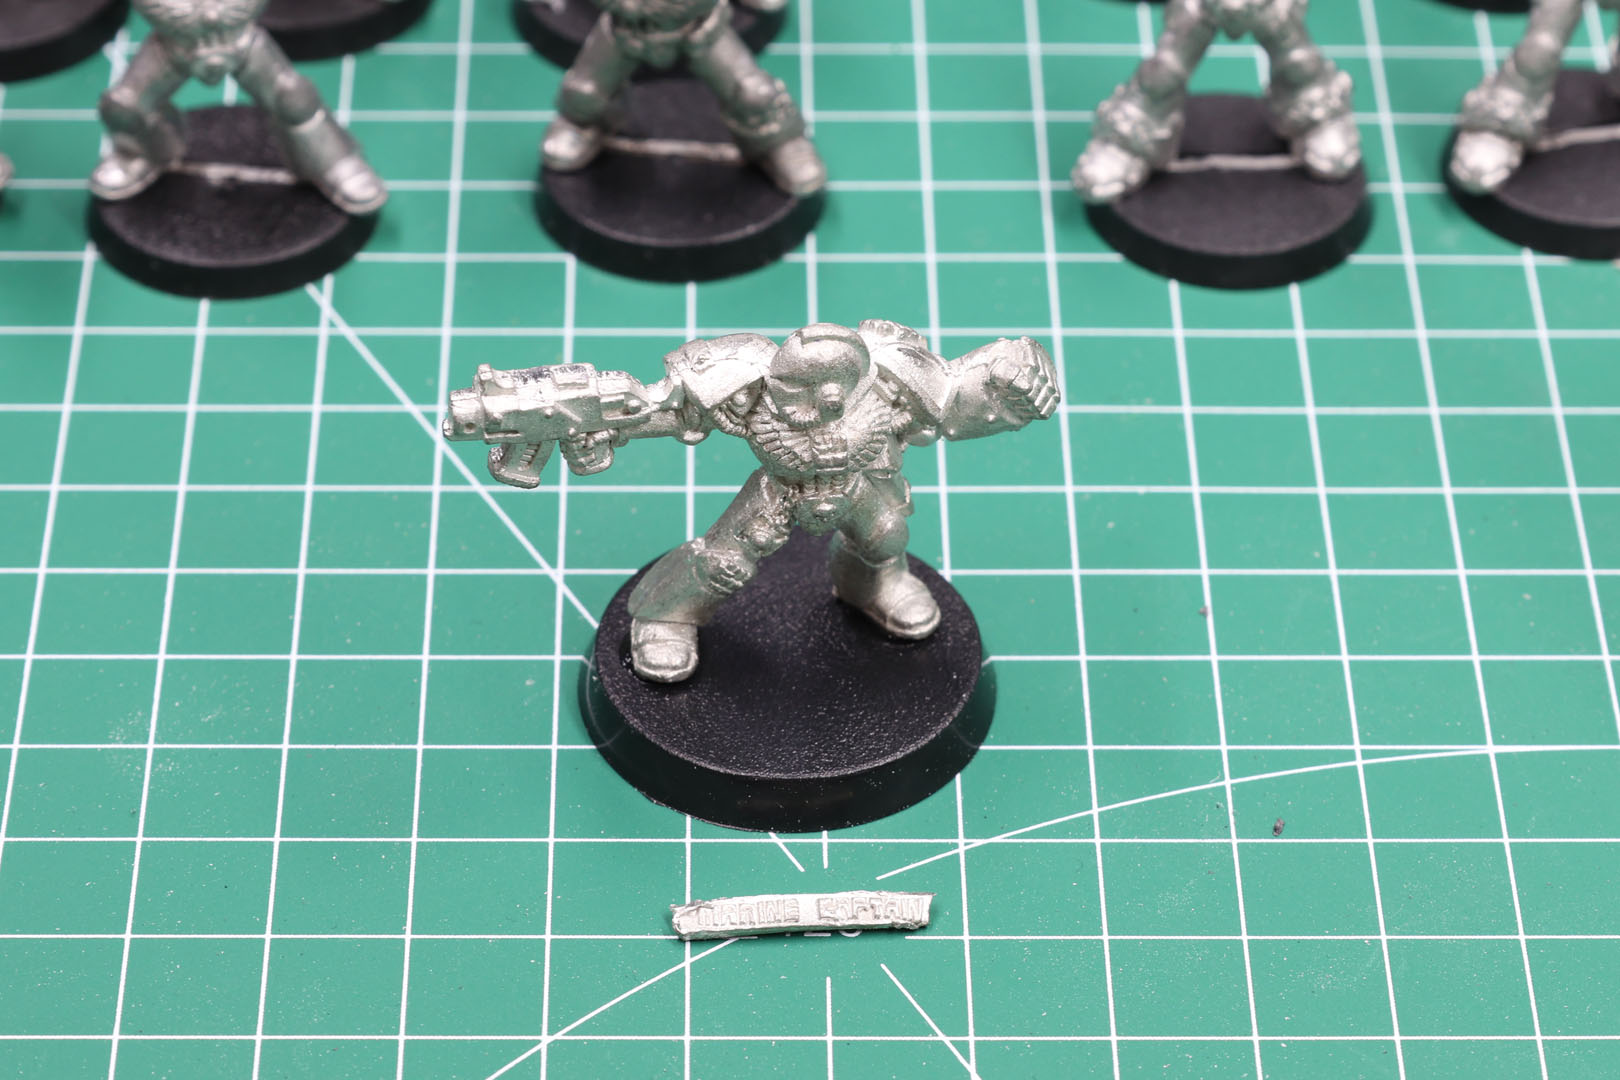
The other aspect is that purists are against clipping of the tabs. But I glue them into the bases, to keep them as a relic nearby. The Space Marine Captain of this army is such a central miniature, that I went for a 32mm round base for him, to have him less crowded and provide more space for his pose. Other infantry miniatures that will likely get different bases will be Terminators, as they are simply to big for the 25mm round bases.
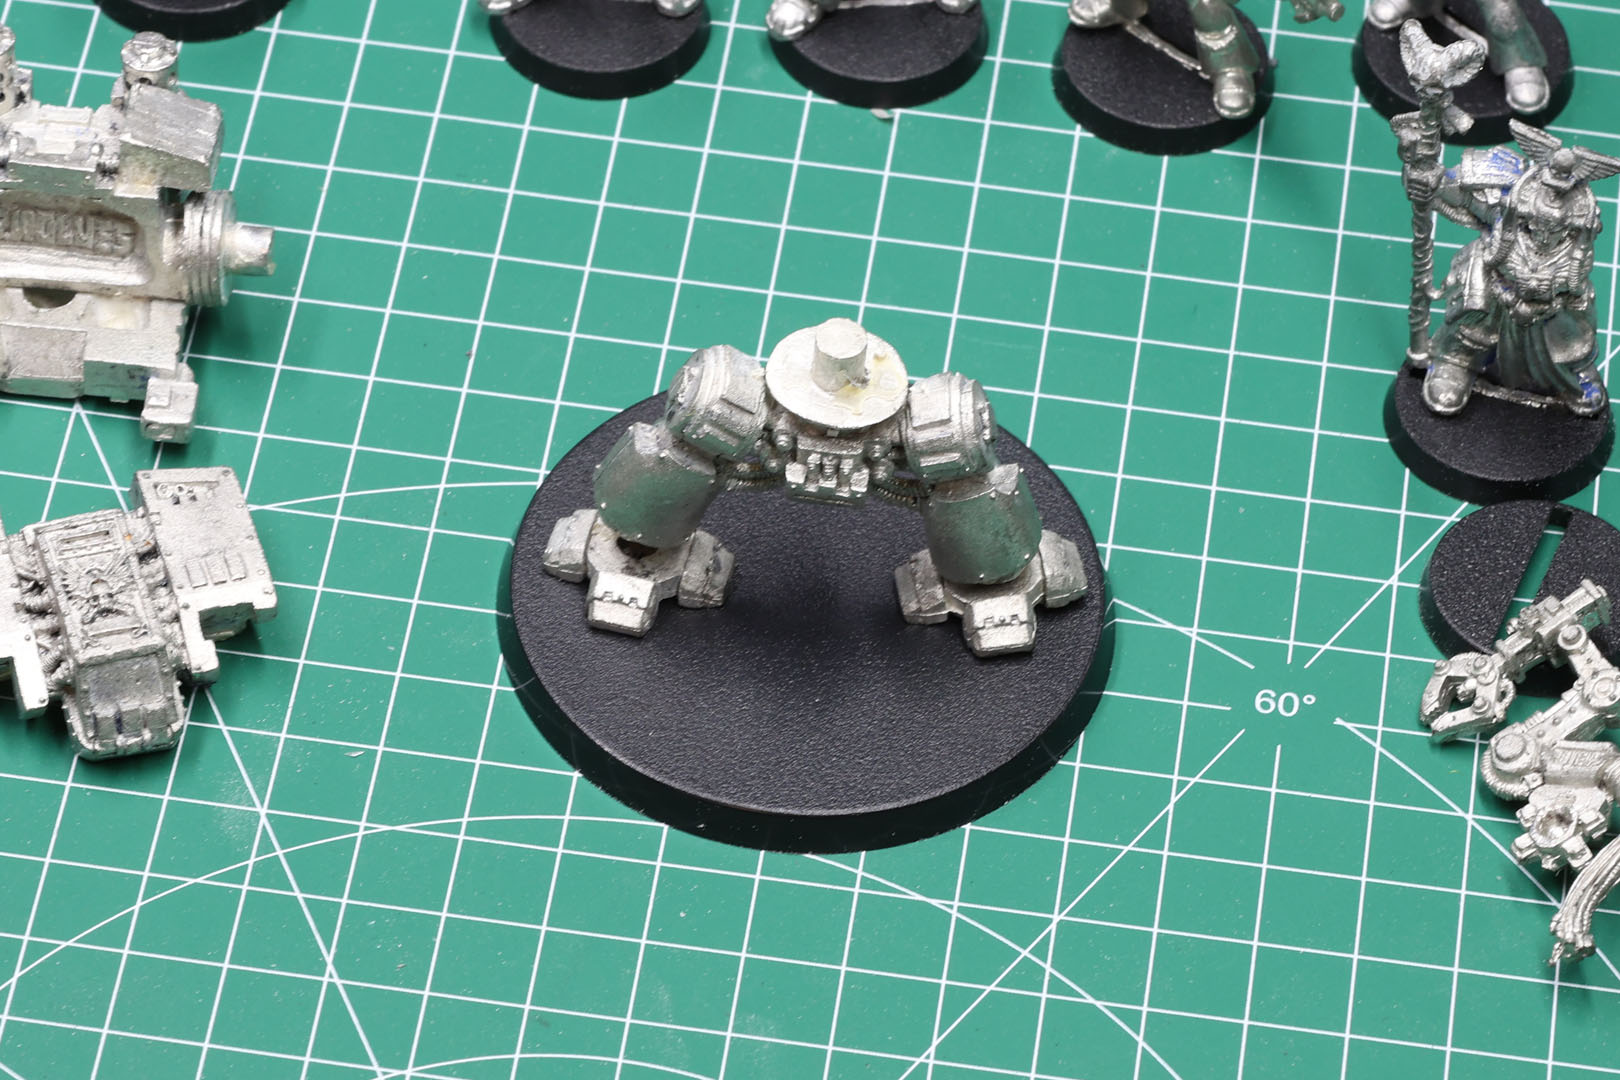
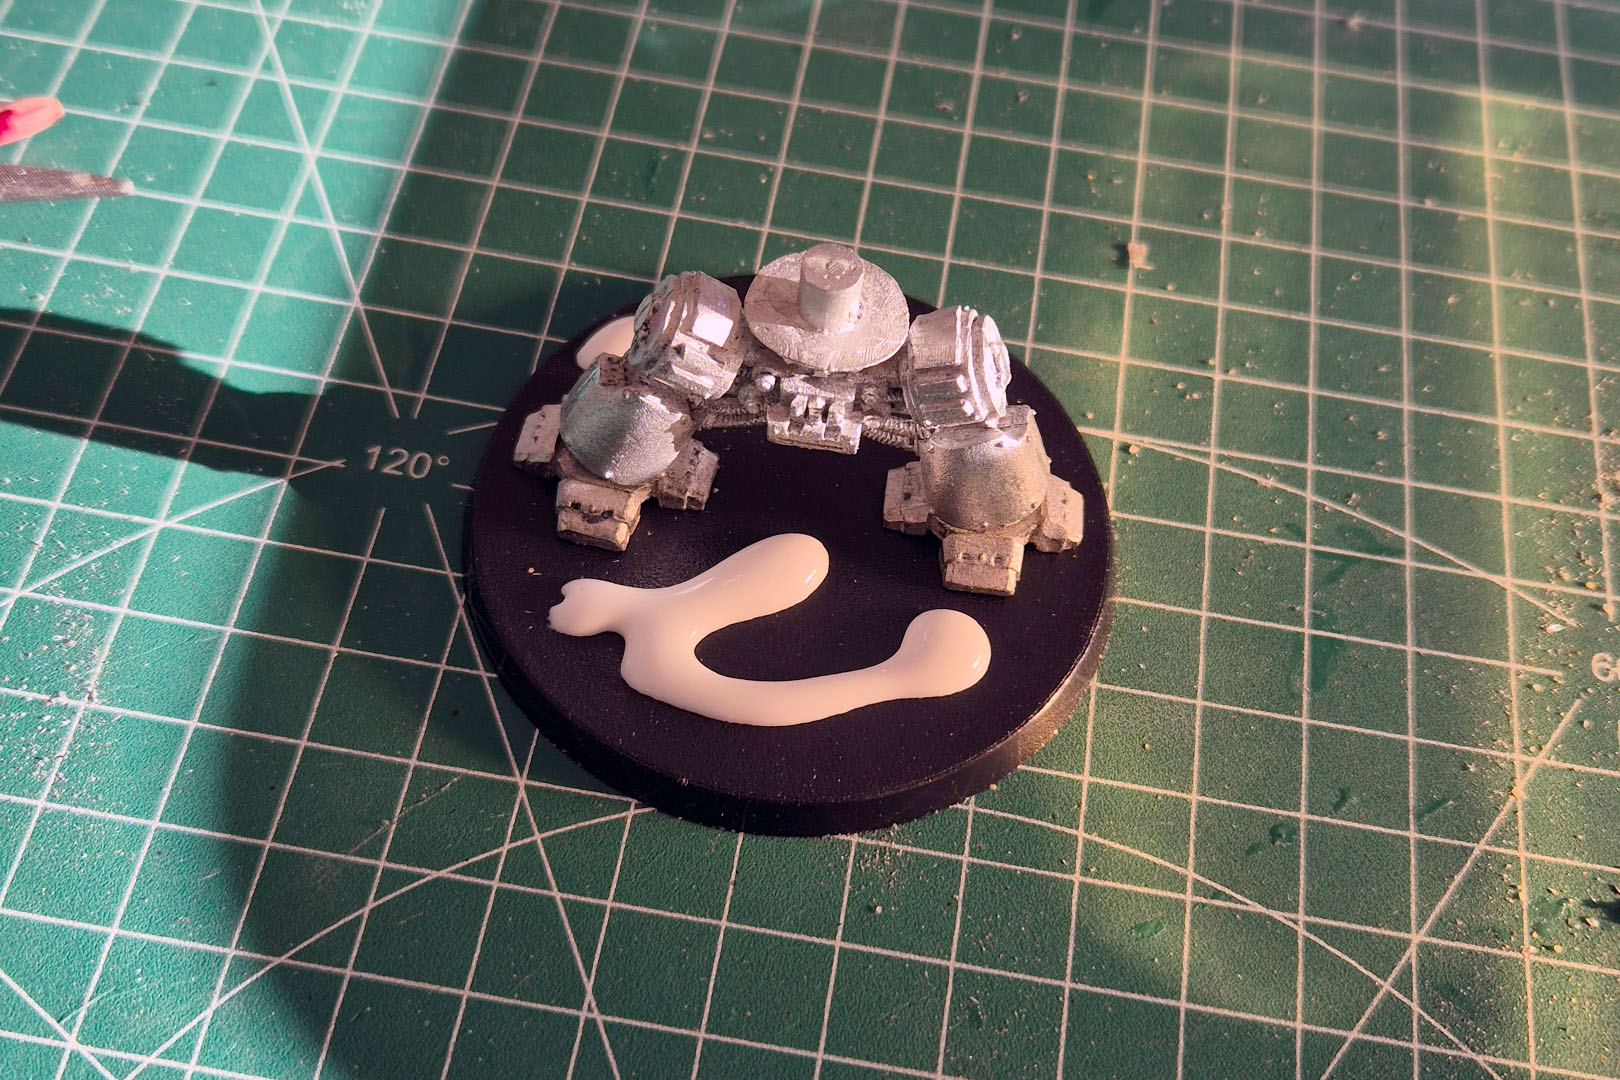
And as you can see, the Dreadnought will be placed upon an 60mm round base (which is actually 65mm in diameter). Depending on when you bought yours, it might have come with a square base or none. In 3rd edition onwards the models were delivered with the 60mm base. It just looks better, especially compared to a 40mm or 50mm square base and is certainly more stable than no base.
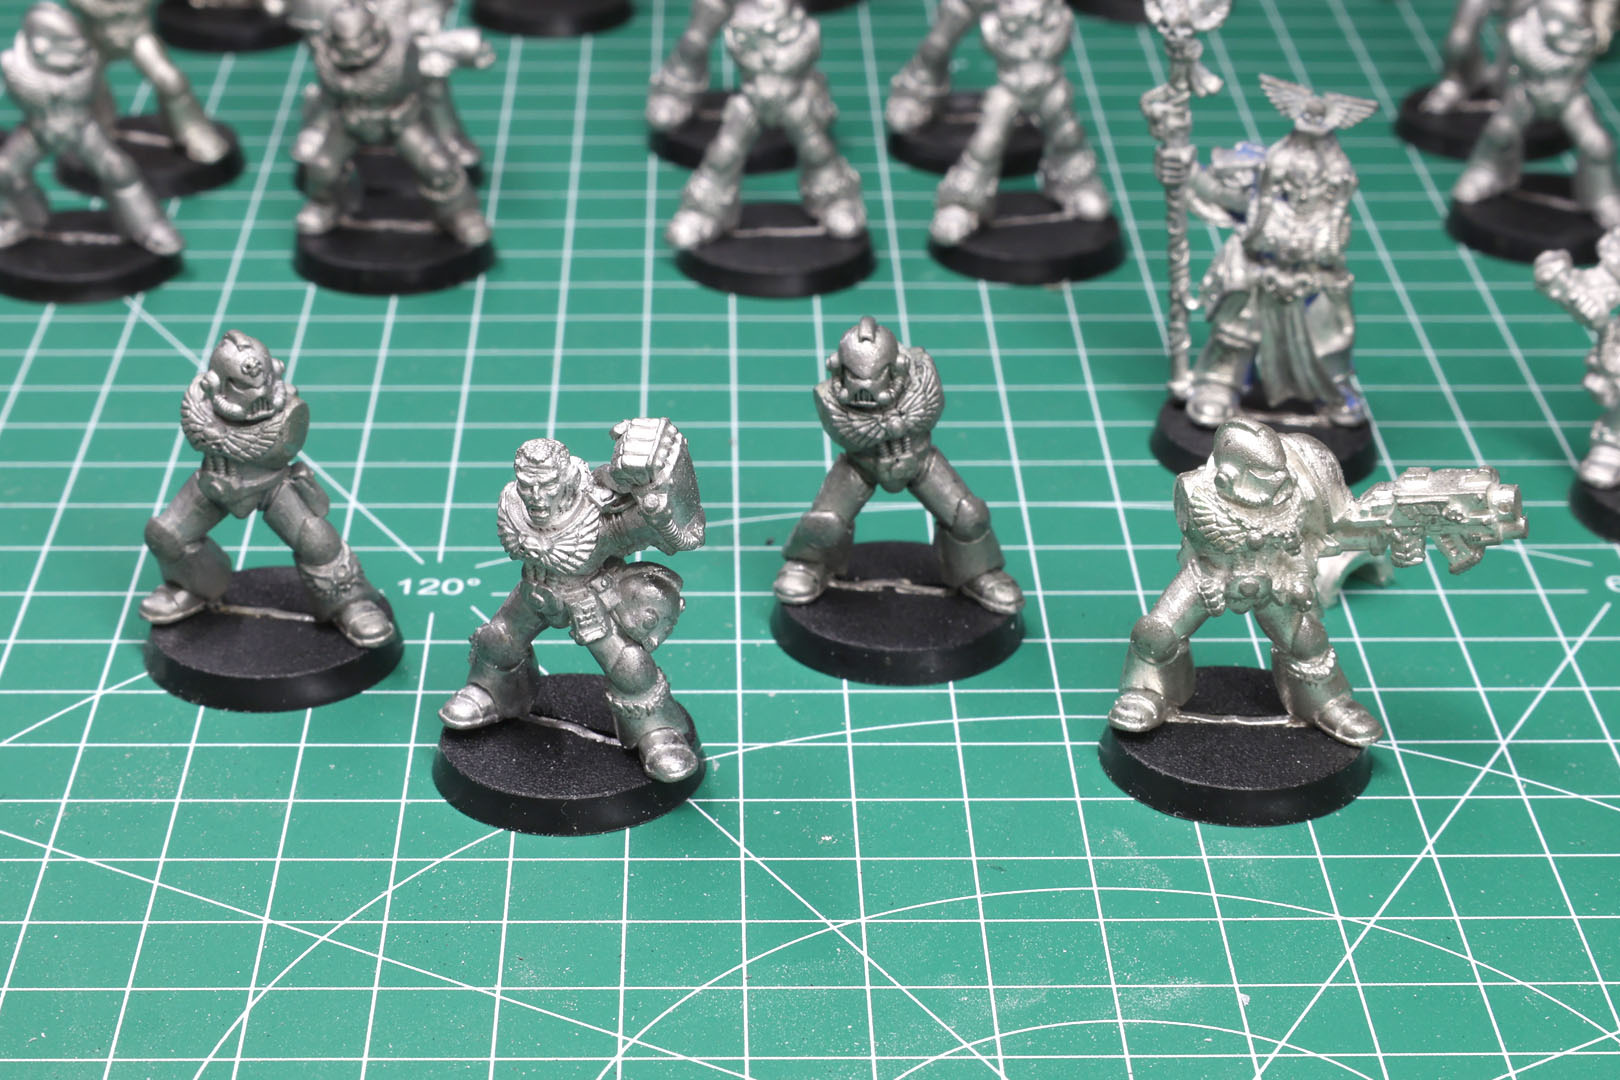
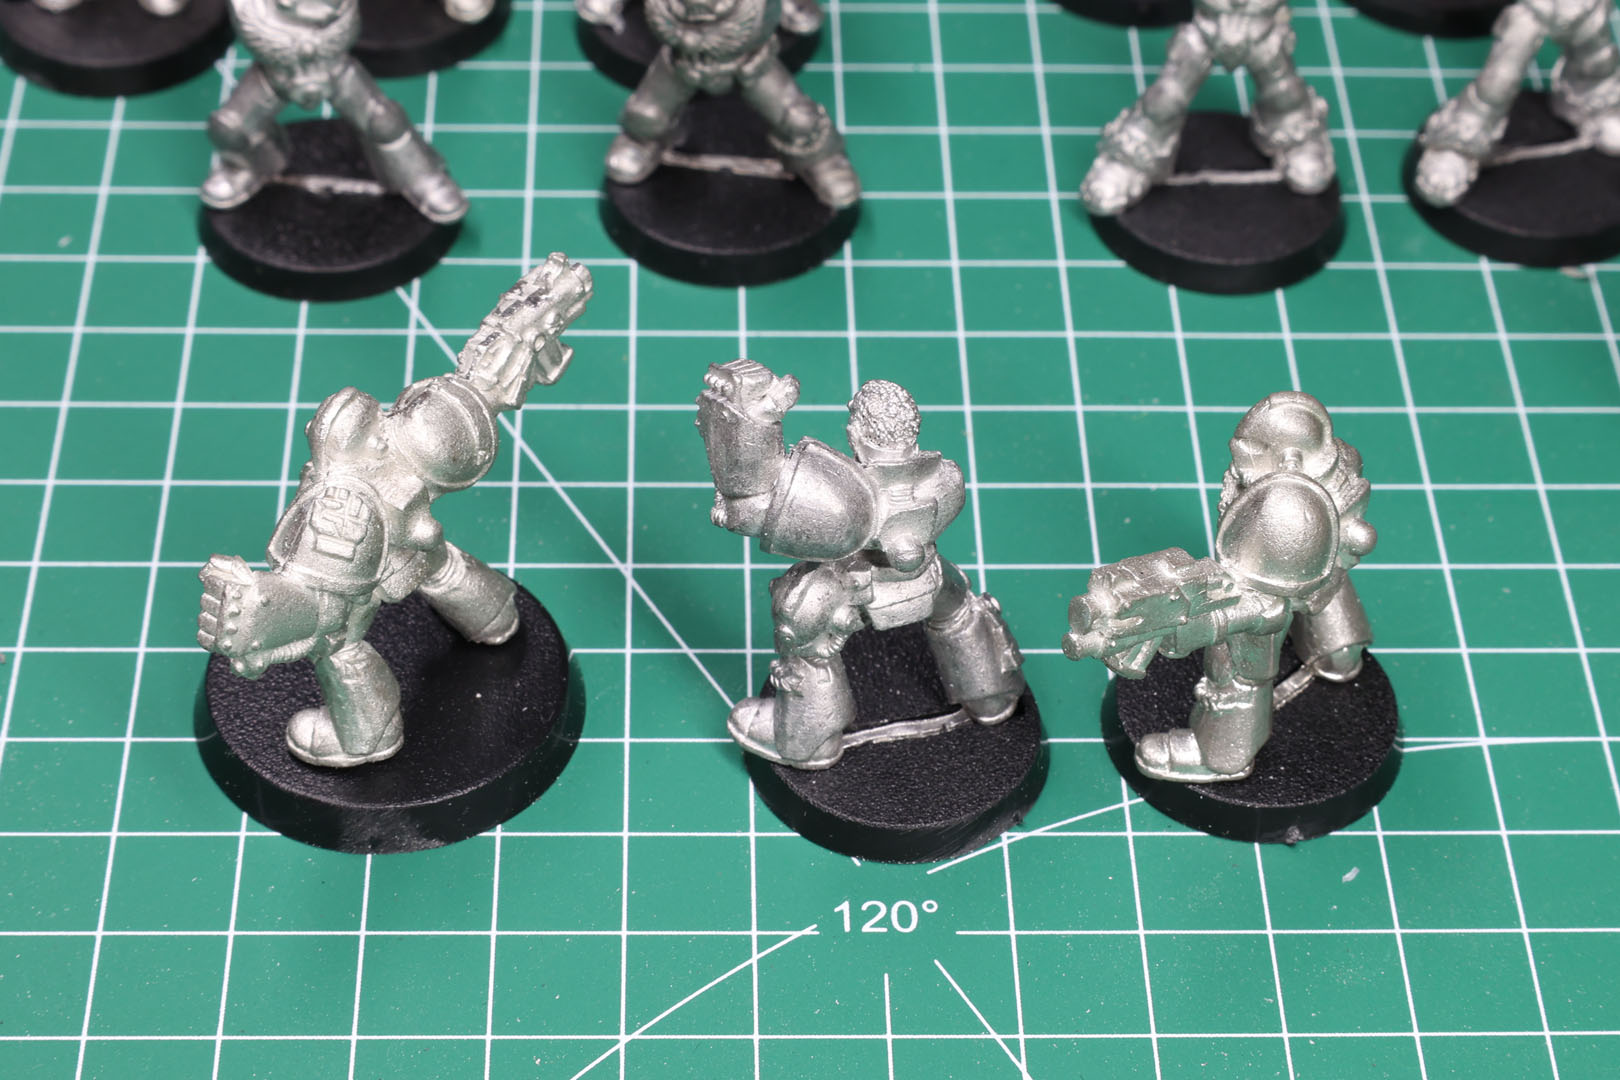
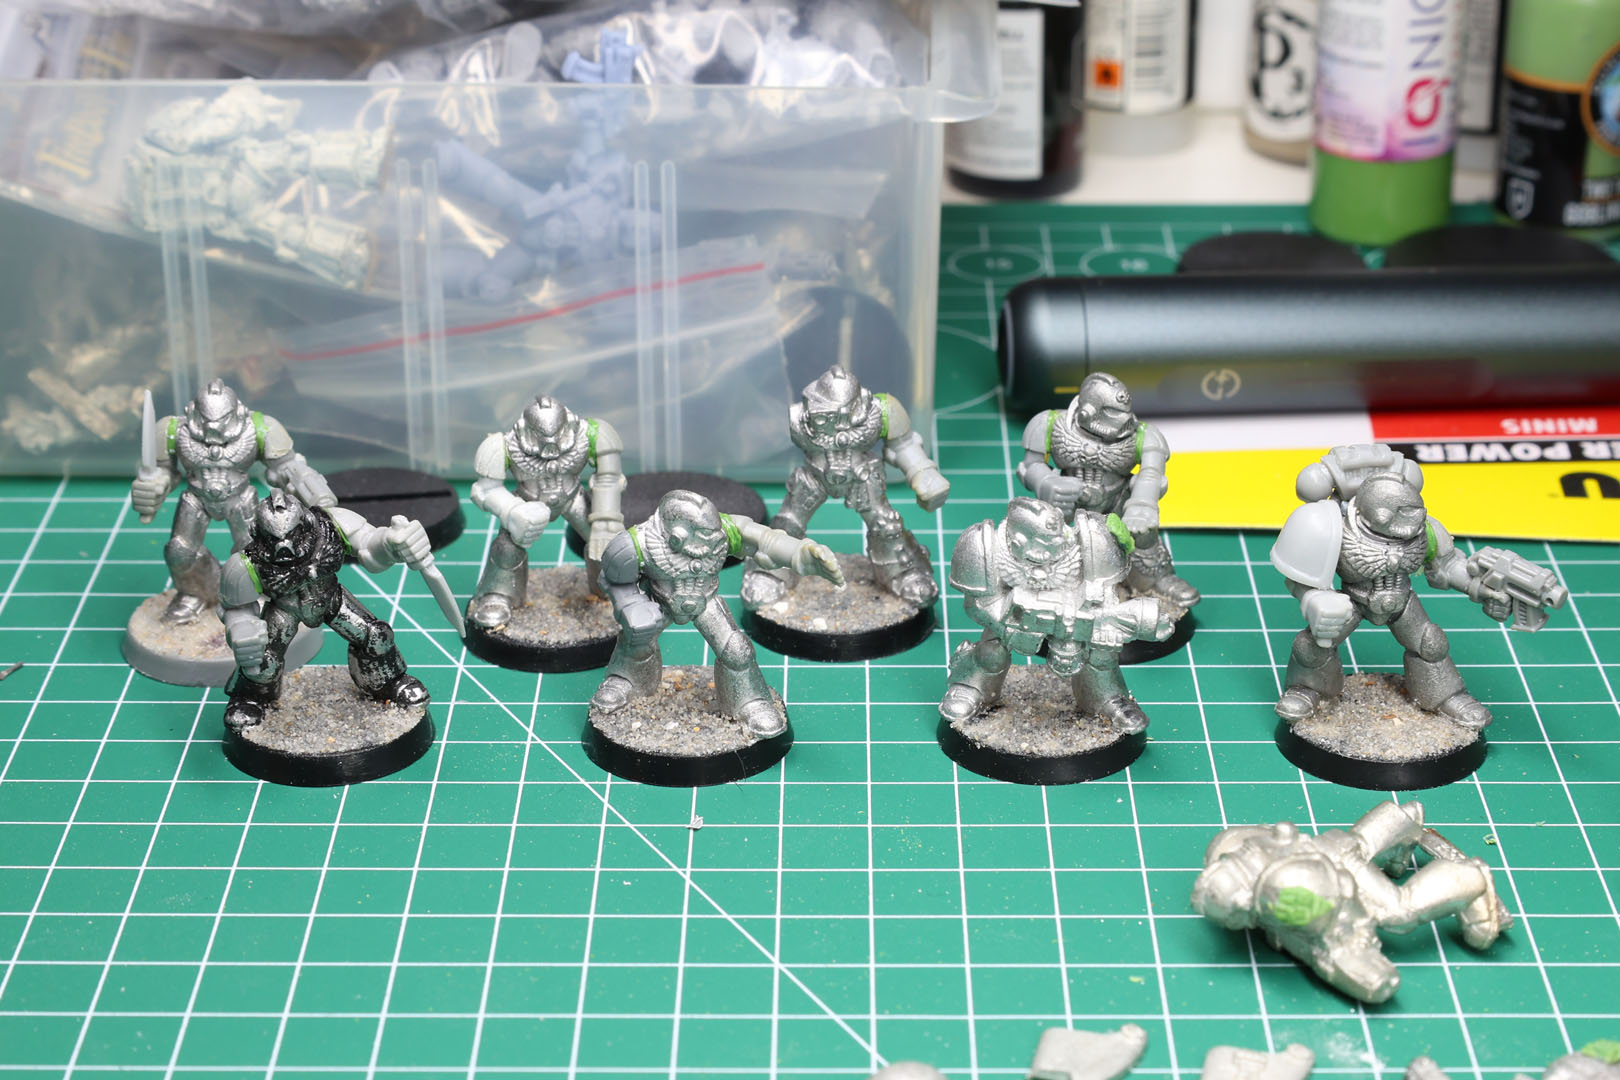
While squads are usually led by a Sergeant and have nine regular Space Marines in their lines, the 2nd edition Codices showed not only the Sergeant but a Squad Leader for each of these units of 10 miniatures. This has no significants rule wise, and is just lore. The squad leaders were the second Marine in each squad, to carry a banner, and with the additional option to split these full units into smaller combat squads (according to the rules on page 60 in Codex Ultramarines). In addition there was an army list option released in White Dwarf 209 (along with rules for Chapter Masters), where you could buy a unit of five Space Marines instead of ten, to be more flexible in army building as Space Marines were rather expensive.
I nominated these miniatures for the Sergeants (ones in the front) and Squad Leaders (the ones in the back).
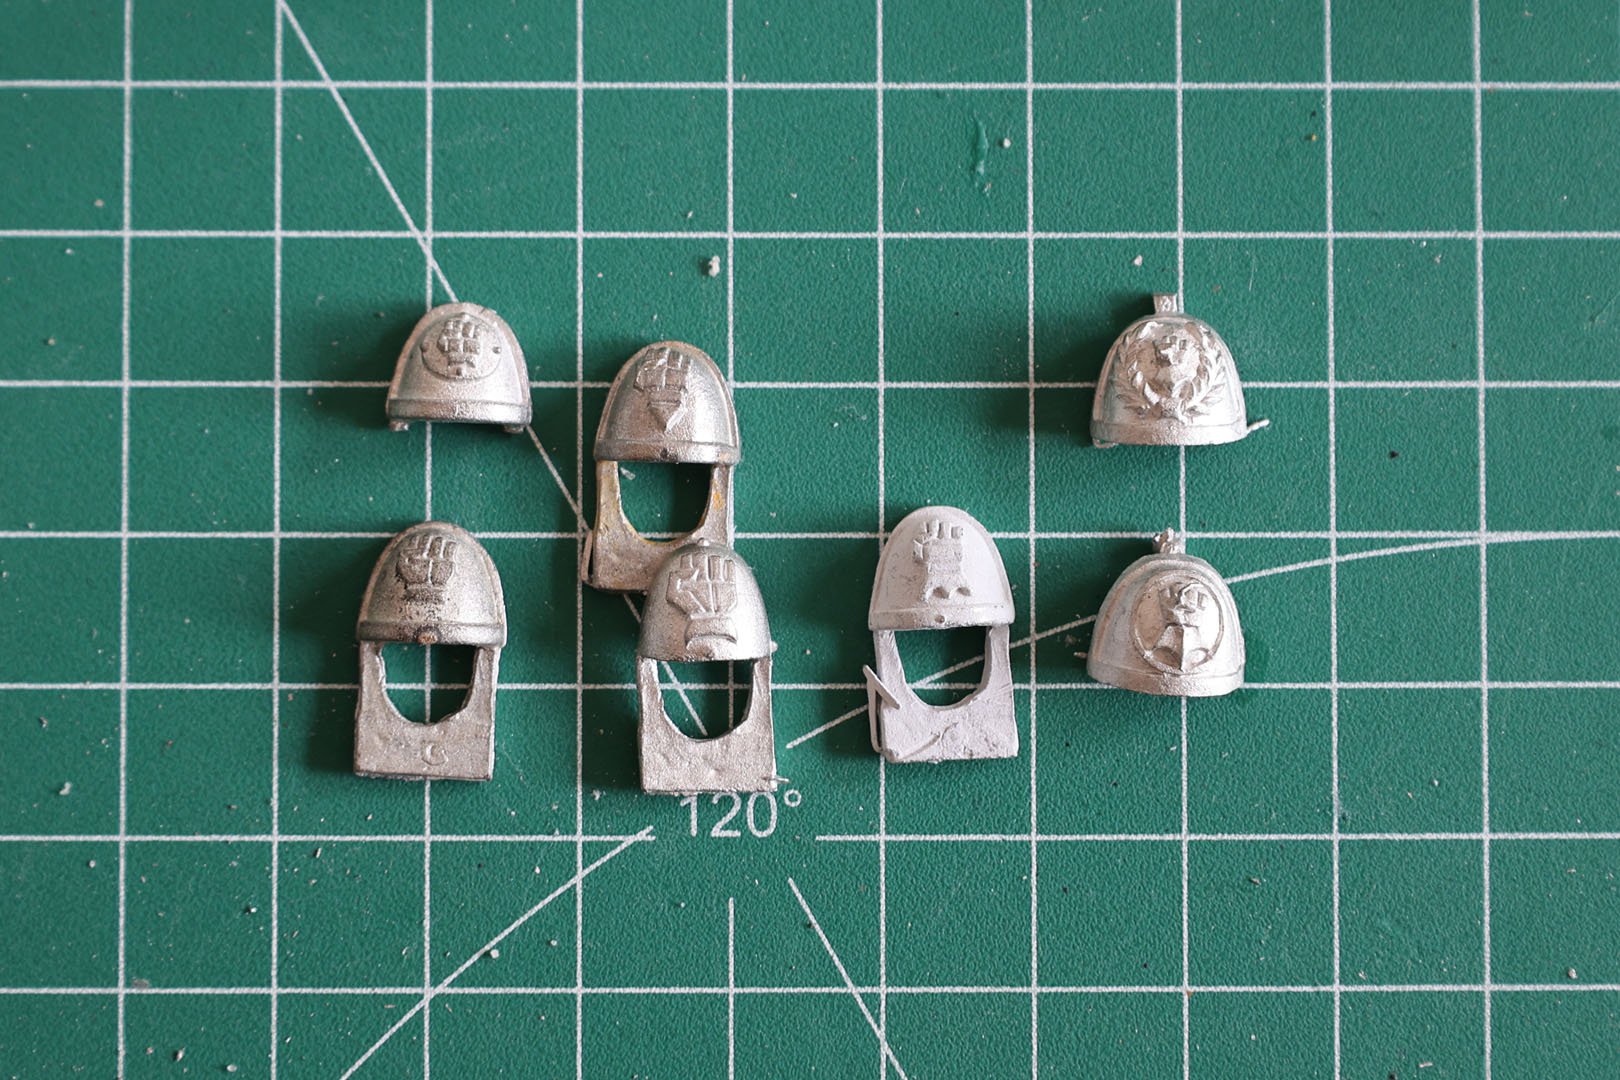
While I am going with sculpted chapter icons all across the army, I have some miniaturs with fixed left arms, where I have to add these icons. My Imperial Fists Captain comes with a pre-sculpted chapter icons. The others will need a touch up, as I do only want to use decals for the squad markings and such. This will most likely be done with Green Stuff.
For the small army this will be needed for the two sergeants and one marine with a special weapon. For the entire army project, there is demand for one of the Sergeants from the Assault Squads as well as the second special weapon pose, and maybe for the Scouts. The Terminators will have similar demand, but that is a thing for later.
You could simply add a black dot to show the barrek of a weapon, but I'm for drilling the barrels and so did I with these miniatures. I'll do so with the plastic bolters and heavy weapon as well. Obsessive Converter has created a Drill Wizard to help you center your drill bit. Nifty tool!
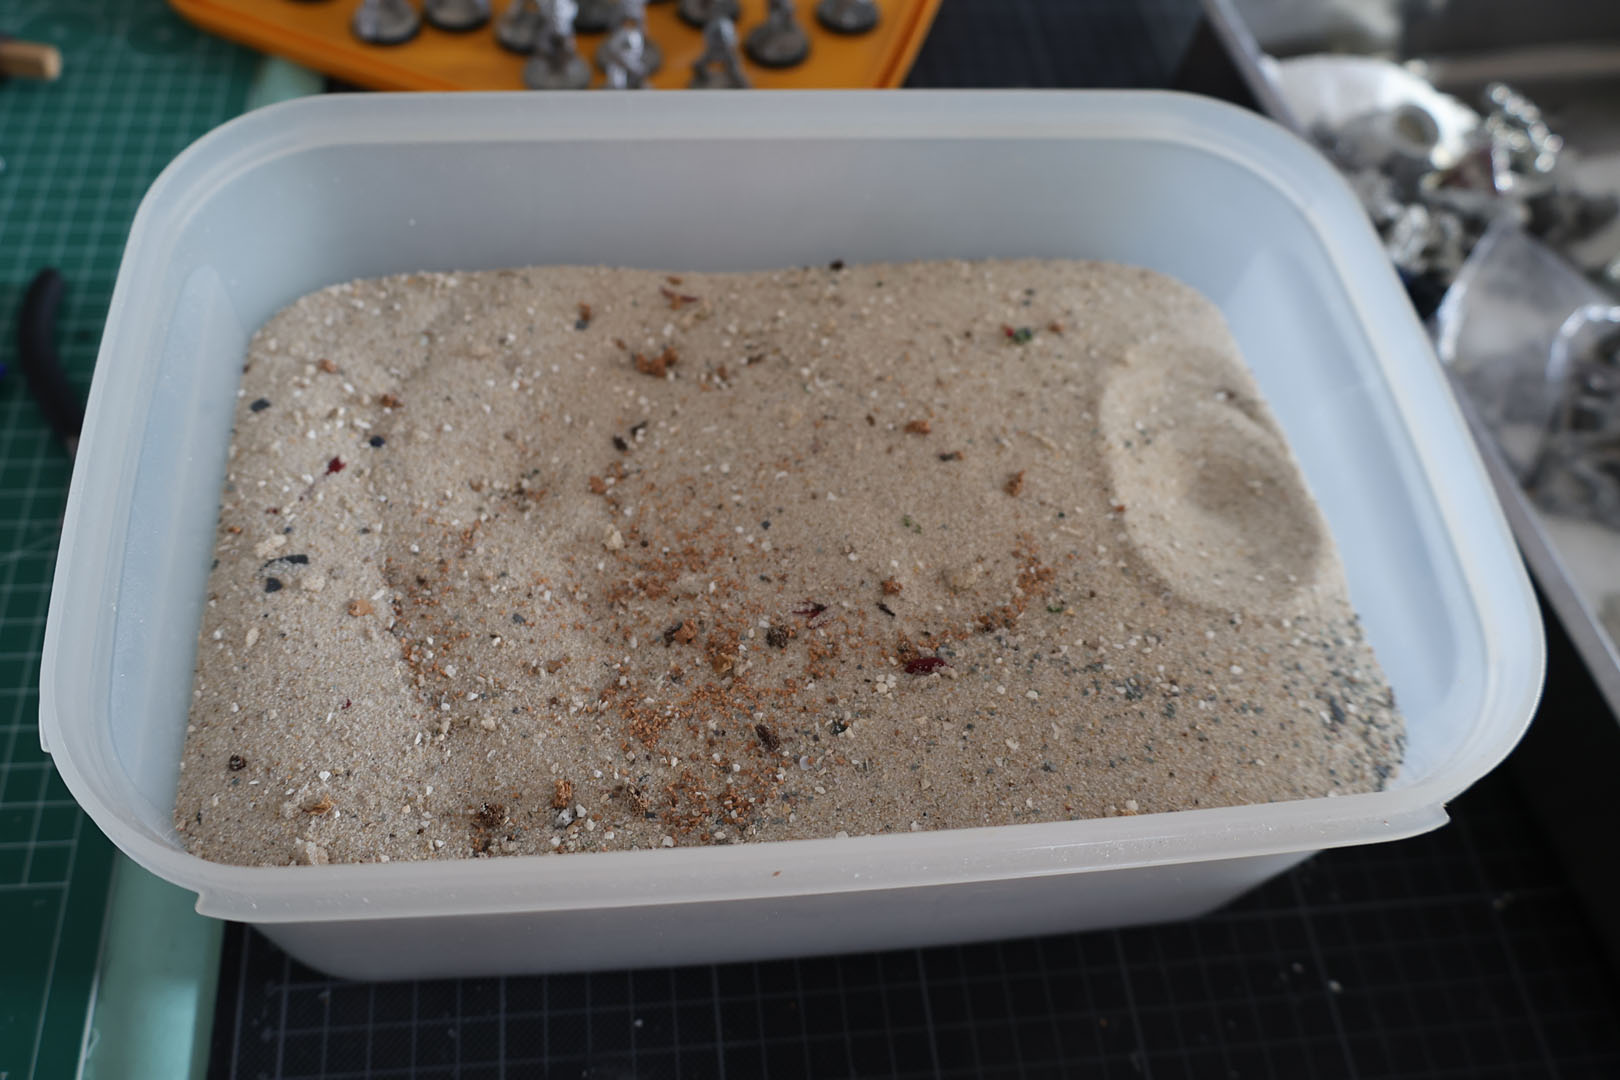
Now with everything prepared, we are ready to base the miniatures with sand. And for that I used my endless pit of sand. Simply old school, using PVA, spread around with a tooth pick or old brush, dip the miniatures in there and let the glue bond.
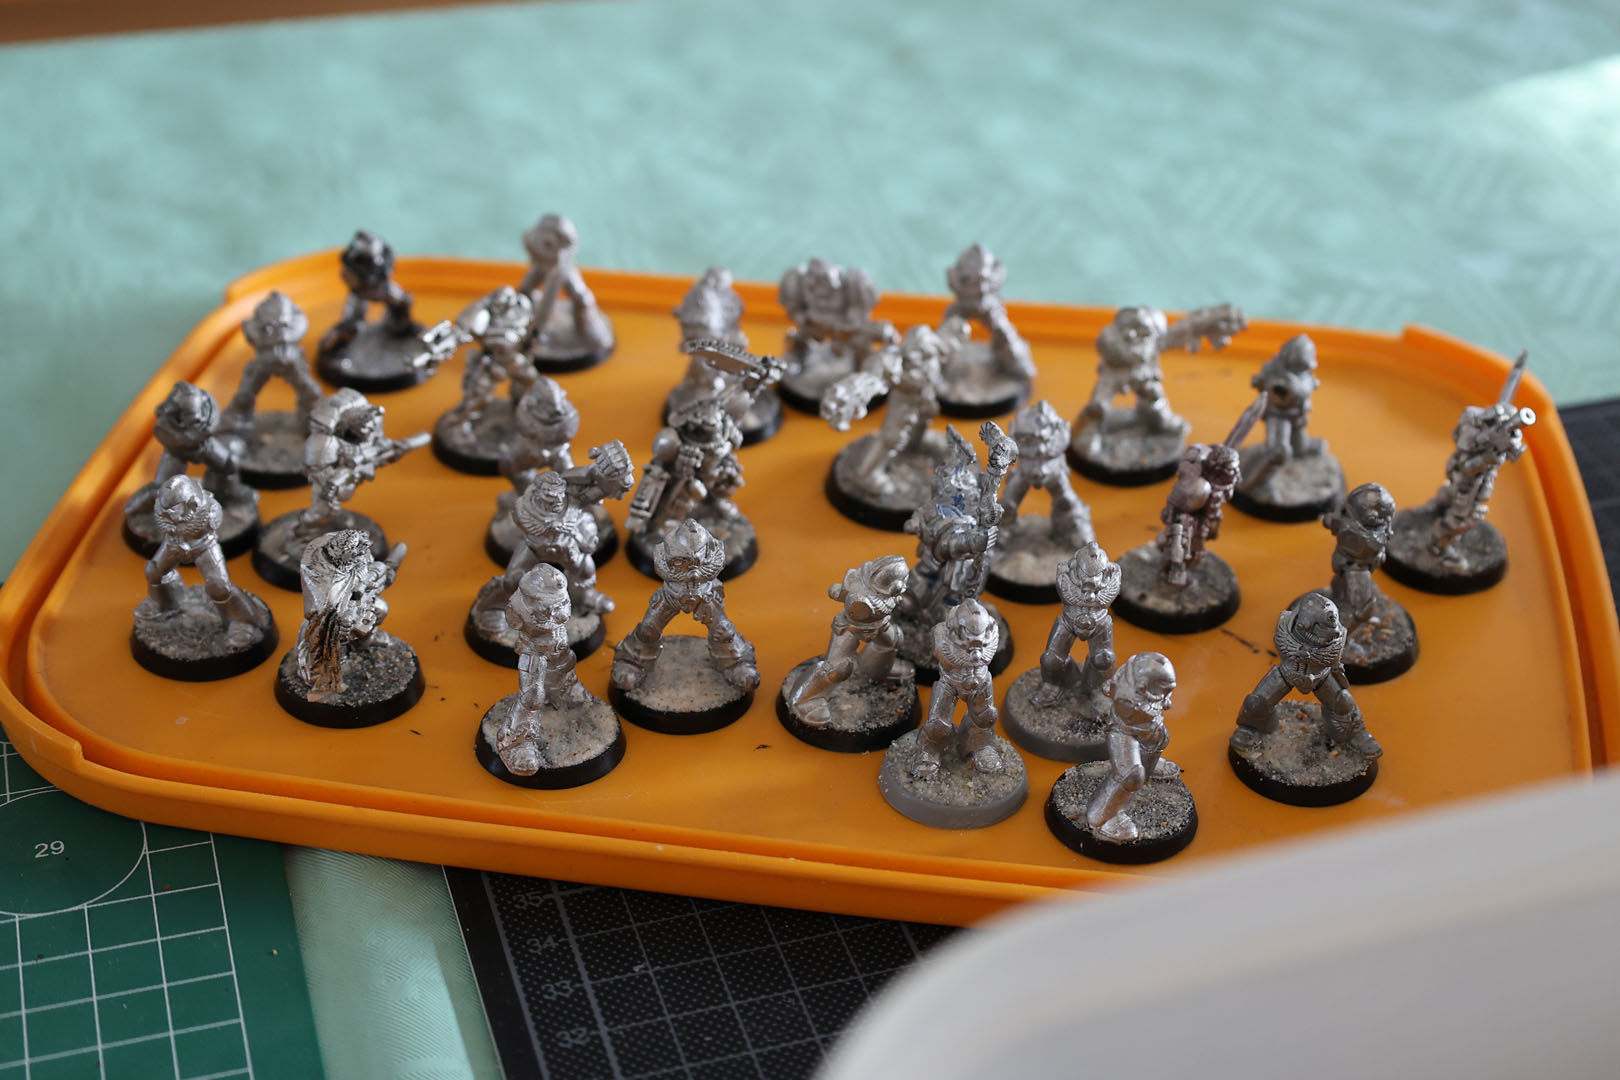
This went on quite well, that I moved on to prepare the remaining troops in power armour as well.
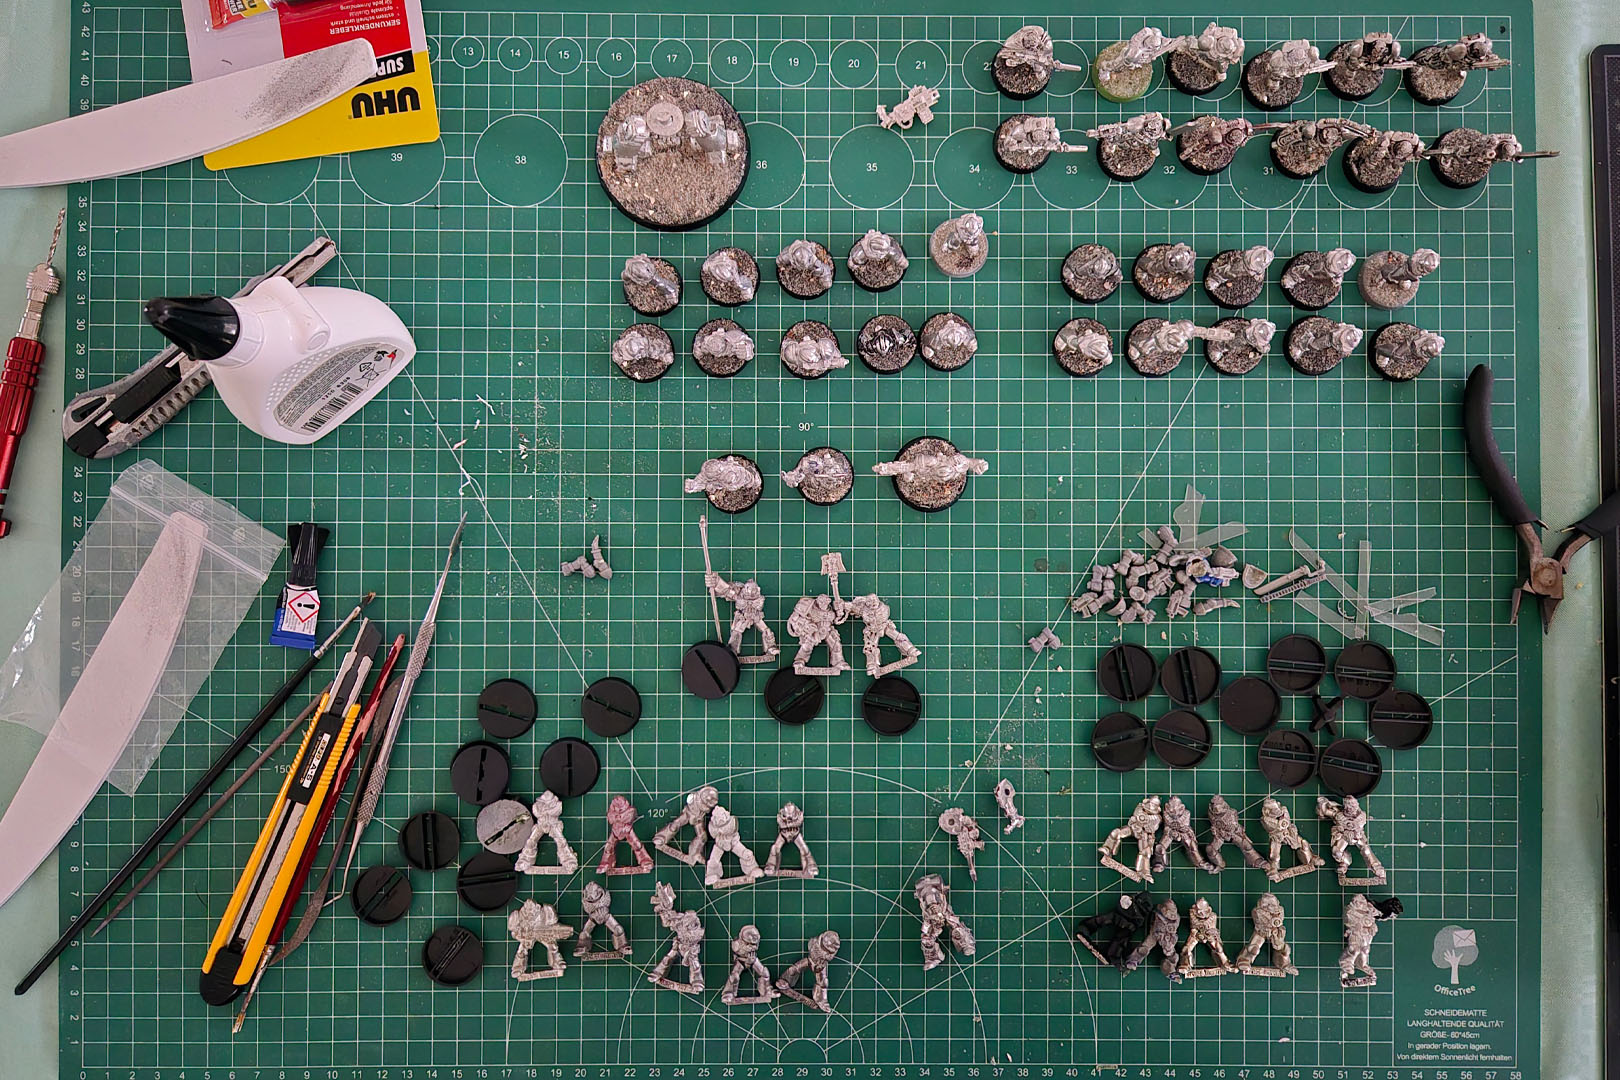
Now for one of the trickiest parts - adding the plastic pieces. This is usually a bottle neck for many of these project. While people keep on eye on their metal miniatures, spare parts often don't survive as long and can be a rare commodity. I am lucky enough to have enough era-accurate pieces for this project. I'll cover what that means in an article of its own, when I'm talking Tactical Space Marines.
There were several sprues you will need and don't be irritated as Games Workshop changed or fine-tuned the plastic, changed colour hues and depending on the production date, details might be sharper or more soft as you can see on the first picture. As of regular rank soldiers, Space Marine are among the more complex to build. You wouldn't think that at first, as other miniatures from that era had metal bodies and plastic arms (and weapons) as well, but they usually dual wielded and adding backpacks and shoulder pads for Space Marines didn't make it any easier. I'm already looking forward to the mixing mayheim of building assault squads with lots of different weapons.
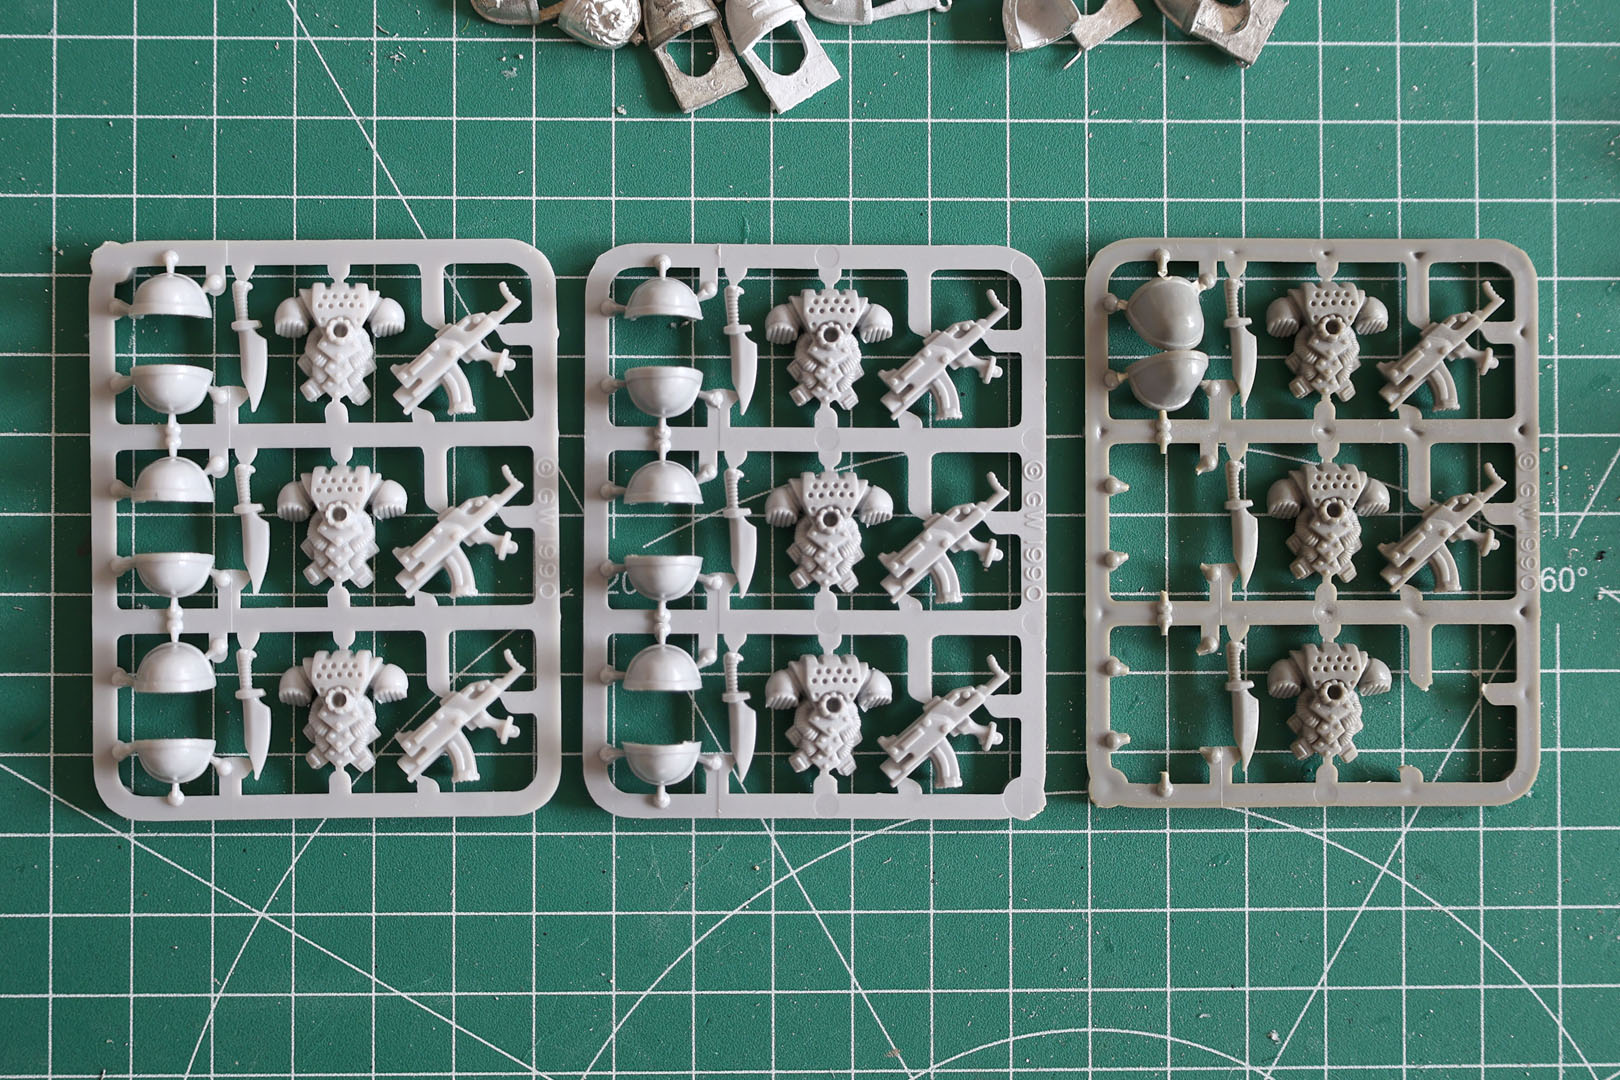
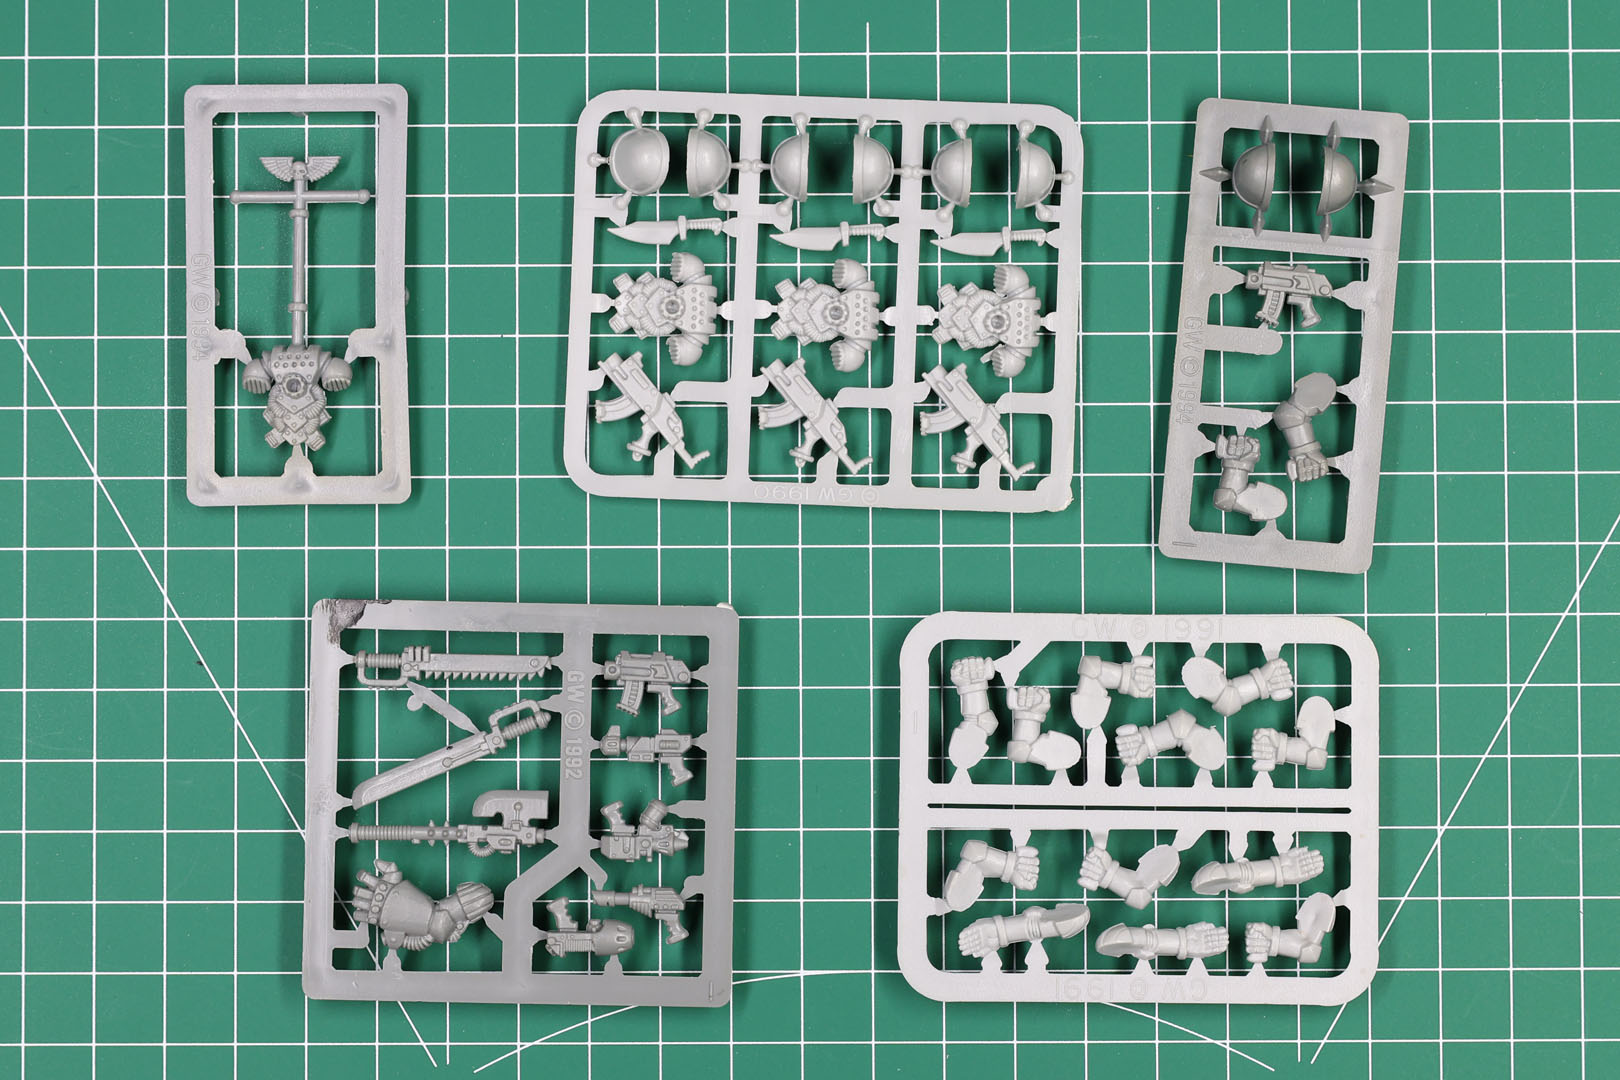
Most Space Marines are build from a single metal body, have two plastic arms, two plastic shoulder pads and a plastic back pack. Depending on what weapon they carry, this might be a bolter, a bolt pistol, some kind of close combat weapon or even a heavy weapon (and as these are metal casts, they are actually comparibly heavy) that are a lot of pieces per model and need to be aligned in a way, that they don't hinder eachother during assembly.
I would recommend getting some blu-tac, having a bolter without the grip and try out some poses. If you find one that you like, use a bit of green stuff between the body and the arms to fix the pose and once you are happy, lock it in place with a dab of super glue, to help the green stuff. Bolters can be unwieldly and might not work in every angle, so this will take some time. But take that time to avoid awkward poses.
You do not need to pin the arms to the body. This is something that I only do with the heavy weapon arms, as they weigh more. I recommend scoring the surface, where you have a direct connection between plastic and metal for a stronger bond / better surface for the glue to grip on.
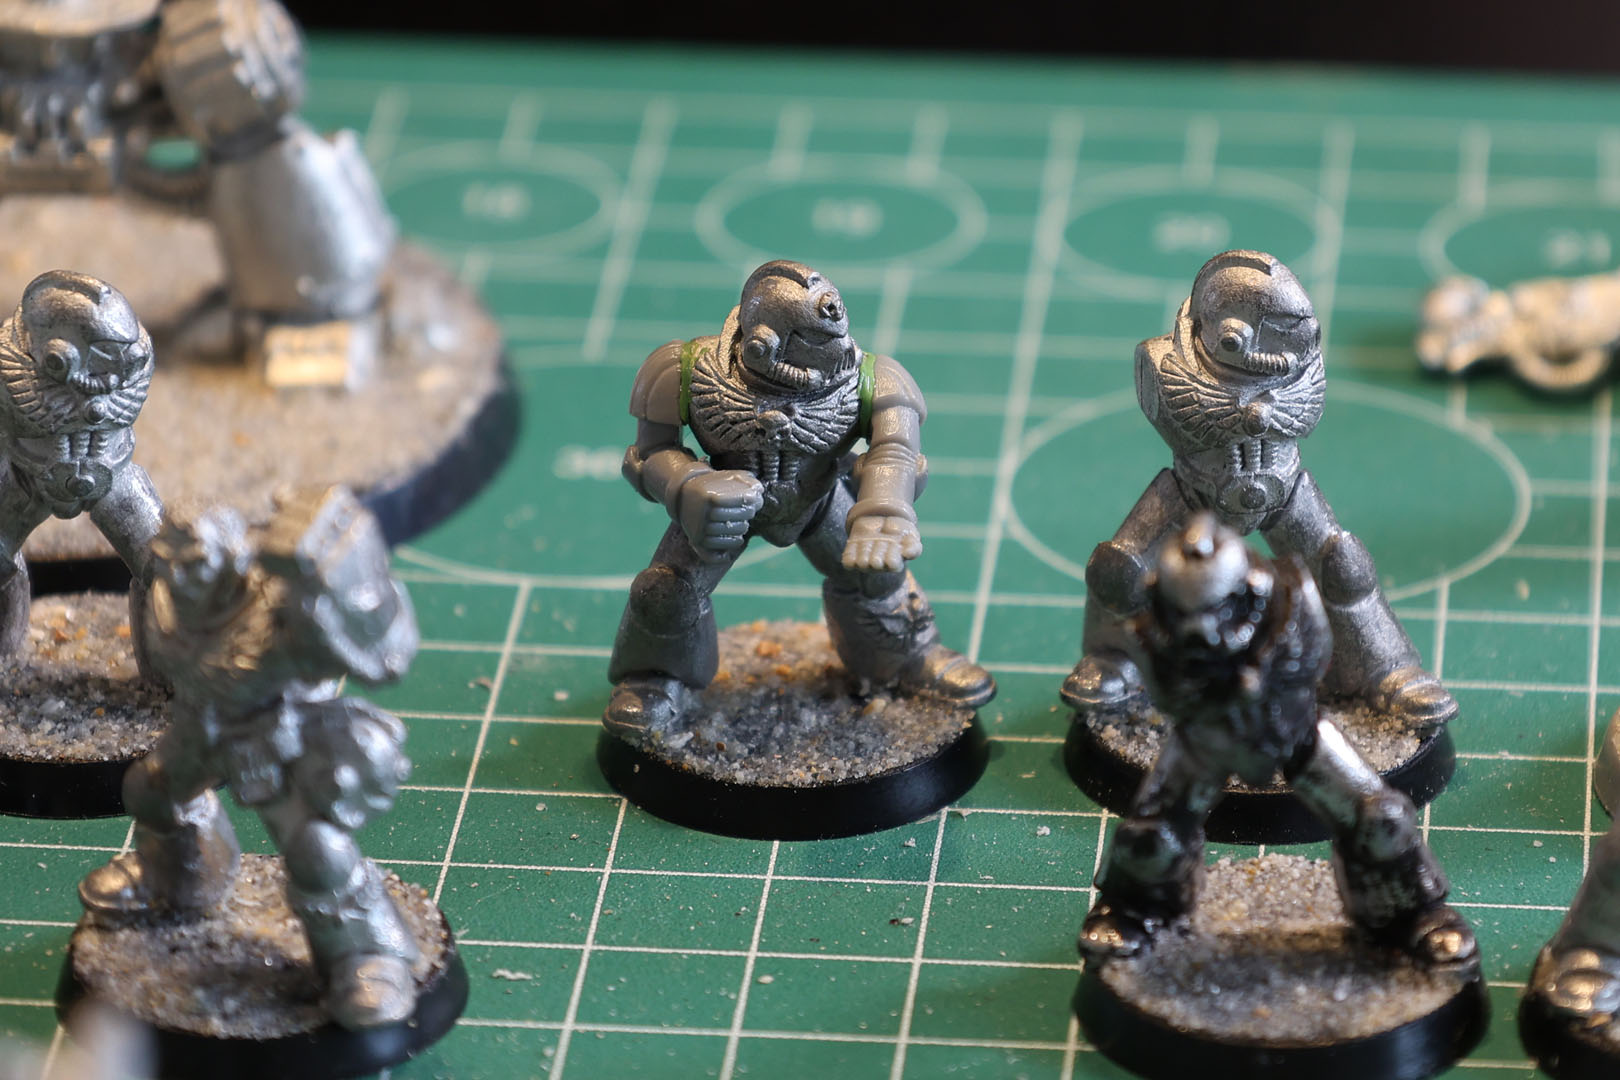
For painting I only added the arms, without the shoulder pads or backpacks, to not limit the access that I have towards the miniatures themself. I only added the weapons in those cases, where they wouldn't create a problem for the brush.
The overall step took longer than I expected. I actually sat there a whole afternoon just posing the arms, cleaning plastic parts and touching up mould lines that I missed the first time around (And I'll probably still find some when I prime the miniatures).
Enjoy this article?
Like us on Facebook

Follow me on Instagram

Categories
- events (201)
- fantasy (589)
- General (160)
- historical (627)
- Little Big Adventures (4)
- offtopic (5)
- reviews (531)
- science fiction (663)
- showroom (101)
- terrain (114)
- work-in-progress (412)


Leave a Reply