Deth Wizards – The Town Part 3
My printer has been busy - really busy. Putting through 3 liters of resin in just a month. That might not sound a lot to some of you, but I use a mono 4k - mostly for bits and pieces - so that is a new record for me.
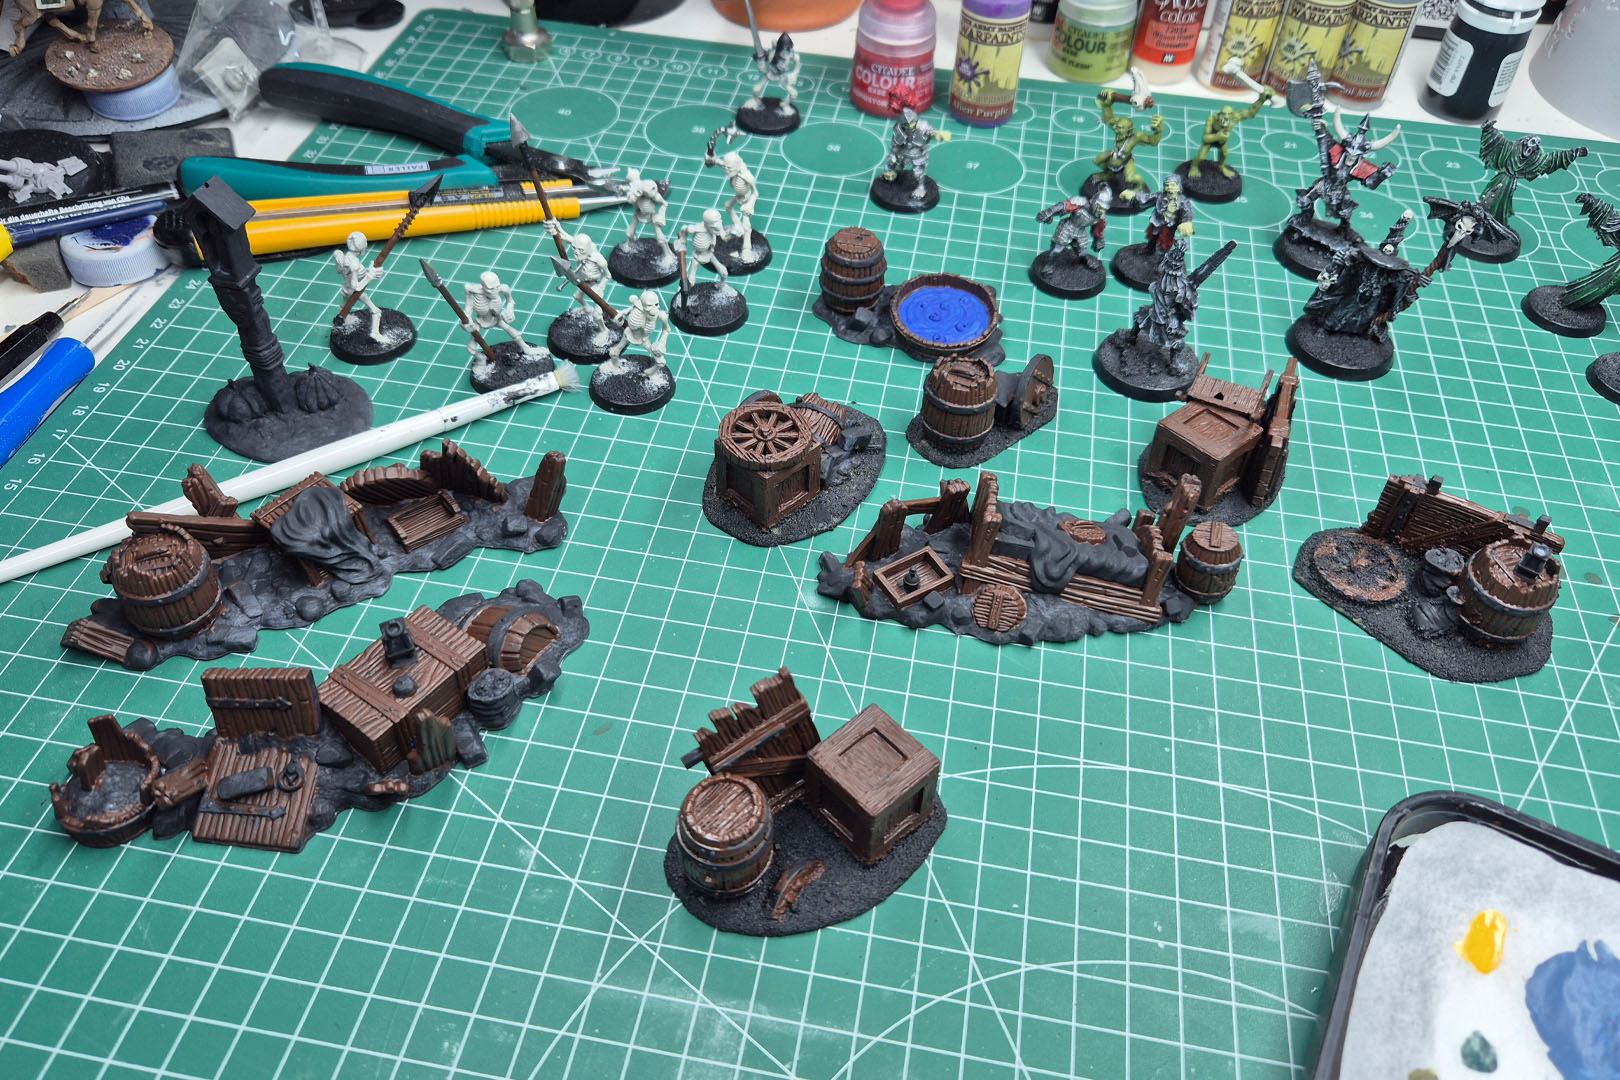
I gave you an overview, on what I printed in the last article, focusing on the scatter terrain itself, and now had a bit of larger and mid-sized sections.
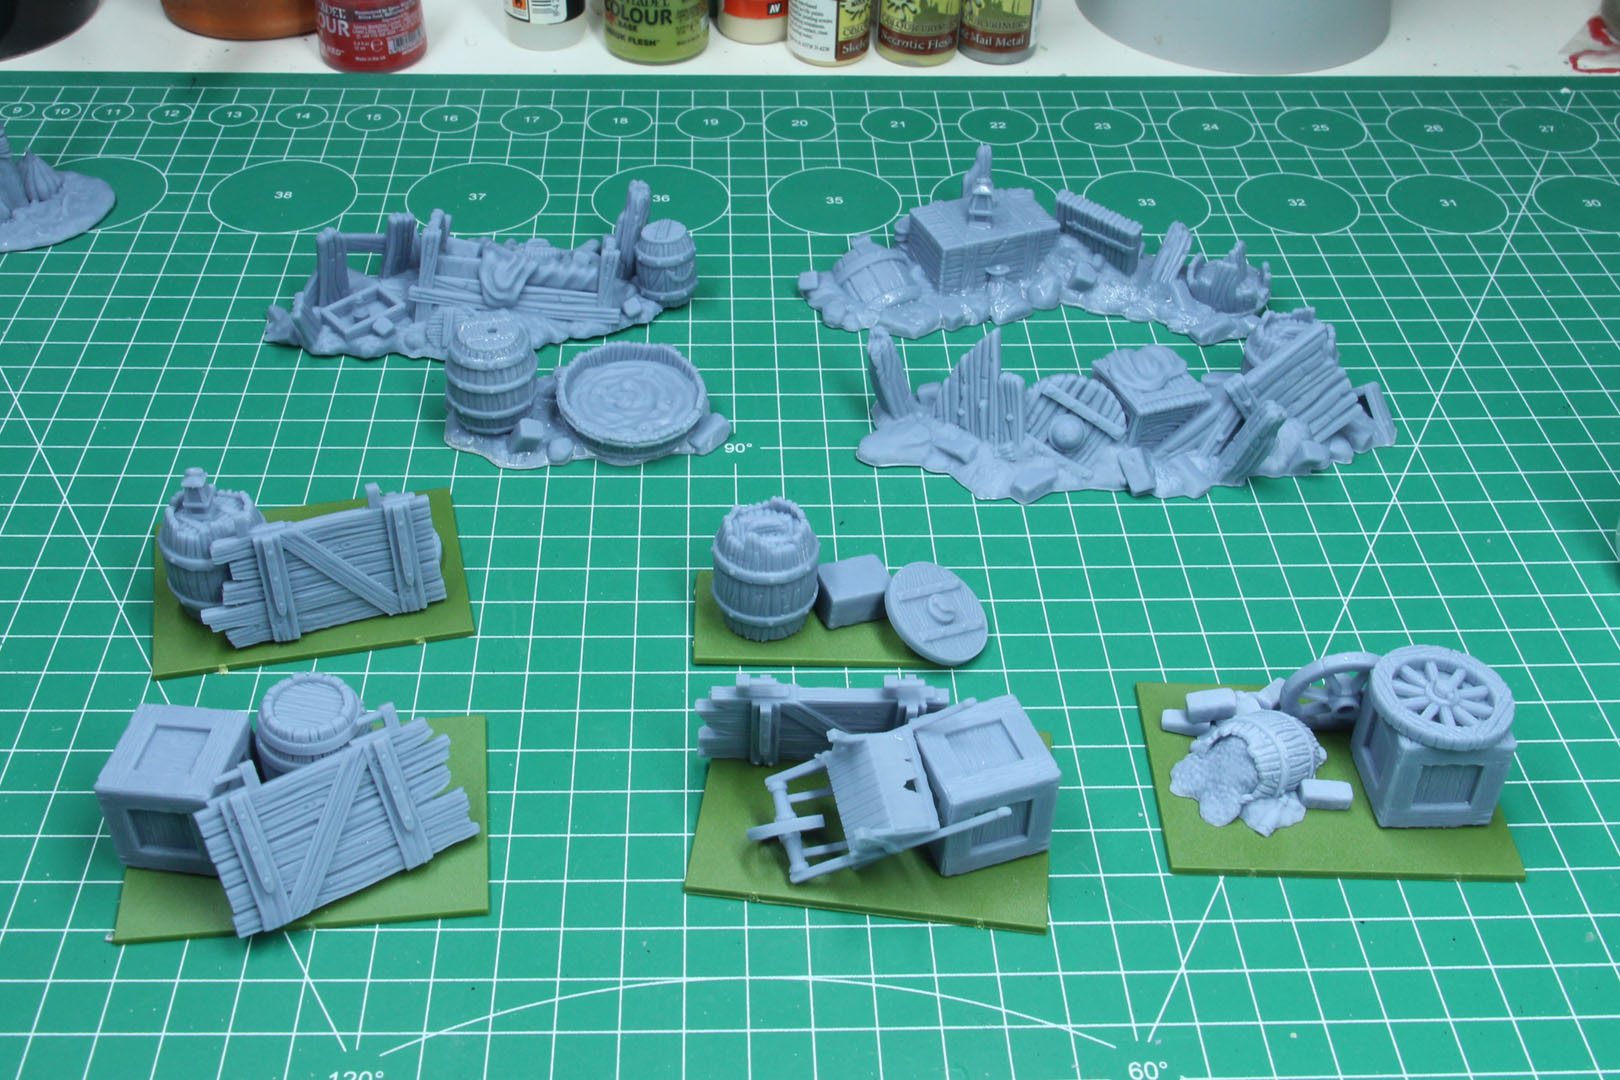
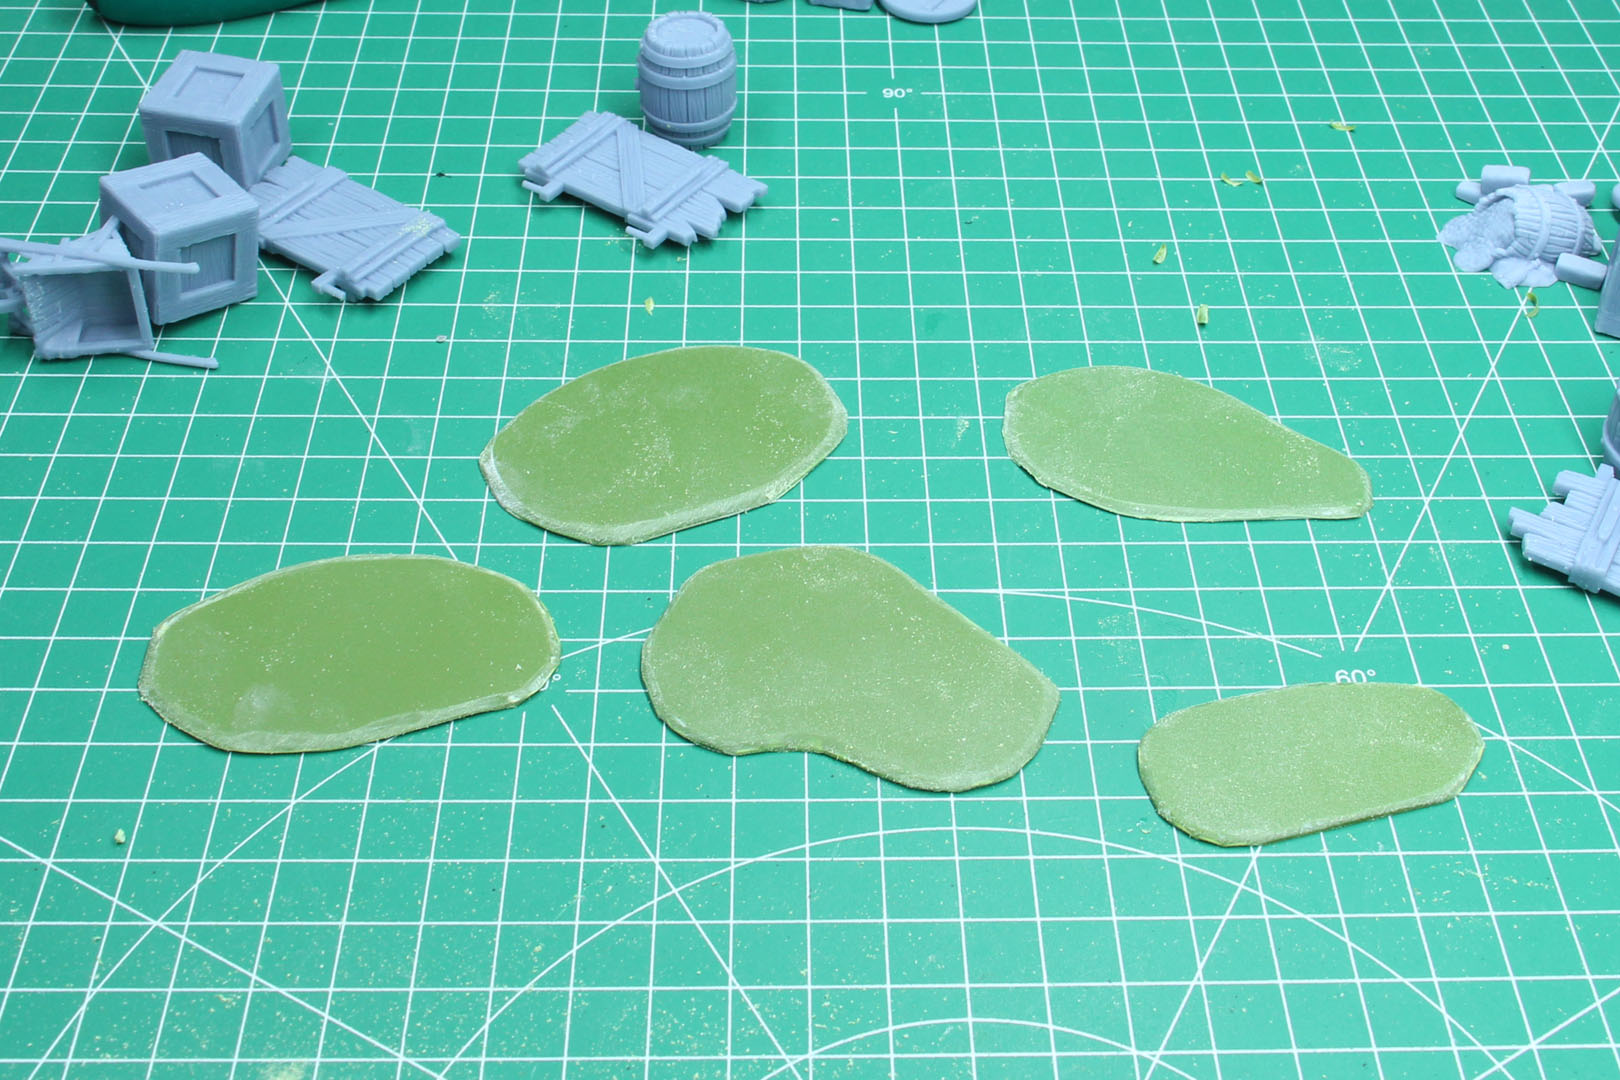
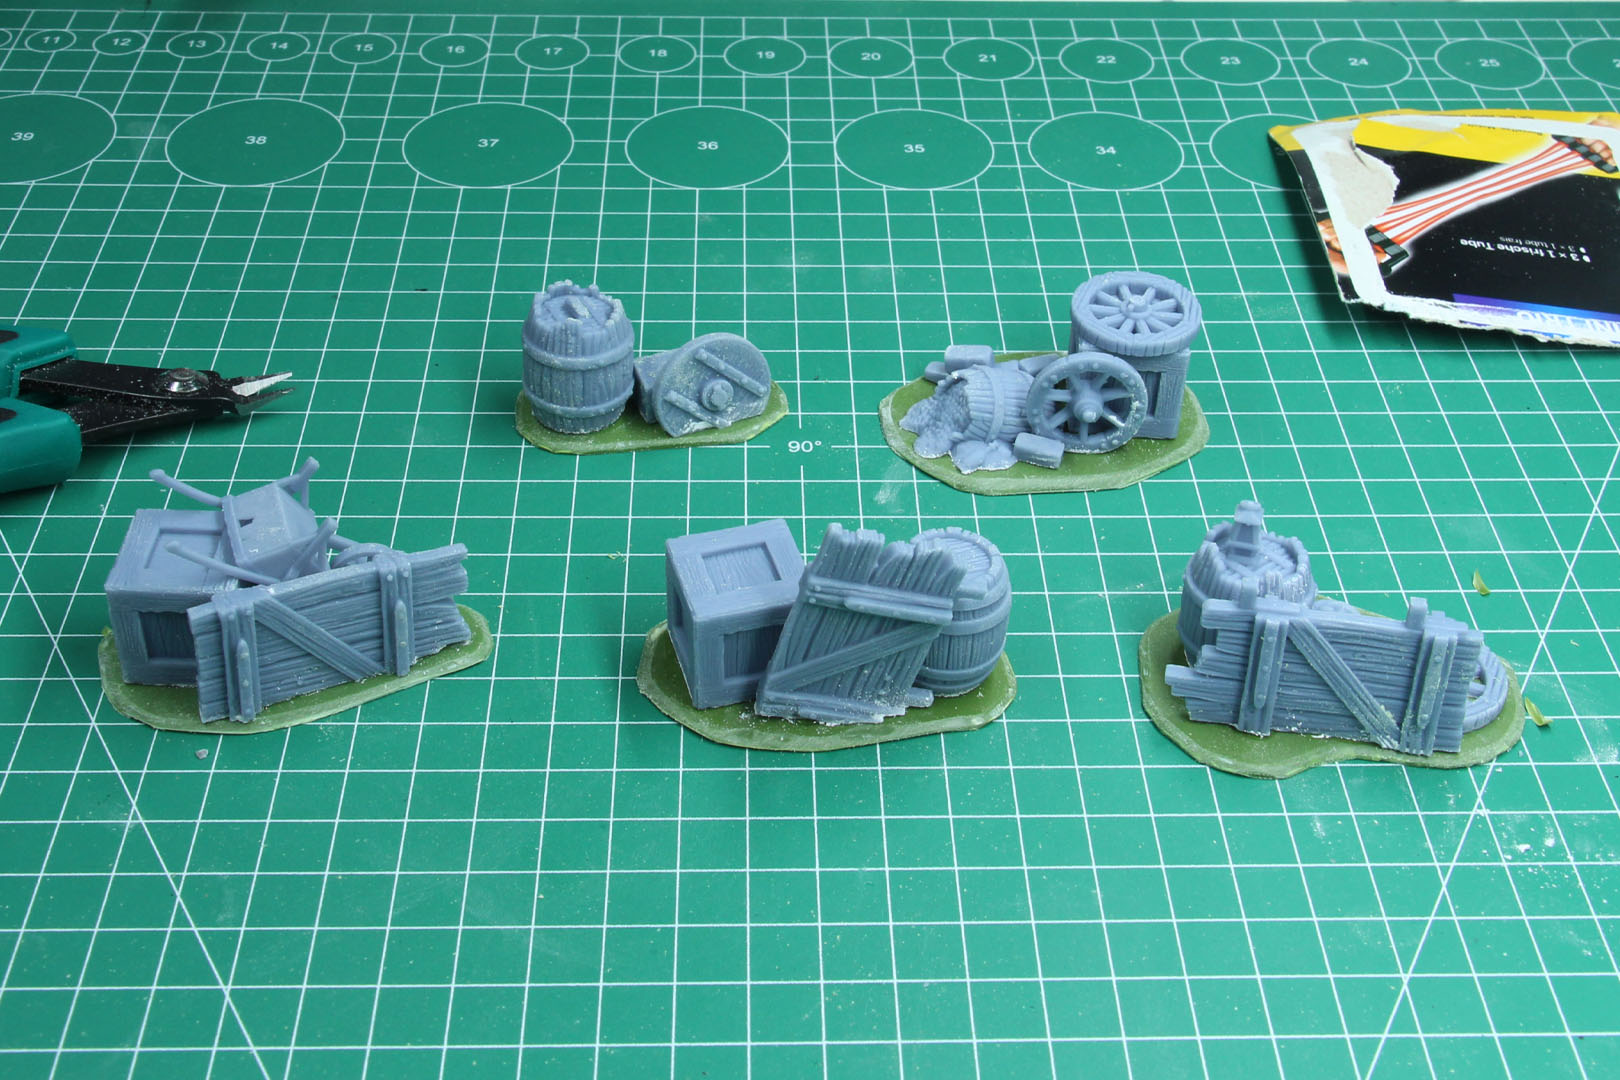
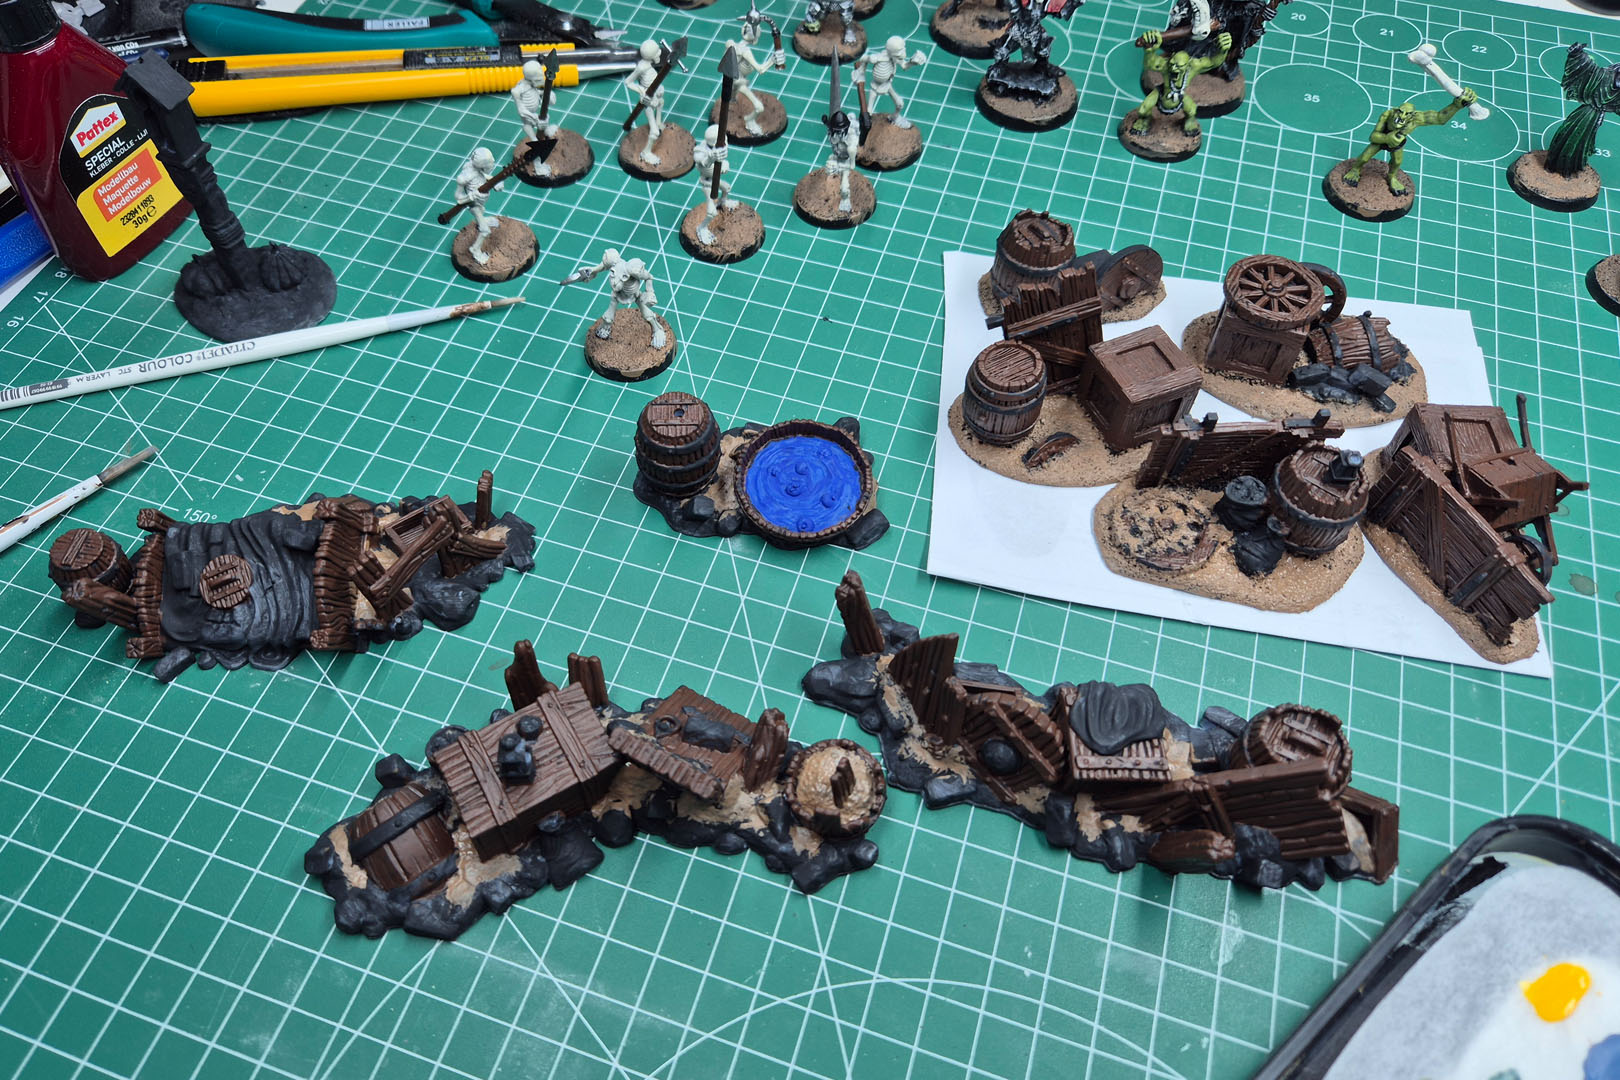
While I did the mock-ups, inspired by the Warhammer Siege and Mordheim barricade sections, I placed them on some spare bases that I have (these are Renedra bases that come with a lot of historical miniatures). You can of course use plastic card, but I have more than enough of these and they provide a sturdy base to work with.
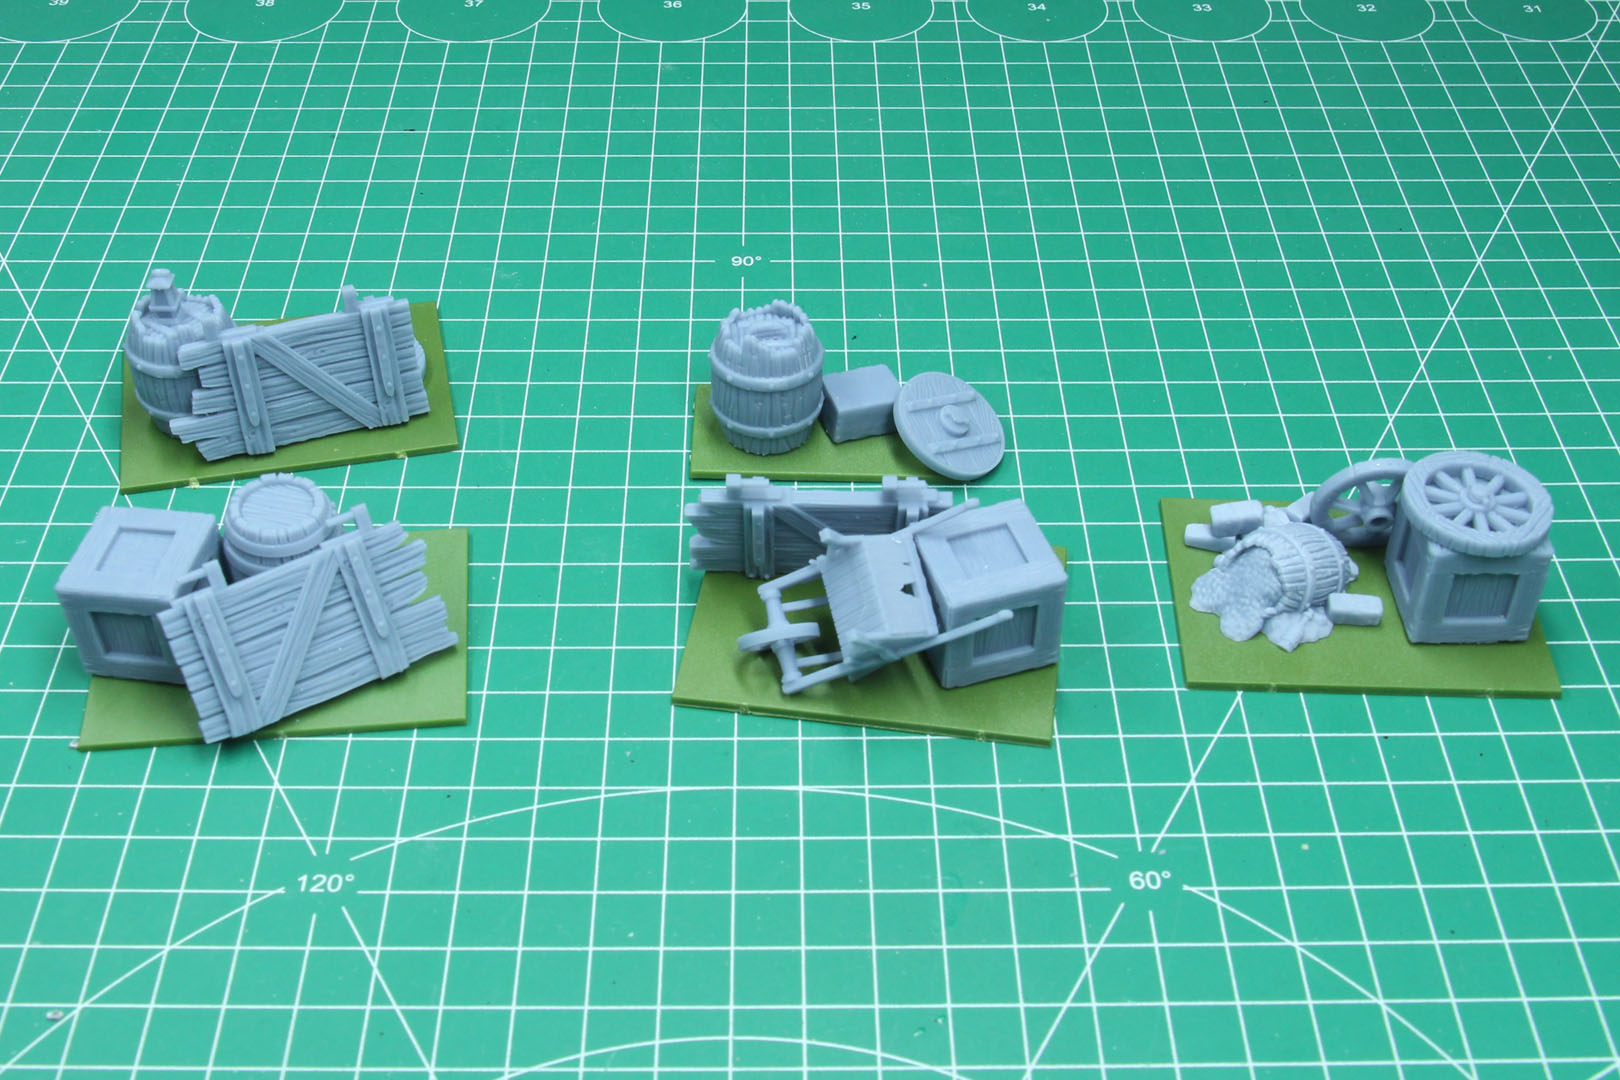
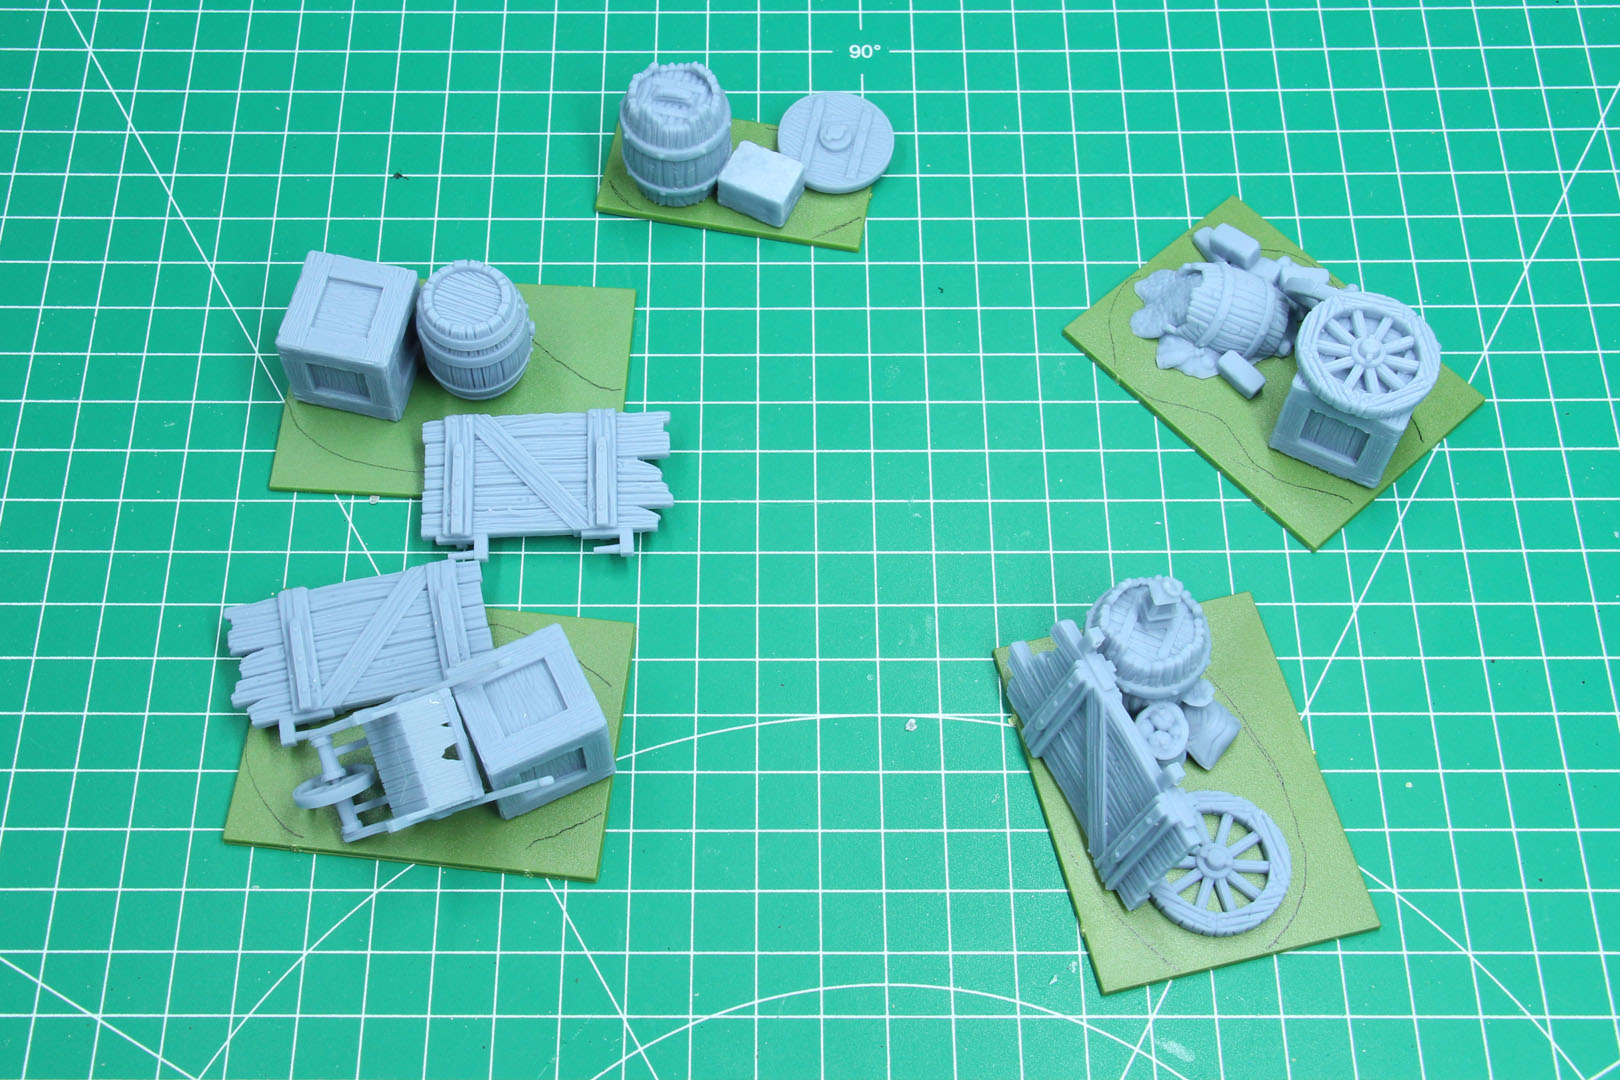
I roughly drew outlines on the bases and tok the pictures above to keep a memory of how I put these together. The bases were cut at an angle and I used a file to smooth the edges out, as I intend to use sand for further basing.
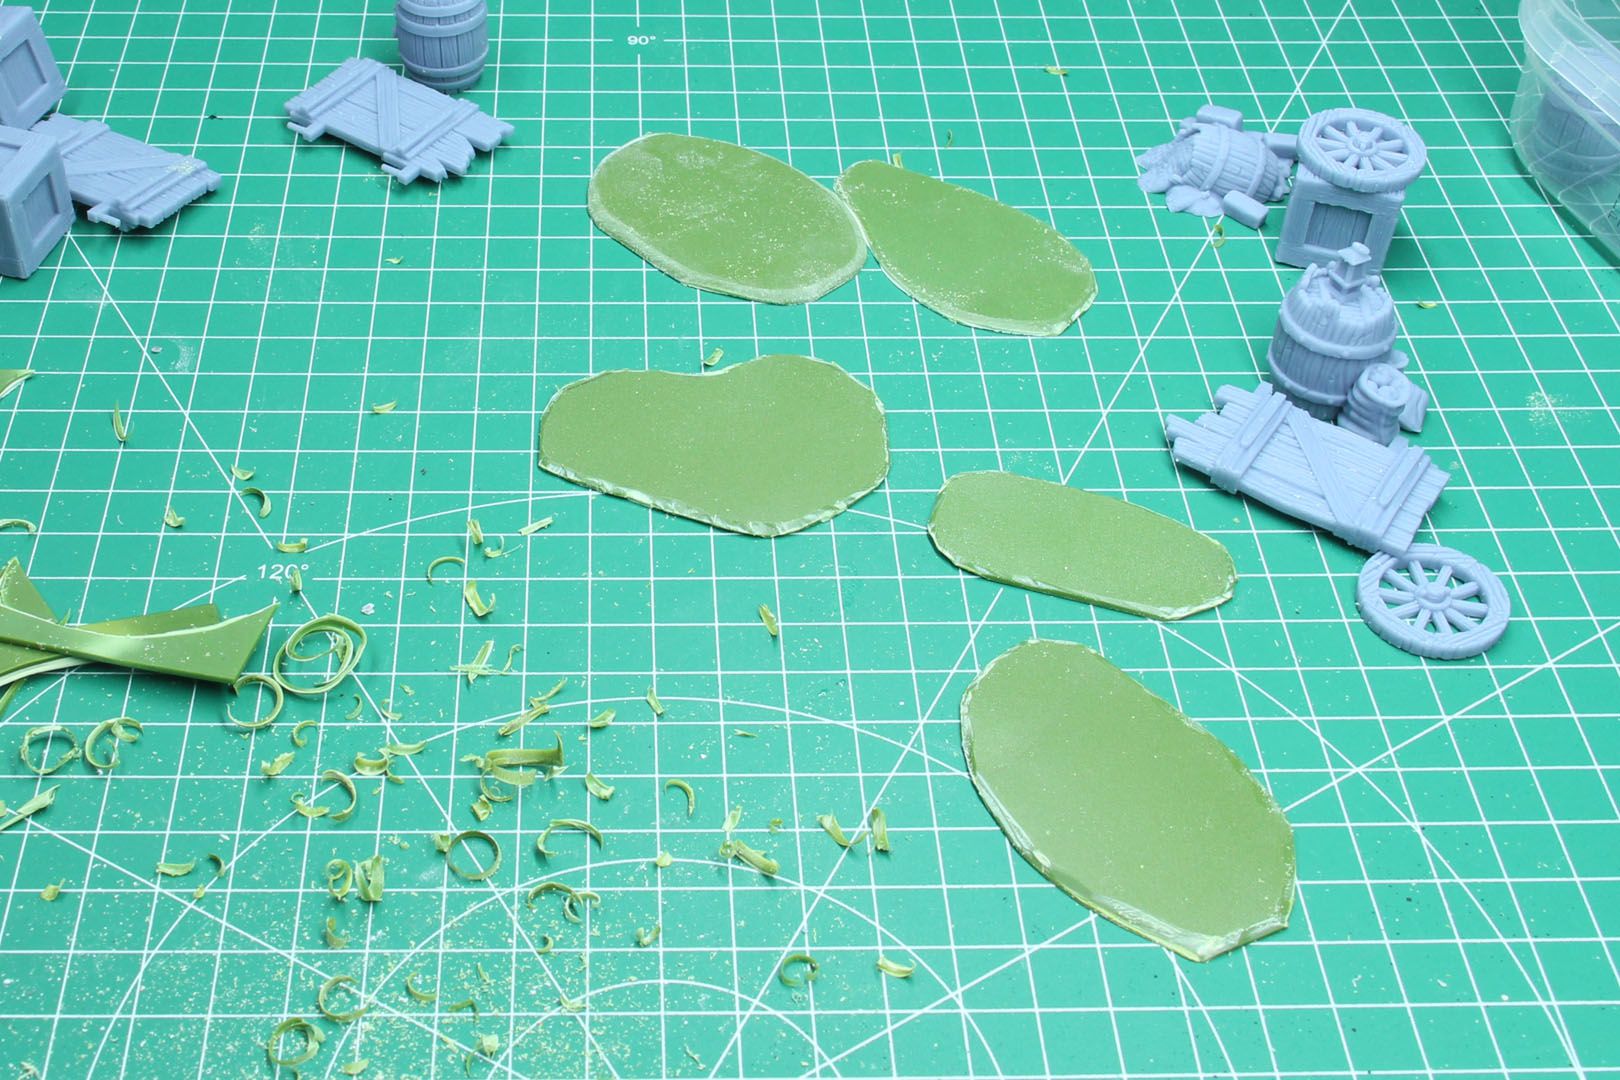
After that I added the resin bits with super glue.
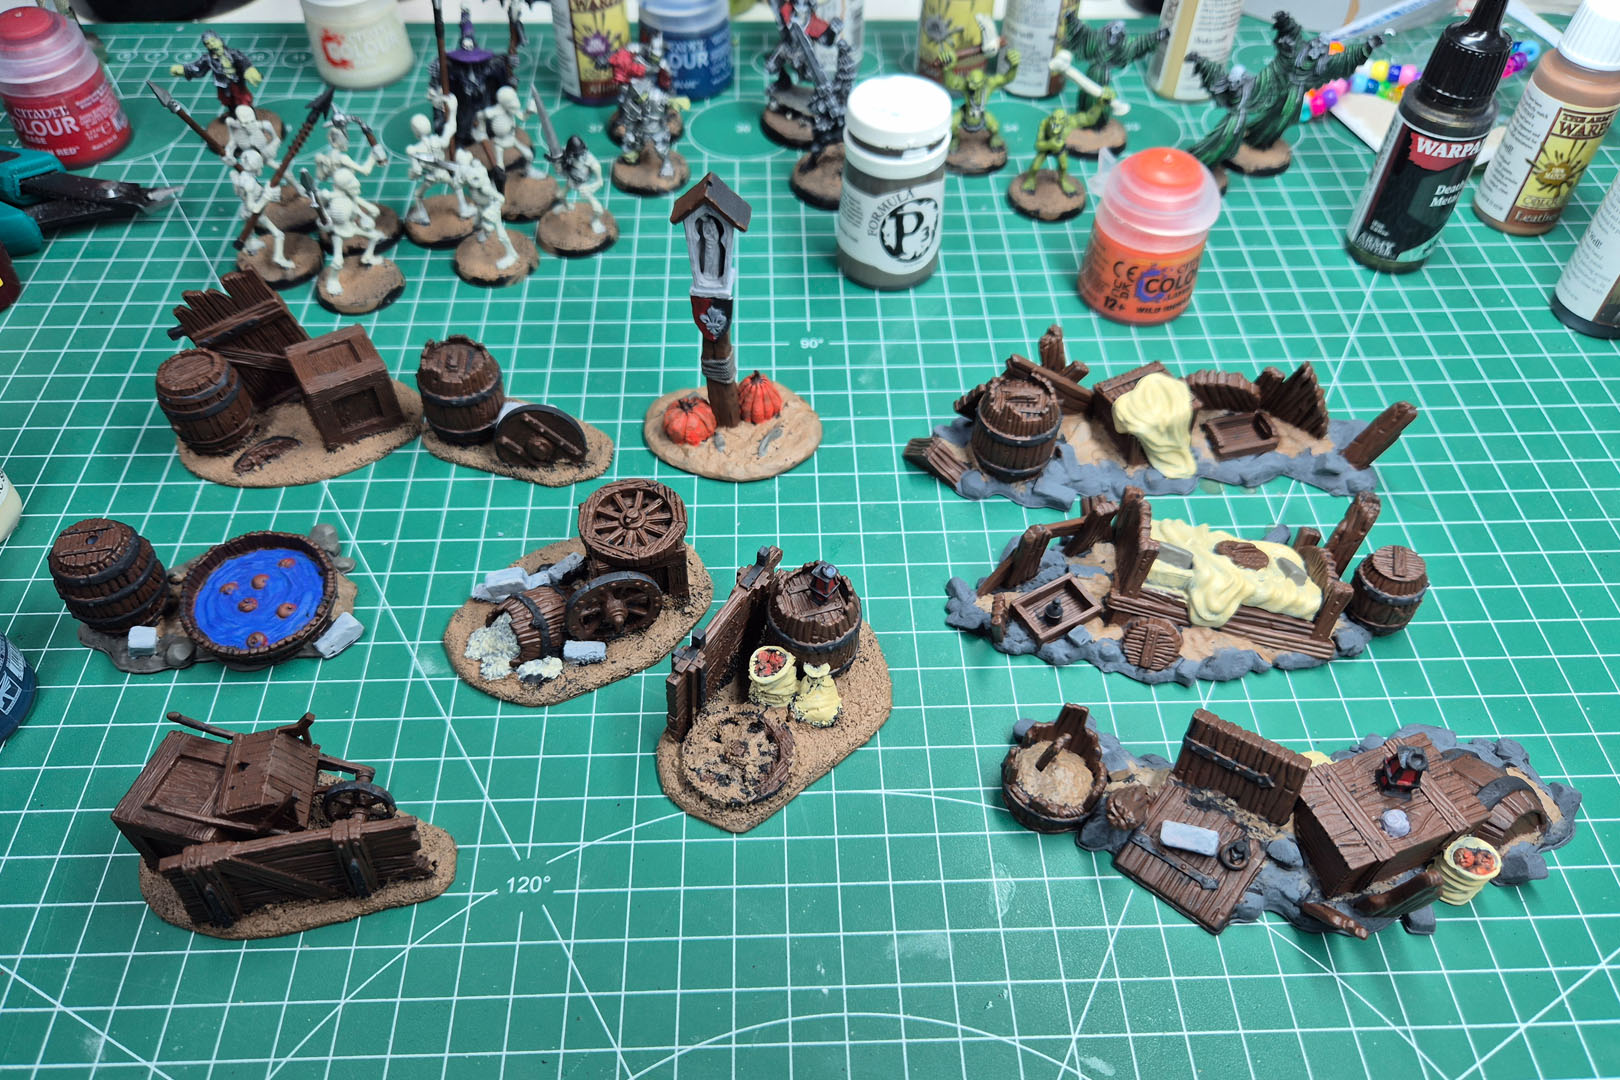
I mixed up a gravel mix, with PVA, paint and sand to fill in the gaps and create a texture. Along with a further brush on primer using the acrylic black.
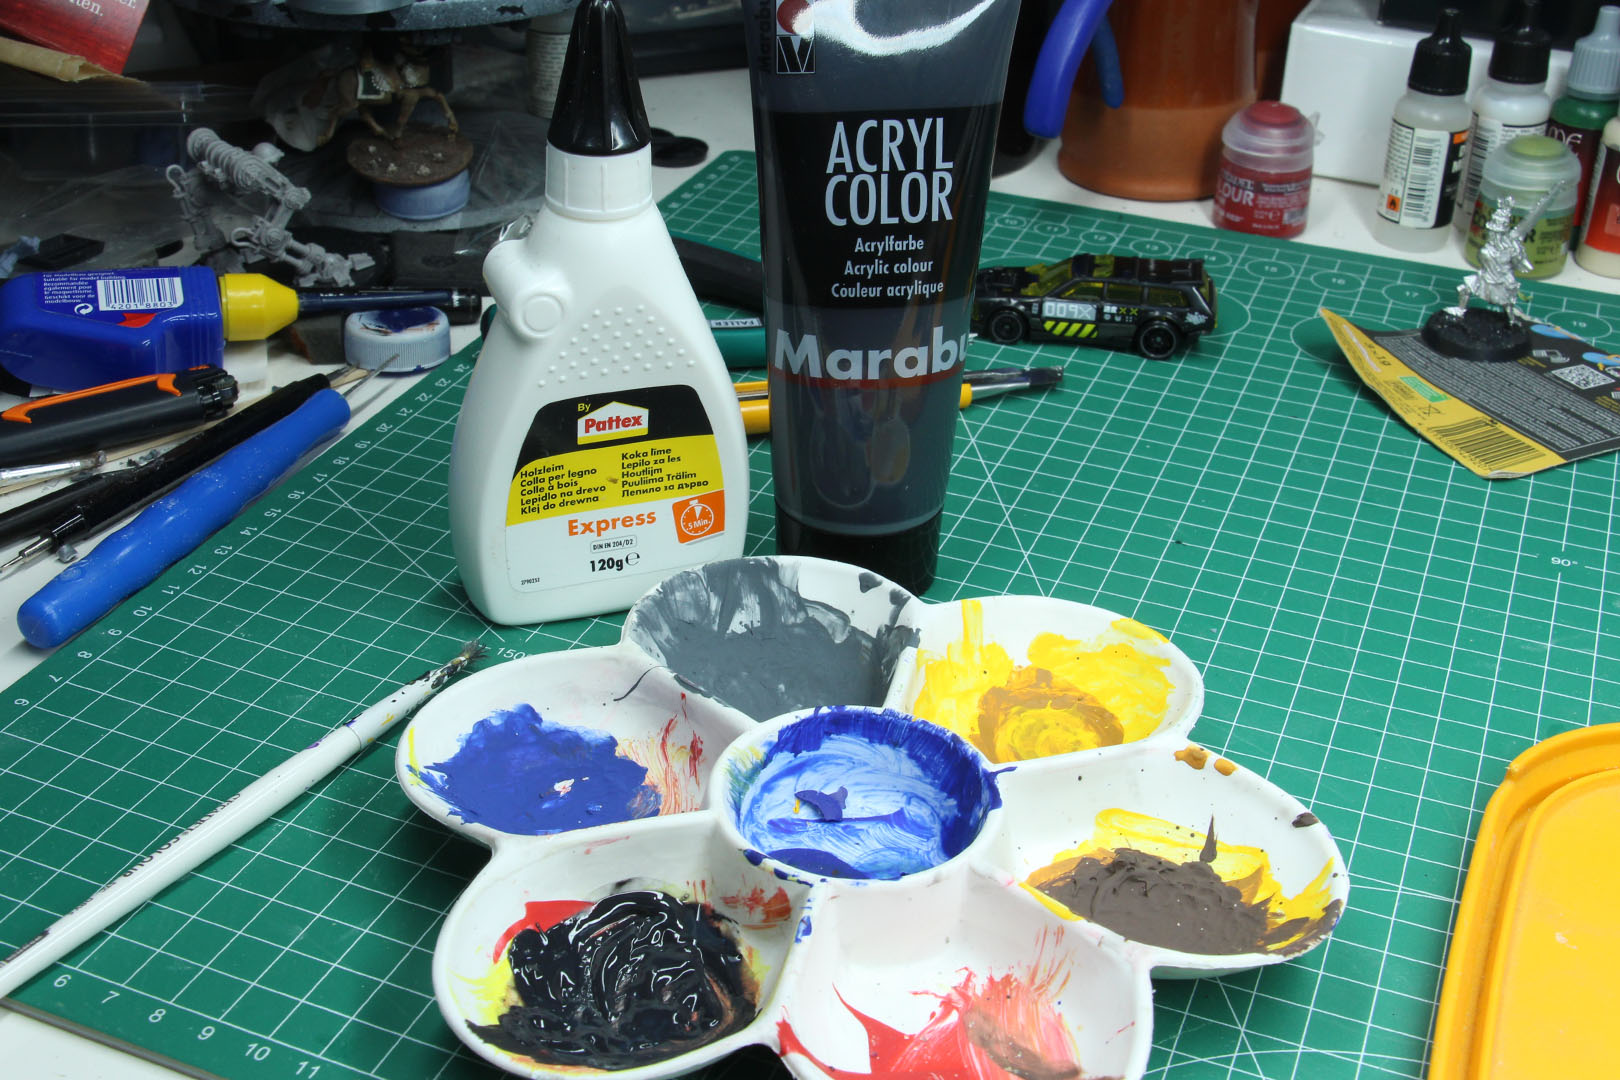
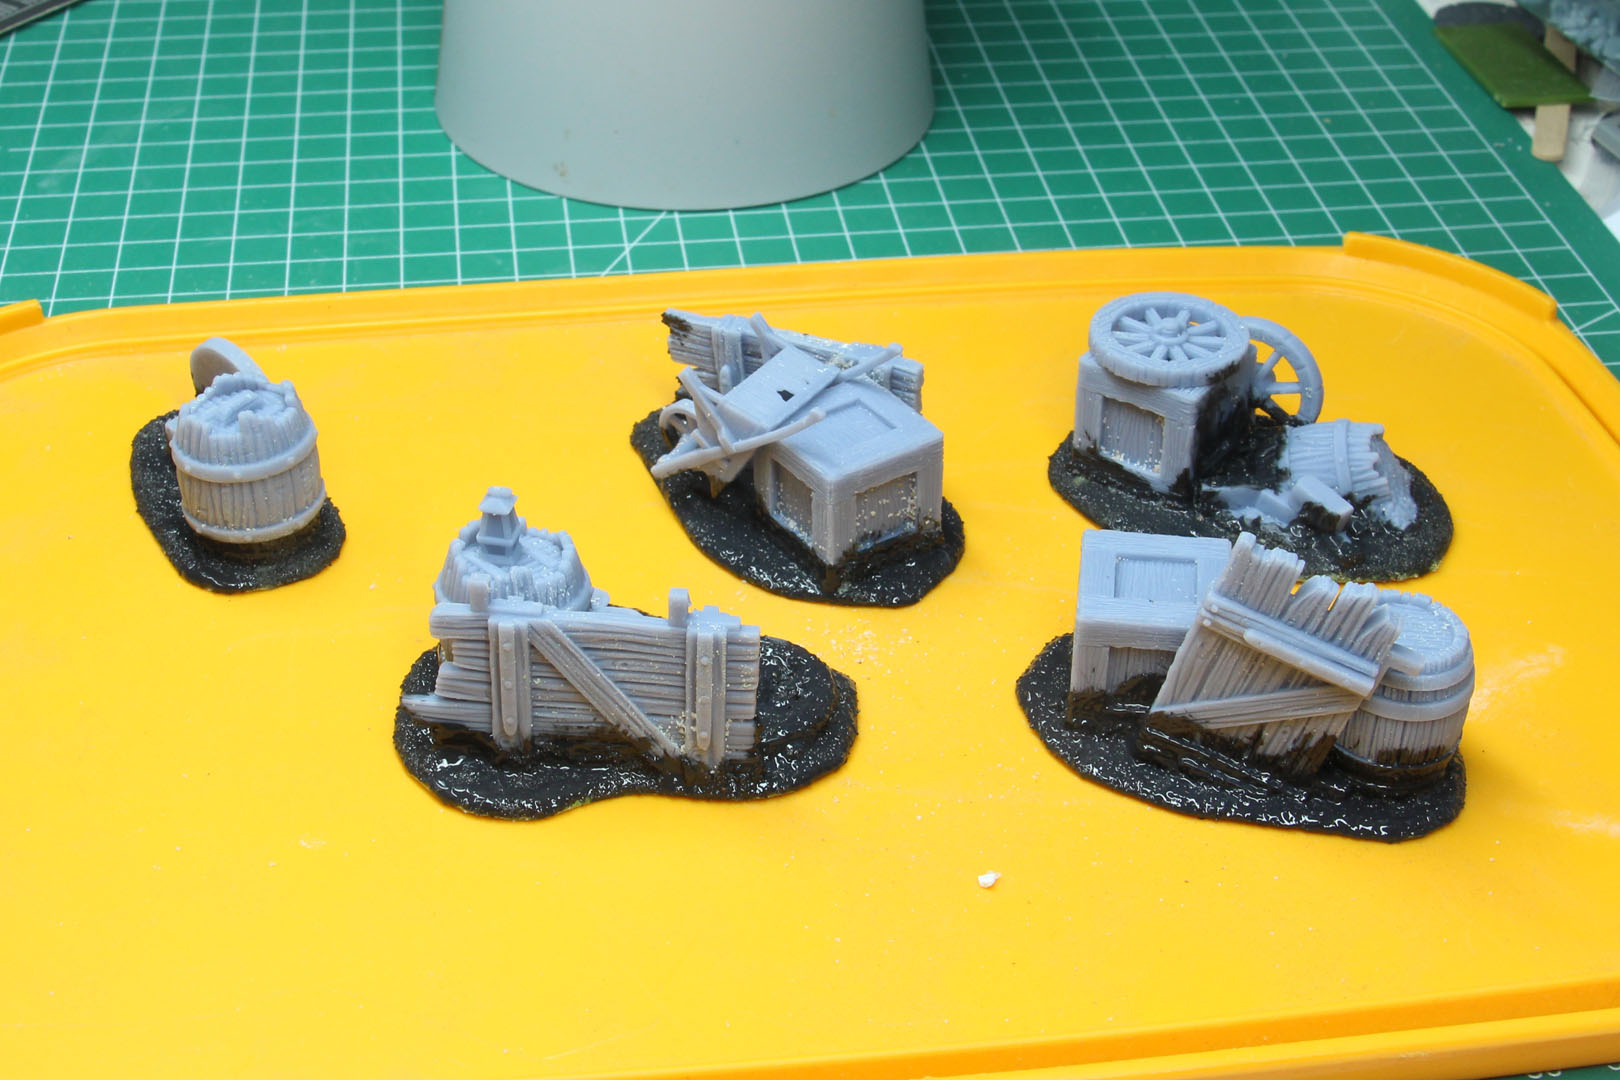
After that had dried, I started painting and used for example AP Oak Brown for the wood and AP Monster Brown for the ground, as I wanted to have that match the bases and other items on the table. From there I added further paints to provide a base layer for the first wash.
During the down time for the paints drying, I went on with the houses and warband.
Enjoy this article?
Like us on Facebook

Follow me on Instagram

Categories
- events (201)
- fantasy (590)
- General (160)
- historical (628)
- Little Big Adventures (4)
- offtopic (5)
- reviews (531)
- science fiction (665)
- showroom (101)
- terrain (114)
- work-in-progress (413)


Leave a Reply