Furucius – Stone Trove terrain
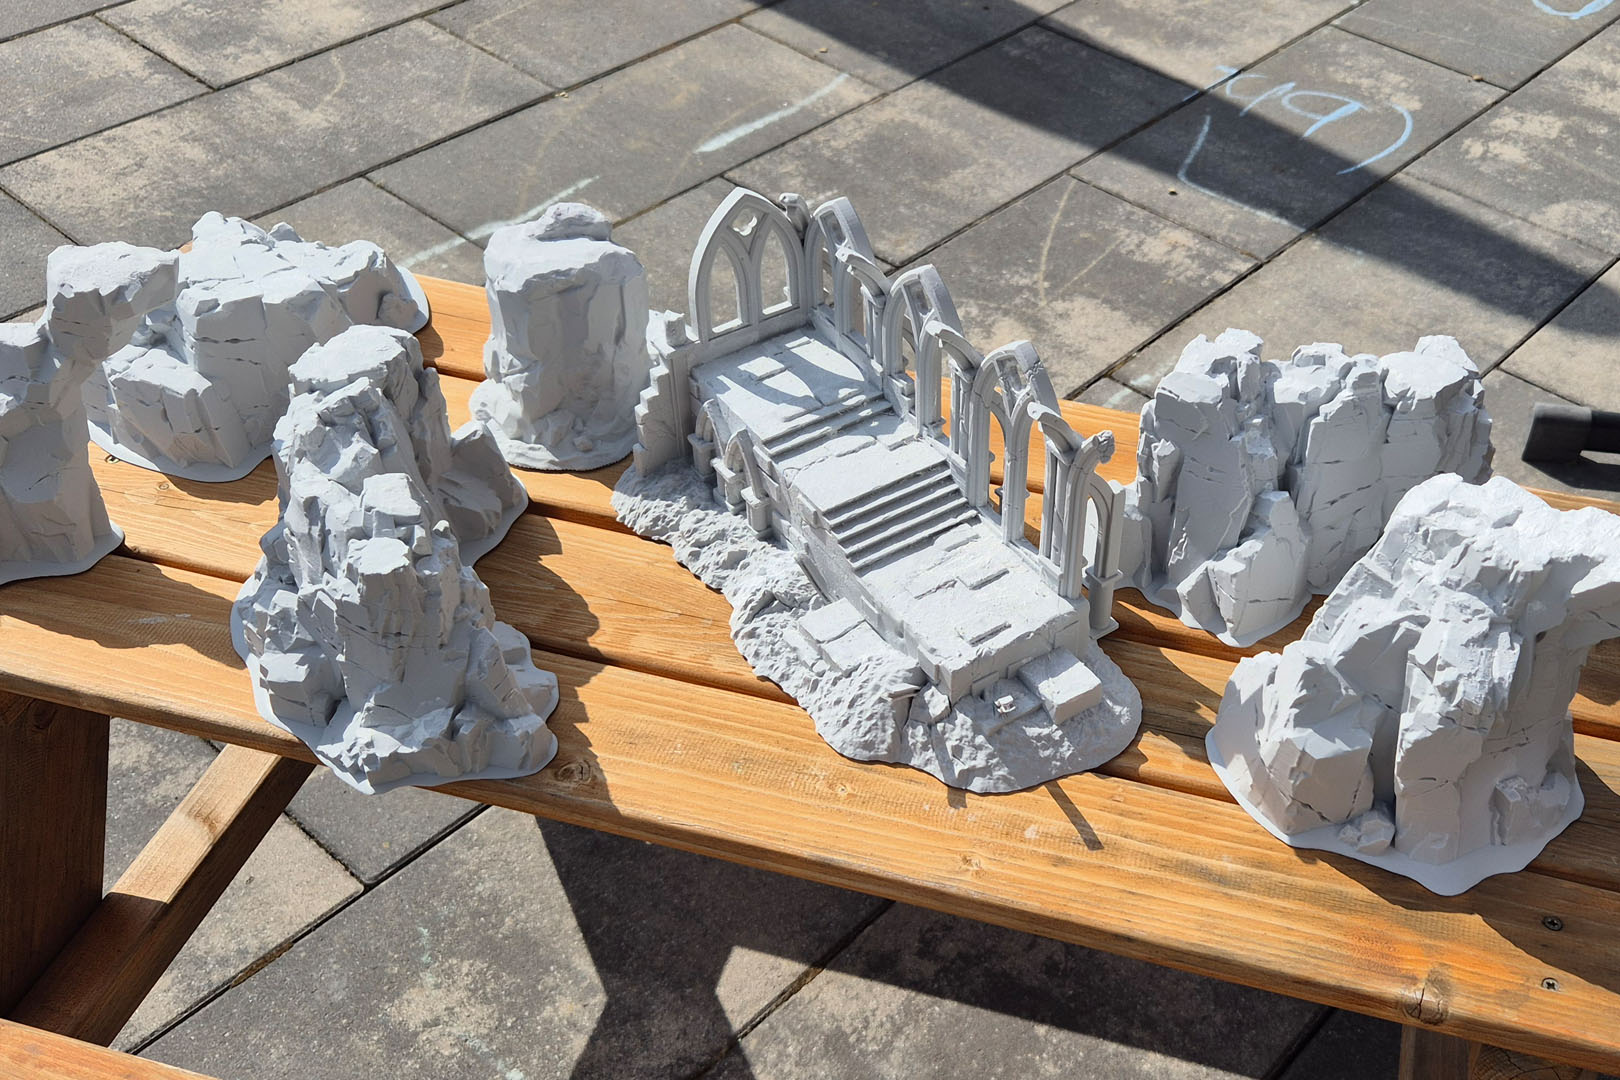
Last year I had a bunch of rock formations printed, using the Stone Trove files by Dana McDonald.
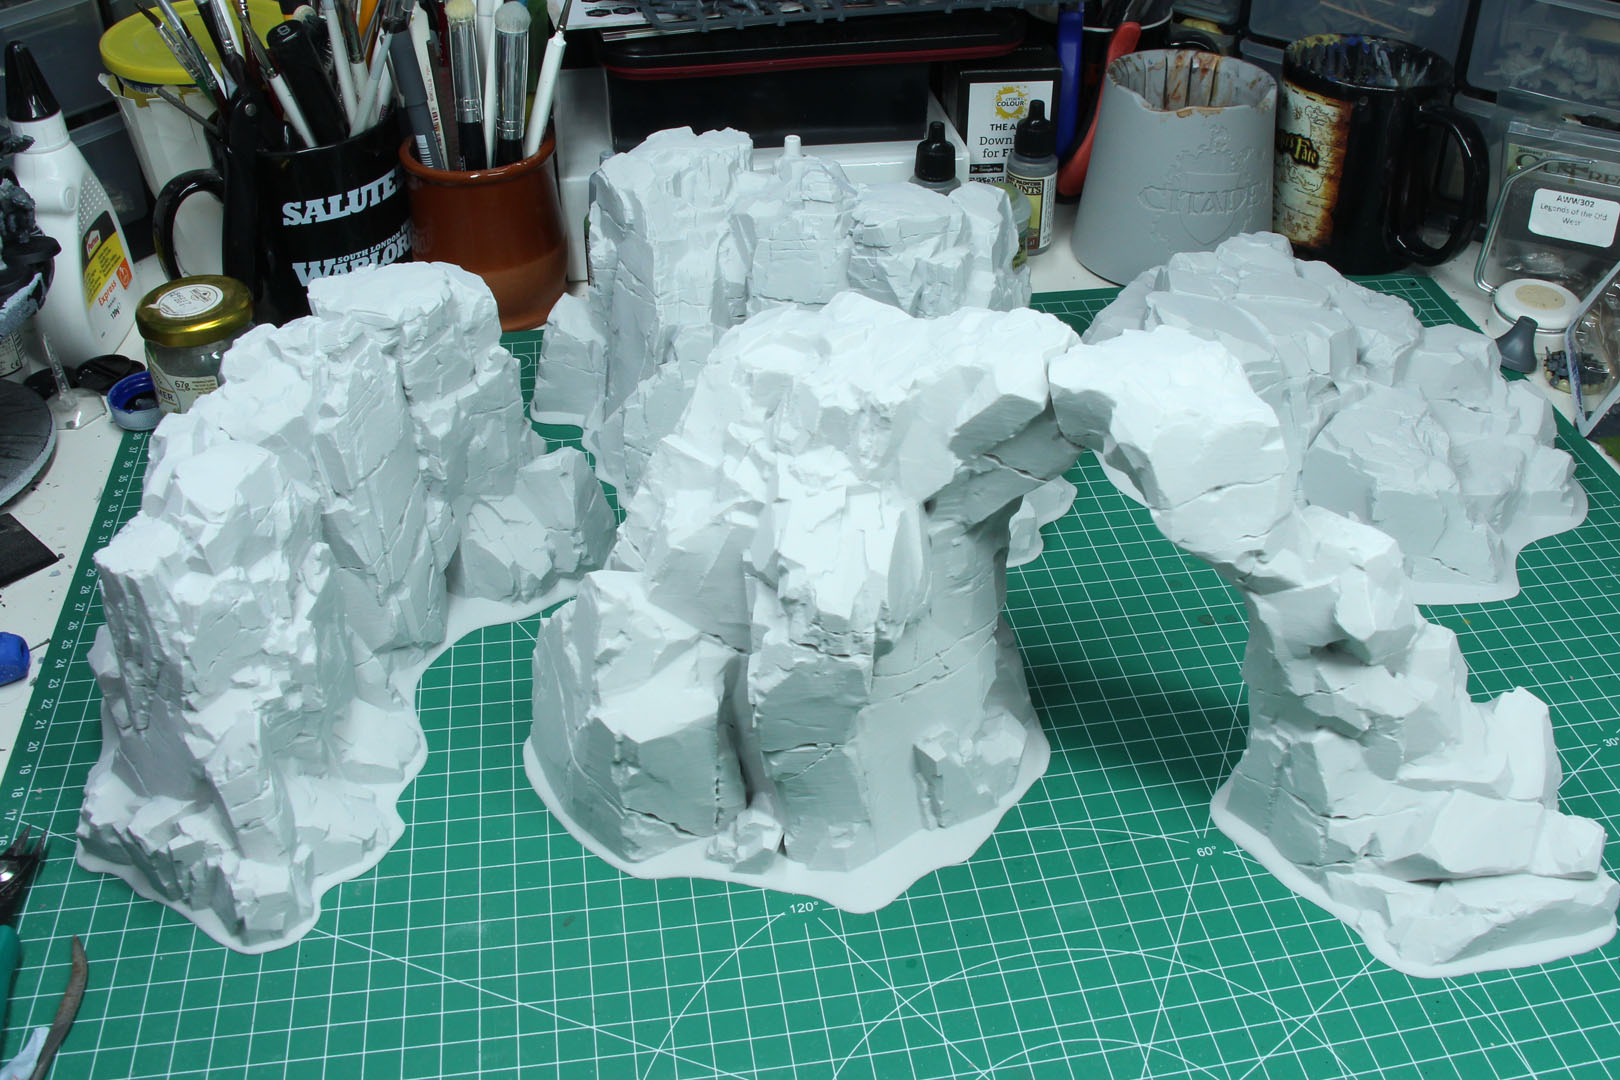
The project originally came from Kickstarter, and you can now buy the sets on MyMiniFactory in different bundles. There are also a few shops running a merchant license if you don’t have access to your own printer.
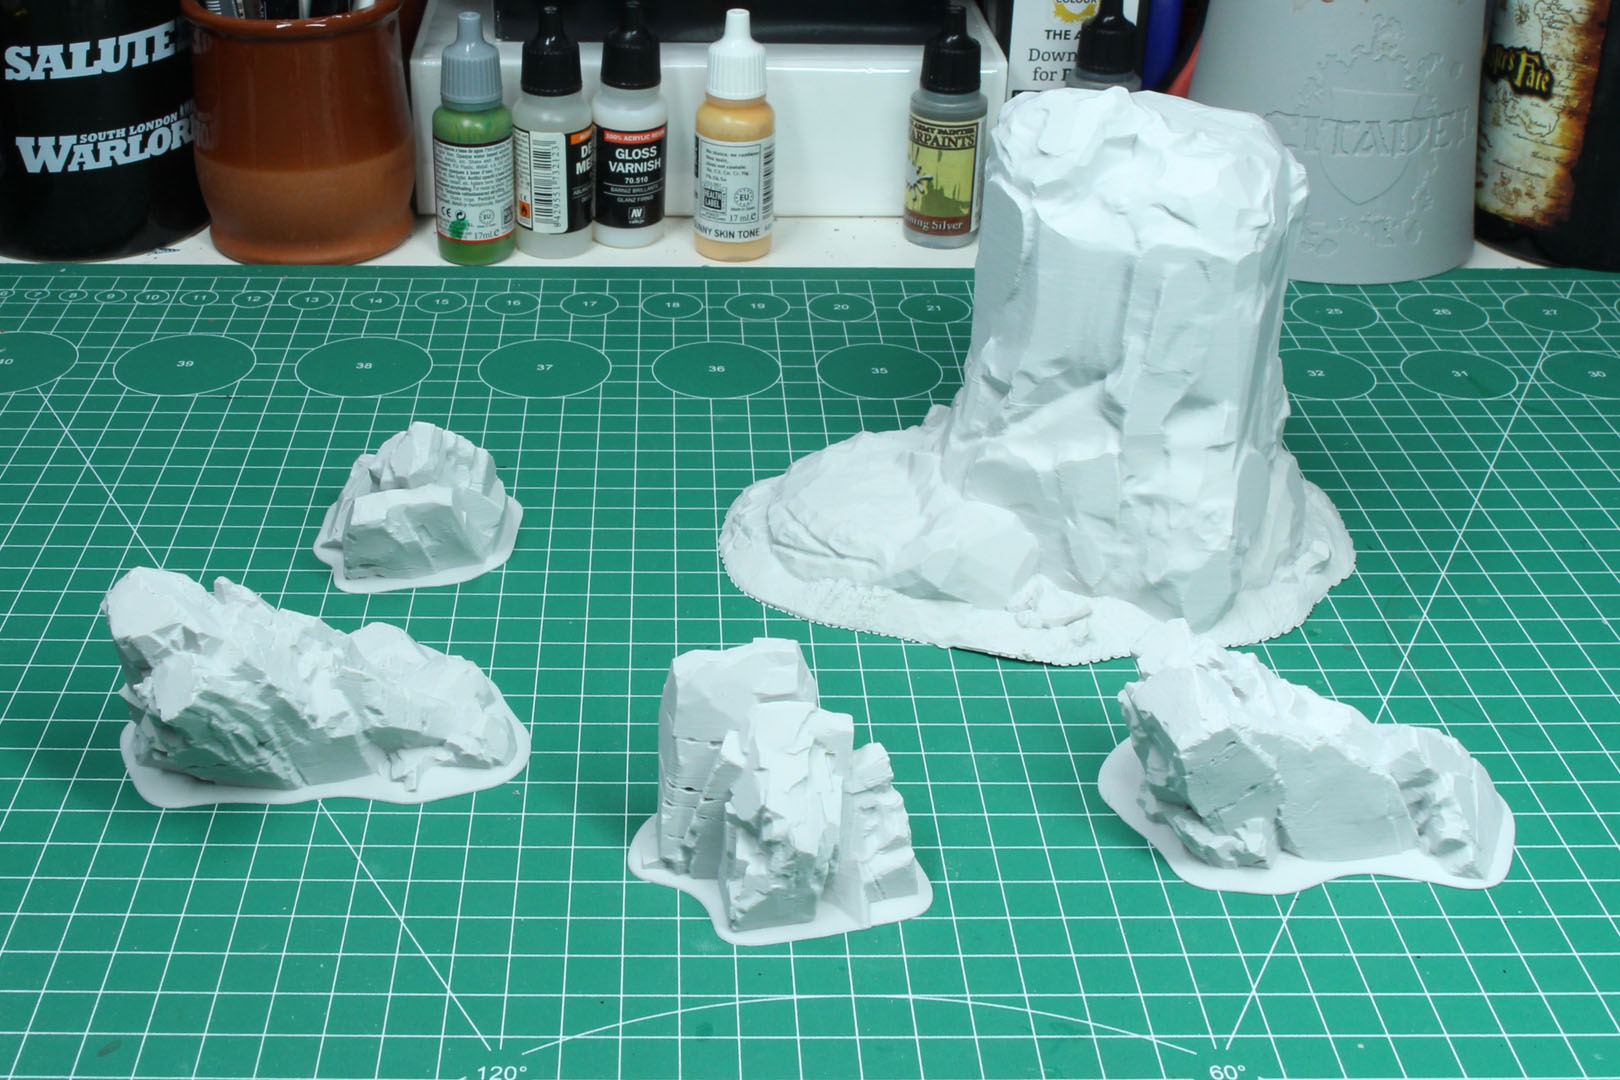
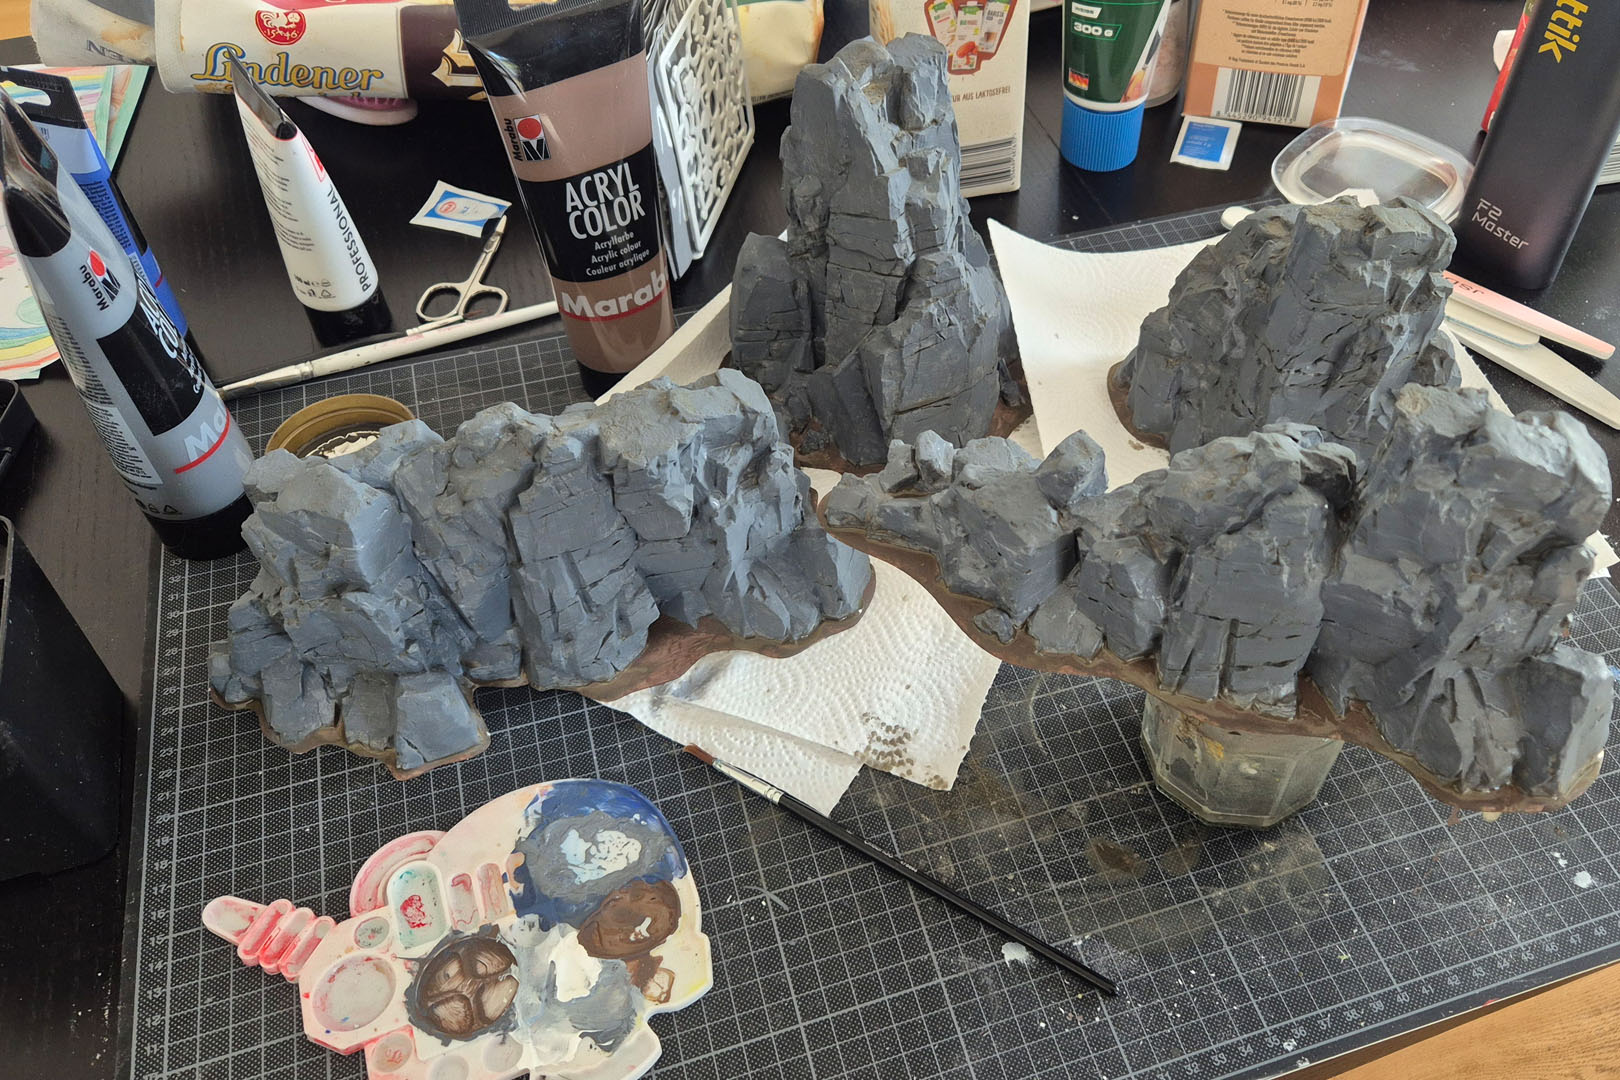
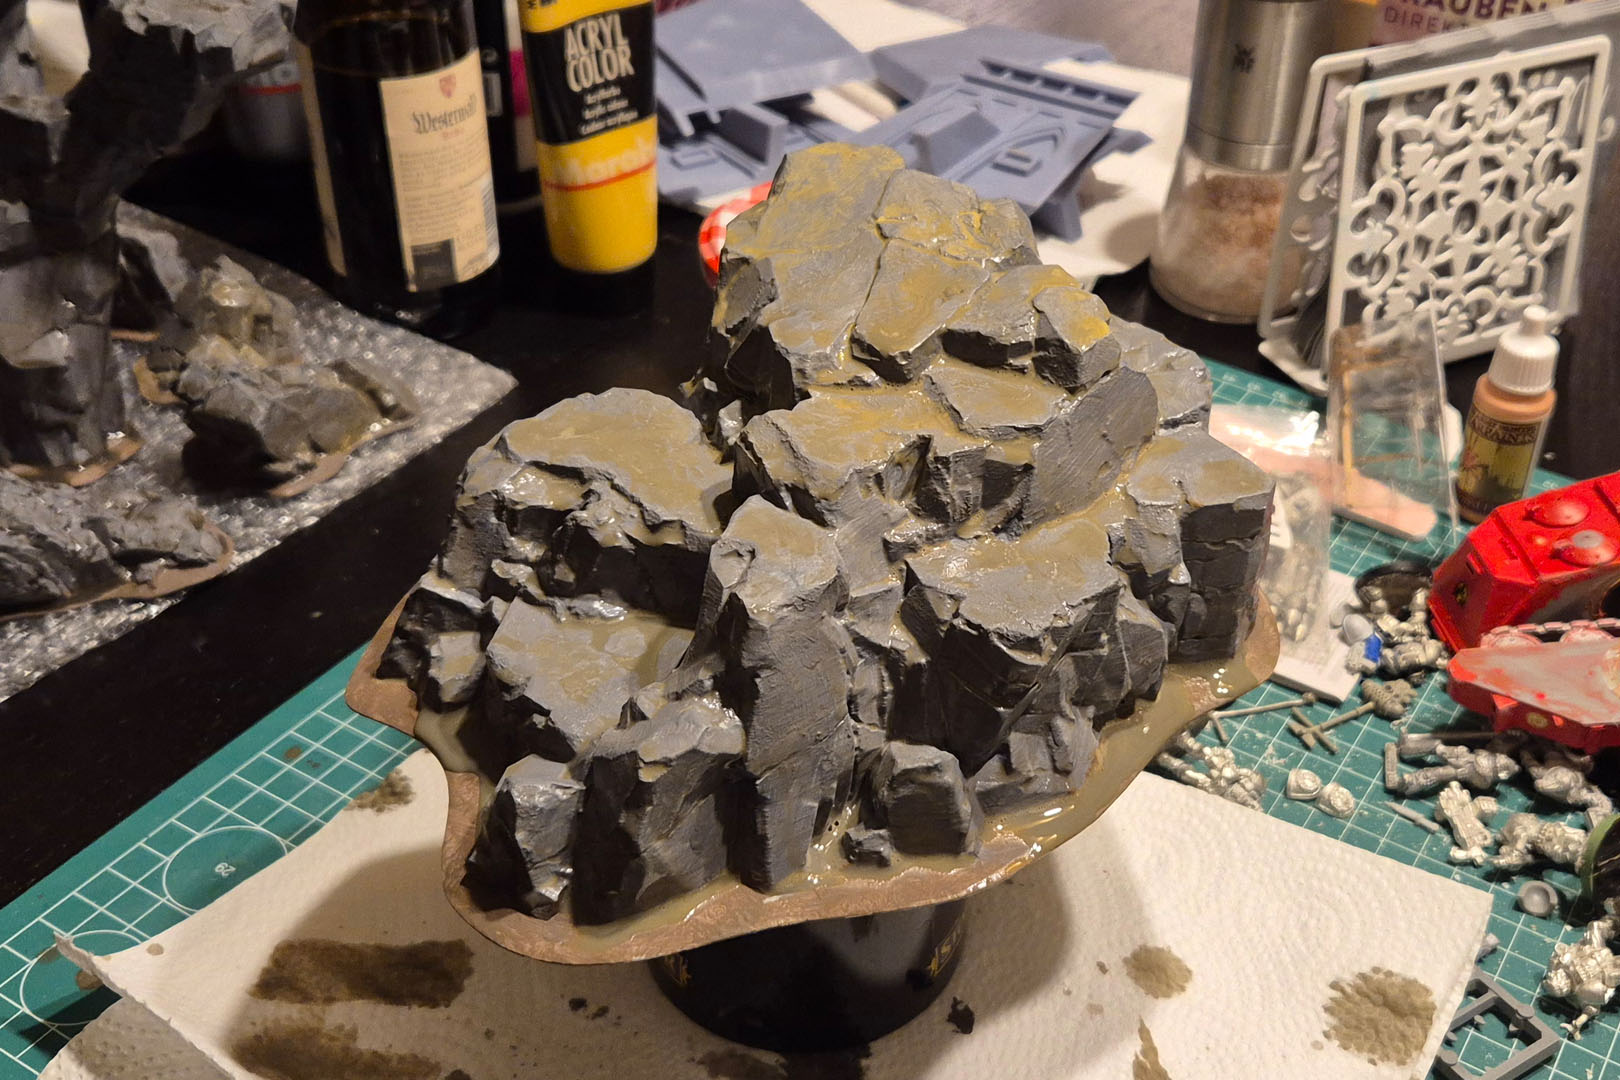
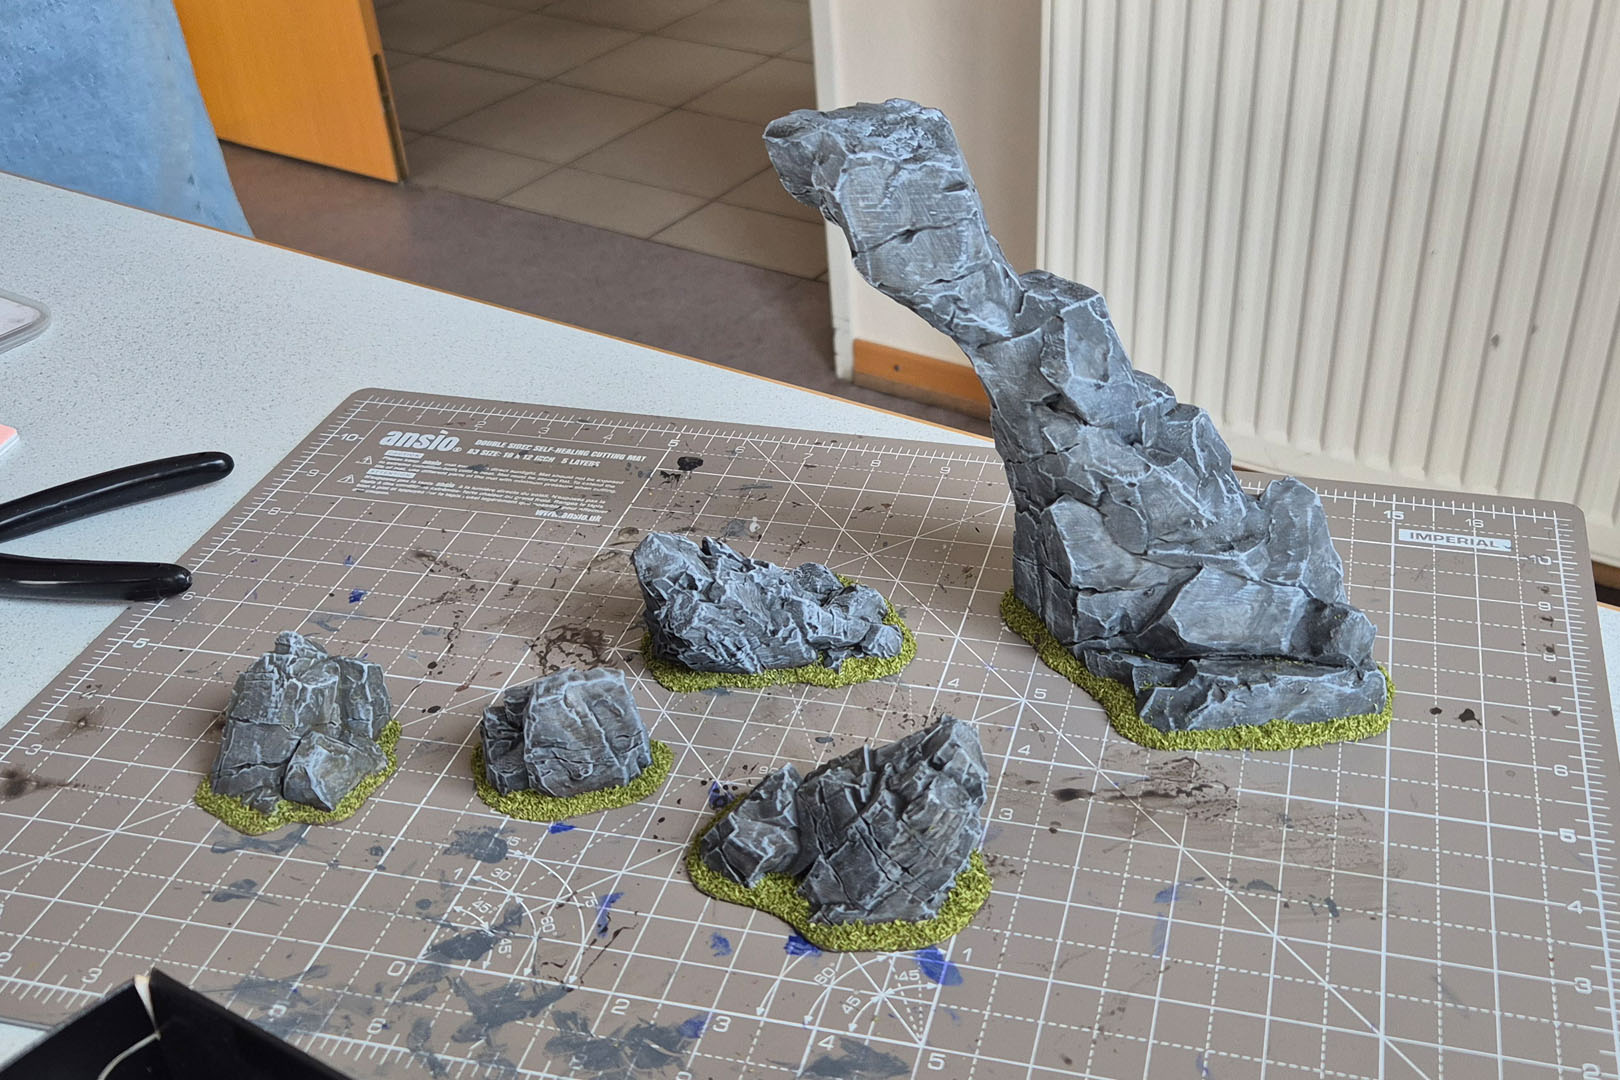
All parts were printed on a Bambu Lab A1 Standard, using the High Quality PLA profile with a 0.08 mm layer height. That already gives a very clean result, but on the top surfaces where layer lines were still visible, I went in with a 1:1 mix of filler and white acrylic paint. I just brushed a fairly thick coat onto those areas and let it cure fully before touching anything else.
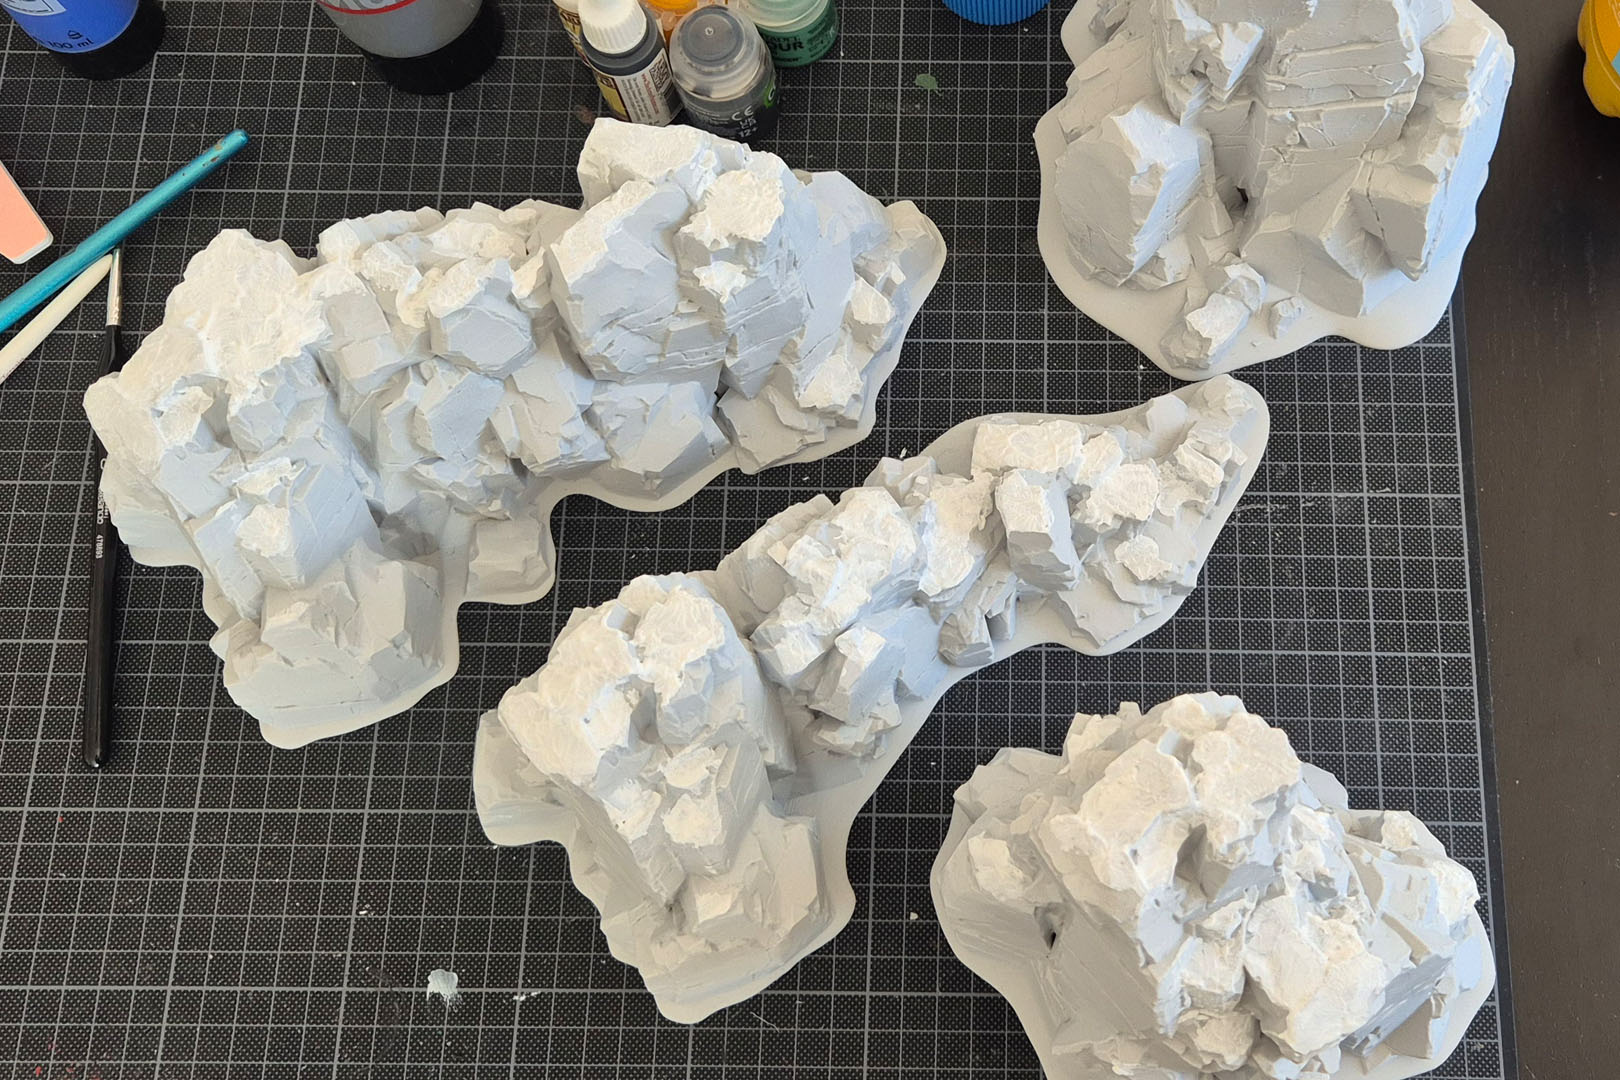
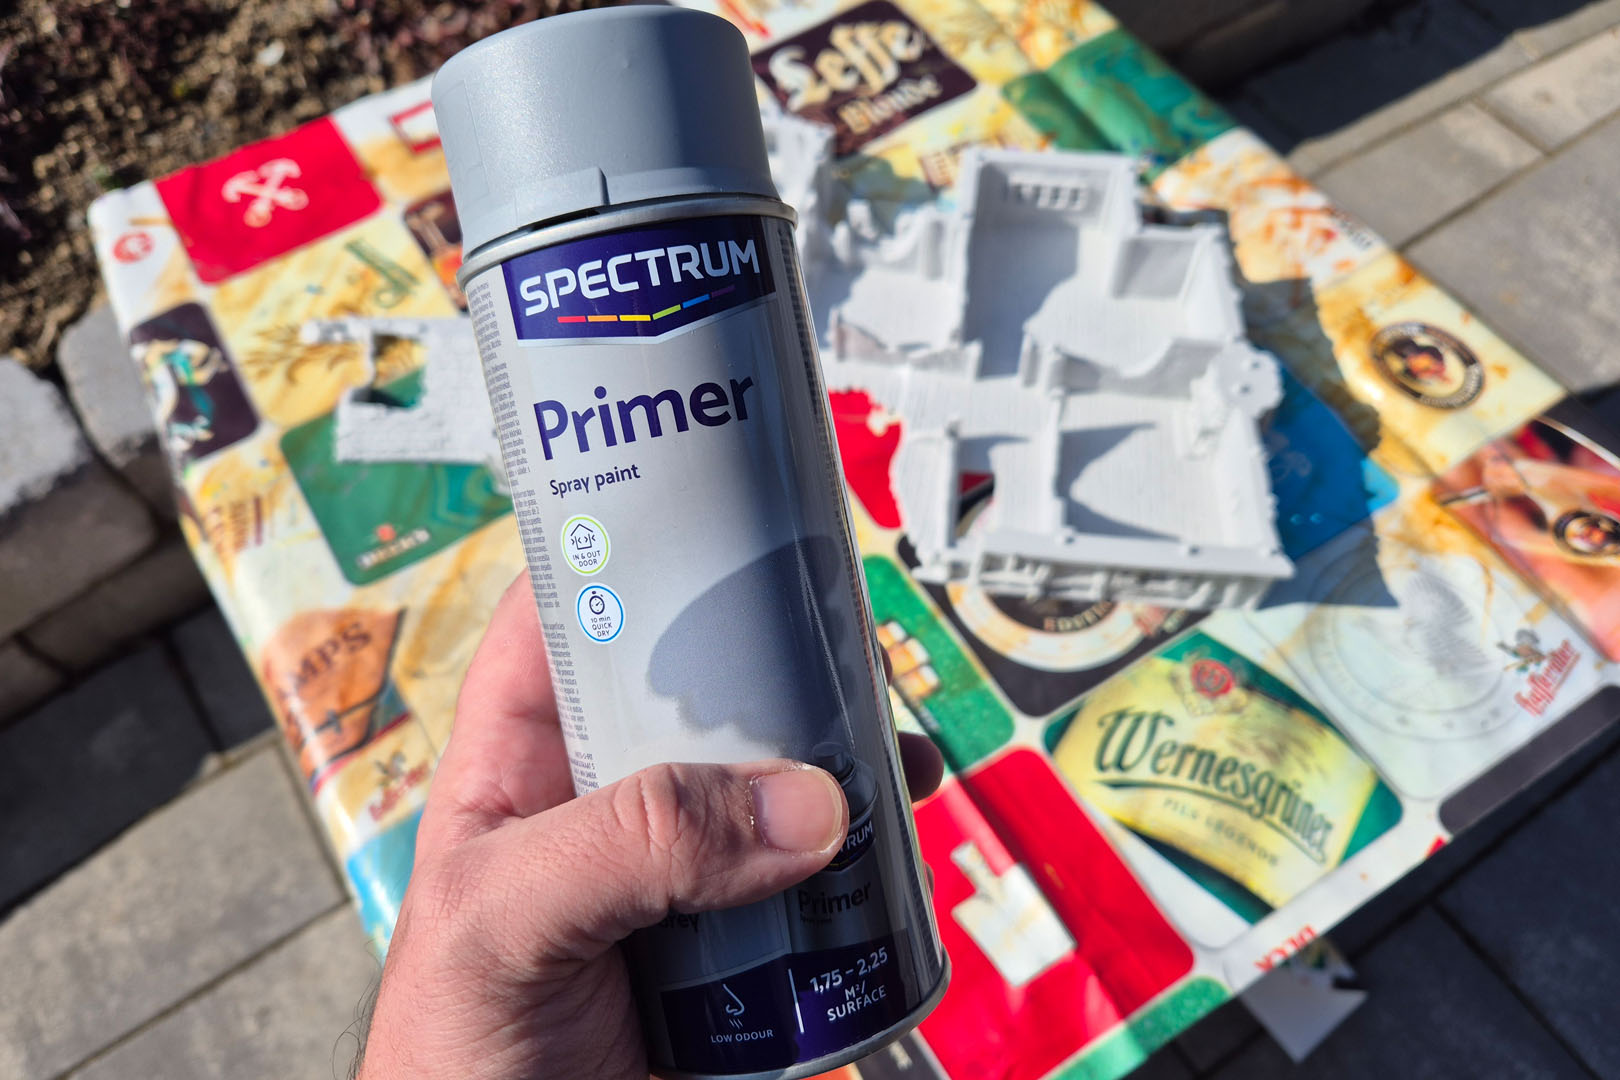
Once the filler was dry, I smoothed those spots with a file and then gave the whole thing a proper coat of mid‑grey primer. I’m using Spectrum Primer (matte grey), sold by Action in Germany for under 3 EUR per can. It’s flat, it’s a solid mid‑grey, and it’s stupidly cheap.
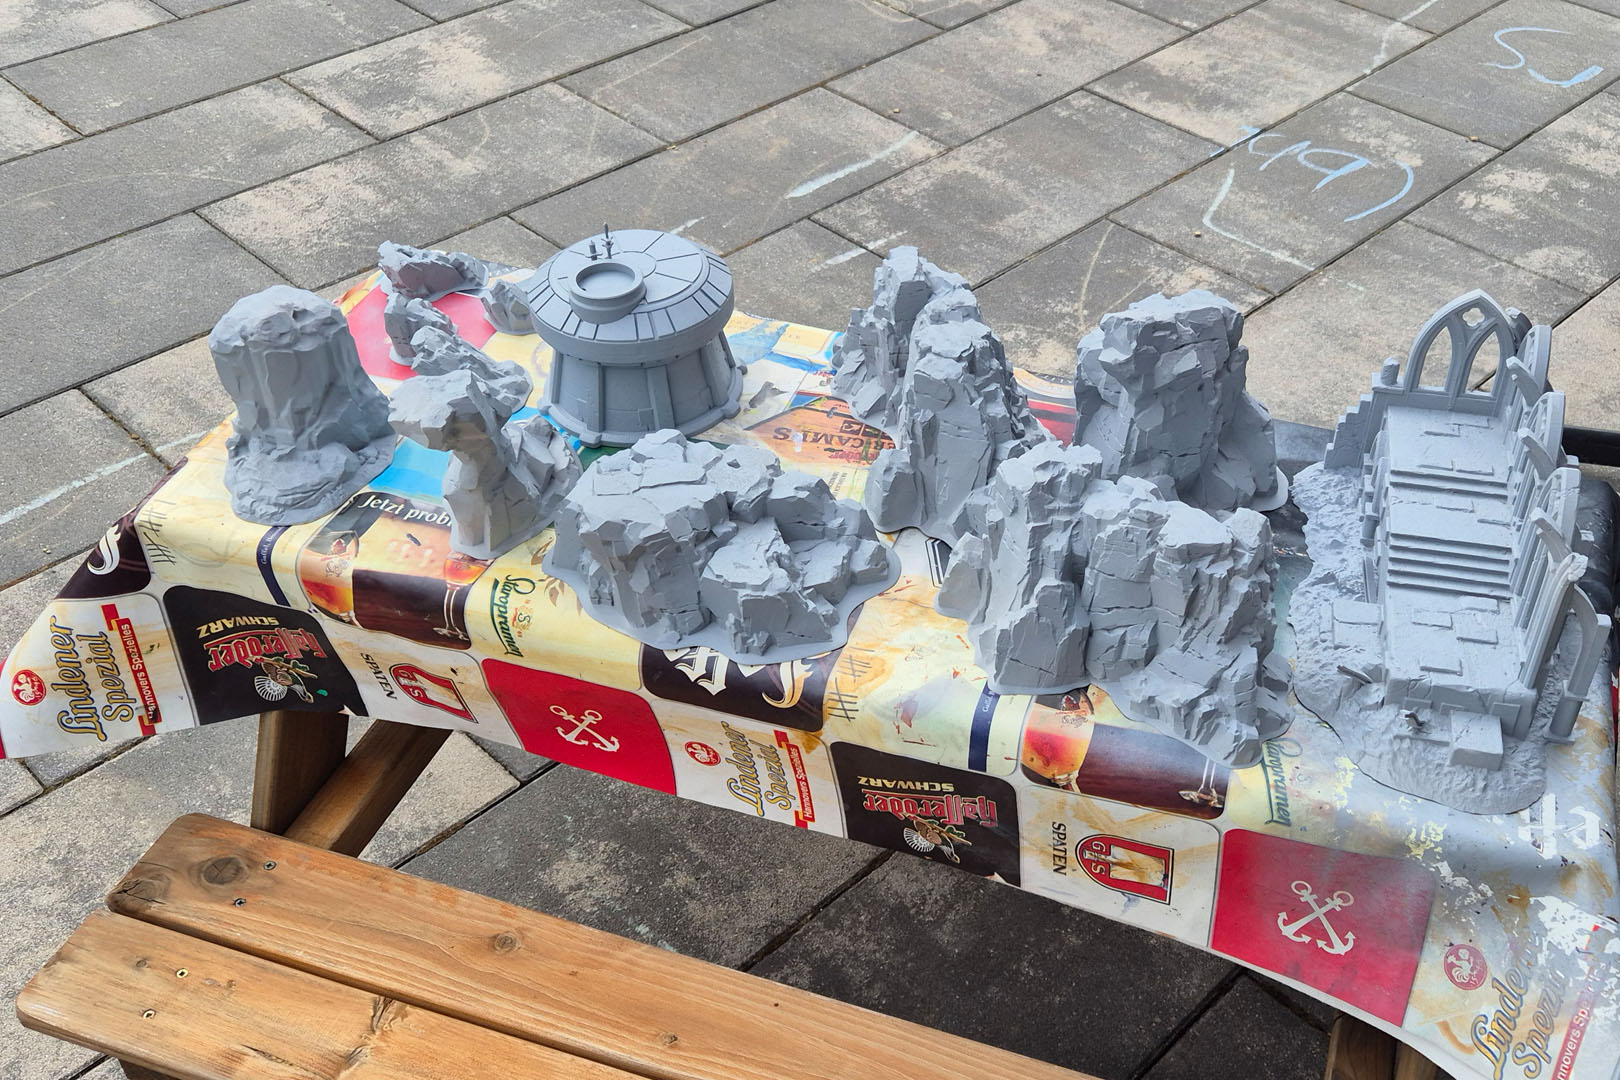
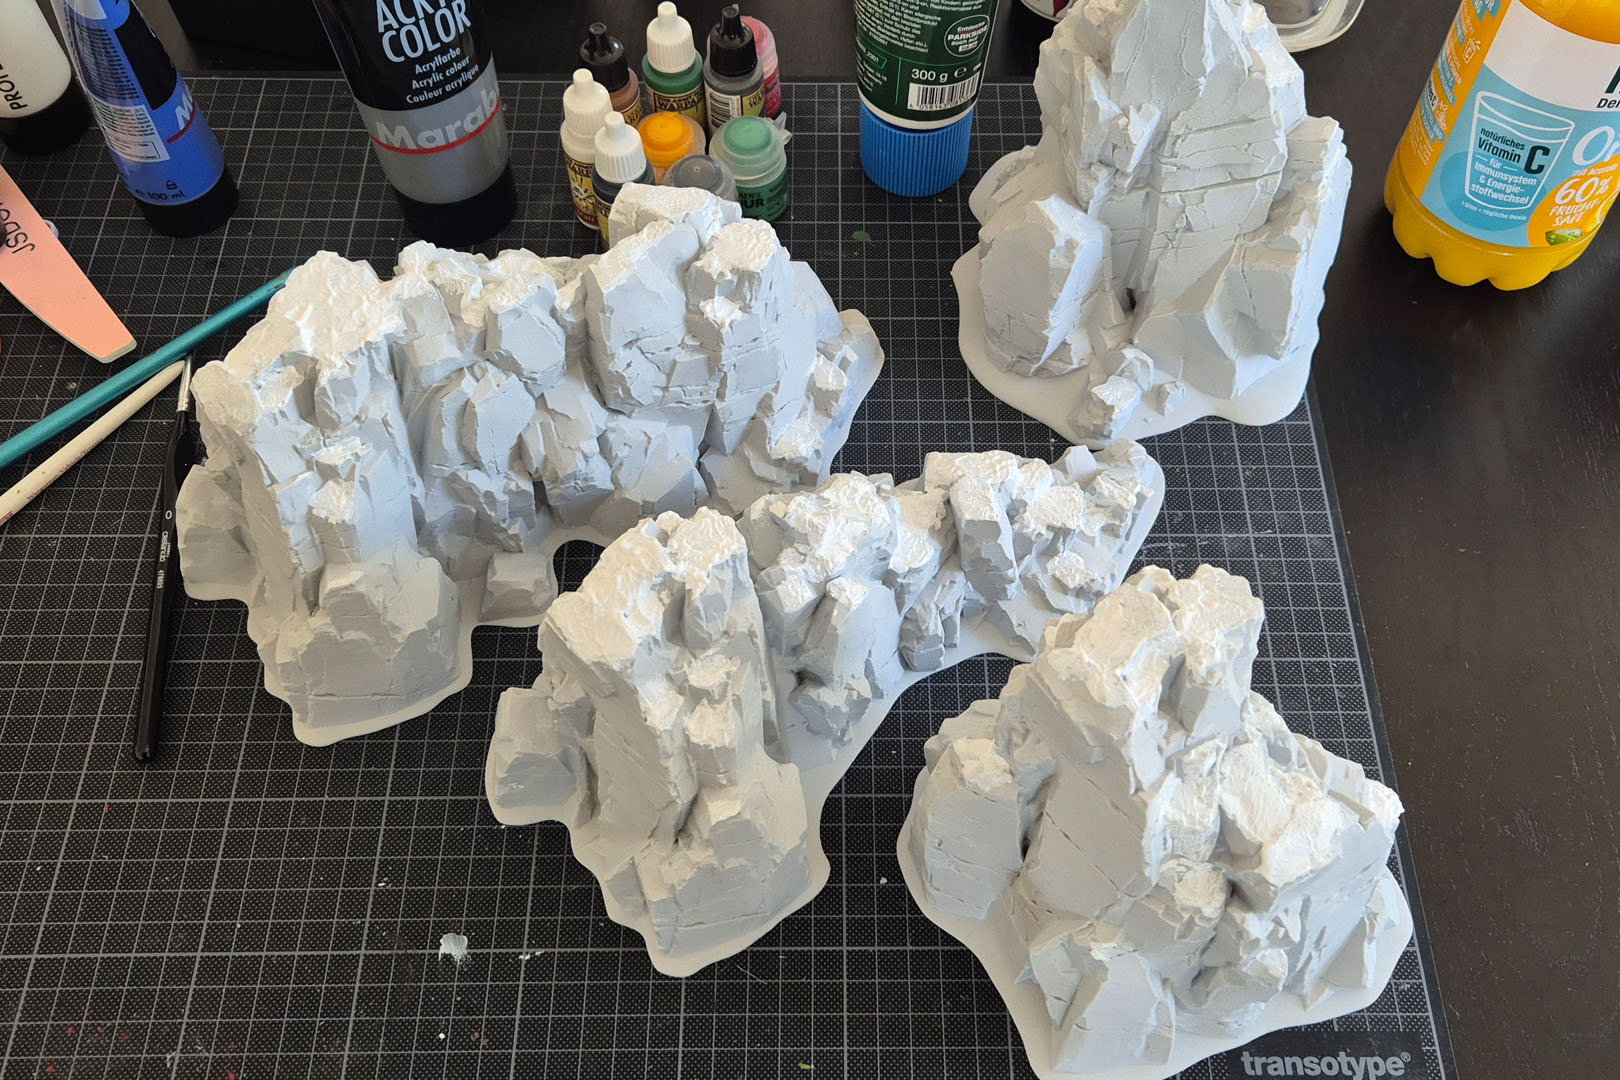
After the primer dried (which happens quickly in the sun), I base‑coated the rocks with a darker grey and the trim with a darker brown. I used Marabu Acrylics (no. 079 Dark Grey and 045 Dark Brown). If you skip the primer, you’ll probably want an extra coat: coverage is quite good, but not outstanding.
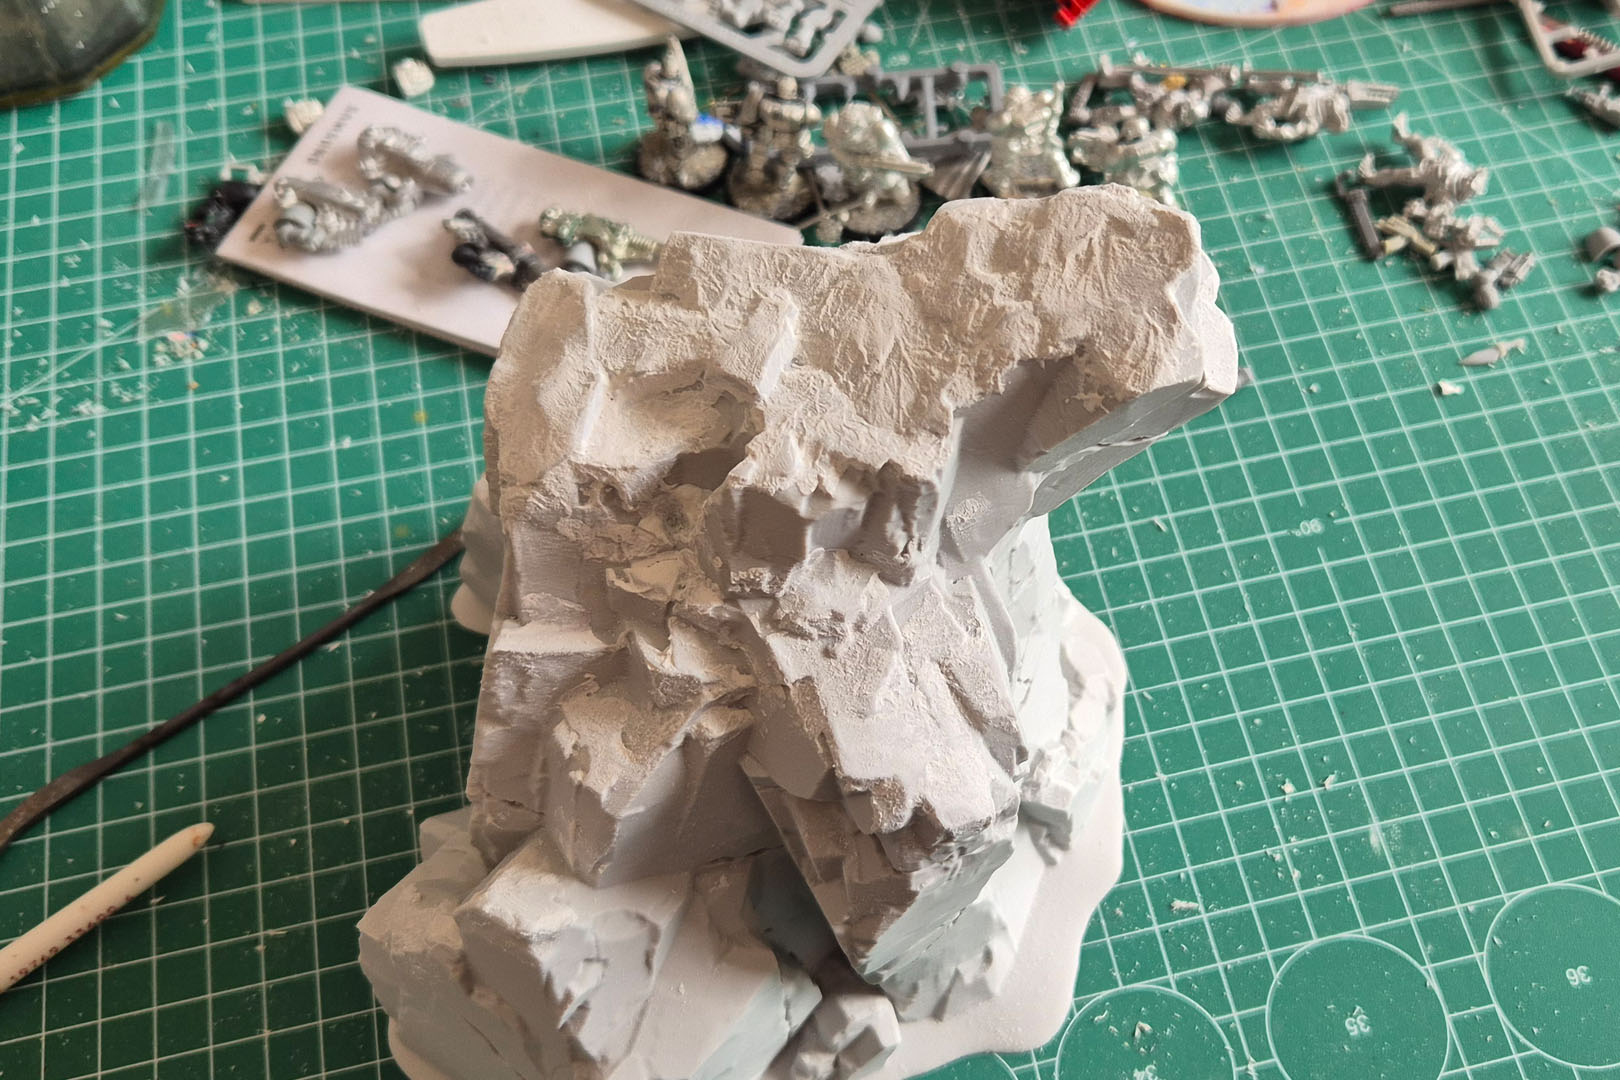
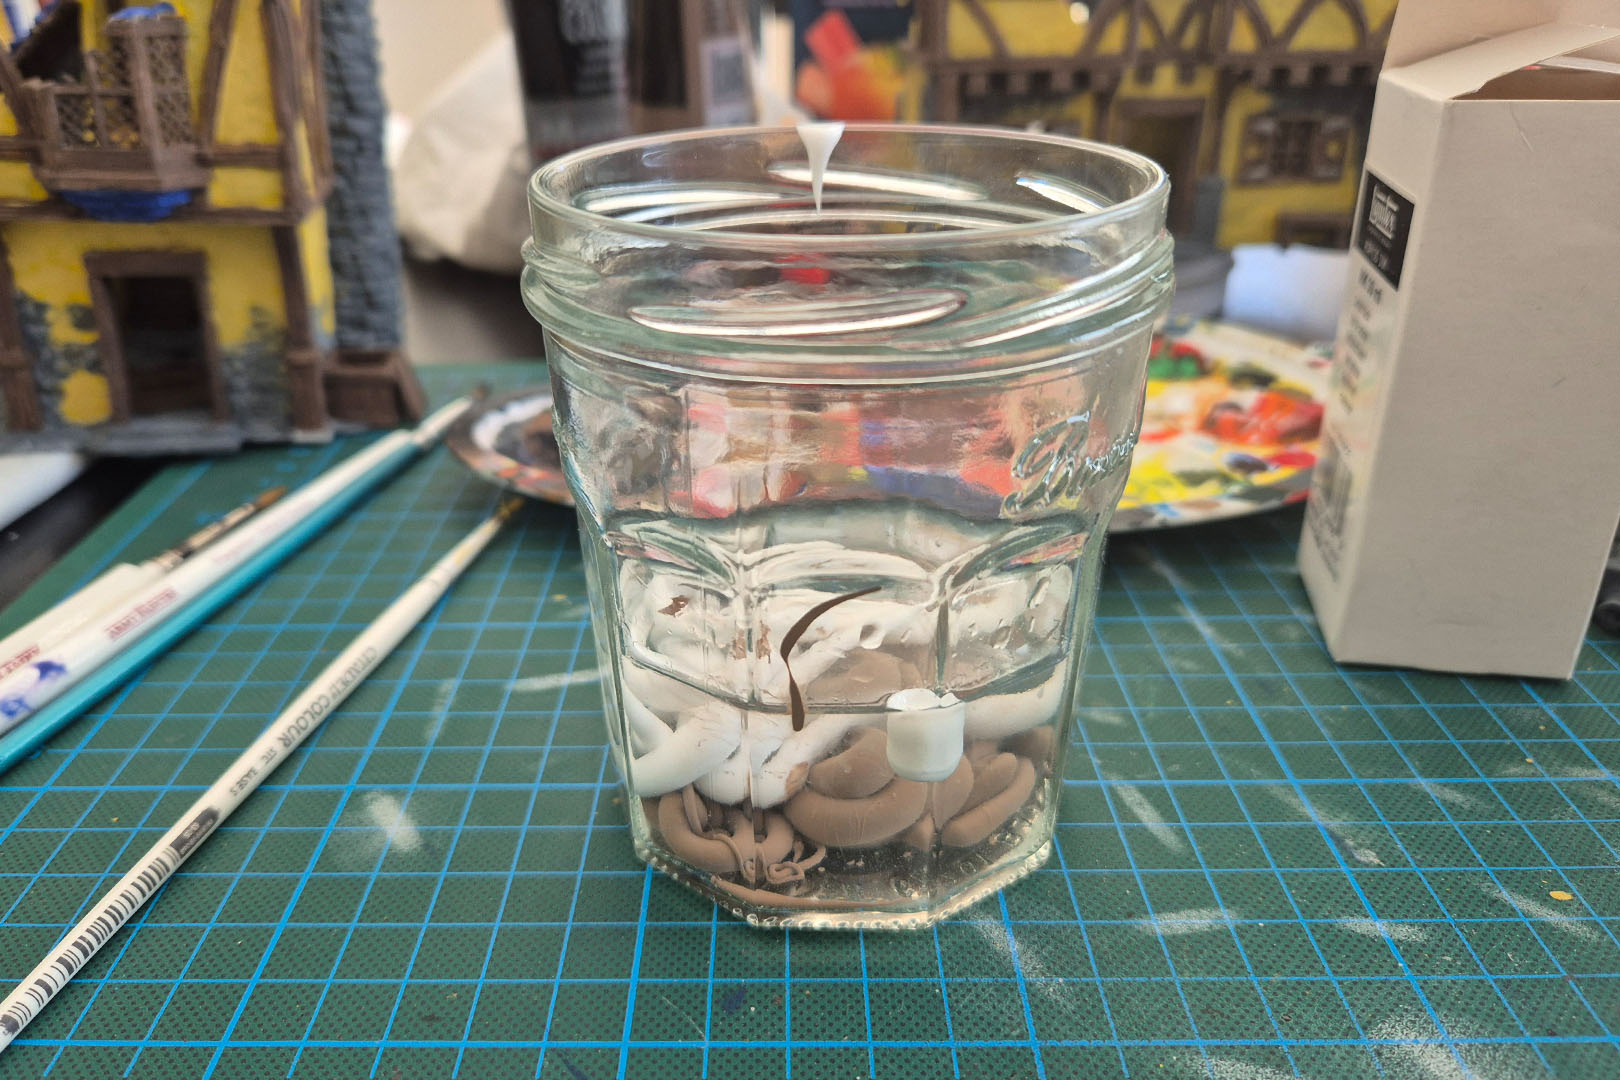
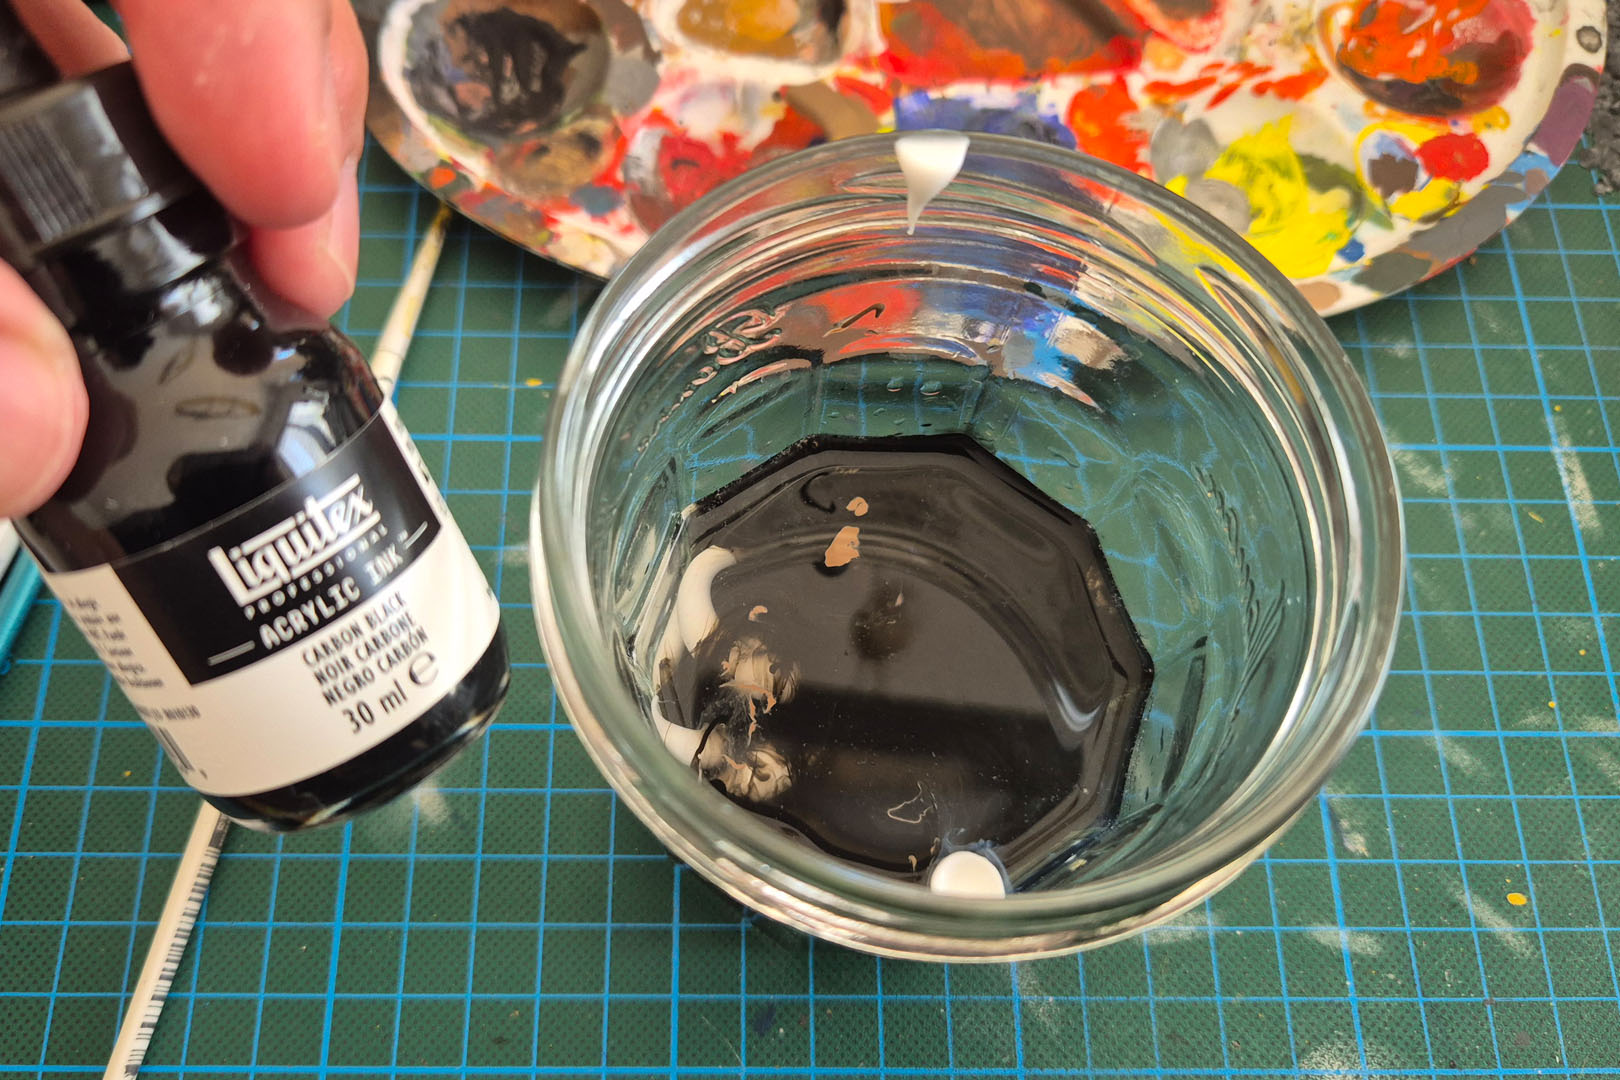
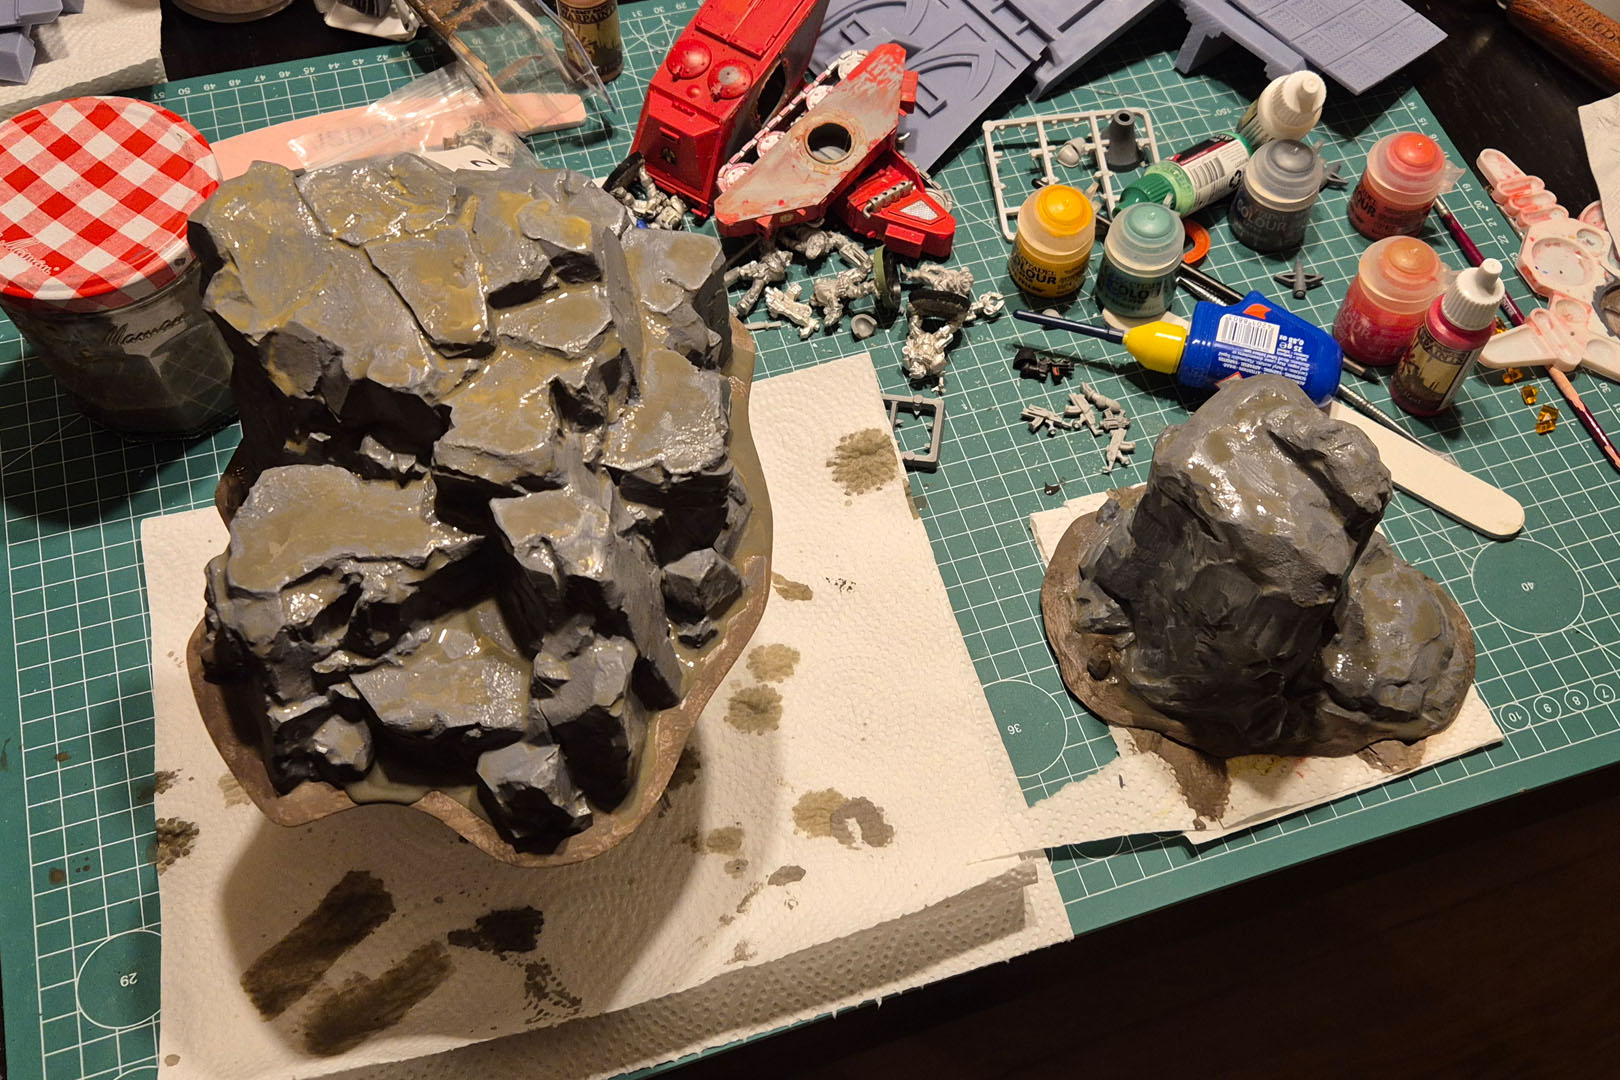
For the terrain itself, I use a custom wash instead of something like Dark Tone from Army Painter, just because it’s cheaper. I mix Liquitex Matte Gel Medium with Liquitex Carbon Black acrylic ink, water, and an acrylic paint of my choice. Since I wanted the rocks to look more brownish than black, I added ochre. (The picture shows the darker wash I also used on the Deth Wizards / Briarwood buildings, if you want a visual reference.)
I apply a generous coat all over the terrain, making sure to push it into the nooks and crannies, and then let it dry thoroughly. Sometimes I go back and add a second coat or darken specific areas to punch up the contrast a bit.
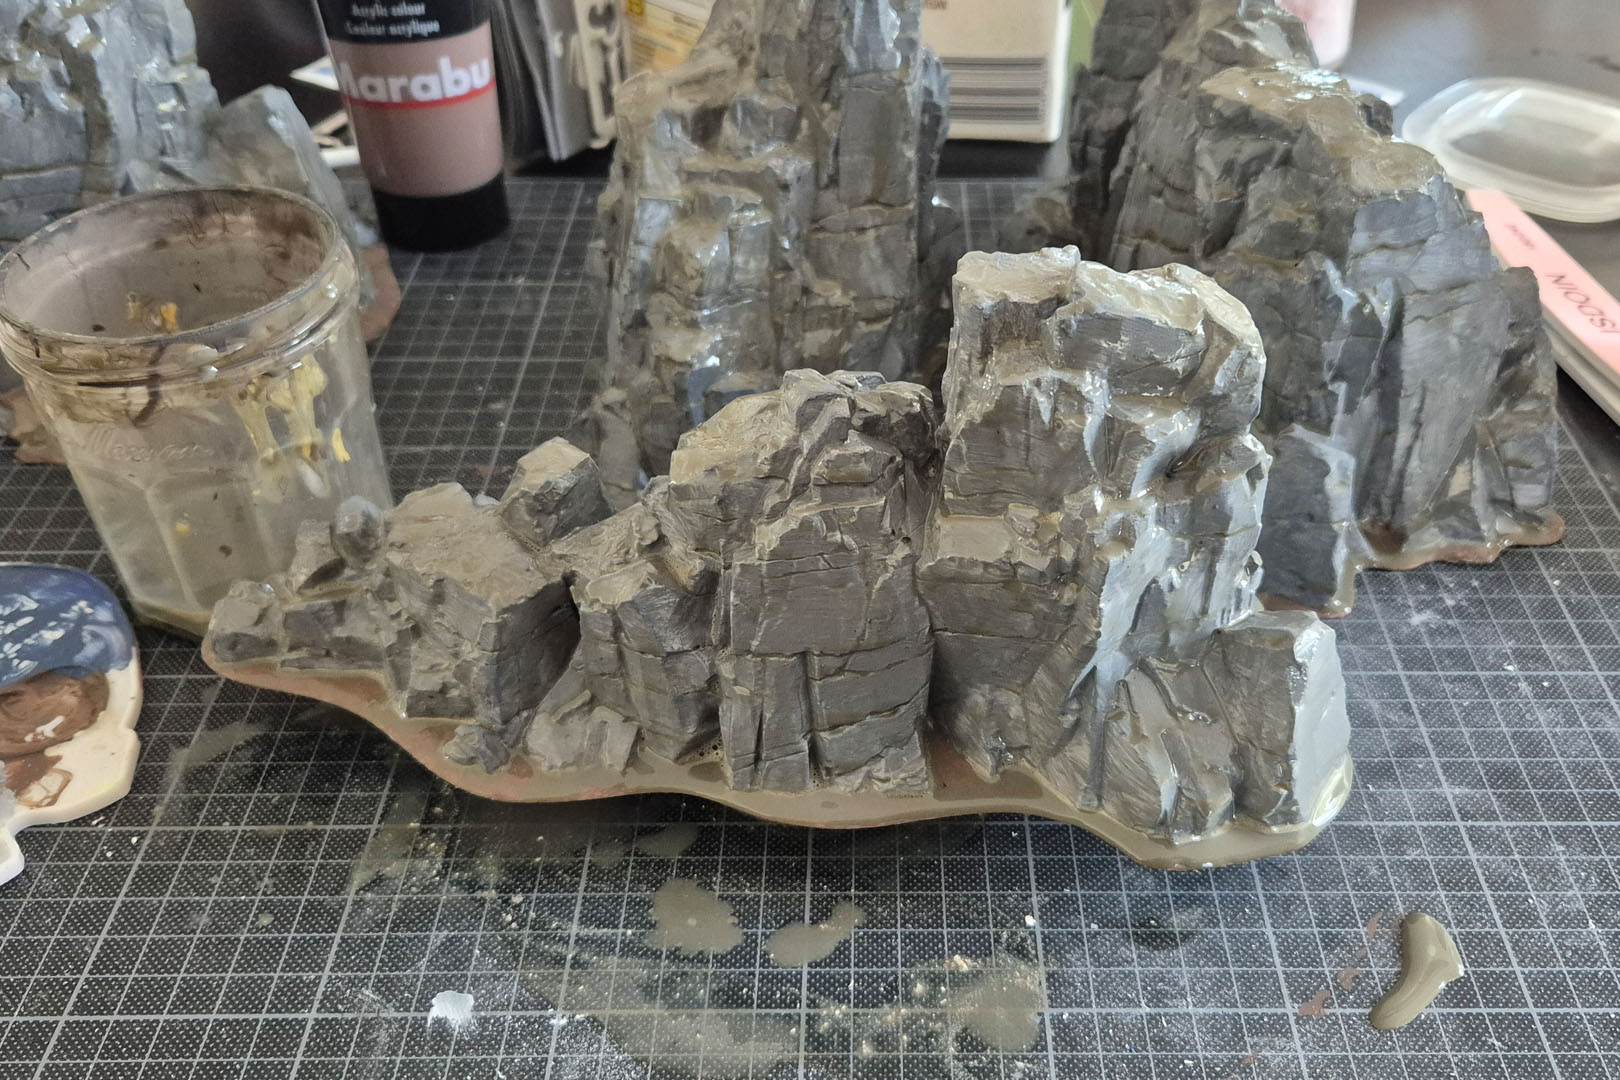
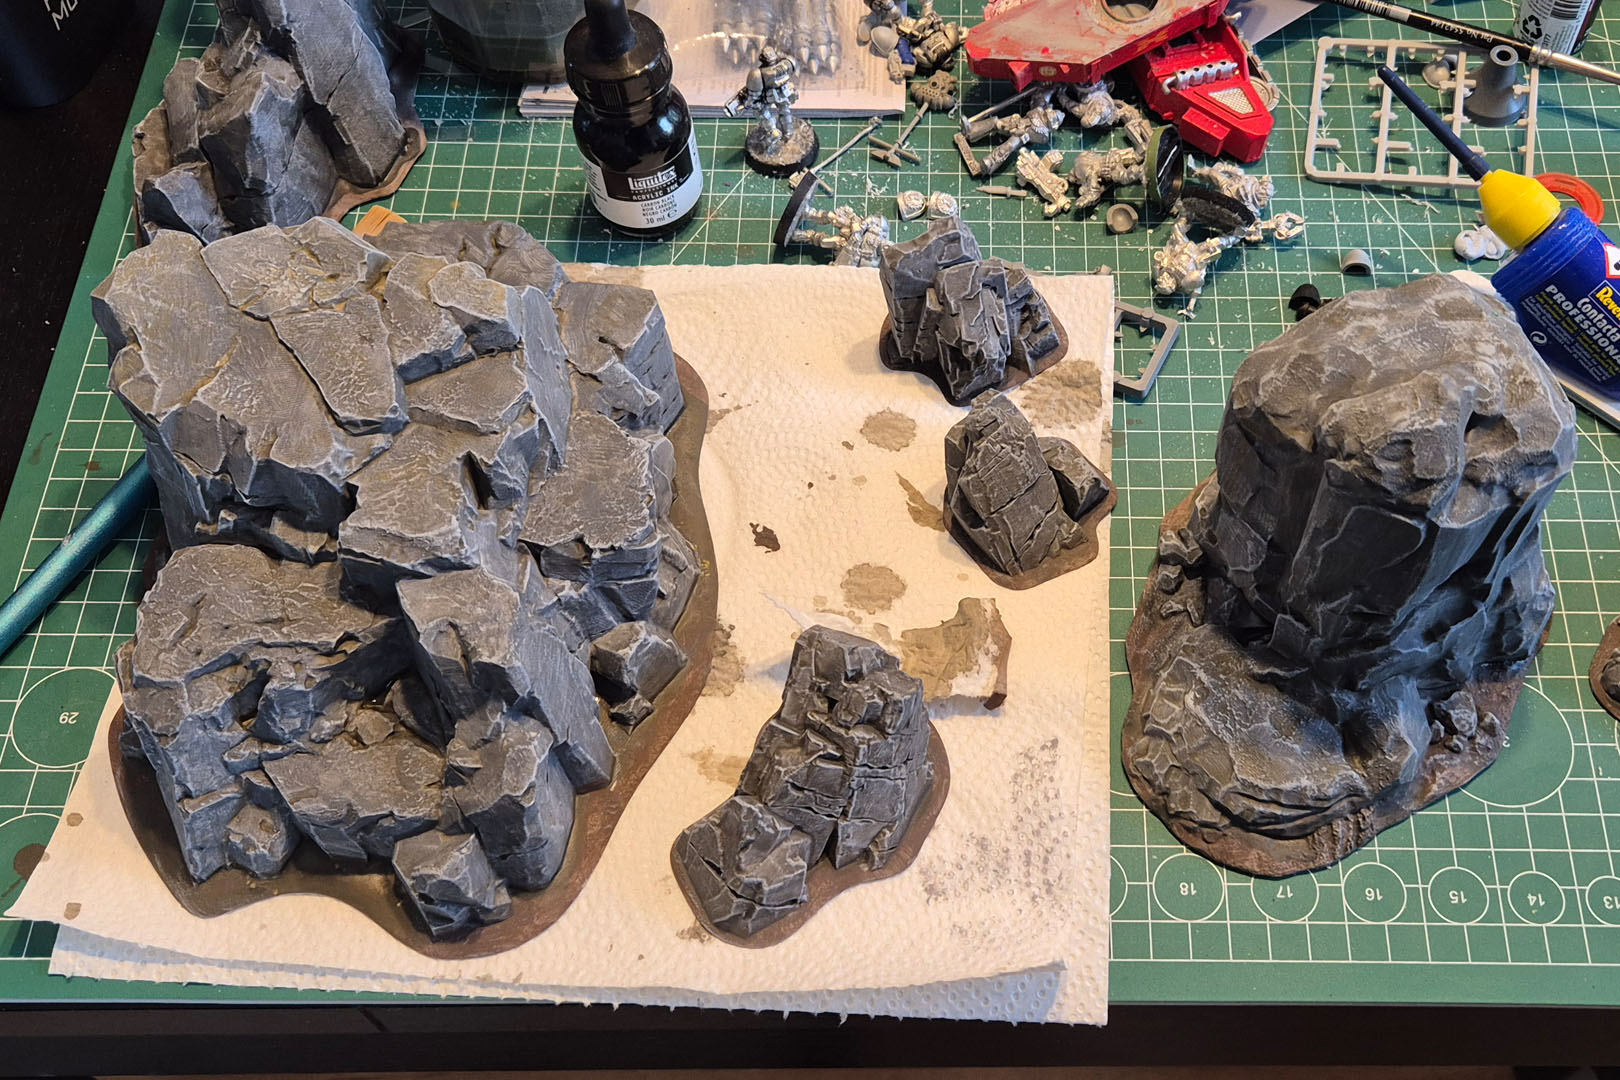
This step takes quite a while to dry, but once it’s ready, I move to drybrushing. First, I drybrush with a 1:1 mix of grey and white, then finish with a very light edge highlight just in white. Christian had Battlefield Grass Green by Army Painter with him, which worked perfectly for our retro event. A thin layer of PVA, a bit of pressing down to get the grass to sit properly, and then a final coat of sealer—and the terrain is ready for the table.

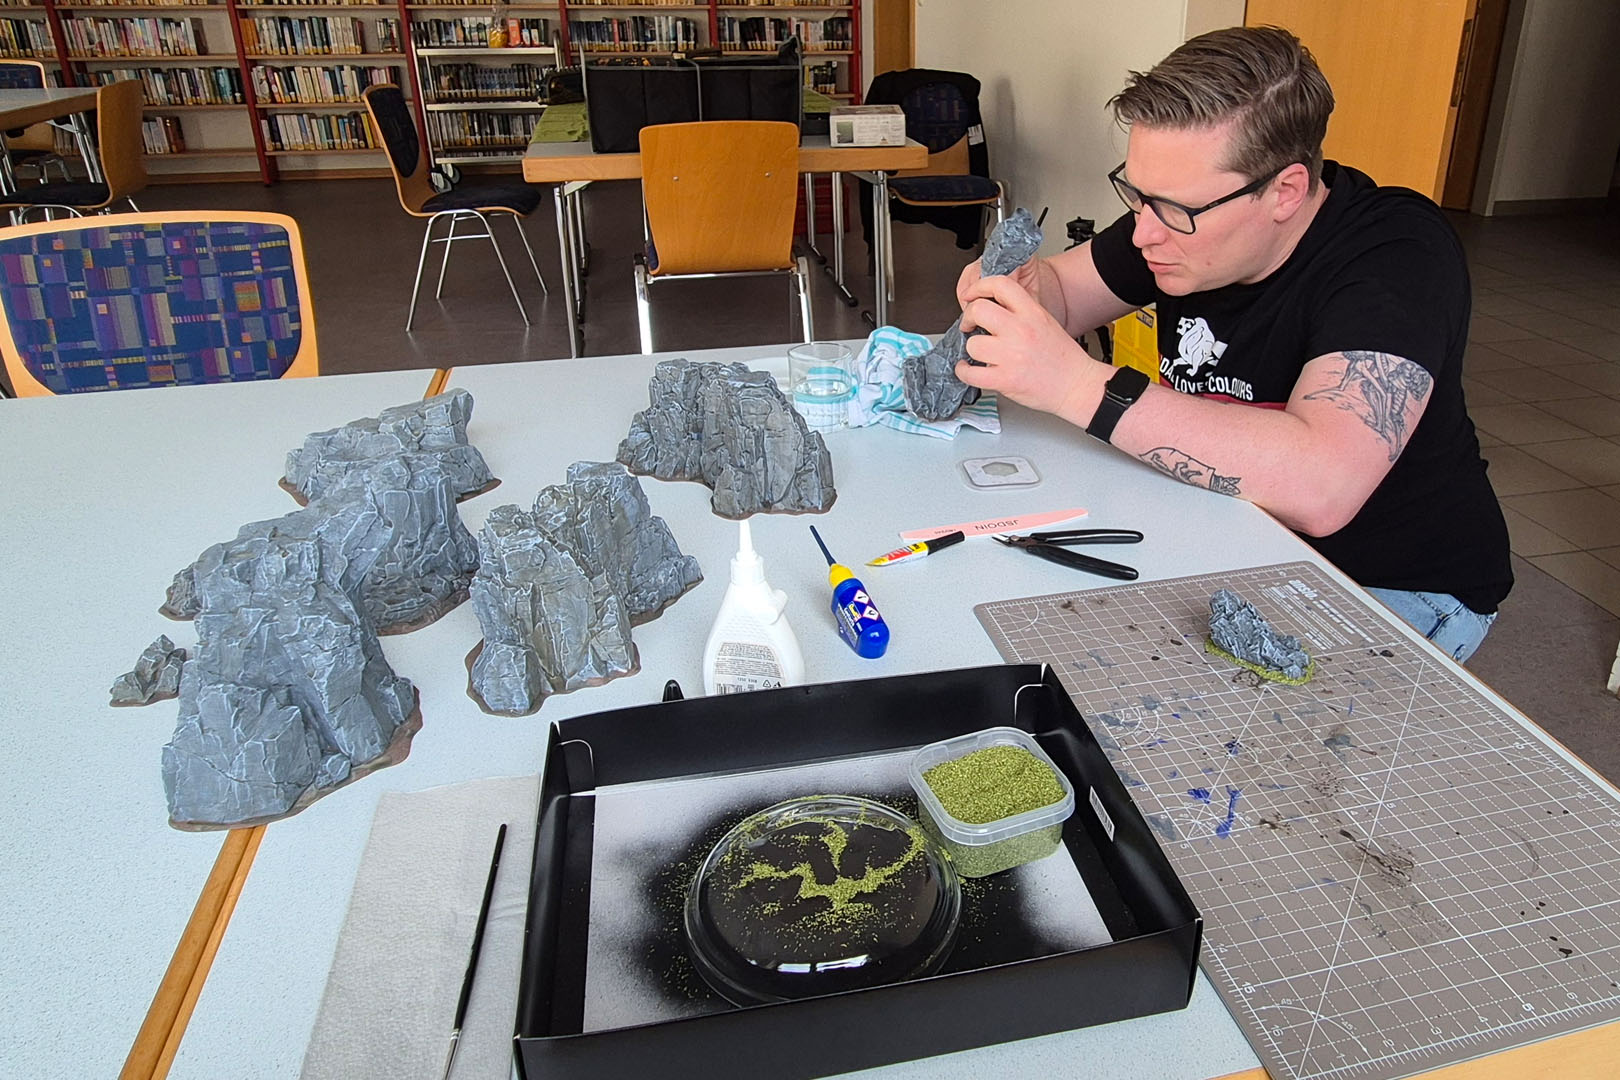
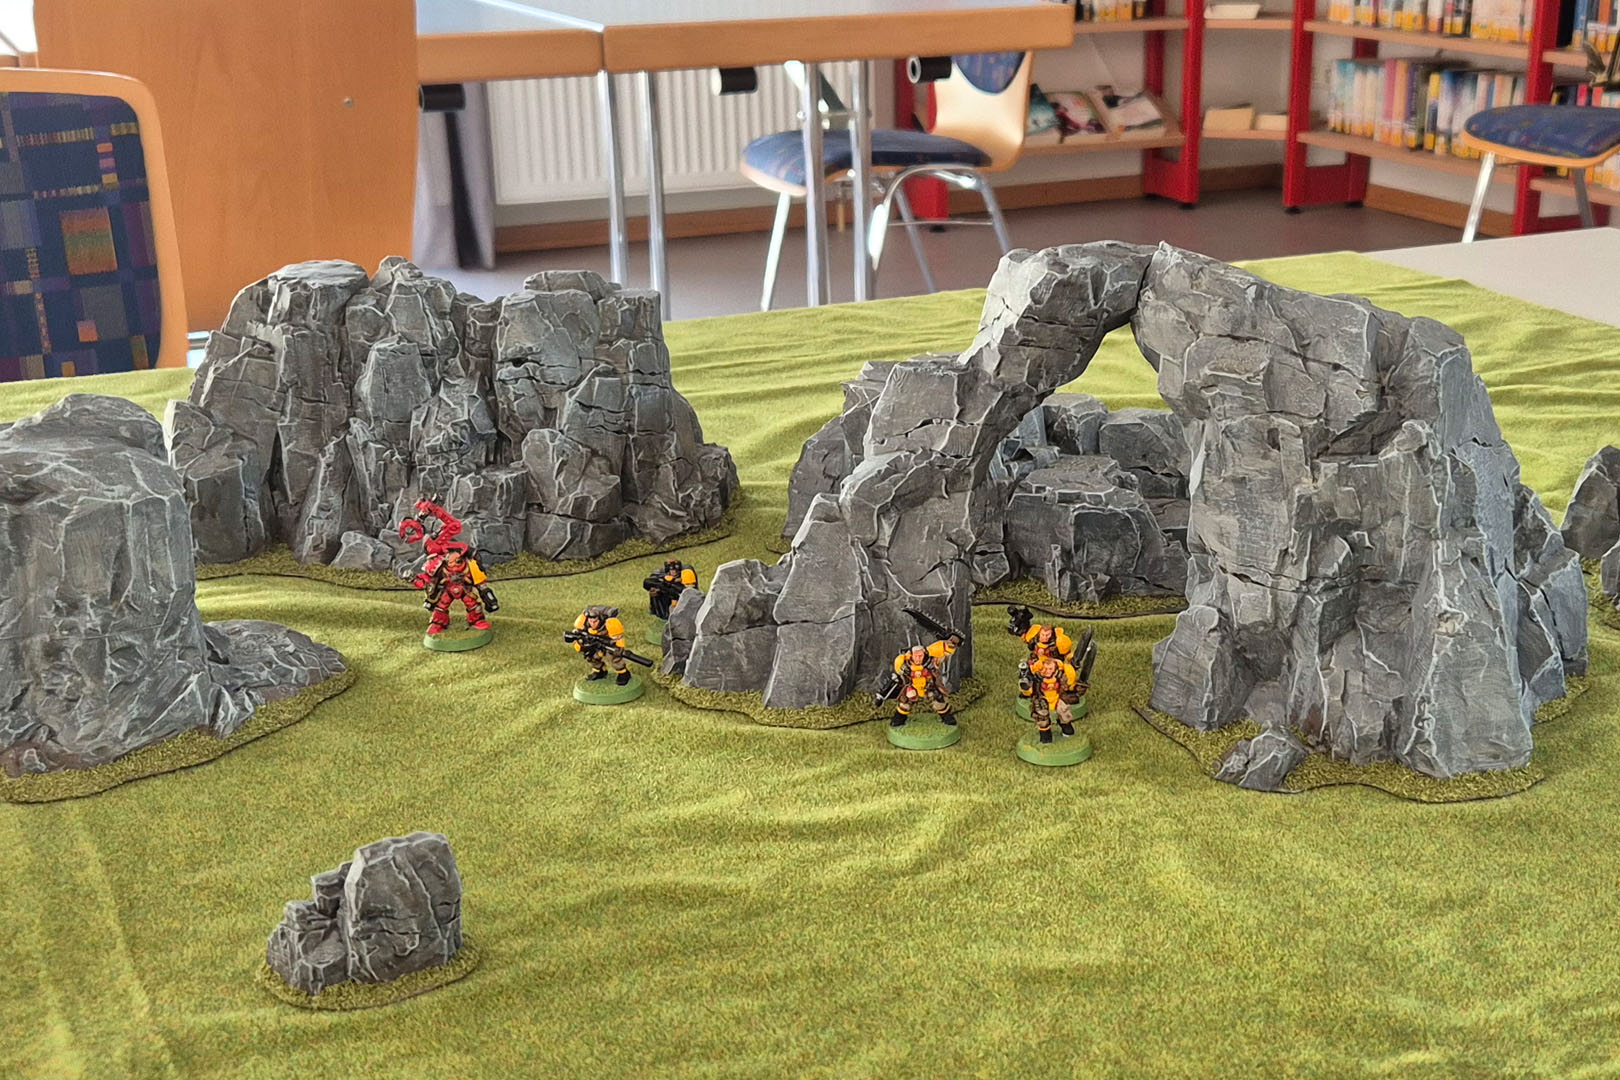
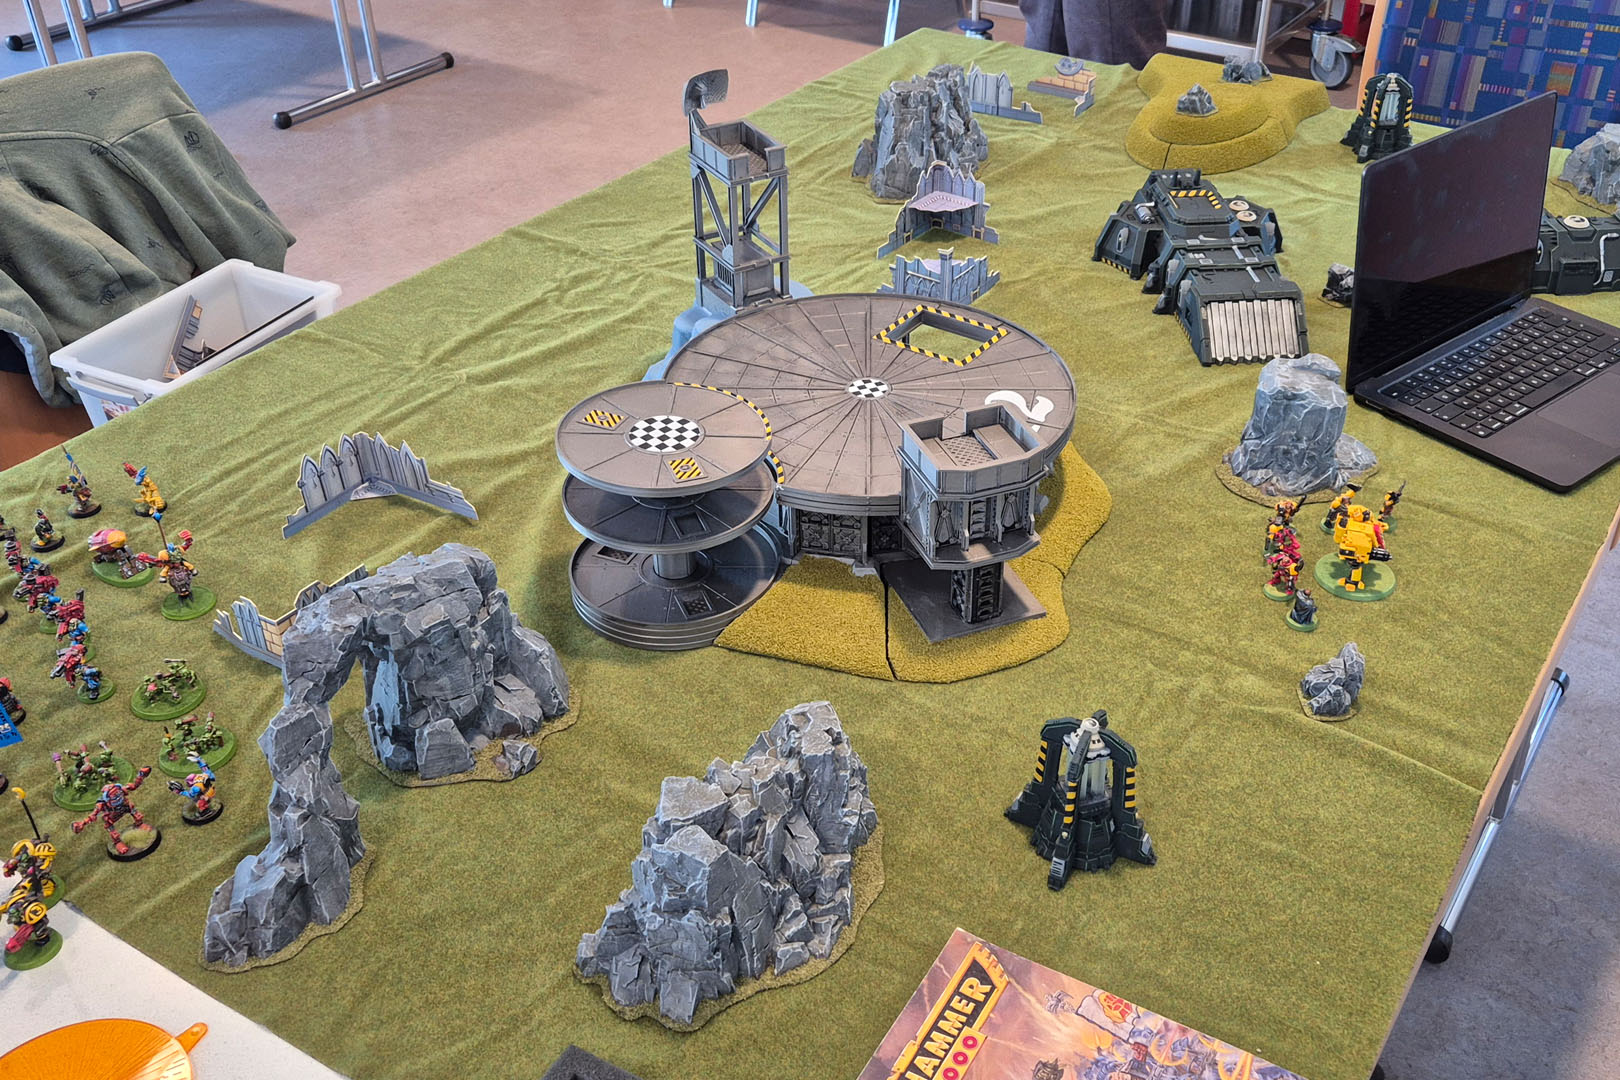
The result matches the green of our gaming mats really well, and we ended up reusing the rocks for our showcase pictures because they add a nice sense of depth to the shots.


I highly recommend the Stone Trove set. It comes in various bundles, from smaller compositions to the full “all‑in” pledge option. Add in these few finish steps, which took me about four hours for the entire batch, and you get a lot of mileage out of the models.
Enjoy this article?
Like us on Facebook

Follow me on Instagram

Categories
- events (206)
- fantasy (600)
- General (160)
- historical (637)
- Little Big Adventures (4)
- offtopic (5)
- reviews (542)
- science fiction (696)
- showroom (107)
- terrain (118)
- work-in-progress (420)


April 29th, 2026 - 10:42
Wirklich ein toller Tipp und wieder mal super geschrieben, vielen Dank dafür!
Auch generell für diesen Blog, wirklich eine super angenehme Bereicherung der Hobby-Szene.