Bolt Action Churchill Heavy Infantry Tank
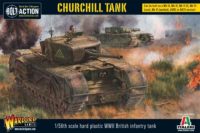
The new Churchill Heavy Infantry Tank by Warlord Games comes with a whooping 7 different variants, a reason to cover it in an extended review.
This kit is a cooperation between Warlord and Italeri (as you can see from the box art) and with its 7 variants most likely one of the most "wargame" model kits the conjoint work produced so far.
The Churchill was a heavy infantry tank of the british and commonwealth forces, a few hundred were supplied to the USSR. As the expectations to the conditions of the war in Europe were to be the same as in the first world war, the design of the tank was a large, long chassis with an ability to cross difficult terrain. It saw action in North Africa, Italy, North-West Europa and due to their use in the red army even the eastern front.
You'll find in this kit enough parts to build an Mk III, IV, V, VI B, NA 75 or AVRE. Or in detail:
- MkIII - with 6pdr gun
- MkIV - Cast turret with 6 pdr gun
- MkV - Cast turret with 95m Howitzer
- MkVI - Cast turret and Welded turret with 75mm gun
- NA 75
- AVRE (Armoured Vehicle Royal Engineers) with 290mm Petard Mortar (aka the flying dustbin!)
Mk III and IV, each with 6 pdr gun are rulewise the same.
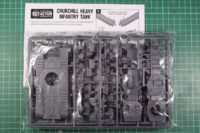
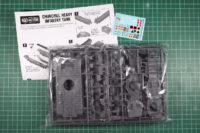
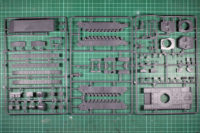
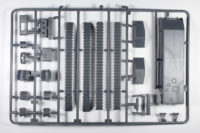
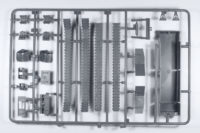
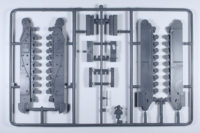
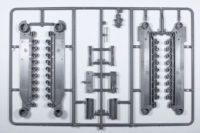
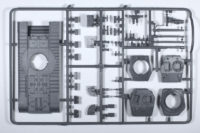
Warlord Games has this 3-sprue kit at a price of 20 GBP, along with a small decal sheet and a A4 sized double paged instruction sheet.
The plastic is slightly more flexible than the regular hard plastic used by Warlord Games, and it could be a good idea to give it a light scrub with luke warm water to get rid of any remaining solvent. The casting quality is good, with a low amount of flash / mold lines. A nice addition to this kit are the more advanced slide-in molds used for the weaponry, so there is no need to drill them open.
In this review i'll build a Churchill Mk III with 6 pdr, a Mk VI B and an AVRE. The NA 75 was used in Africa as well as the Mk III with 6 pdr, but the Theatre Selector of 1942-43 Tunisia only allows the Mk III, the two others will serve in the 1944 Normandy.
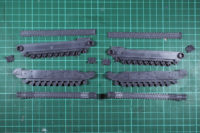
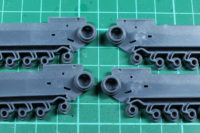
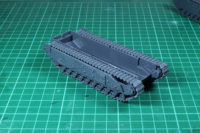
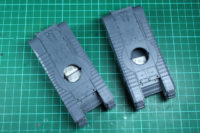
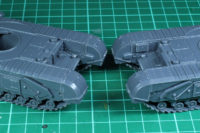
Before assembling the track sections, you have to decie, which variant you want to build. For Mk III and Mk IV the upper holes in the parts #4 and #5 have to be drilled, for the other variants you can just continue with the assembly. The track sections are detailled and with the tracks themselfs combined into longer segments, easily assembled.
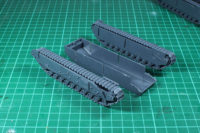
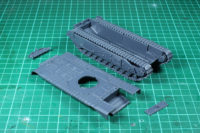
The assembled sets of track are added to the lower hull, and the upper armour along with front and back plate are added. On some pictures from the war, you can see variants of the Churchill without the upper track guard, or at least segments removed. If you want to convert yours, this is the step to do so, because afterwards you won't be able to or it will take a lot more work. I was a bit surprised, that this wasn't thought of in the kit, as it would make the whole tank even more variable.
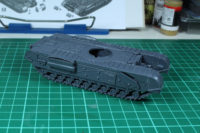
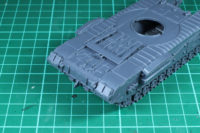
The basic hull is now complete. As always I added lead to the chassis, to weigh it down. Some people use bolts, washers or fishing lead, I went with wheel weights.
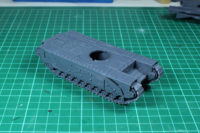
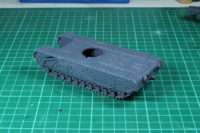
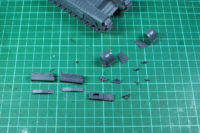
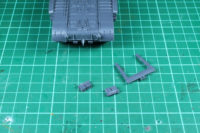
Now a lot of small parts are added to the hull, the frontal track guards, air intakes and lights. A few of these are rather small and it is easier to use tweezers to glue them into positoin.
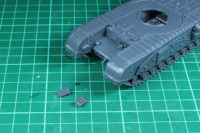
With the Mk III/IV there is an additional step, as we drilled holes in the sides of the tracks, there is an additional part to be placed.
Just adding boxes to the rear and the exhaust system, as these are the last parts for the chassis to be finished.
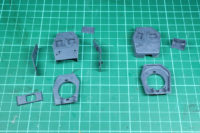
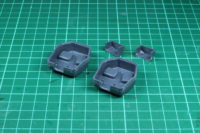
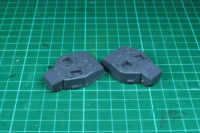
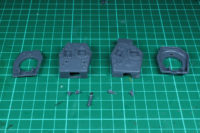
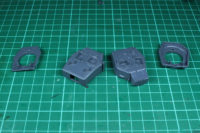
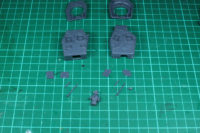
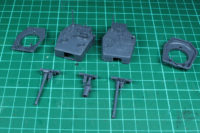
Next build group are the turrets. There are the welded turrets (left) for Mk III, VI and prototype V CS, as well as the cast turrets (right) for Mk IV, VI, NA47, AVRE and V CS. Part #32 has to be prepared with slots for the fire extinguishers to connect, along with another cut out in the cast turret for the external stowage container.
As mentioned early, this review will cover the build of a Churchill Mk III with 6 pdr, a Mk VI B and an AVRE. So we need one welded and two casted turrets. The parts are prepared according to the instructions.
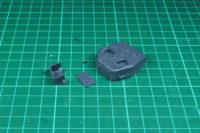
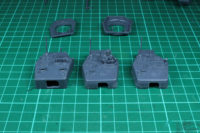
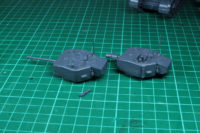
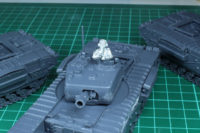
In this step the sights, fire extinguishers and the stowage container are added. Don't glue the lower plate of the turret just yet, as there still has the gun to be added. The hatches on the turret can be glued open or closed, and the optional tank commanders might be added. I went with two open and one closed commanders hatch.
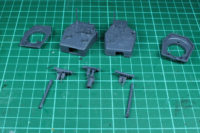
As you can see here, the guns are casted with an open barrel, and the 6 pdr, AVRE and 75mm gun are ready to be assembled.
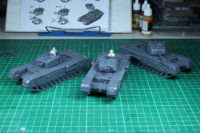
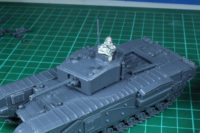
The set of three with added turrets can be seen here. You can replace the plastic commanders with the metal miniatures by Warlord Games or the Perry 8th Army range.
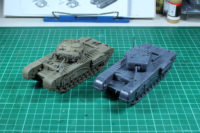
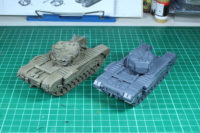
Here is a comparison to the older resin model by Warlord Games. The resin kit keeps up, despite of his age and was a pleasant build. I added the hessian tape to the turret and might add this to the plastic tanks as well (at least to those, that will be seeing action in North-West Europe.
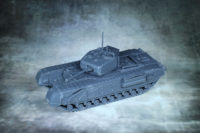
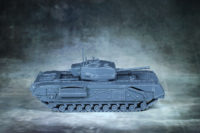
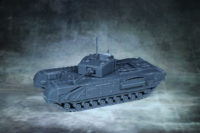
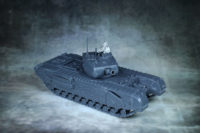
A different view shots from around the tank, in the different variants.
Conclusion
This 7-in-1 kit by Warlord and Italeri is very well done. I like the multi-options in this kit, a bit of stowage and split track guards would have given this kit an A+ rating. 20 GBP is a good price this kit as well, you can get a platoon of 3 for 50 GBP.
Casting is good, assembly works well. A few smaller parts that might not be great for beginners, but with a bit of patience doable. A proper fit and good details. It is not simplified for the purpose of gaming, and that is something that I like about these kits. As the Churchill is a sturdy tank, there are no flimy parts that might be to delicate (you could replace the antenna with a bristle from a dirt brush).
As mentioned in the first paragraphs, the Churchill was used by the British and Commonwealth forces on the European battlegrounds, as well as North Africa. Due the Lend-Lease programe they can be used by the USSR players as well. As we have proper plastic kit here, that is a "fertile" base for conversions, you could convert it into a ARK/ARV, bridgelayer or even Gun Carrier.
Bolt Action is a brand of Warlord Games.






Leave a Reply