Masking Tape and Flakes Again
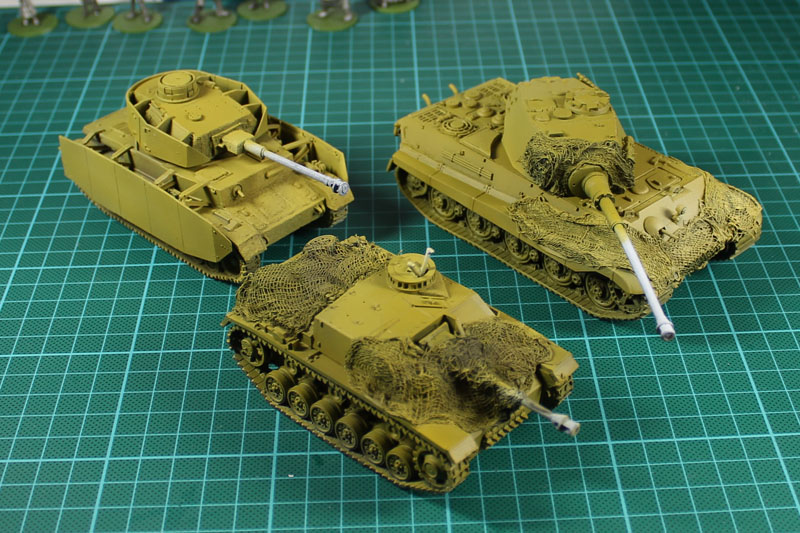
I used the weekend inhouse, due to bad weather and hay fever, and did some further painting on the tanks. The Vallejo Dunkelgelb tends to be a bit to dark, even for dark yellow. So i gave the tanks a new coat of the dunkelgelb but with a few drops of Pegasus Leinenweiss. Beside that i wasn't that happy with the first camo try.
Paint off, Paint on
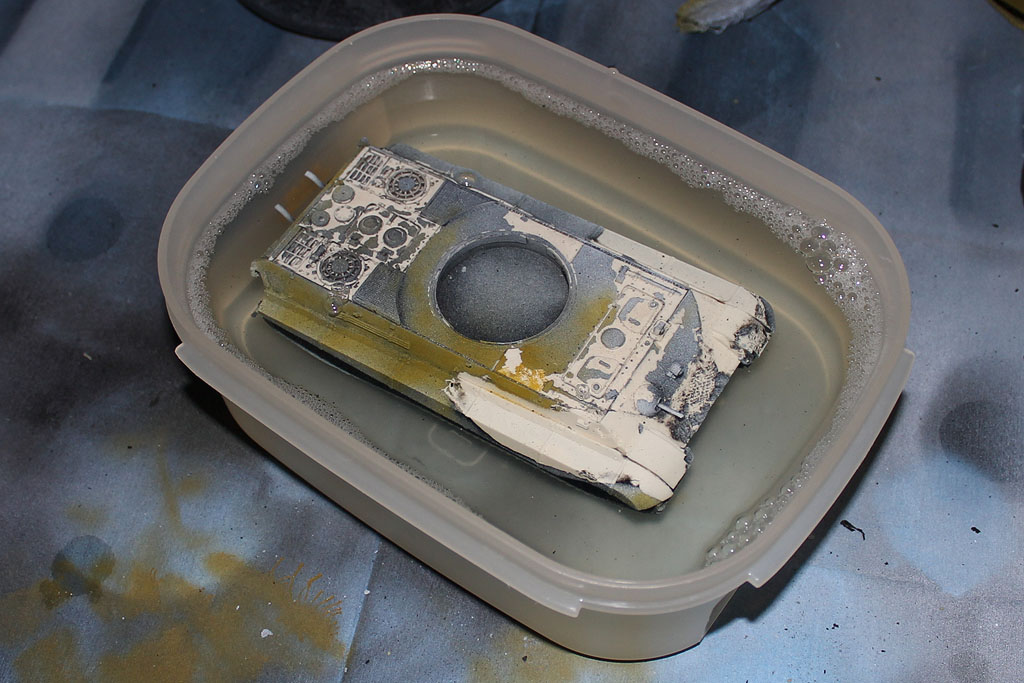
I have chosen to strip the Kingtiger off the paint, using Mellerud as it can be used for Resin. Gave it a quick bath for 2 hours and got rid of all the remaining primer and flakes.
Yellow … flakes?
As promised, the next layer of colour on the tanks. Its Vallejo RAL Dunkelgelb as Surface Primer. You could spray it right onto the tank, but i prefer doing it on top of a primer.

T(h)ank you …
As promised, after the camo netting dried, the tanks got their primer. I was asked, how did you do the camo netting? I used some old gauze bandages and tissue paper (the center area of the tissue without the structure). You simply cut it into the right size, dip it into a mixture of pva and water, wipe off excessive amounts of the pva-water-mixture and bring it into position. As the material soaks full with the mixture and later on dries nearly rock hard, it can be used for gaming purposes without any problems.

Tanks and Airbrush
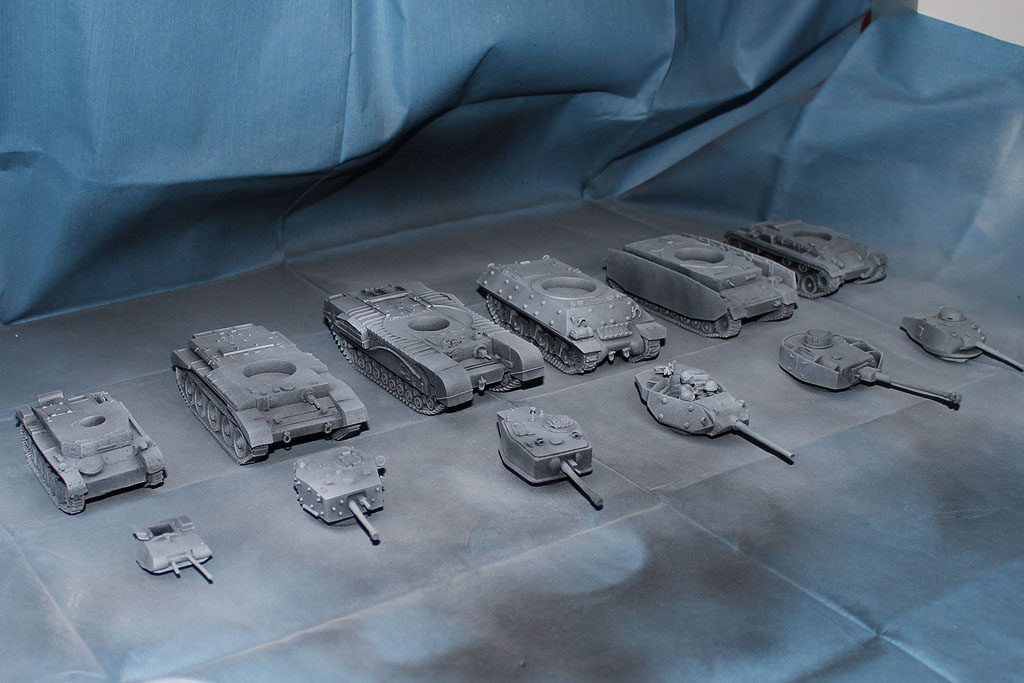
After cleaning the resin tanks from the release agent with a warm soap bath and an old toothbrush, they were ready to get painted.
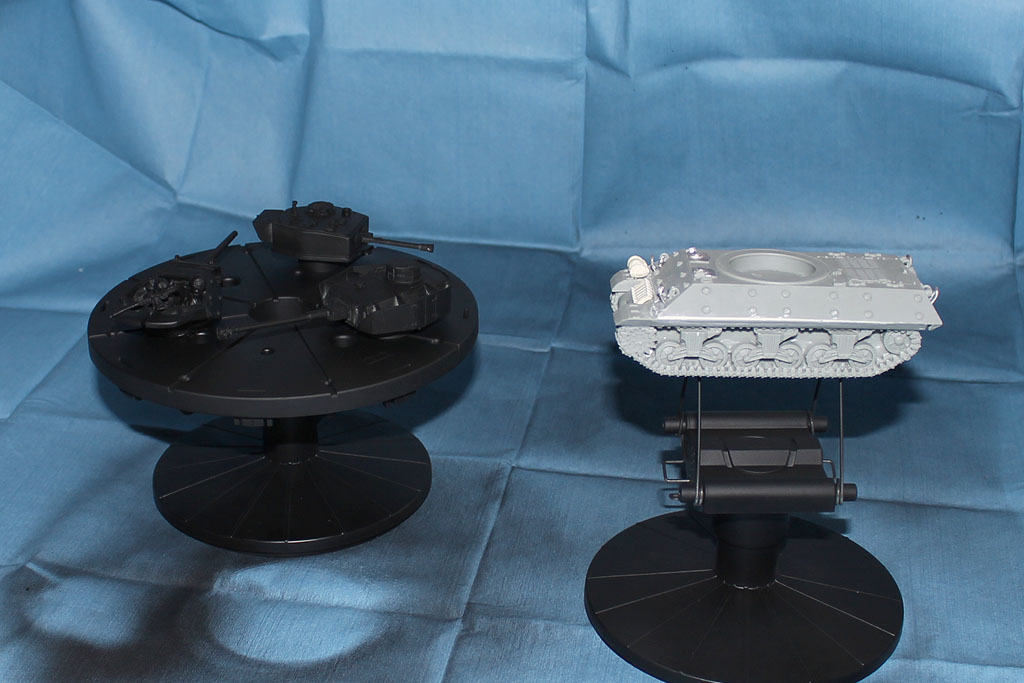
First time the tamiya painting stand got used, and i find it pretty usefull. All of the tanks got a solid black primer from the army painter cans. And afterwards a zenital lighting / white dusting.
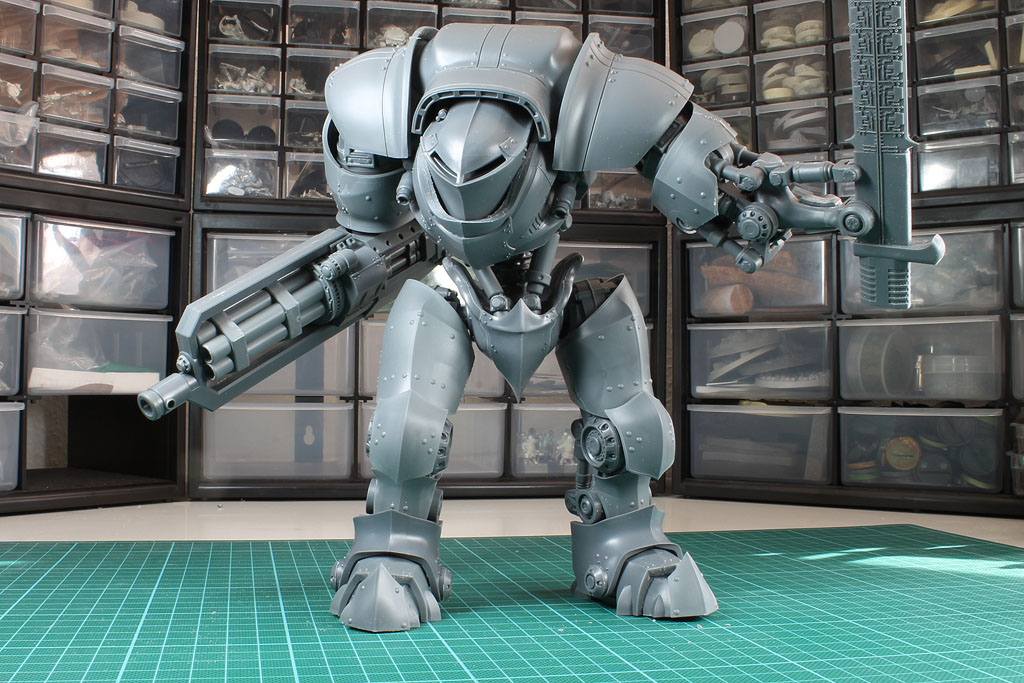
Leviathan Crusader
Almost 6 hours and more than 200 pictures later, the review on the Leviathan Crusader from Dreamforge Games is done. It will take a few days until all the images are edited and the text is written, but i don't want you to wait that long and want to show you some pictures ahead of the review.
Like us on Facebook

Follow me on Instagram

Categories
- events (193)
- fantasy (553)
- General (156)
- historical (603)
- Little Big Adventures (4)
- offtopic (5)
- reviews (477)
- science fiction (599)
- showroom (98)
- terrain (109)
- work-in-progress (398)


