Konflikt 47 Allied Coyote/Guardian Light Walker
At the end of August, I've held a Konflikt 47 walker in my hands for the first time and was thus able to gain my first experiences with the Coyote kit. The walker is delivered in a box, but is effectively housed in a classic clampack.
After I freed the Mech from his package, the following picture of contents could be seen: lamps, flamethrower and heavy machine gun were included twice, a regular one once. The flamethrowers and the light machine gun are mounted on the arms. If you choose only to use the flamethrowers, the british Guardian variant of the Coyote is built.
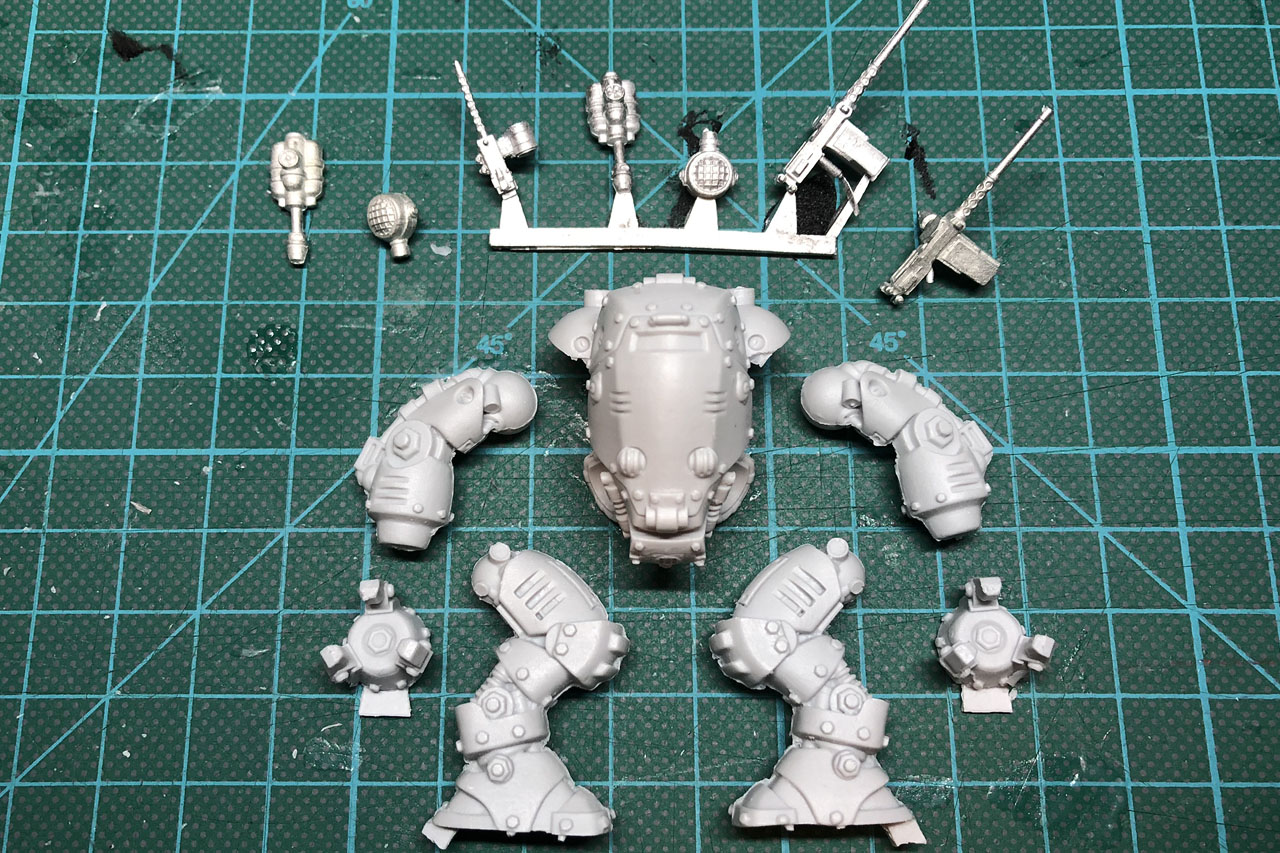
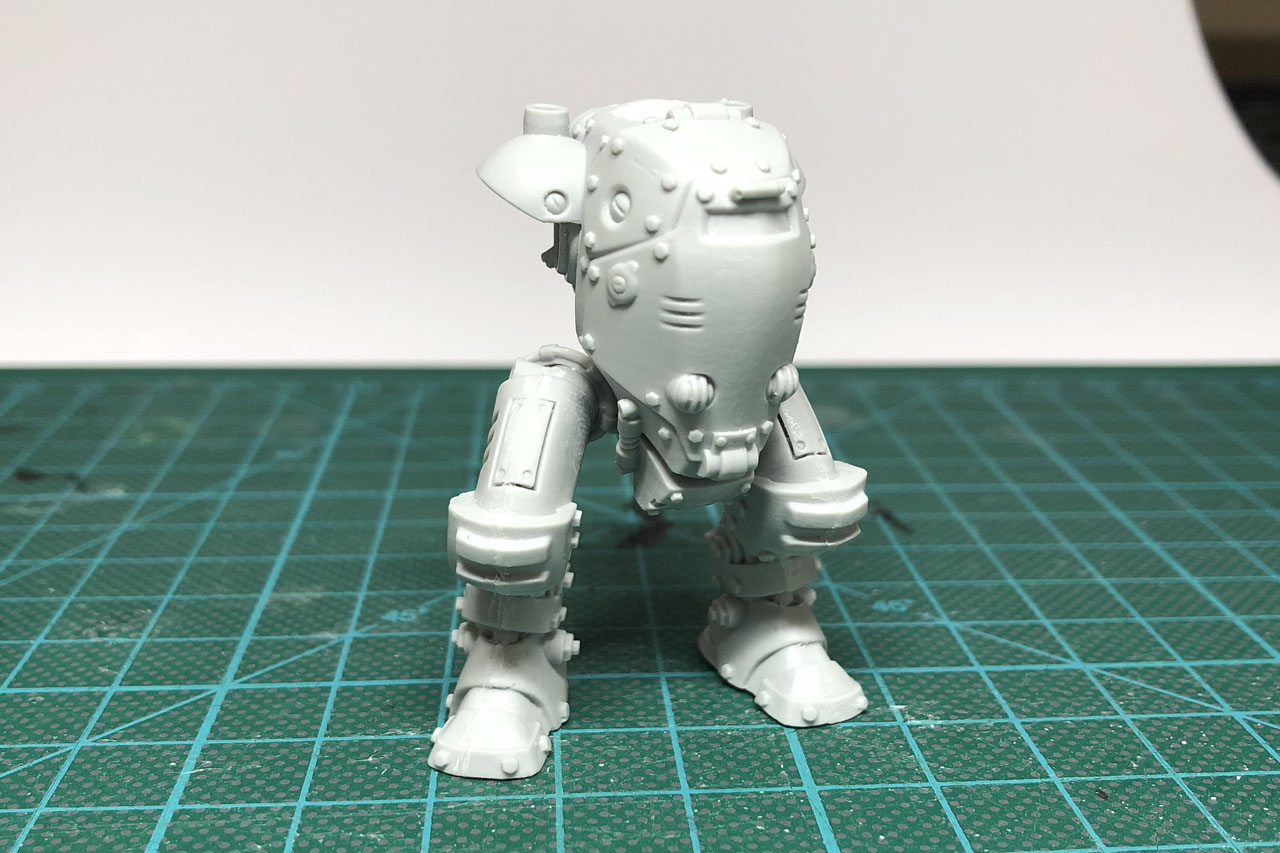
If you take a look at the various "Unboxing" content on the net on the U.S. starterdeal, it is noticeable that the Coyote still has arms and legs made of metal there. In the clampack only the accessory sprue wasn't cast of resin. When I cleaned the model of the moldlines there were quite a few burrs to be seen, but I easily got rid of them with a cutter knife. Only the path of how they run over the model is a bit unfortunate, because, for example, the inwards pointing spots on the knee padding, or the generator on the back cannot be cleaned well, without possibly damaging the model.

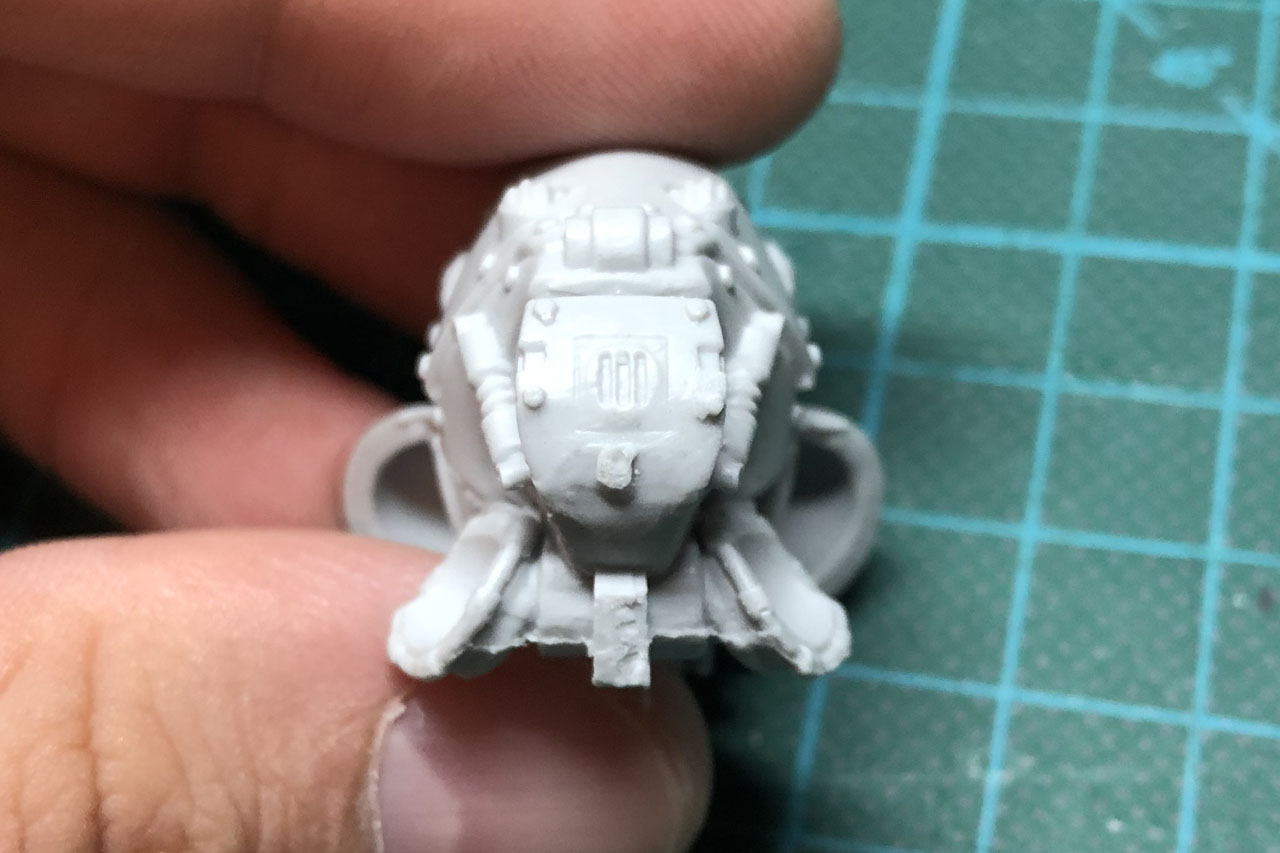
It does not bother me very much, as it can be explained as fighting marks, but painters could have a problem with it. You have to be similarly careful with the burrs on the MGs, as they bend easier than a spoon in the hands of Uri Geller.
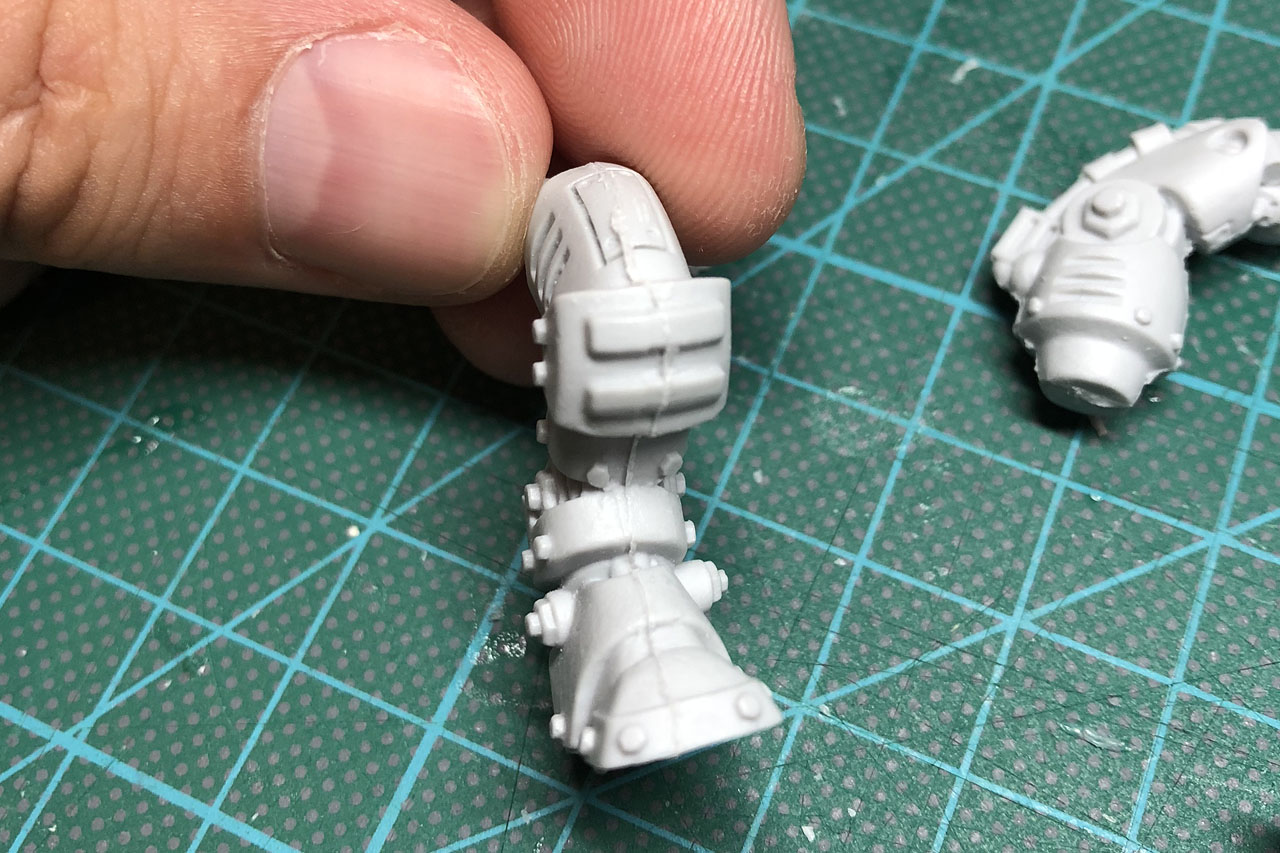
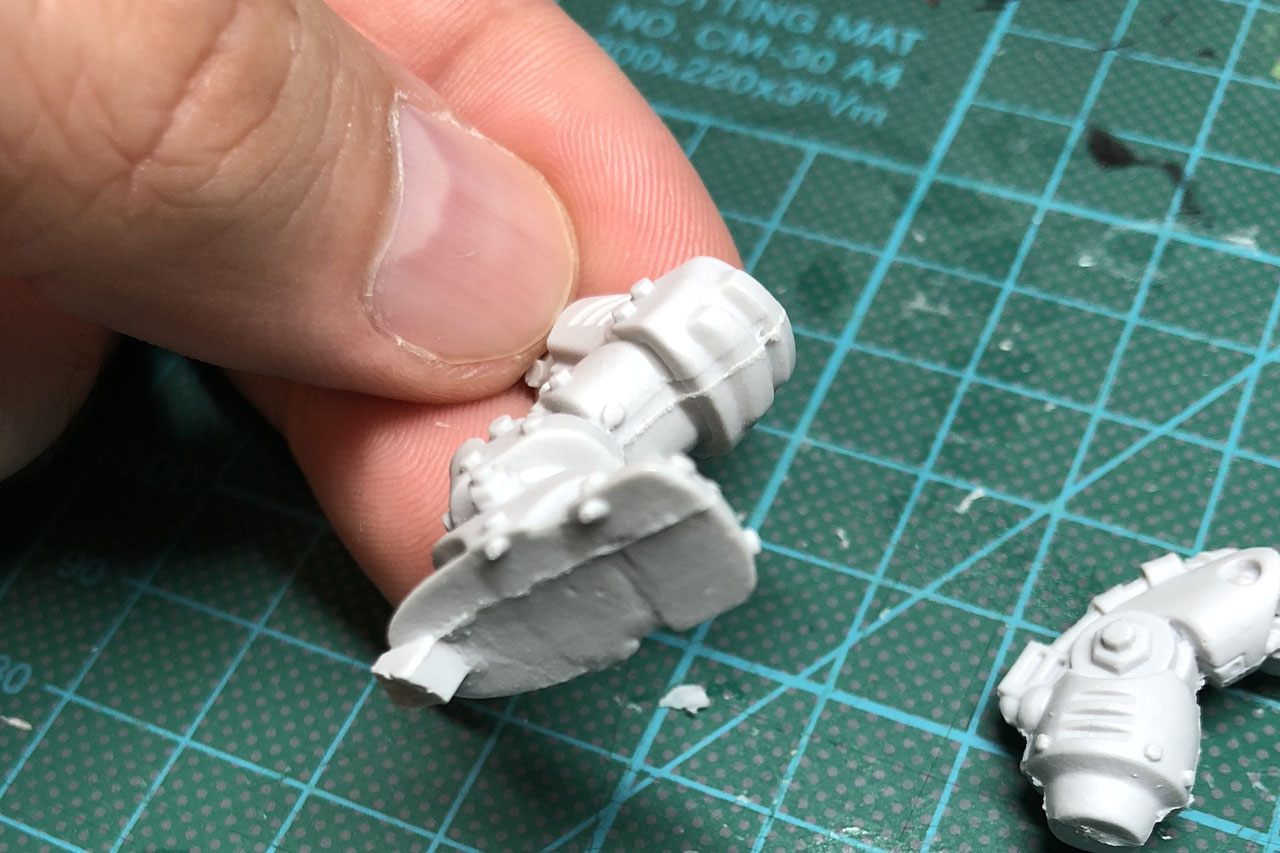
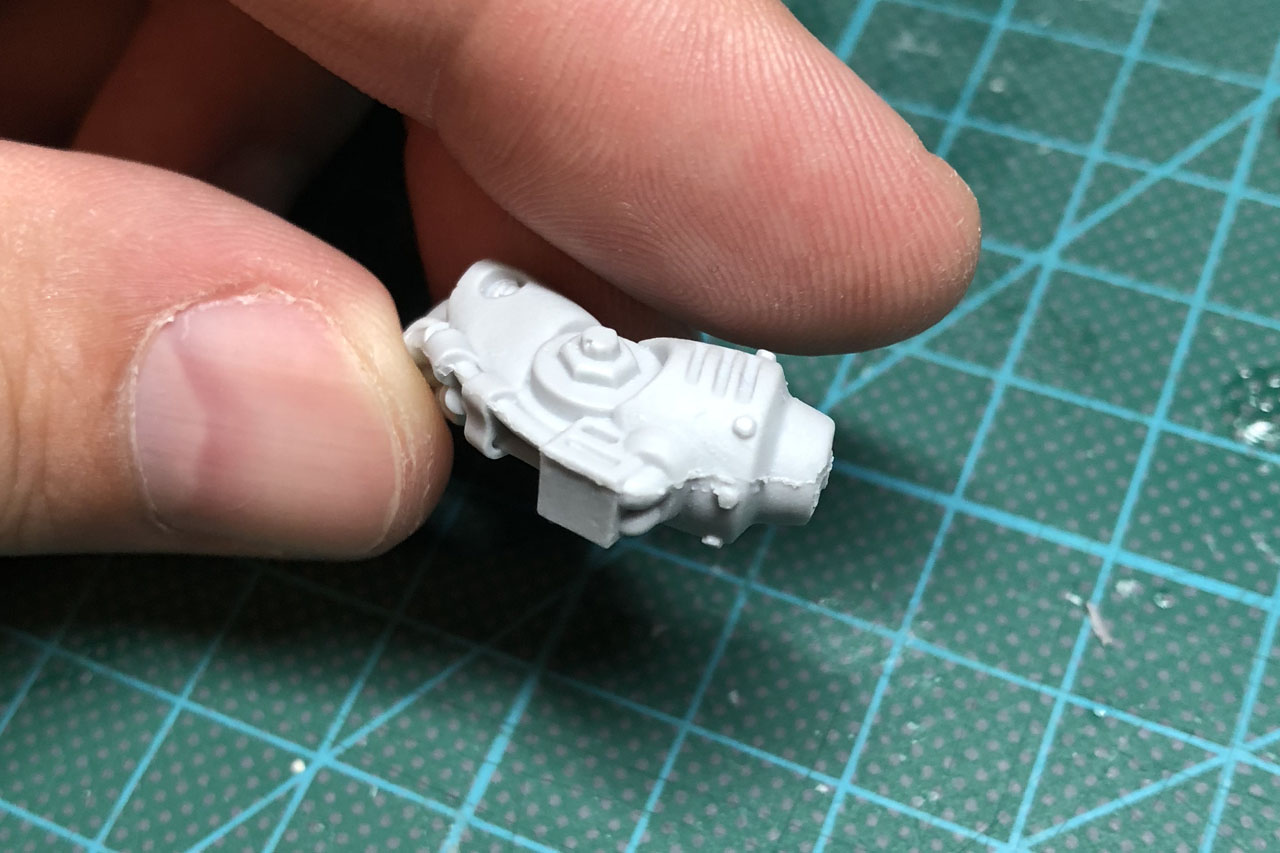
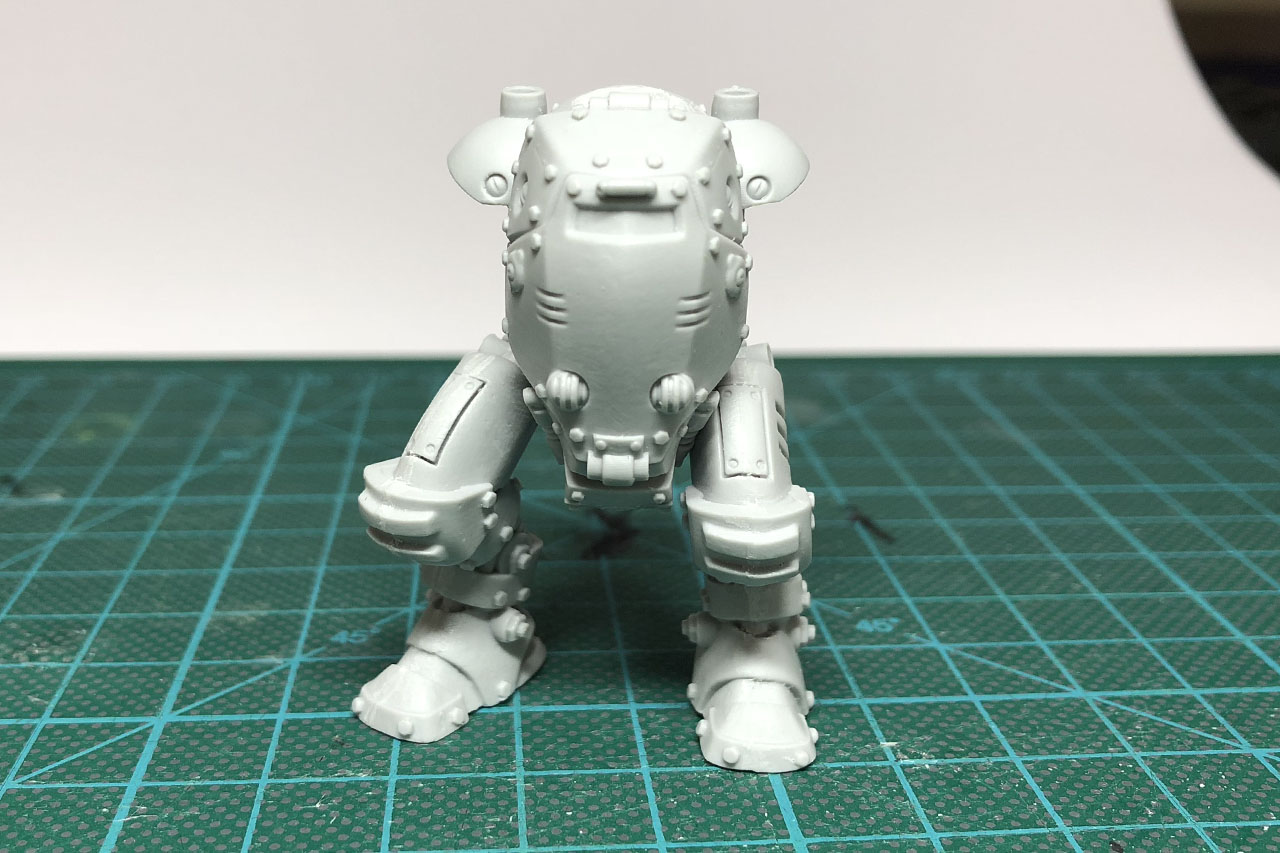
Since the kit comes without instructions, here is how I tackled the assembly. First of all, the legs and the cockpit must be connected. Fill some superglue into the recesses on the body and place it with the legs attached immediately on a smooth surface. This is the best way to align the legs. In order to give a little more dynamics, I turned one of the legs slightly outwards.
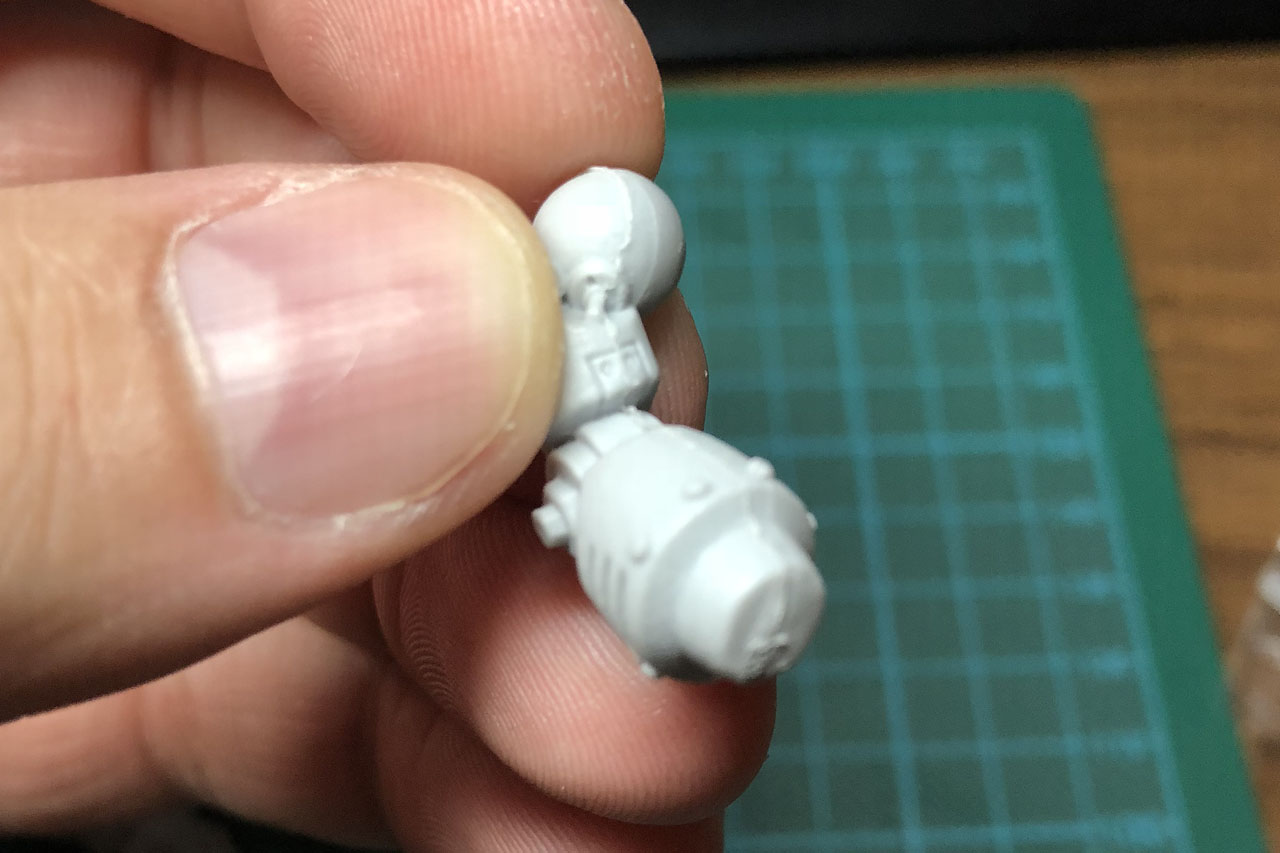
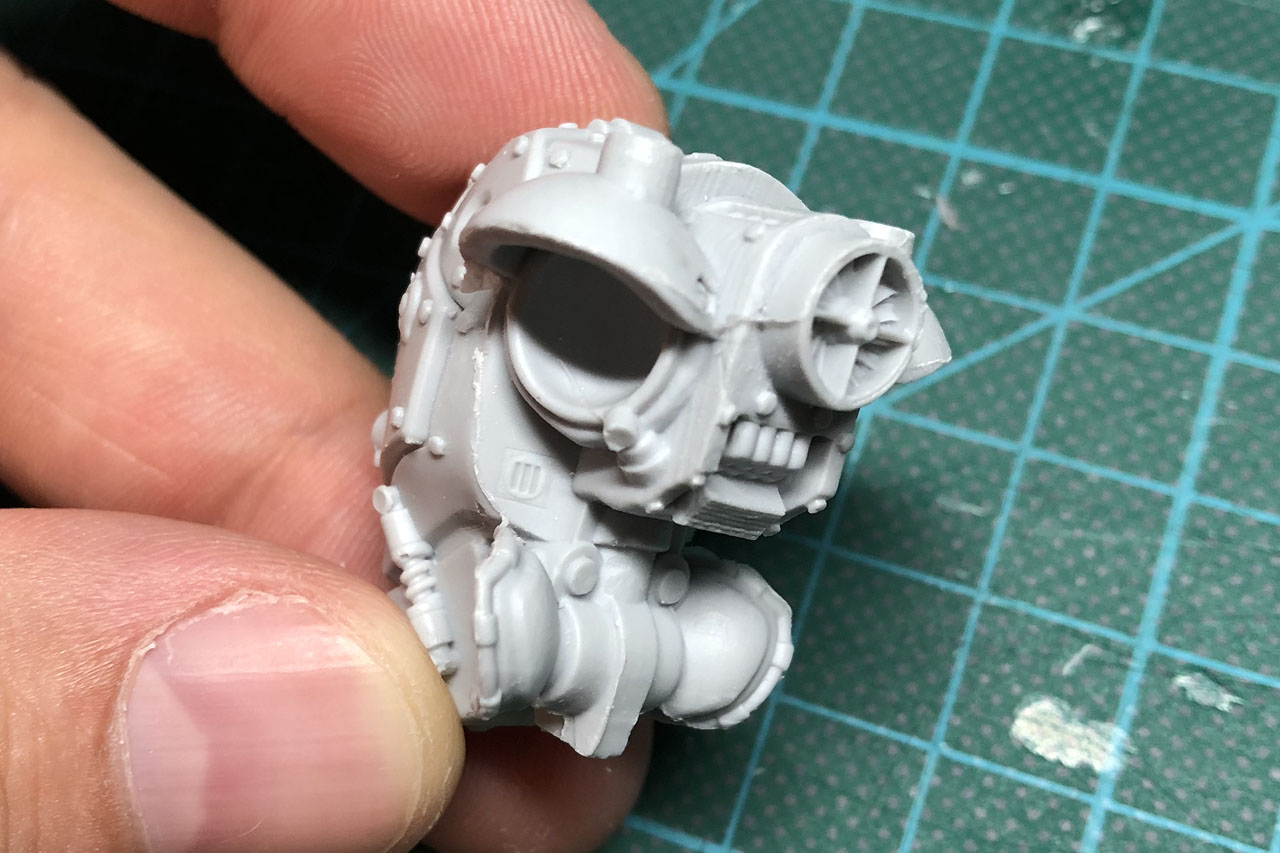
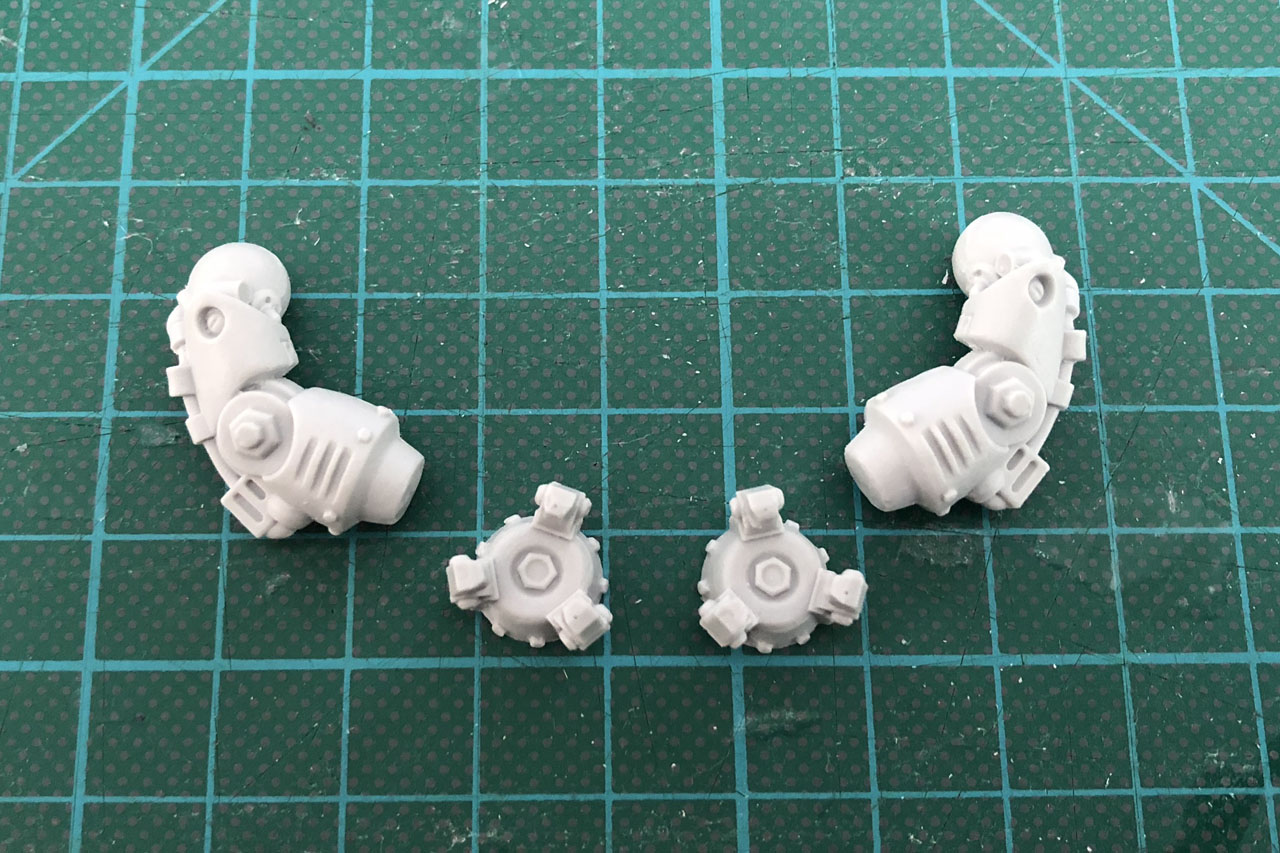
Now it gets tricky. The hands must be mounted on the arms, but it is important to rotate them so that the ventilation slots are between two of the "fingers", because later on the weapons are mounted onto the shafts. The fingers could be in the way, if not turned properly, so test the position of the weapons before you attach the hands. By the way, without the weapons, the walker also makes for a decent loader bot in various other settings.
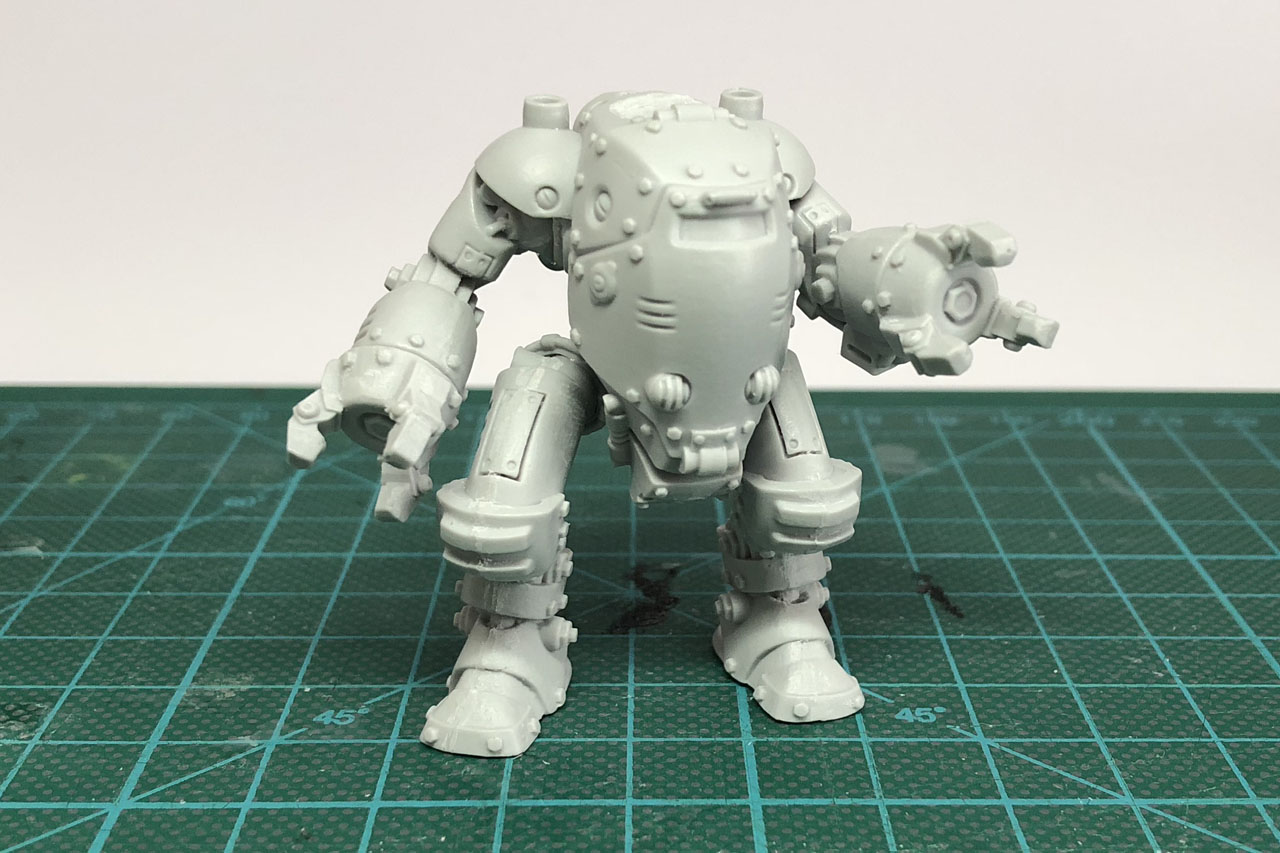
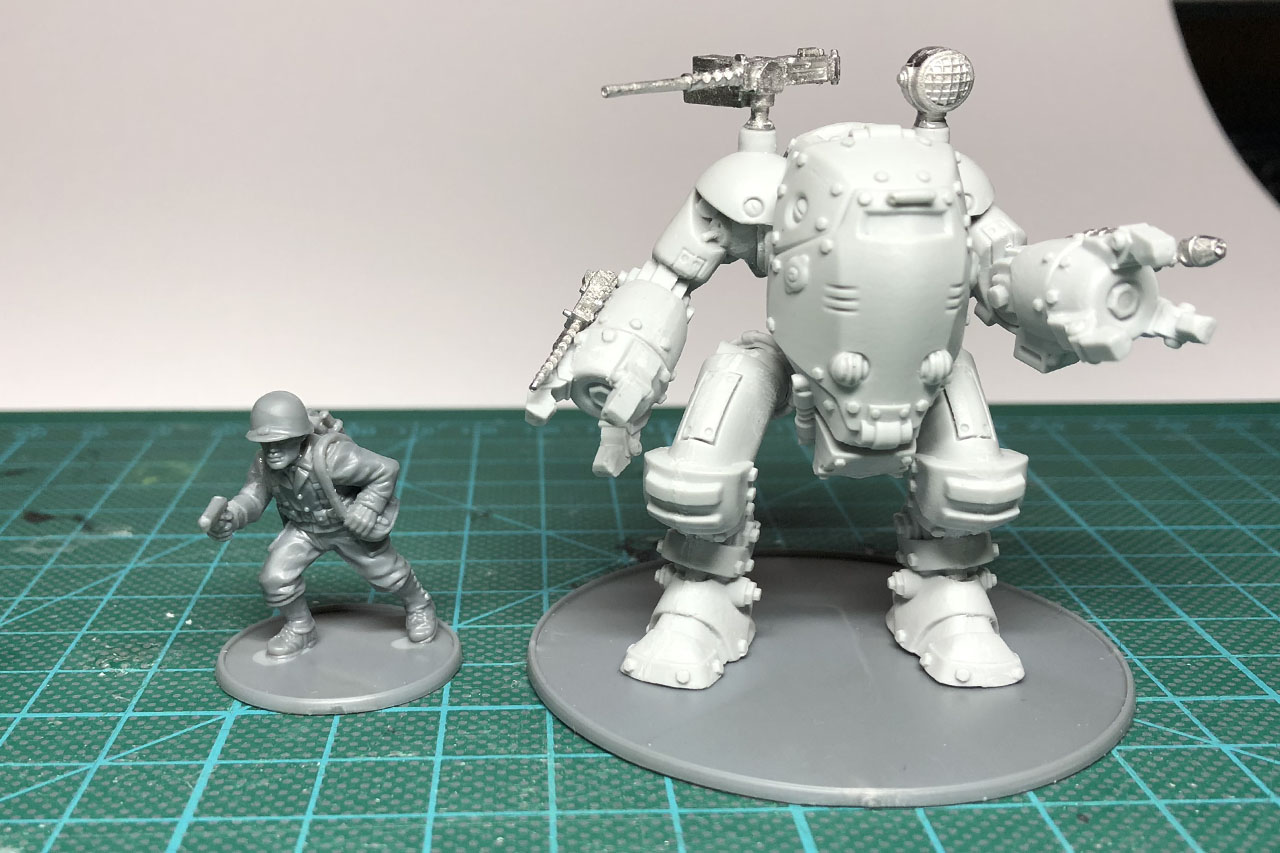
All that is left are the weapons that have to be glued on. I have assembled the runner as pictured on the box, but in retrospect, I think I should have put the heavy machinegun onto the other shoulder, since the handle for aligning the MG is on the right side. In terms of size, the runner is twice as big as an American G.I. from Bolt Action and thus creates a smooth picture.

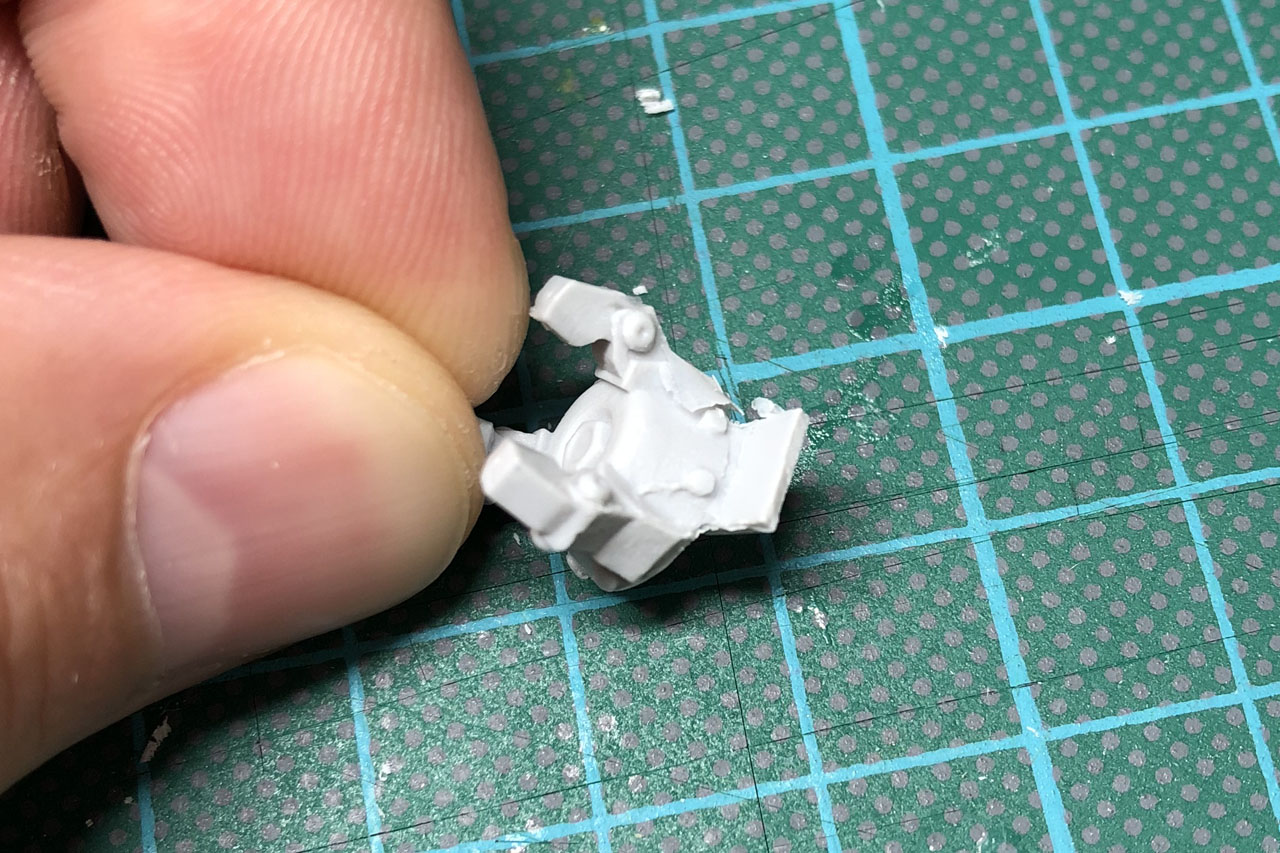
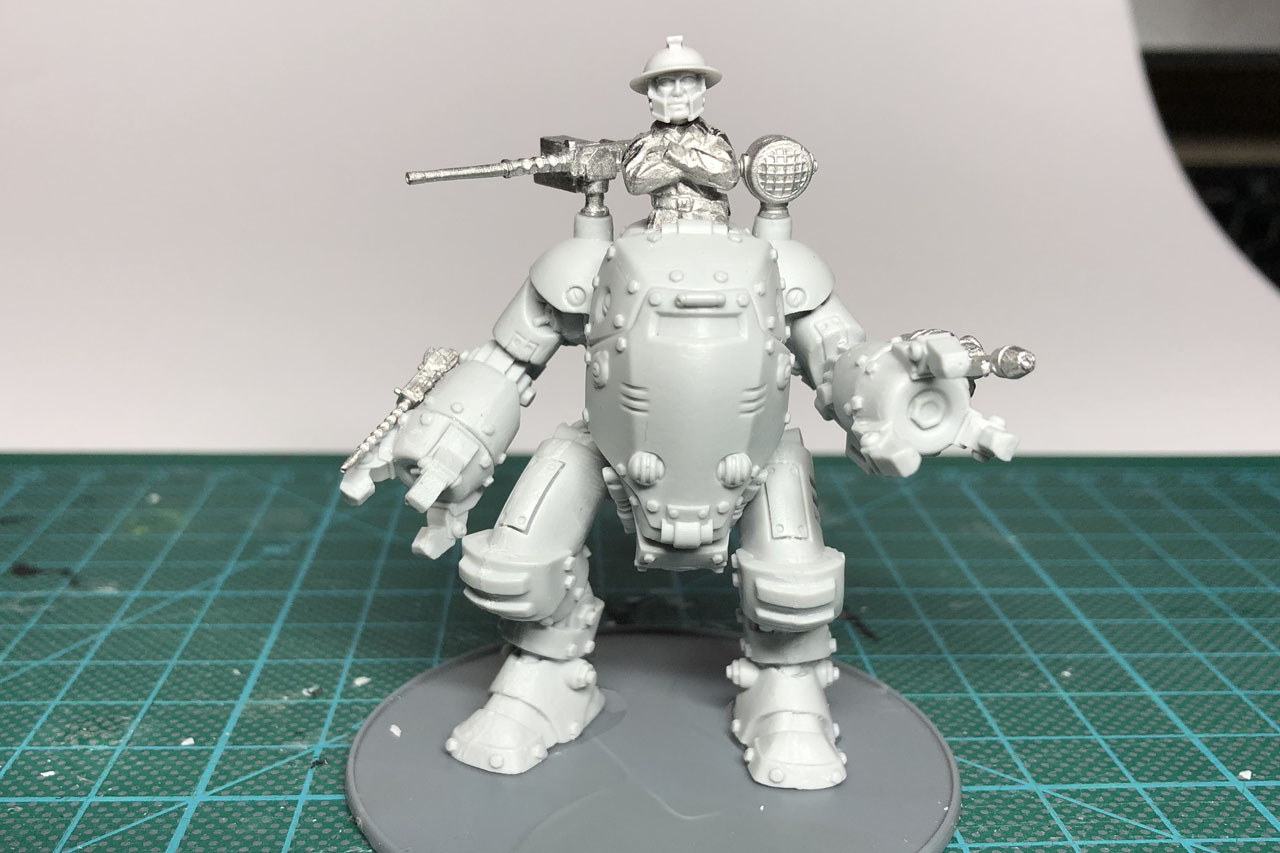
Since my troops have an own theme, I really wanted to give the mech a pilot, but the hatch on top was not a separate part. So I simply scraped the designated place with the cutter gradually, until the created opening offered enough space to fit the pilot in. The hatch itself I will replace later with a piece of plastic carton.
His whole pride
Conclusion
All in all, I enjoyed building the Coyote. For only 20 pounds you get pretty much hobby for little money. What dampens the joy a little, are the stiff pose and the lack of conversion options. Especially the hatch I'd like to see as a separate component and an additional joint on the leg would allow a more dynamic positioning. Another nice gimick would be a few bitz, like a few luggage bags, bed rolls, or simply a stowed camouflage net, depending on the area where the Coyote was in use. One thing is for sure, the easily reachable area on the side of the cockpit has to be decorated with a genre-typical PinUp Girl!
Greetings from the Chaosbunker
Dino
Enjoy this article?
Like us on Facebook

Follow me on Instagram

Categories
- events (206)
- fantasy (600)
- General (160)
- historical (637)
- Little Big Adventures (4)
- offtopic (5)
- reviews (540)
- science fiction (694)
- showroom (107)
- terrain (118)
- work-in-progress (420)


August 7th, 2019 - 12:35
great explanation. where did you buy your Coyote ? regards