First Experience with the 3d printer
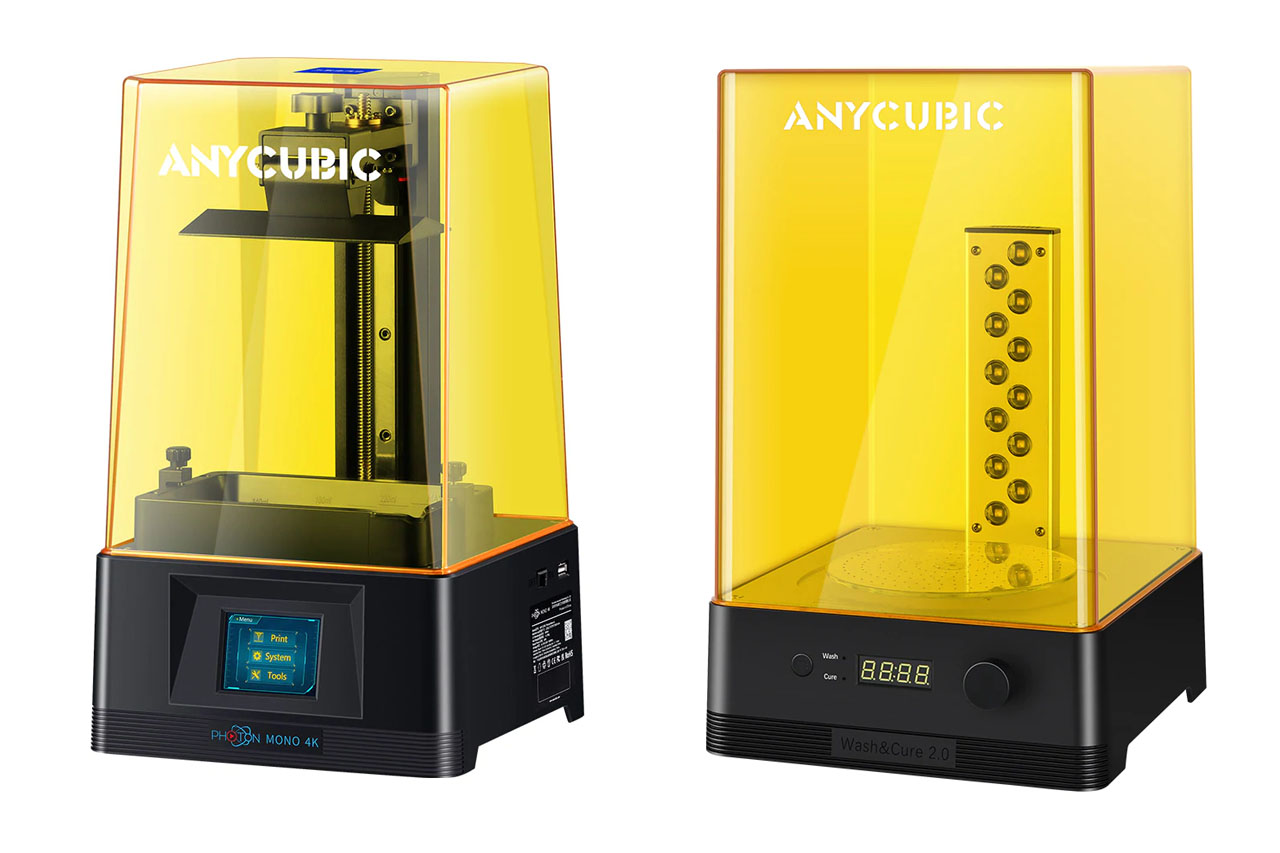
I have the Anycubic Mono 4K for about 1,5 months now and went through the first litres of resin. Therefore, I'd like to share my first experience with owning a 3d printer.
First of all, the choice of the printer and technology. I don't have the need to print whole armies in 28mm or larger things, it was always about bits and small-scale items. And with that need, FDM was out of the picture, because it wouldn't provide the level of detail that I wanted for those. Resin print was the option I was left with, but the challenges of where to run it and the initial costs.
I estimated roughly for the costs, that as long as my invested in 3d printing services wouldn't be higher than 500 EURs, investing in a printer of my own wouldn't pay off. And 500 EUR is a high threshold just for bits, but with 3 or 4 mid-sized army projects I would rapidly get there. From that point of view, going for two Epic armies and a few bits, I might just be below that. But we all know, once you have access to such a device, you're going to use it. So, that decision was made, that it would be cheaper and more flexible for me to own a printer for what I have in mind (but more on that later) - at least that was my assumption at that point.
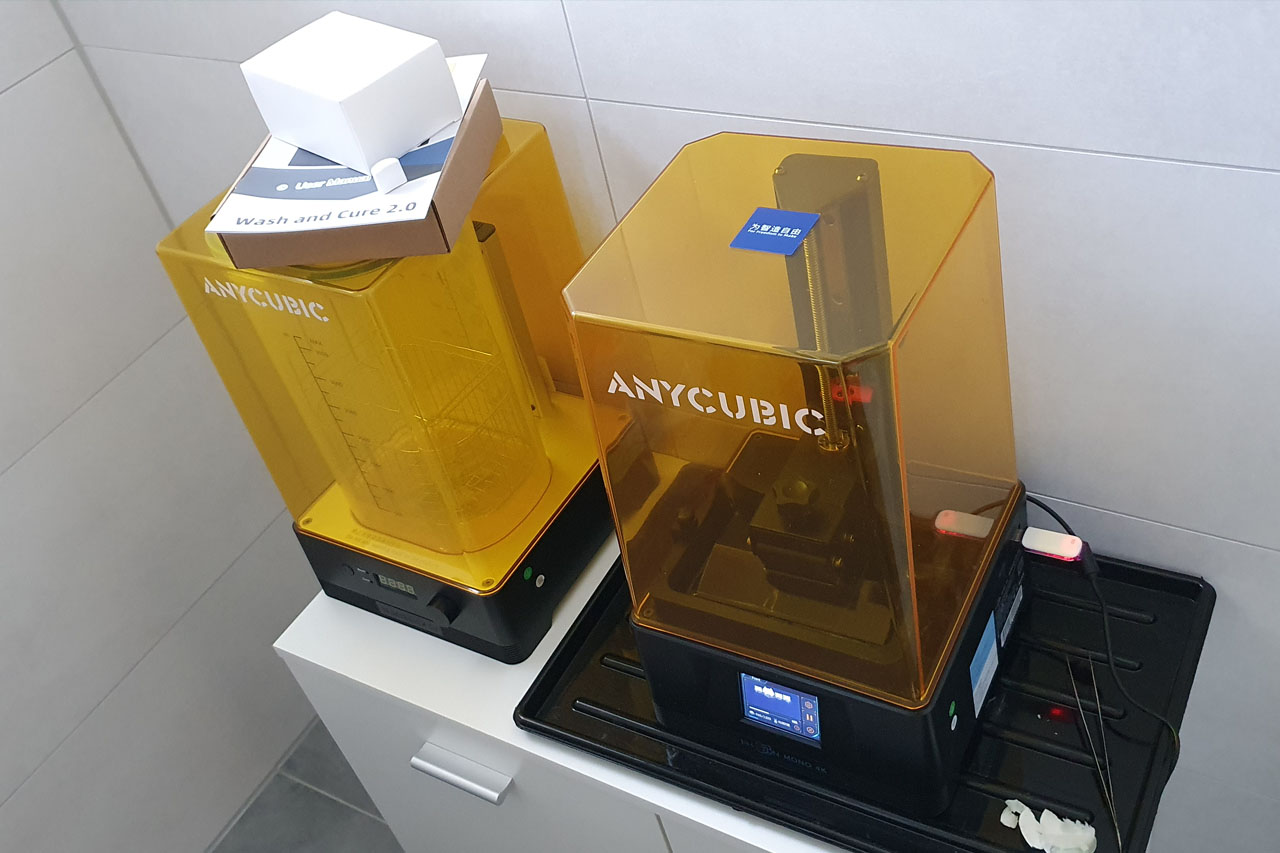
The much bigger challenge was actually, where to set it up. A SLA printer uses a display to harden resin to create a 3d-print. As such the space needed for the printer itself, isn't the problem, but the resin is toxic and you create a lot of waste. I needed a room that I could lock and that my kids wouldn't have access as well as the process wouldn't affect anyone in our house. Oh, and resin as well as the printer only work properly in a certain range of temperature, meaning putting them outside in a shed or in the attic isn't a valid option. After a long, long thought about that I decided to put it up in the second guest bathroom, which is rarely used.
I did a few test prints of the projects, that I had in mind and was quite impressed by the results. Especially as I used the printer pretty much out of the box, only levelling the print bed and changing a few parameters of the print settings. But already with these few prints I had a few learnings and "reality checks" that I'd like to share:
You need proper space
Even as I managed to find room to set the printer and wash/cure up. You need a proper work space. That's a problem for me, as mentioned above, I'm working in a spare guest bath room. Yes, I have tiles, access to a drain and ventilation. But you need some kind of table or desk for the post processing of clean up and such. And that can be a bit messy, depending on what tools you have access to, as you have wet gloves, resin residue on those, need access to pawer towels and such items. Please keep that in mind. And you want all that out of reach of kids, but well within your reach. There are multiple videos online covering the "perfect" setup, with rubber mats and so on, for a proper working area. As compact as in my case the Anycubic is and the small foot print it has, you need much more space to properly use these. And I strongly advise against setting them up in your living room or regular working space, unless you have the means for a professional ventilation etc.
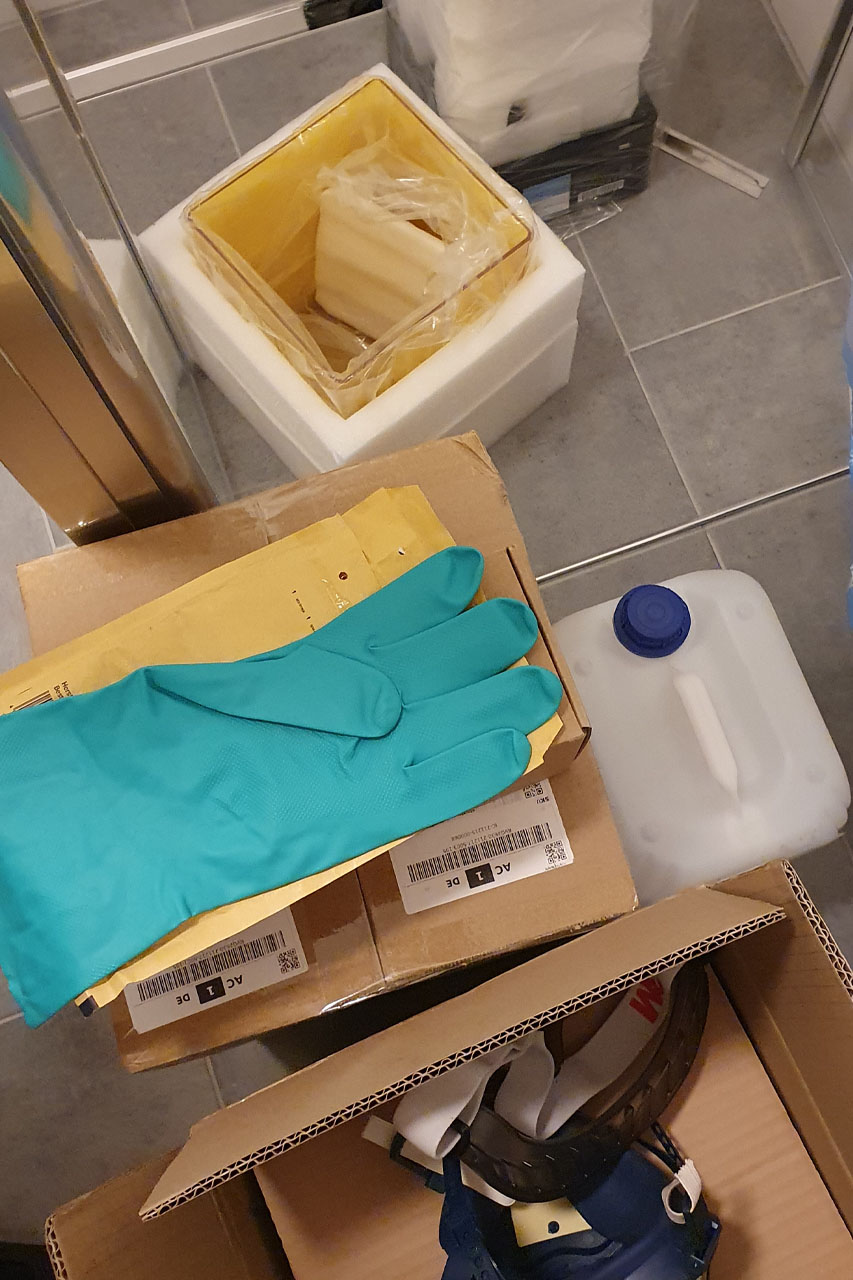
It's more expensive than you think.
It's not only the printer, oh boy it is far more than just the printer. I got my Mono 4K during the easter sales, and they prolonged that offer as they are currently introducing the newer models. So, your entry level printer is about 210-230 EUR (compared to a regular RRP of ~ 300 EUR). I got the wash & cure right away, as it was recommended and a litre of resin. Adding another 130 EUR to the bill. While that was preparing delivery, I got myself proper gear to protect myself while working with resin. That's about 40 EUR for gloves, a respirator and glasses. And I thought that would it be for the beginning. Yeah, I got in touch with Bronco, as he's far more experienced with 3d printers than I am and he suggested that I get some Isopropanol. And I thought, well, I have about a litre here for stripping miniatures. No, no, that's not going to be enough, get more, ideally a 10 l can, that's the cheapest. Adding another 30 EURs to the bill. You'll burn through those litres quite rapidly, I'm currently about 2,5 l of IPA to 1 l of resin (at least with using the Wash + Cure, as the container is filled to about 2-3l to properly work). Screen protectors aren't that expensive, but add another 10-15 EUR for a set of 5-10, and you'll need replacement FEP foils. You can get just the foil, but I went for the proper framed ones at 15 EUR per piece and it is recommended to change these regularly (the wear and tear is an important issue here, if you have a lot of failed printed or stuck to them, you will have shorter life time compared to a properly setup).

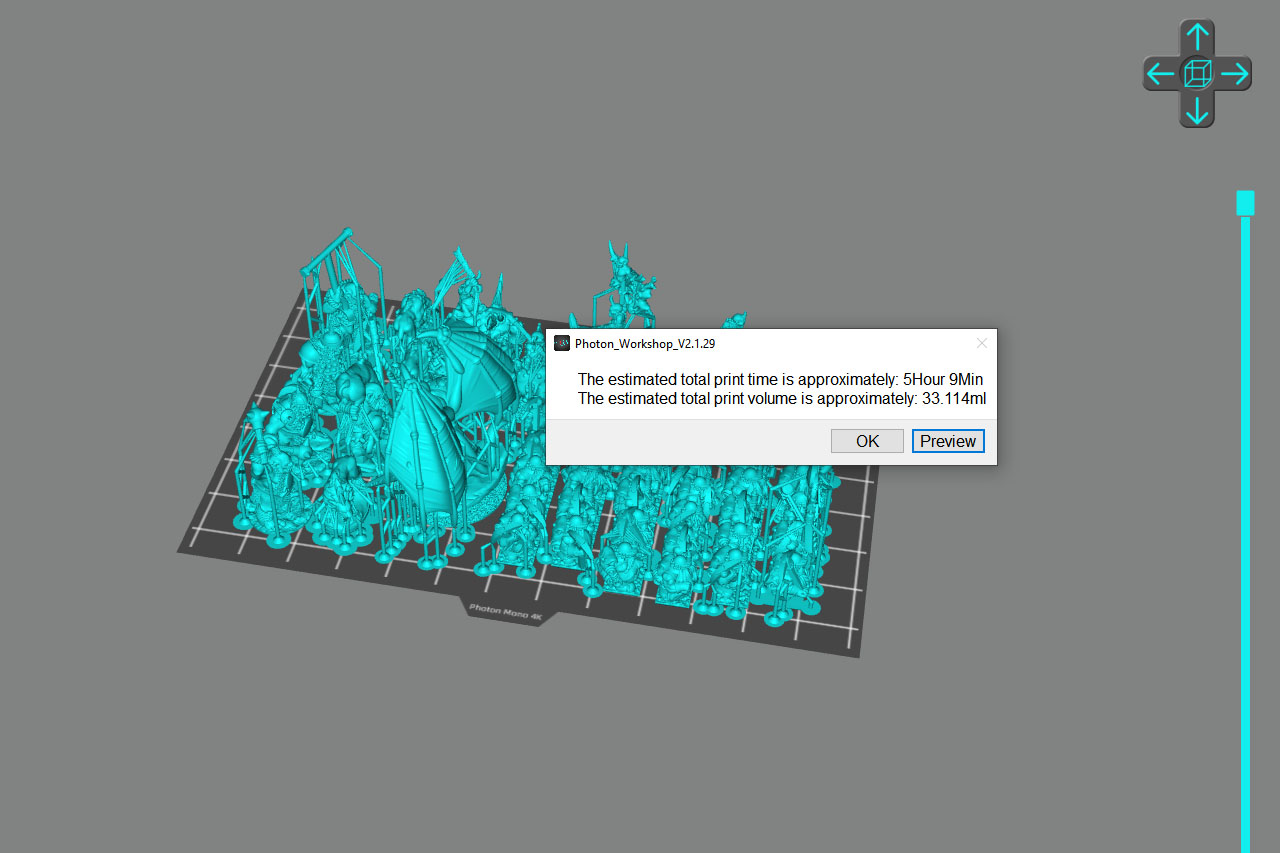
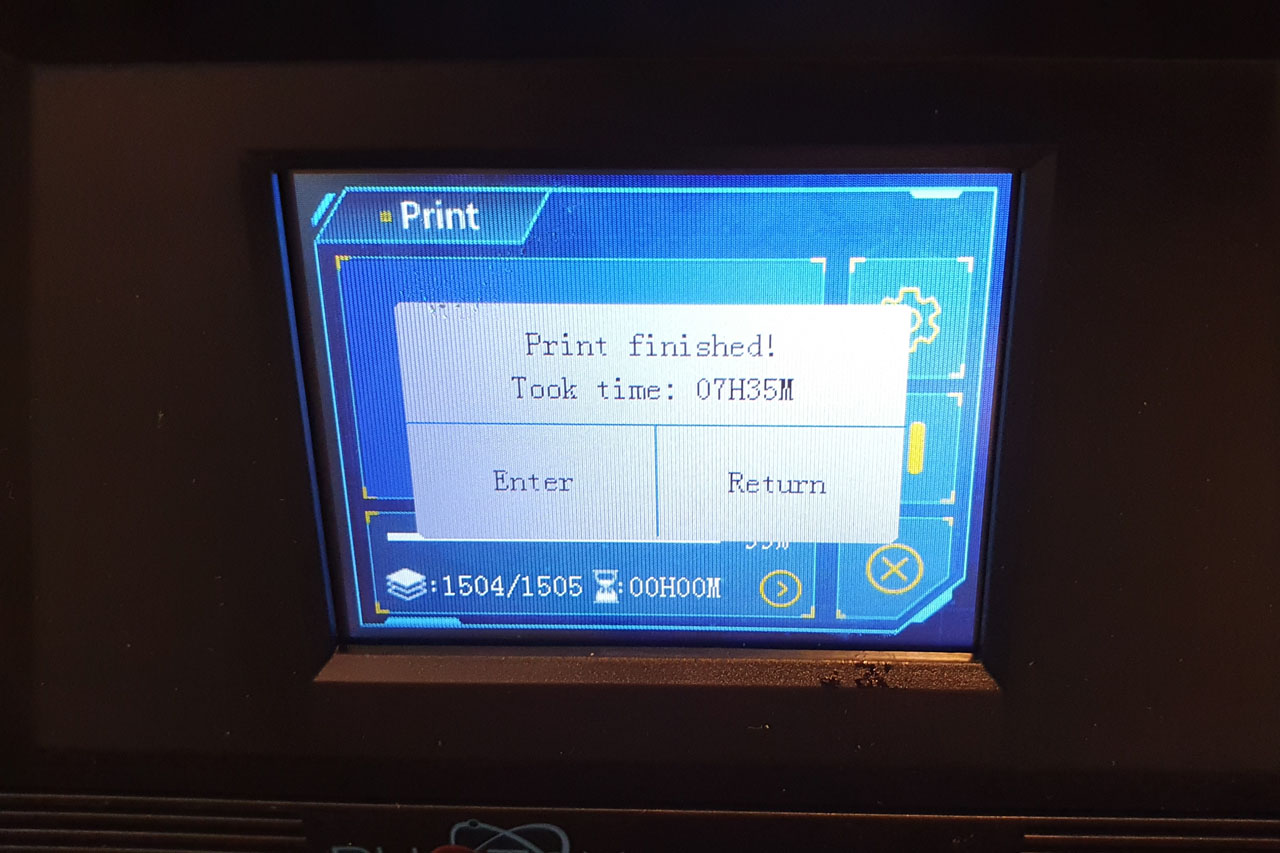
Oh, and your printers firmware is lying to you. First of all, whatever time is mentioned after slicing, it will take longer, as will your print consume more resin than stated. That's not a "huge" problem with smaller prints, but I had prints taking 60% longer than stated and consuming about 50% more resin than stated.
tldr: somebody saying "I'm printing that for 0,30 EUR compared to whatever company XY is charging" is usually nonsense, as that's about 10 ml of resin, without any of the fix costs or variable costs for service taken into account. And especially if you're printing larger things like terrain or vehicles, a good deal on eBay can be cheaper and far less work than printing it your own.
Trouble shooting can be a pain
3d printers have become more affordable but they are still far from regular consumer hardware in a plug and play format. The companies don't have the best customer support and most of the feedback / support comes from the communities on social media. BUT that is mostly only useful for those with a similar use of the prints and setups. And printers are different, firmware makes a difference, resin makes a difference, orientation of the item you want to print makes a difference and of course the circumstances (hot/cold environment, lots of windows with stray UV light, impurities etc.). And of course, your settings as well as what you are printing. What may produce perfect results for cosplayers, may not work for RC car modders and so on. And even within tabletop wargames it makes a certain difference if you're printing a 28mm Warlord Titan at home or a zig-zag fence for 3mm ACW.
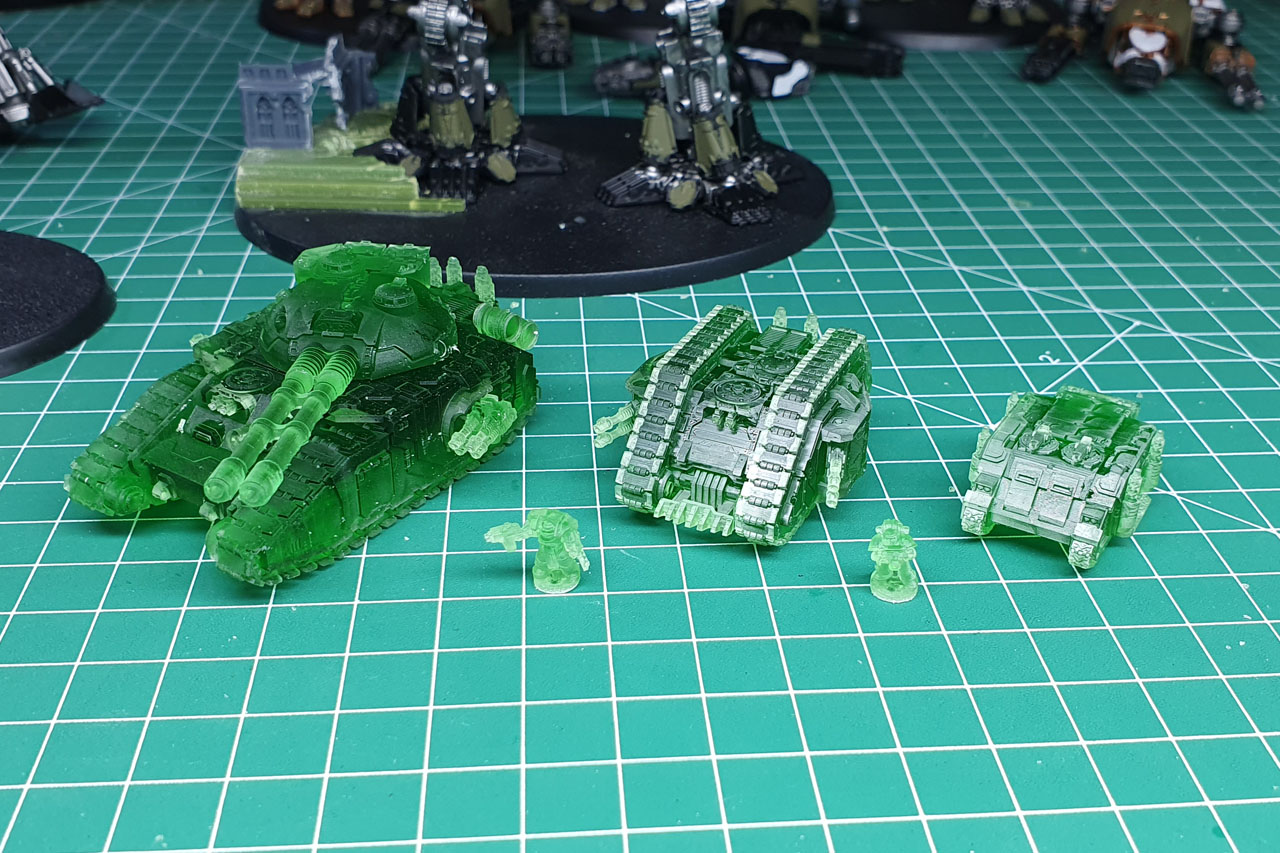
Some errors can be dealt with, with experience. For example, I set up one of my first plates this way, and yeah, a few of the models didn't stick to the print bed and stayed in the FEP container. Easy fix, put them closer together, roughen the print bed, provide better platforms or add supports yourself. The third picture of funky looking vehicles was caused by a loose screw, as the print bed got loose somewhere mid print and moved during lift. Therefore, I double check that from now on. Not a biggie, those will be used as wracks.


Then I switched resin, as the trans clear is rather brittle / hard and some models were damaged while removing (cured) supports (yeah, I learned that I will remove those before curing). And I kept the settings, as it stated that it hardens at the same wave length. First print, same setup, not sticking to the print bed. First thing I did, was to cleaned it, roughened the surface and after sharing the settings with others, I got the feedback that the lift speed was too high. Didn't cause a problem the first litre of resin I went through. But hey, if that helps, I'll surely lower the value (causing longer print times). Then with the new resin I had warped terrain pieces, as the supports didn't properly stick the models themself (I've seen this multiple times), and my work around / solution after trying longer exposure and layer thickness, as to re-do the supports thicker on the bits that I printed myself in chitubox - and that worked out for me.


If you're not willing for this try & error process, doing 3d printing yourself probably won't make you happy. And as some of these will occur not directly but after hours of printing, that can be annoying. I see error reports, people looking for help multiple times a day in those groups and boards, and others printing the calibration over and over again. What helped out others, might not be your solution. Be patient, you might need to be. And every failed print adds a few bucks to that costs list (besides damaging your FEP and not noticing it, causing resin to drip into your printer and / or its surroundings will be a very costly error).
And while the monetary issue of test prints might not be your problem, the time consumption of that might be the case. I'm a father of two and only have certain time frames where I can spend time on tinkering, and I'm pretty sure I am not the only one with those conditions. I don't want to ruin your idea of 3d printing, I just want you to have realistic expectations on what you're getting into. Simply keep that in mind.
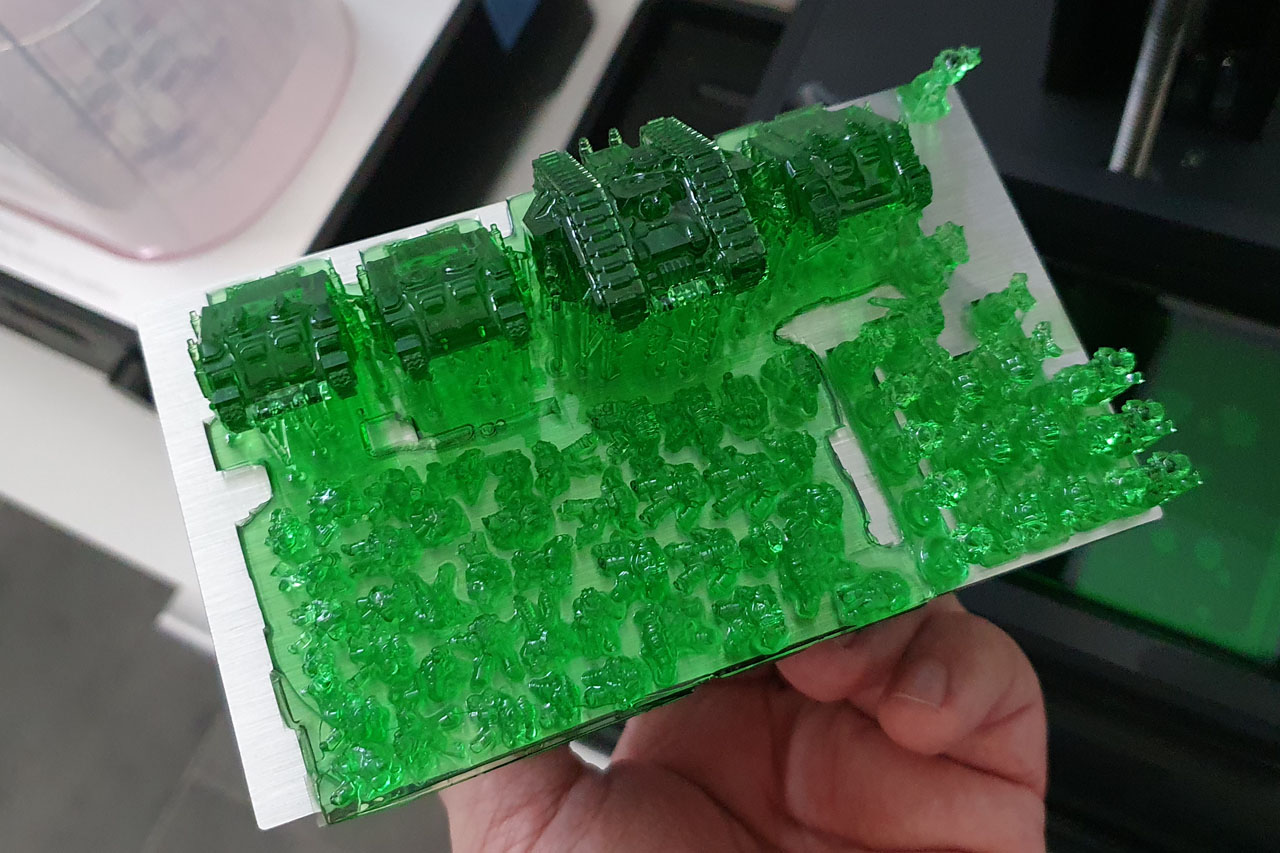
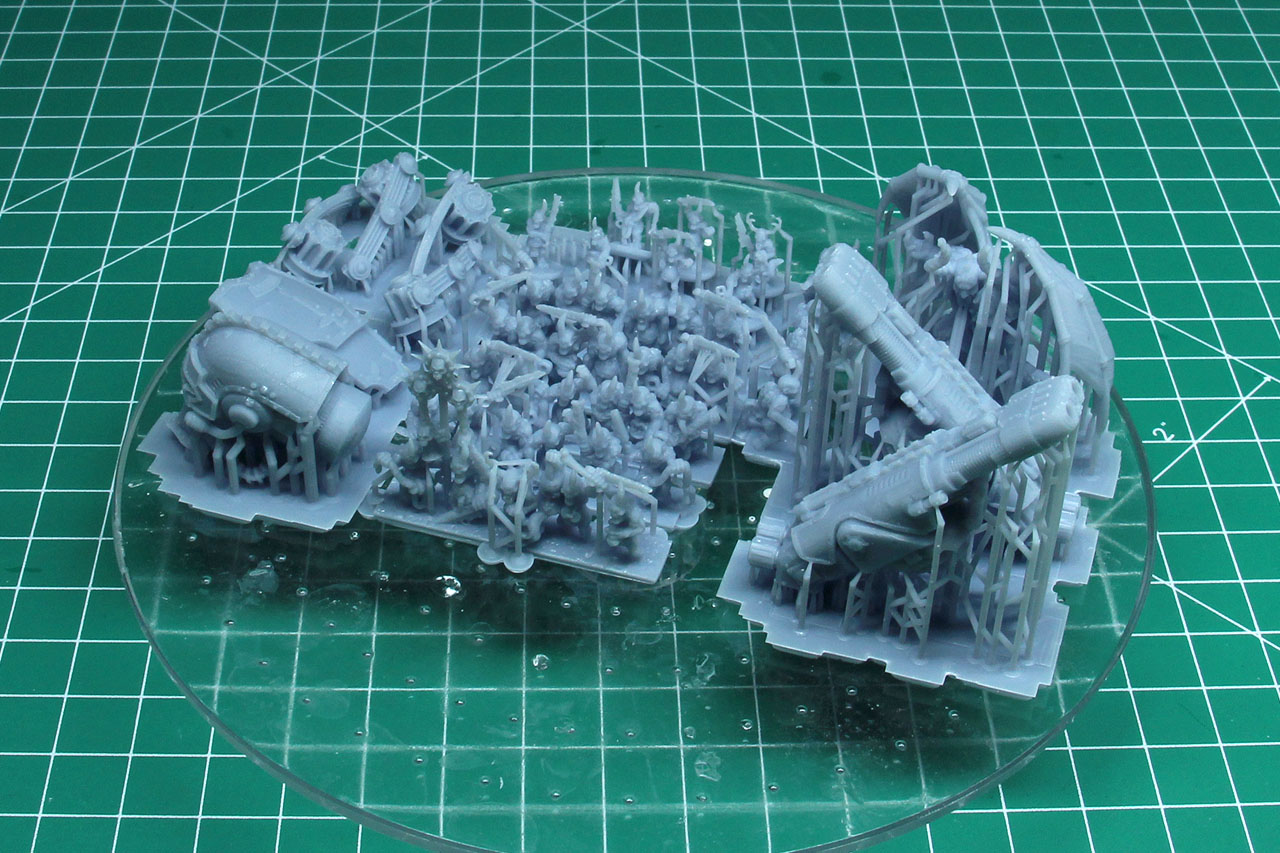
BUT all of the test prints I did to validate the intended use went satisfying. I wanted a 3d printer to cover an appendix force for my two Adeptus Titanicus Legios, having a neat Epic 30k project, a tiny Horus Heresy. From what I heard from others, you could print up a whole army in just a couple of days and that sounded like a viable idea. I filled a plate with vehicles and miniatures (that picture shows my first print ever) and the result made me happy. So, Epic is a check, having a loyalist and traitor legion (Imperial Fists vs. Sons of Horus, yeah, I decided that _before_ the new announcement, as those are my 2nd Edition 40k projects, 3rd company of Imperial Fists and Abaddon's Black Legion).
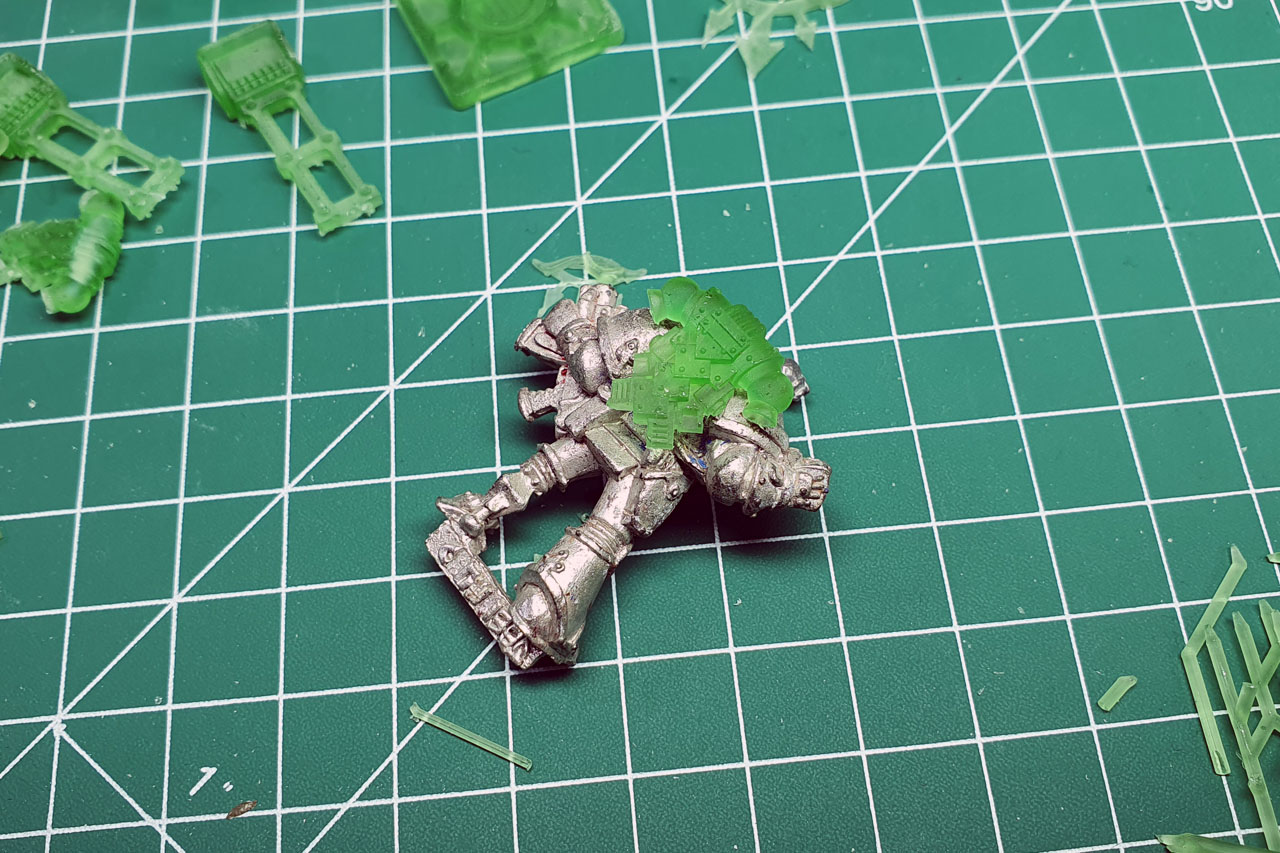
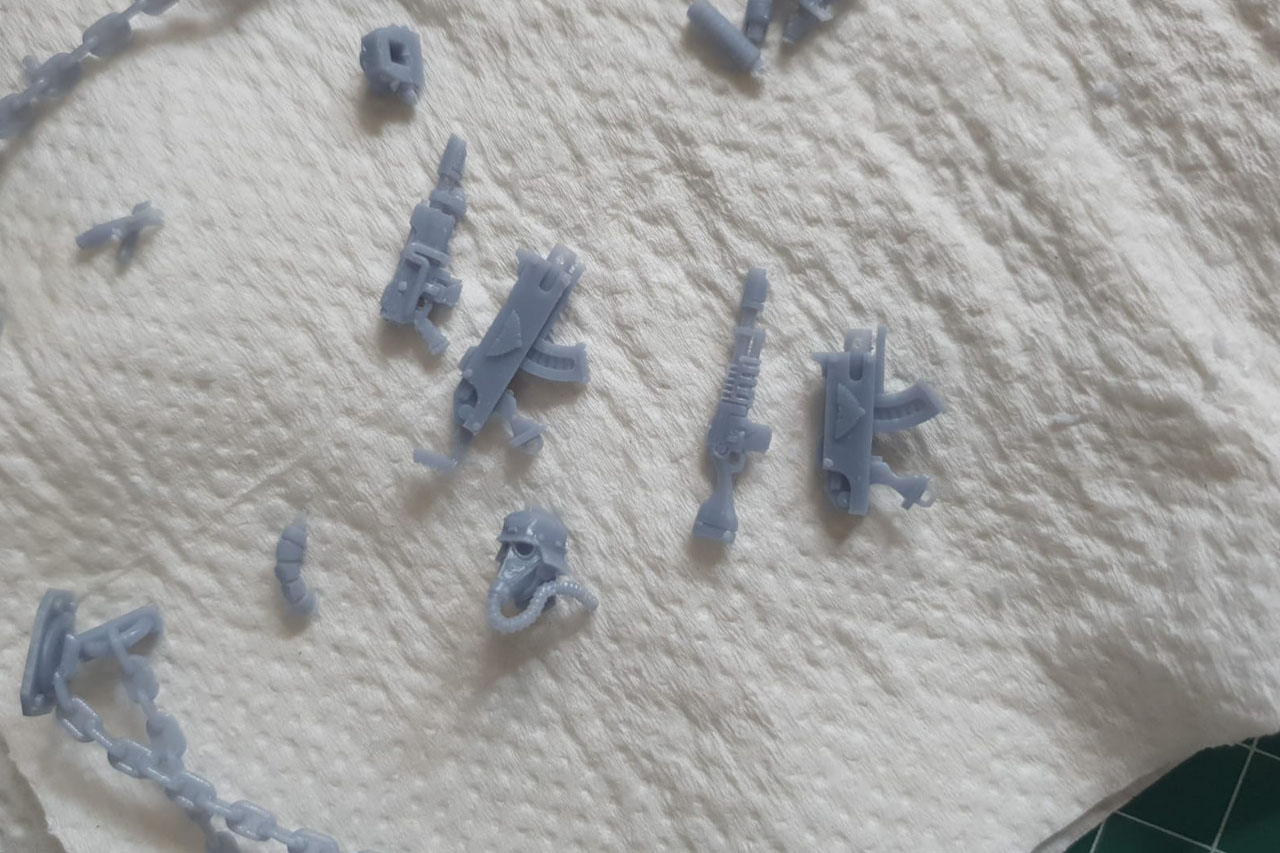
But 450 EUR initial costs for two Epic armies wouldn't be the best deal (certainly not the worst, but there's room for improvement). After small stuff turned out cool, I wanted to try out bigger stuff and so I went for a few 28mm scaled bits and pieces. For example additional terrain details and missing bits from existing projects. And once again, very satisfying results. Used SevenUnited kits for a flight of stairs and some oldhammer backpacks and weaponry to cover my 90s Space Marines and Necromunda projects with fitting (missing / rather expensive) bits.

We have a green light for Epic and to provide eBay rescues with missing bits and pieces. What else is missing from my tabletop parking lot? A mass combat system and a space fleet combat. While I'm at it, why not print a few bases of Warmaster (thanks to Varus Miniatures for providing me with the files), to see if that works, along with the biggest pieces so far, a few Battlefleet Gothic ships (beside the Capital Battleships that need to be cut into smaller pieces, everything fits even the small Mono 4K printing space).

It looks like I'll be adding a good vs evil scenario in Warmaster to my projects, as well as the matching fleets to my loyal vs traitor setup for Warhammer 30/40k projects.
Long story short, don't just jump in because of a promotion for resin printers. Check your conditions, watch a few videos on the topic (I'll link a few channels below), feel free to ask me, and before you drop money on the patreons or STL selling platforms, there are a lot of free files (and many patreons / creators provide free test files, that you can use to see if your printer / setup will provide you with a satisfying result).
- Age of Squidmar - 2 years with 3d printers
- Nerdtronic - SLA Resin Handling Guide
- Uncle Jessy - Best Add-Ons for Resin 3d Printers
- 3D Printed Tabletop - A total beginners guide
And if you find 3d printed miniatures interesting, but have no interest of going through all that above, there are multiple printing services around. For Warmaster for example I suggest Excellent Miniatures, as they are one of the few within EU / Germany, so you won't have to bother with the Etsy VAT + customs + fee nonsense.
Enjoy this article?
Like us on Facebook

Follow me on Instagram

Categories
- events (206)
- fantasy (600)
- General (160)
- historical (637)
- Little Big Adventures (4)
- offtopic (5)
- reviews (541)
- science fiction (695)
- showroom (107)
- terrain (118)
- work-in-progress (420)


April 26th, 2022 - 02:46
I have thought about getting a 3D printer mainly for Epic and BFG but also to make parts for 2nd ed era minis too…but I cannot justify taking the plunge yet as though on paper I could afford it I don’t have the time to muck around and I’m not very tech-savvy so it seems like a bridge too far at the moment.