Horus Heresy – Solar Auxilia Arvus Lighter
What's the difference between a Hippo and a Zippo? One's really heavy, the other's a little lighter.
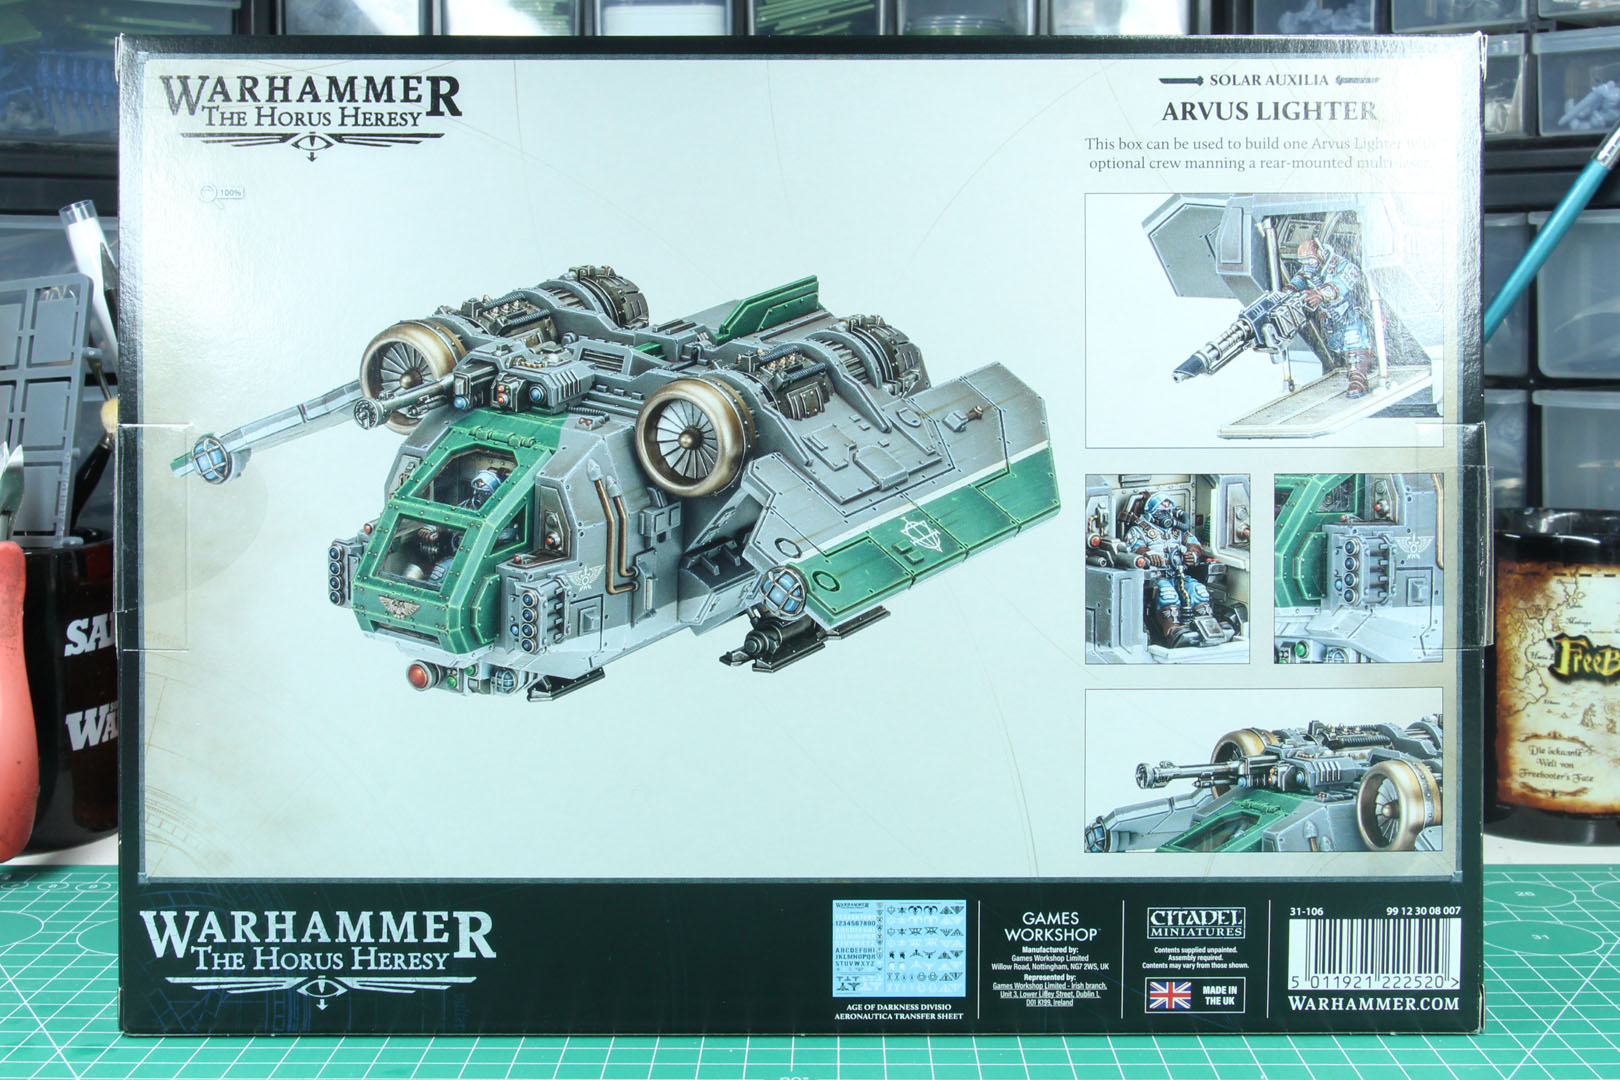
Well and today we're covering the Arvus Lighter for the Solar Auxilia. It is going for pre-order today and will be delivered on February 1st of 2025.

We don't cover aircrafts that often on the blog, if it is vehicles it is mostly tanks. But during the release of Aeronautica Imperialis we covered the resin variant of the Arvus Lighter in epic scale by Forge World. But in preparation for departure into a review covering almost 80 images, be certain that your seat back is straight up and your tray table is stowed.
The Arvus Lighter was so far only available as a resin kit from Forge World in 28-32mm and a rather niche option, as it is primarely a small cargo shuttle, mostly used to transfer supplies and small units, in between vessels or to planets. They are equipped with strong engines, to carry even the heaviest load, but it has no armaments as it is not expected to engage the enemy. Yet in this iteration, it is armed with a multi-laser in the back.
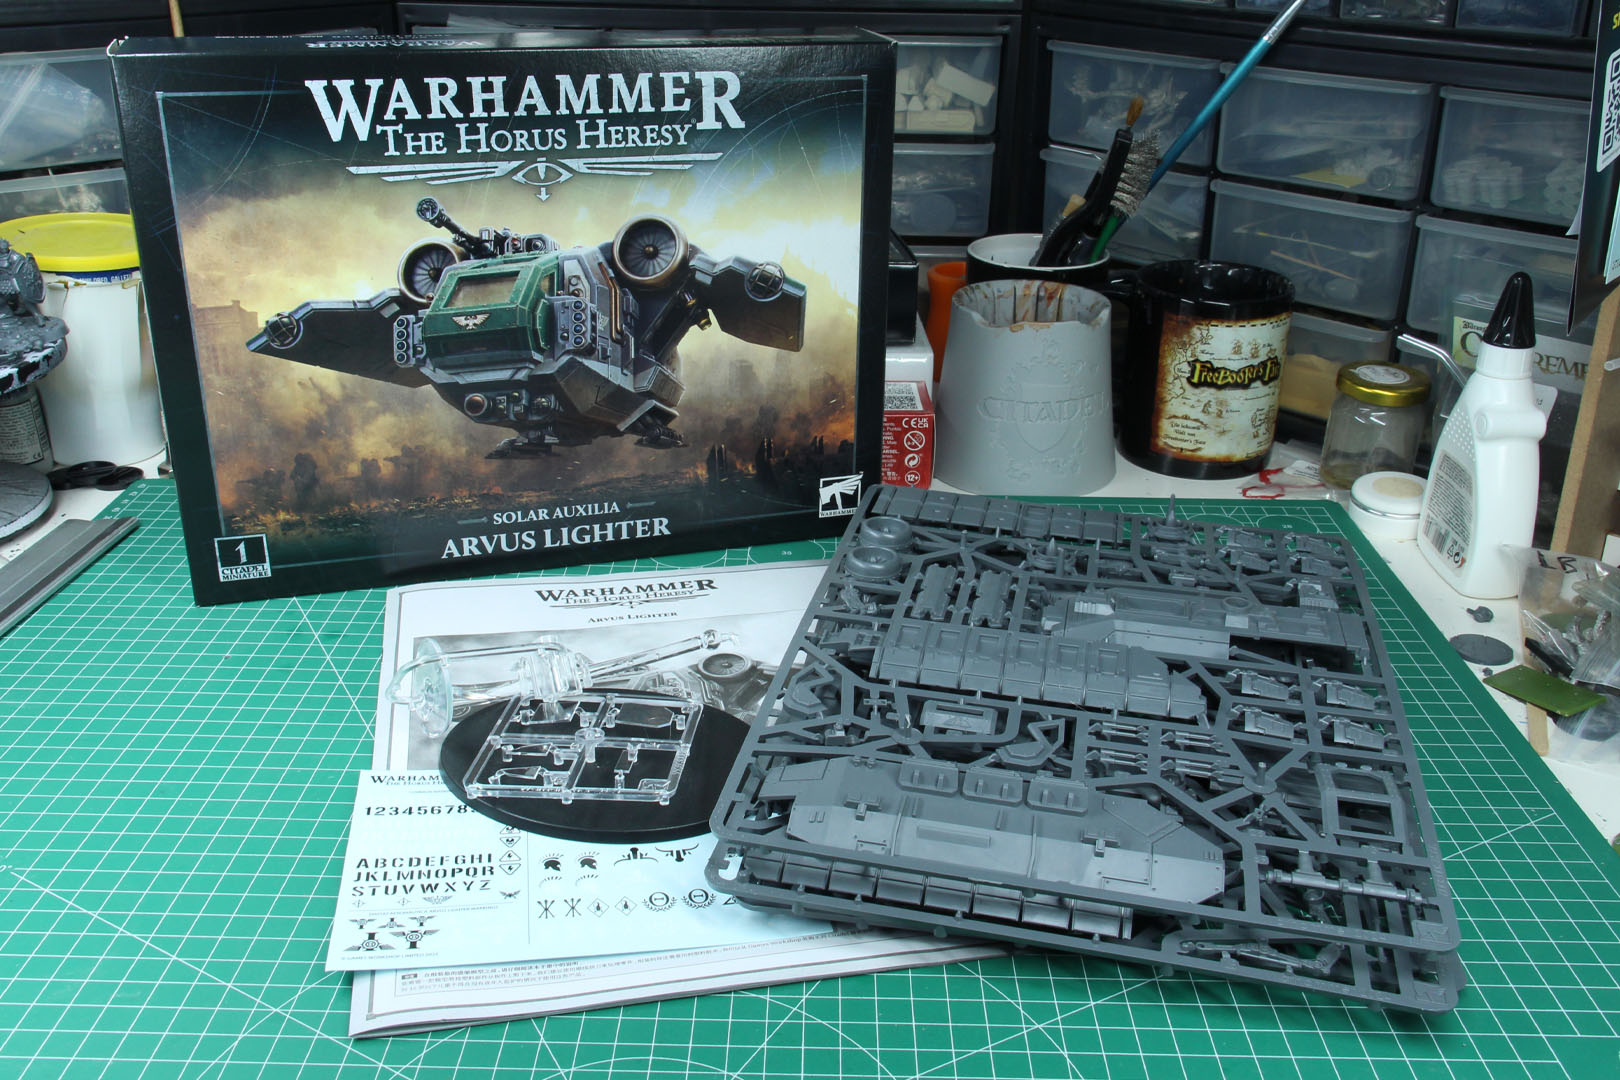
It has a transport capacty of 12 models and is crewed by single pilot (and the new board gunner) and this new plastic set has a RRP of 47,50 GBP / 62,50 EUR. The kit is build from three entire new sprues, a newly designed multi-part flying base and comes with a new aviation decal sheet for the Solar Auxilia.
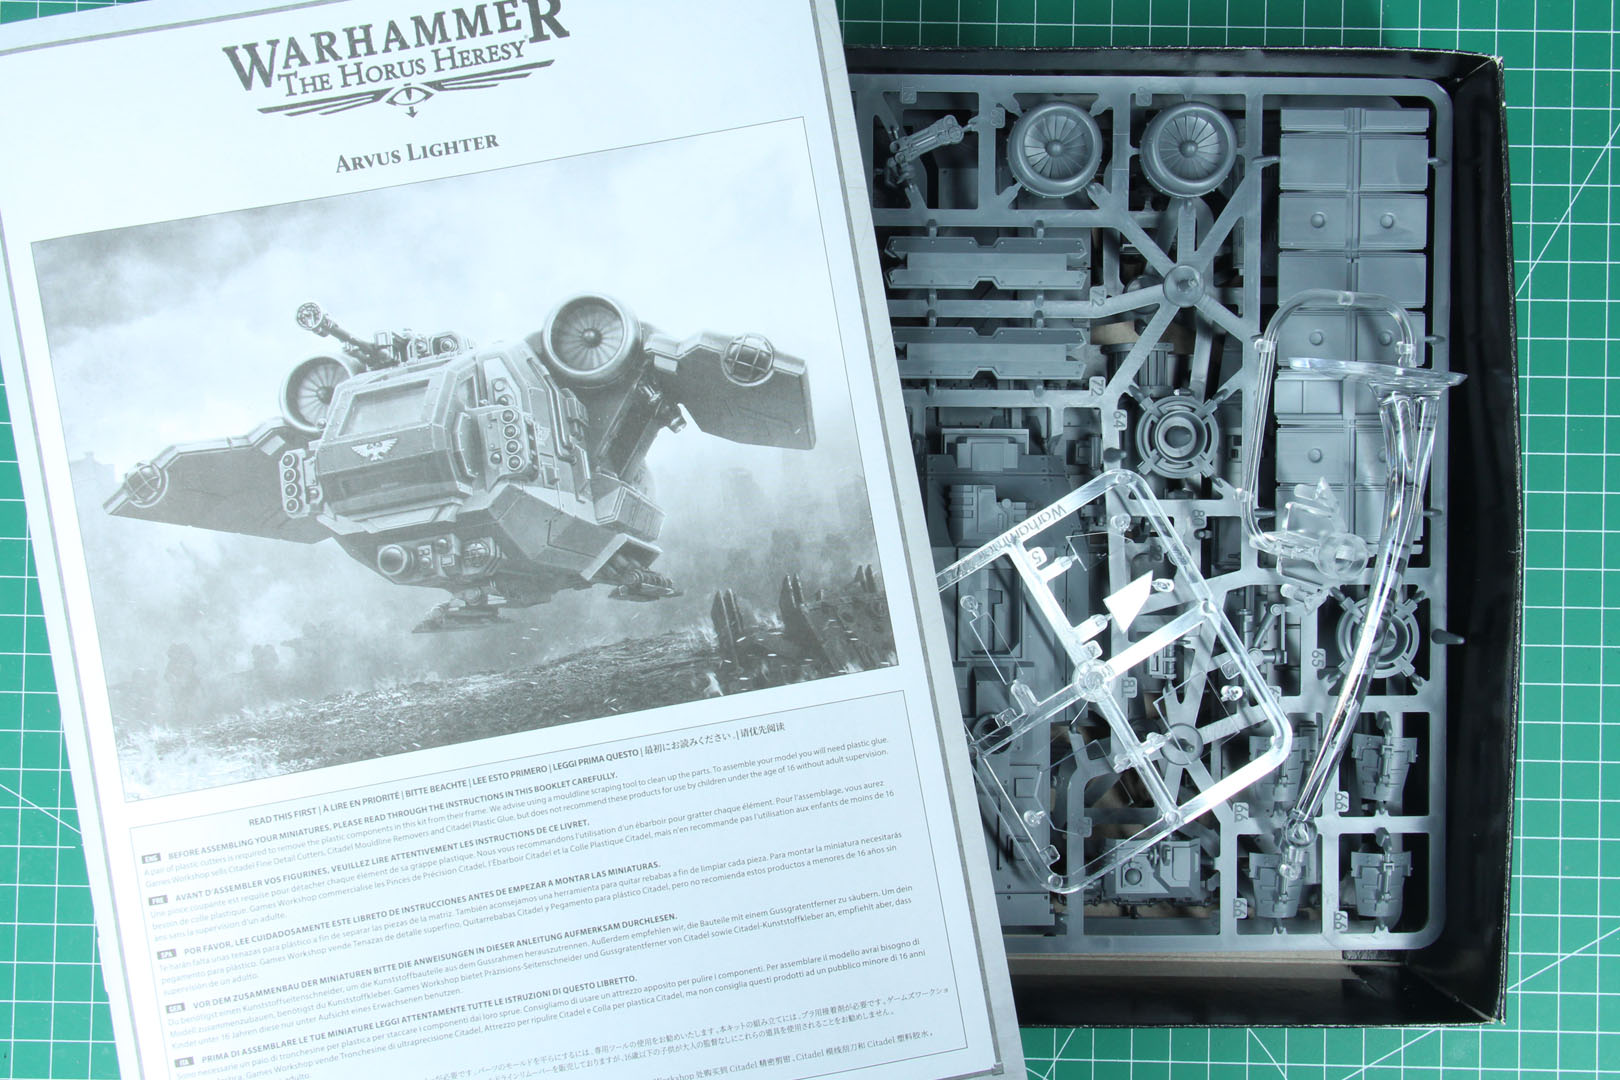
The build process is covered in a black-and-white instruction leaflet, showing the different options for the kit, we will go into detail further below.
The decal sheet is once again only in black-and-white, without any additional colours, but almost double the size of the vehicle one and has a lot more insignia, especially of the various different cohorts (again black and white variants).


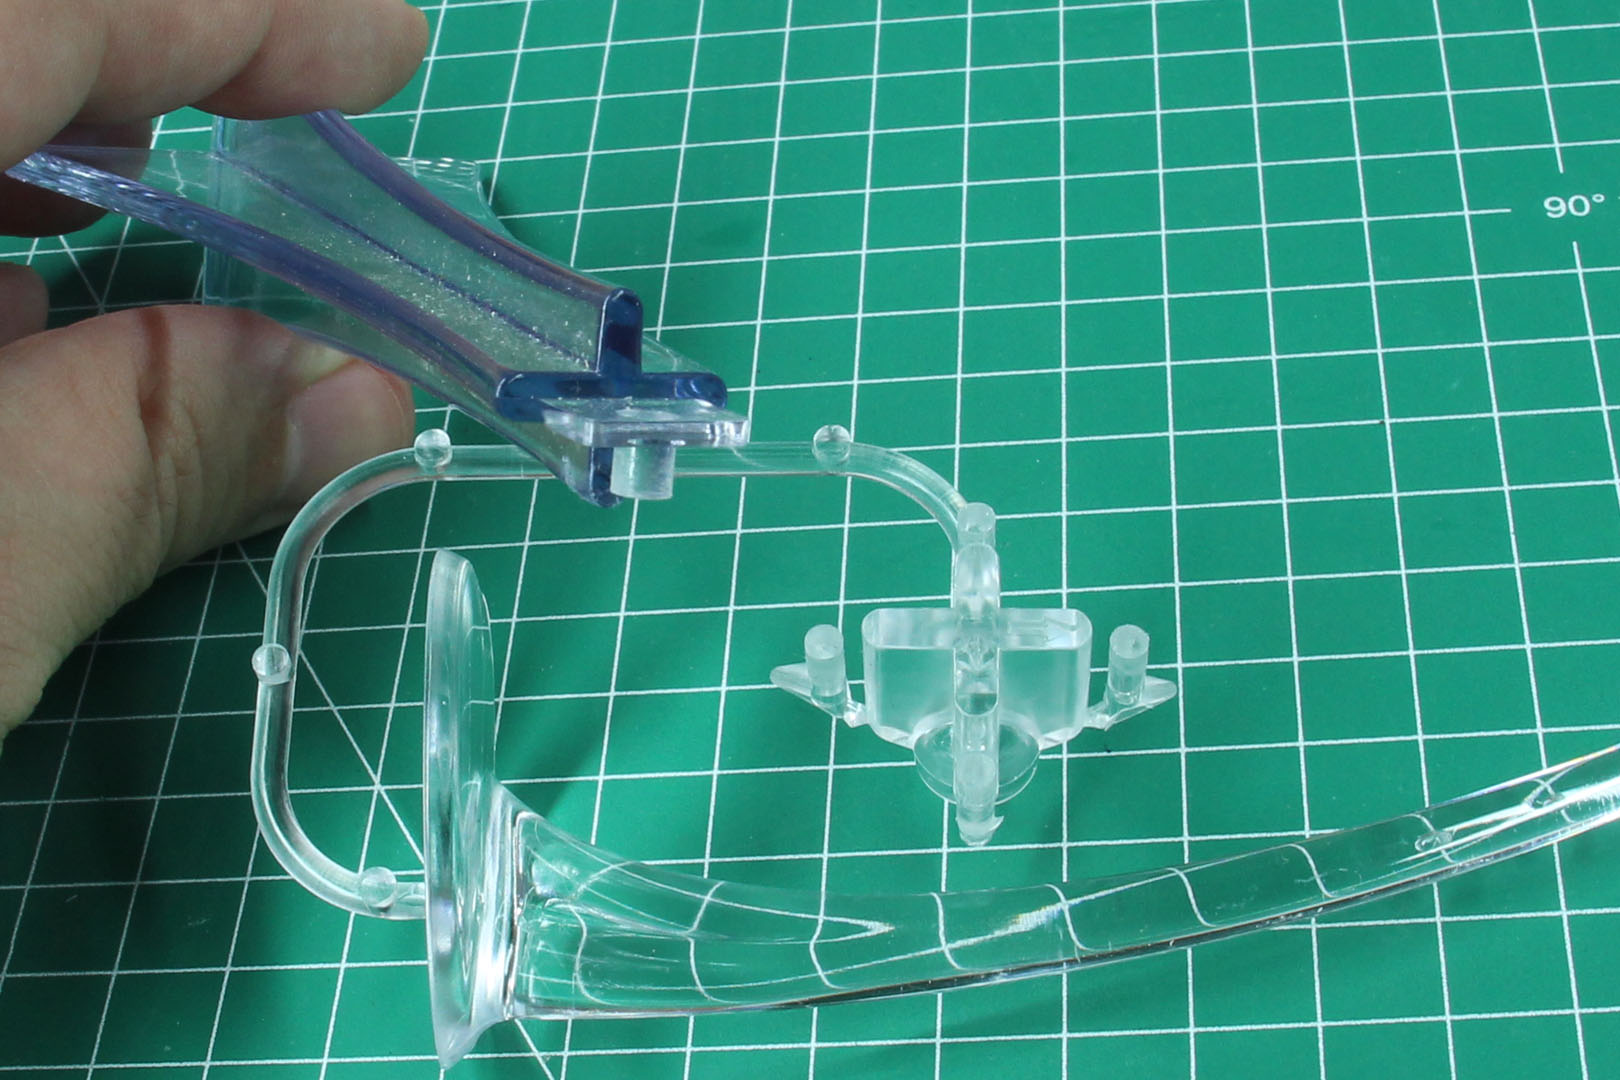
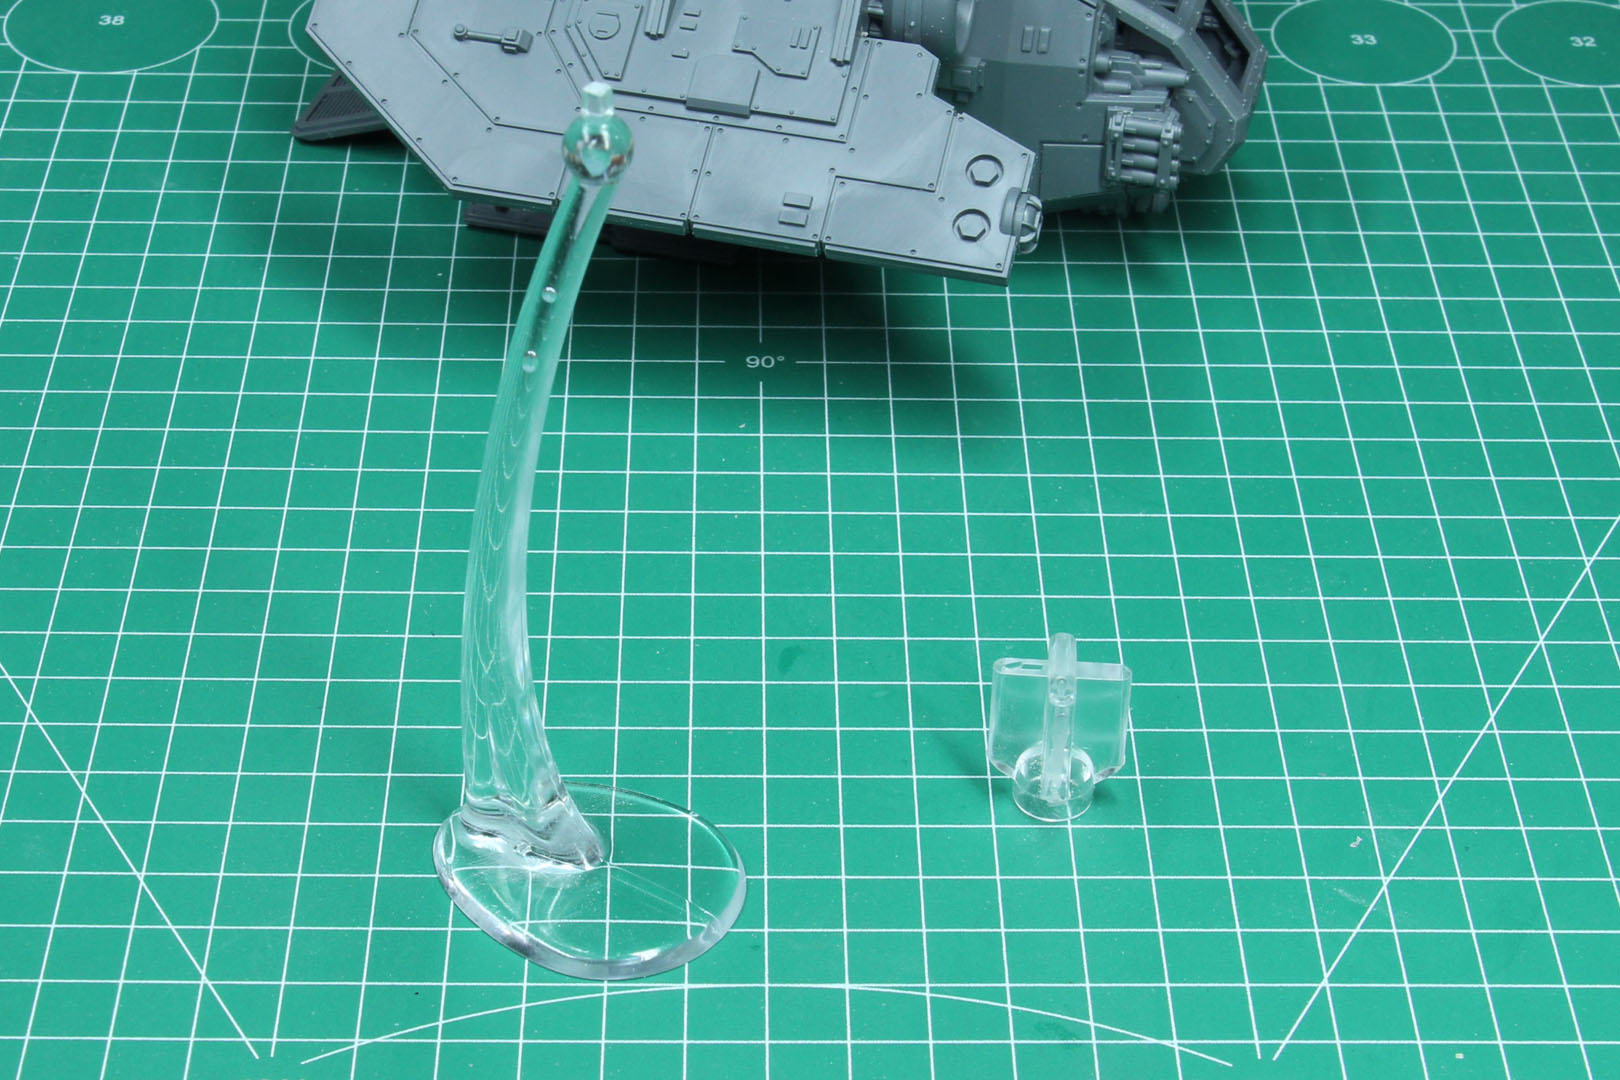
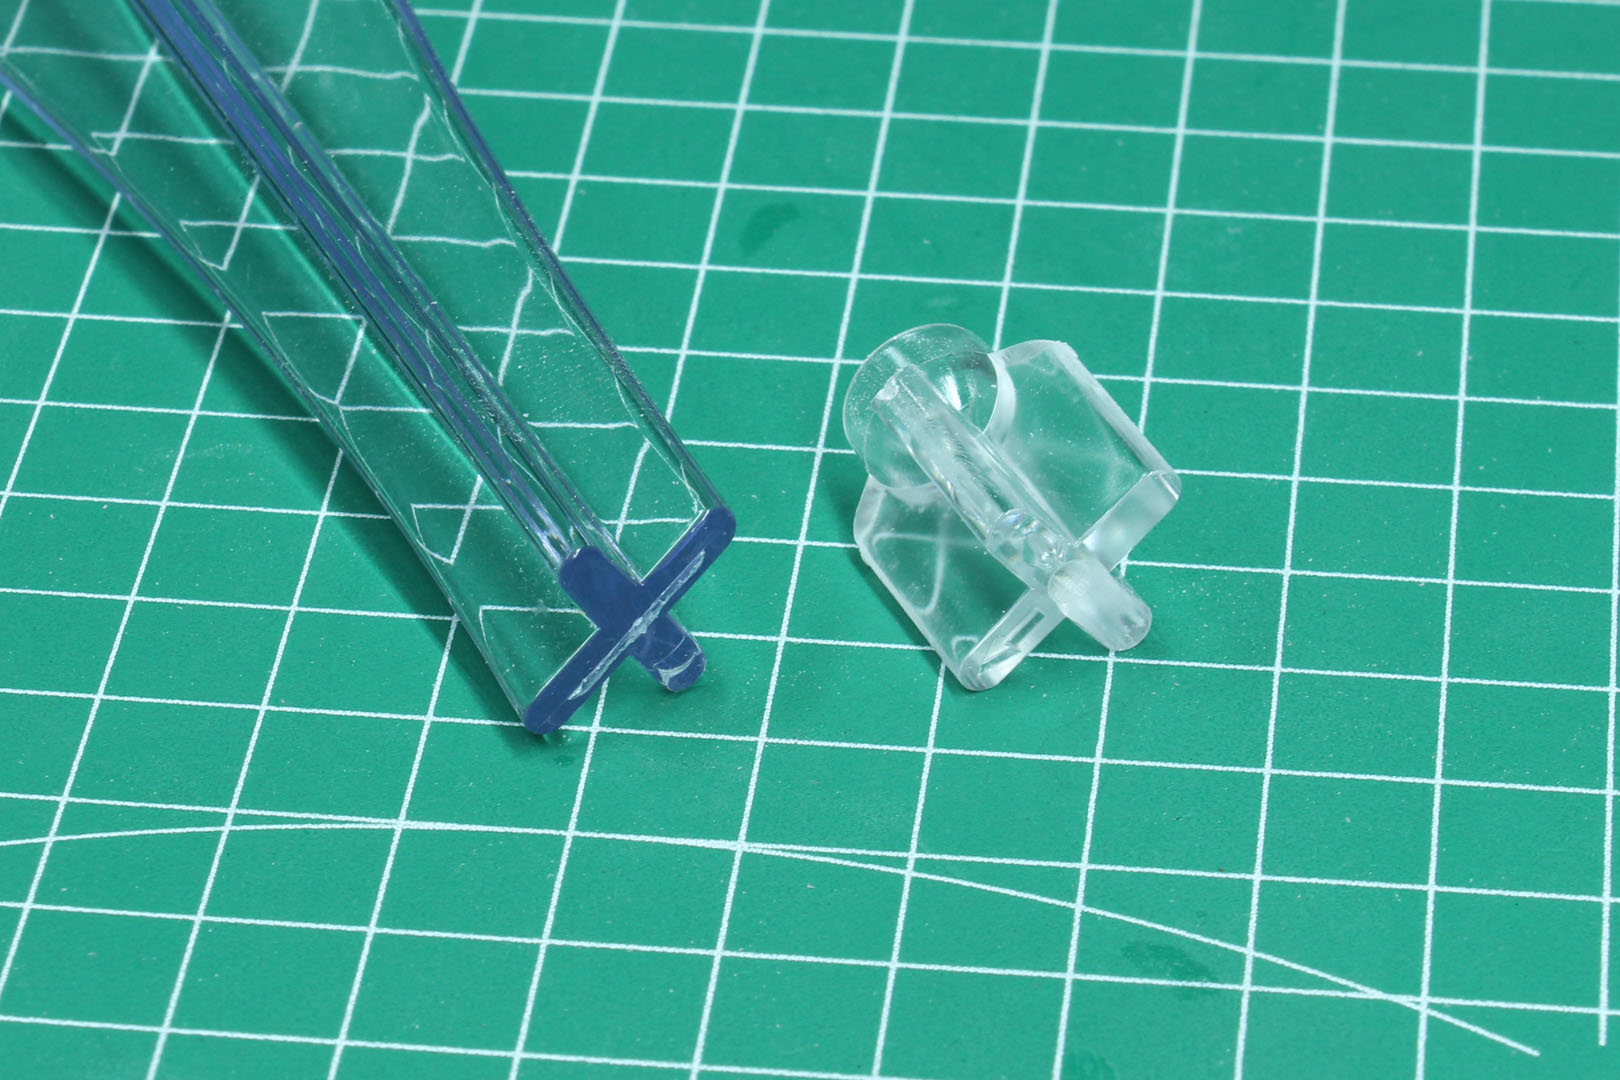
The new flying base (shown on the left) compared to the older one is thinner and comes with a ball-joint connector to fit the old cross connection to the models. By this you can for example use this design with the Valkyre or other older models and even have the chance to angle the model.

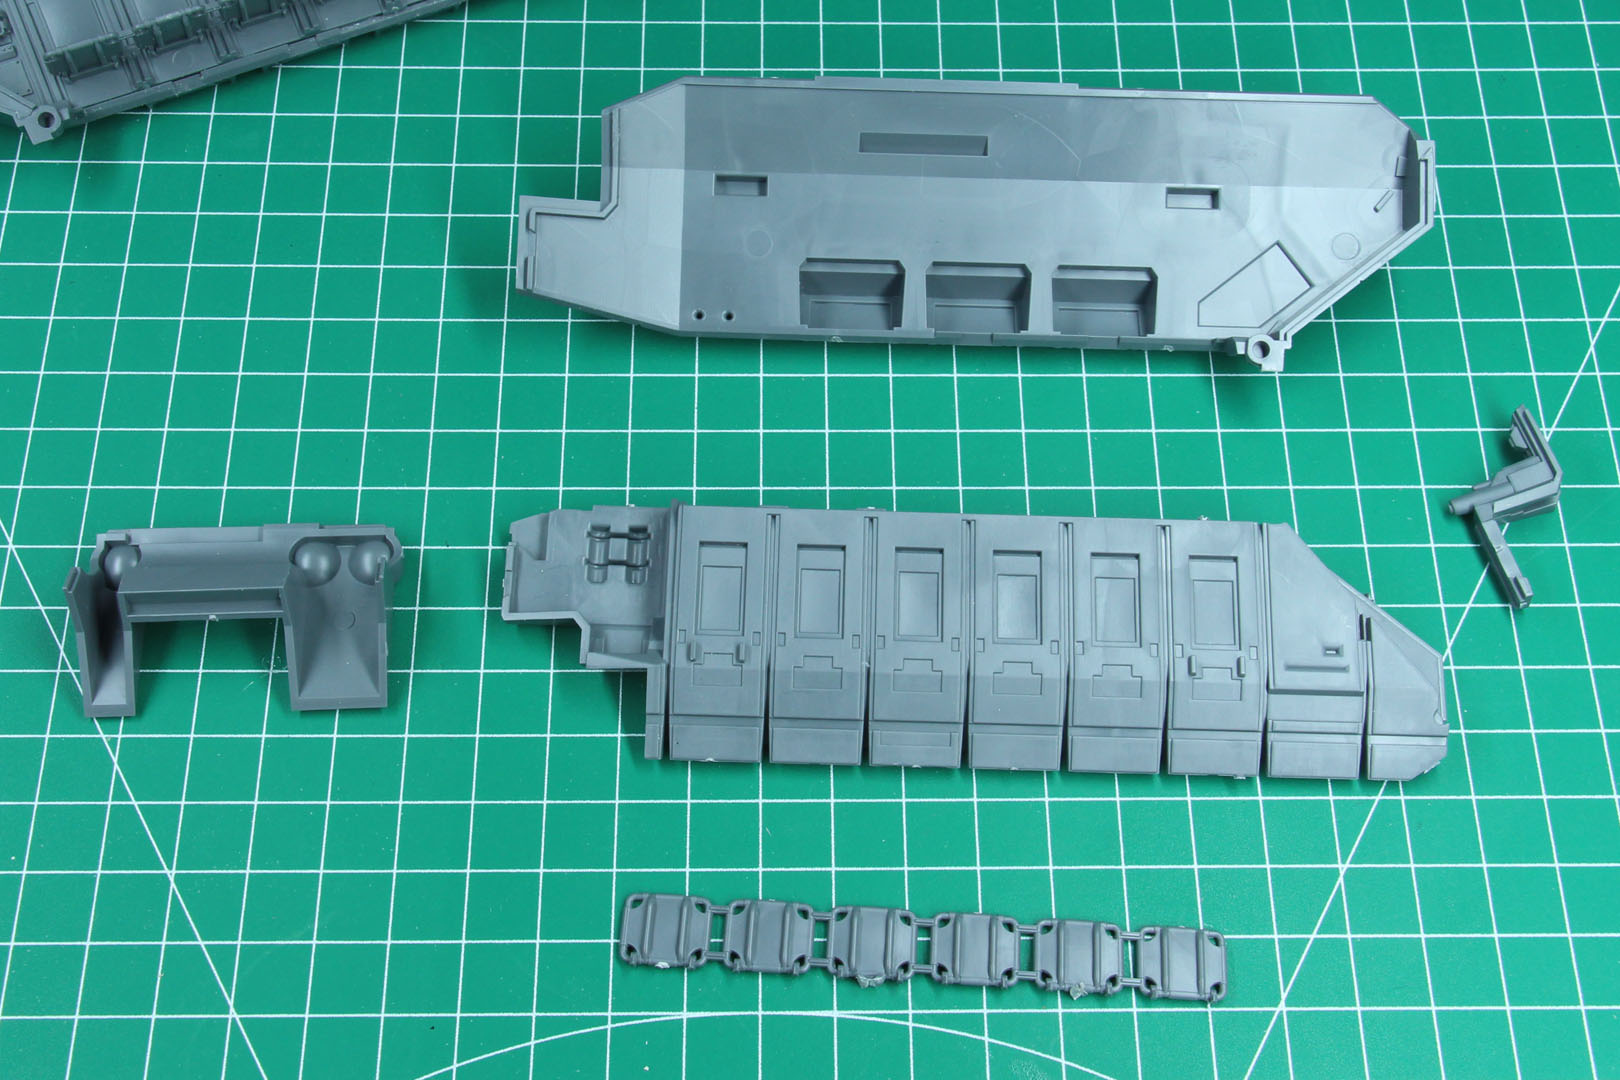
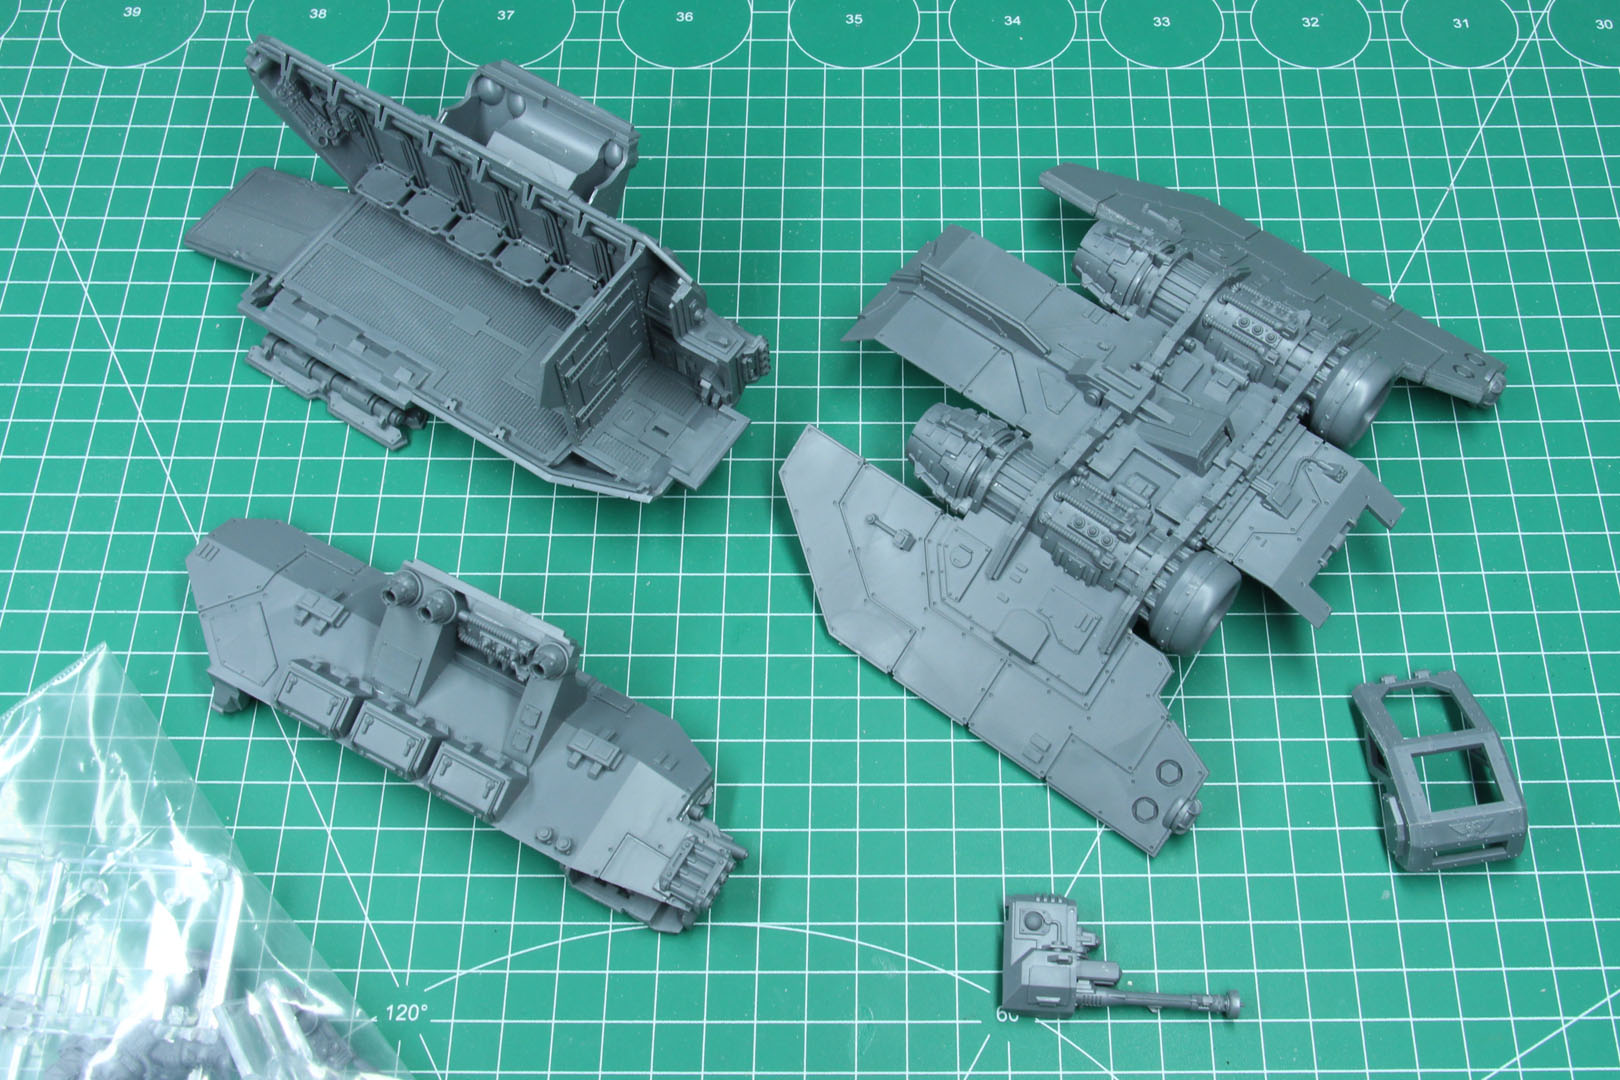
The large sprues are properly filled, almost not empty spaces within the frame and cover large pieces, with a good amount of detail and minimal mould lines. It is impressive to see that parts this large are now produced without any warpage. This was an issue in the past and really shows the progress (try building one of the Land Raider kits from 1998 and you will understand what I mean).


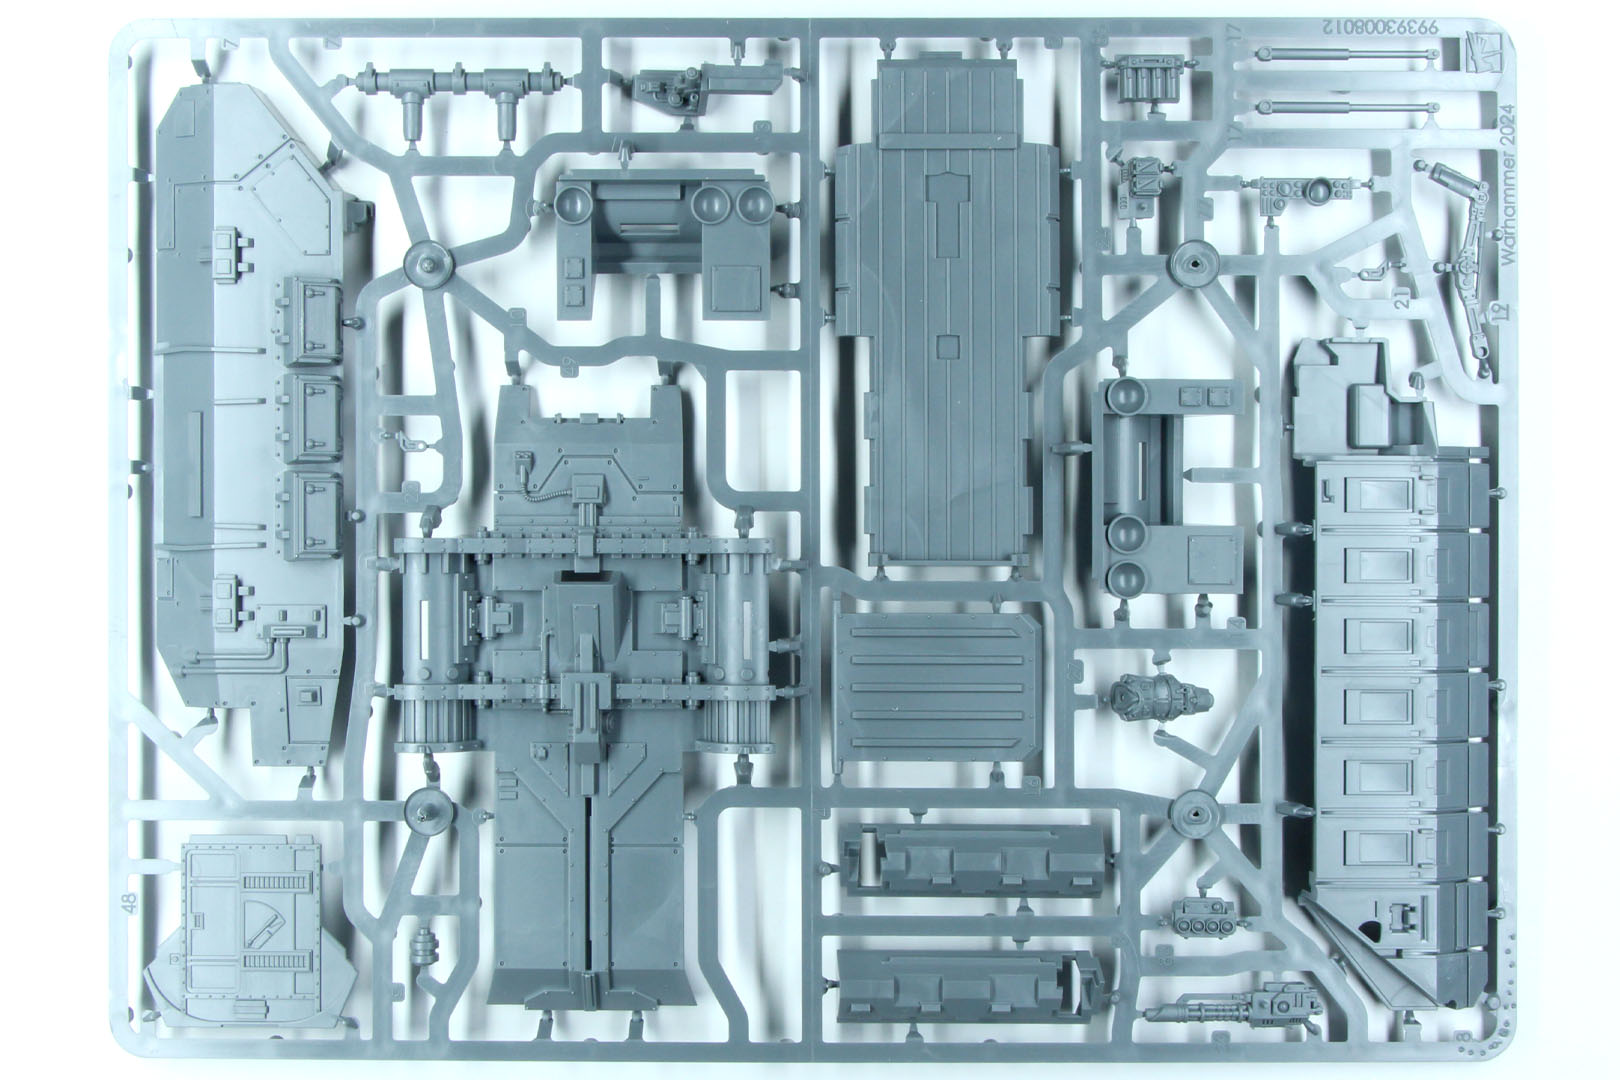

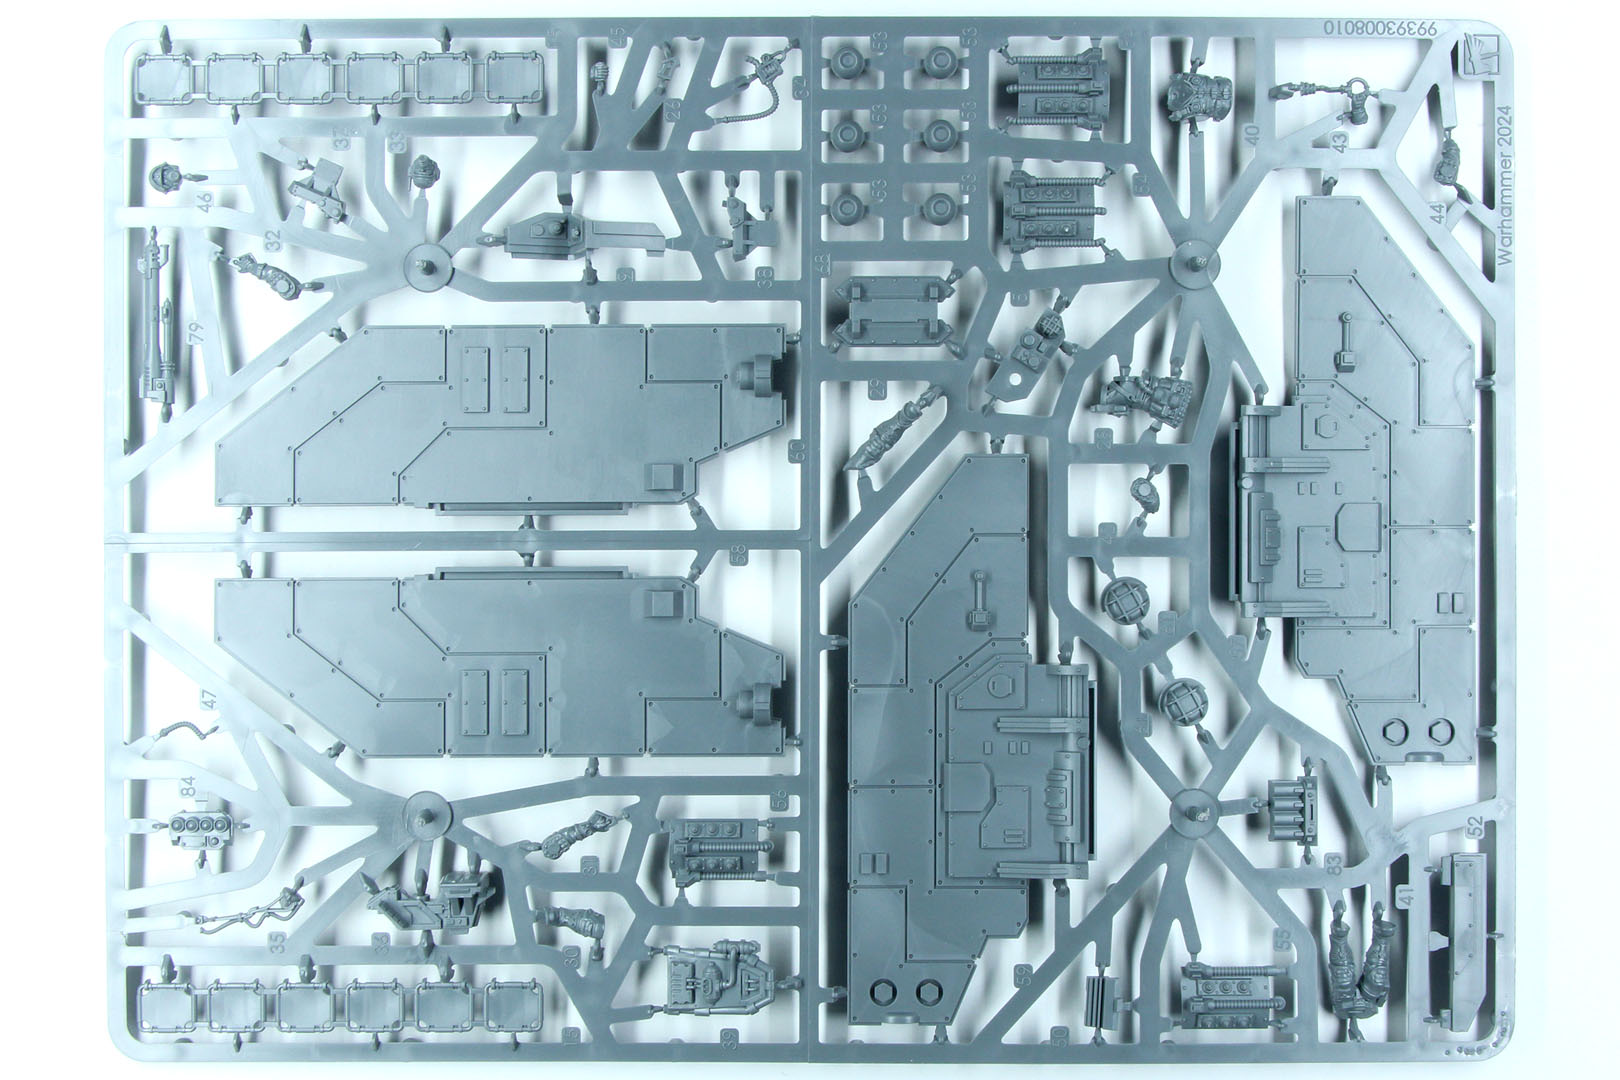
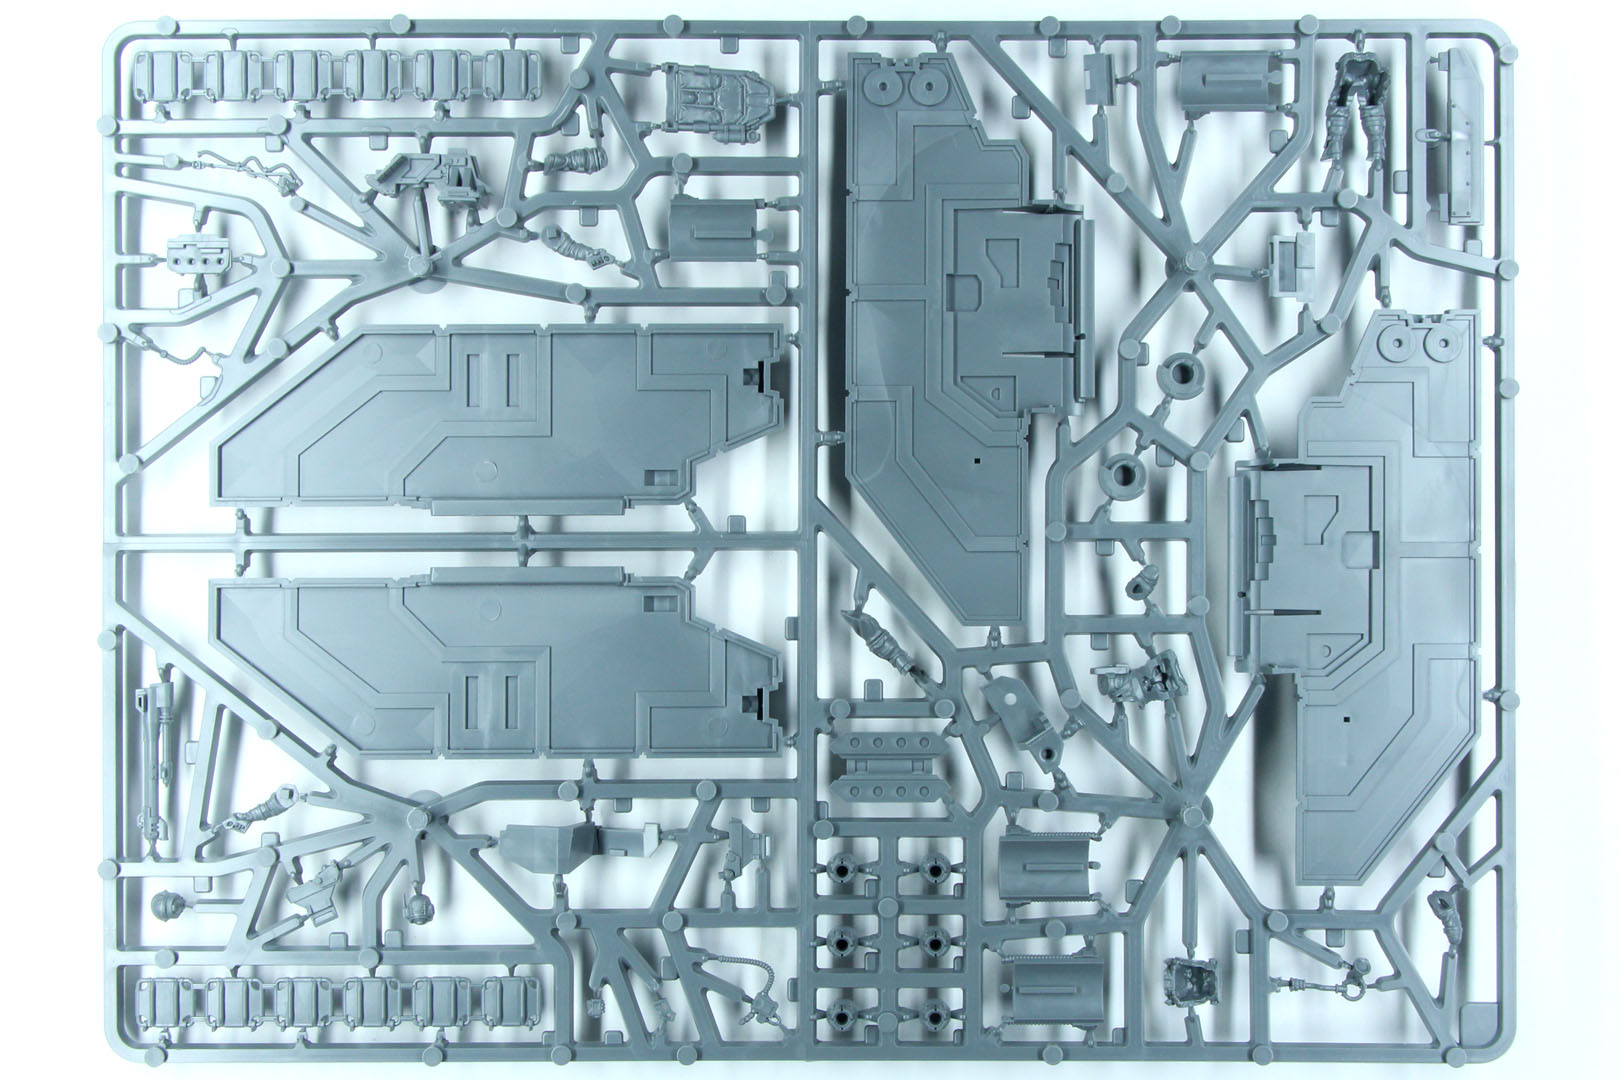
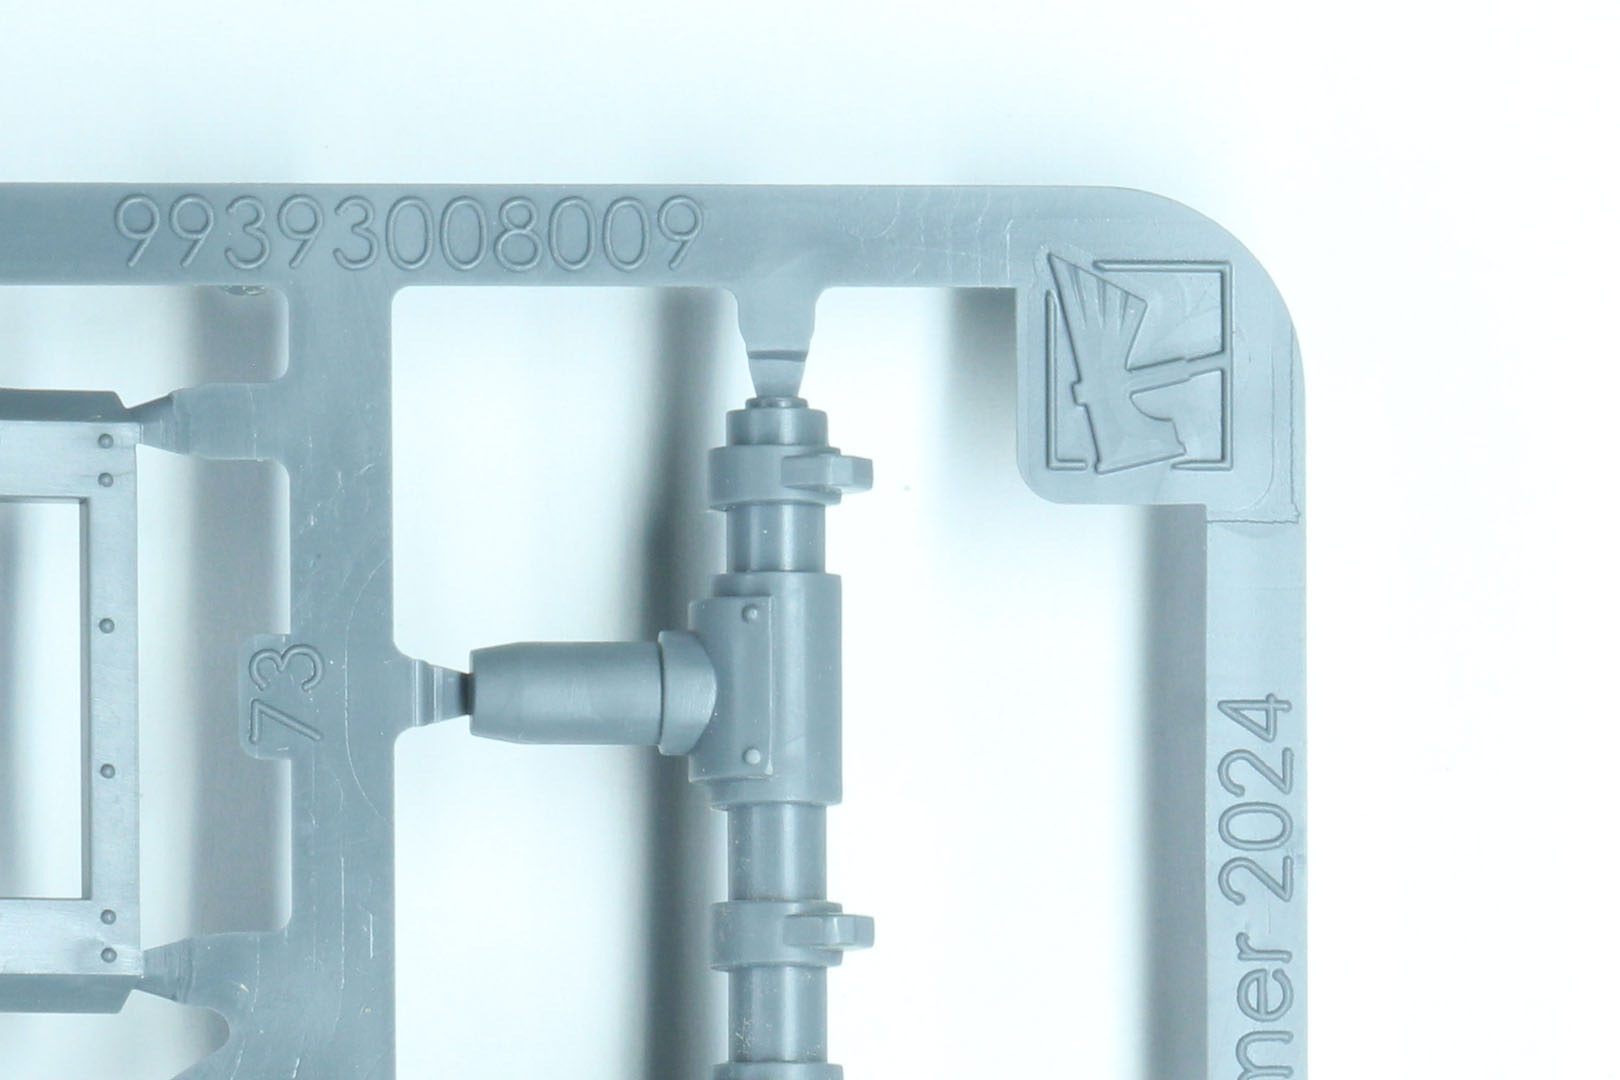
And a small little detail that caught my eye, the sprues now have the Warhammer symbol embossed on them.
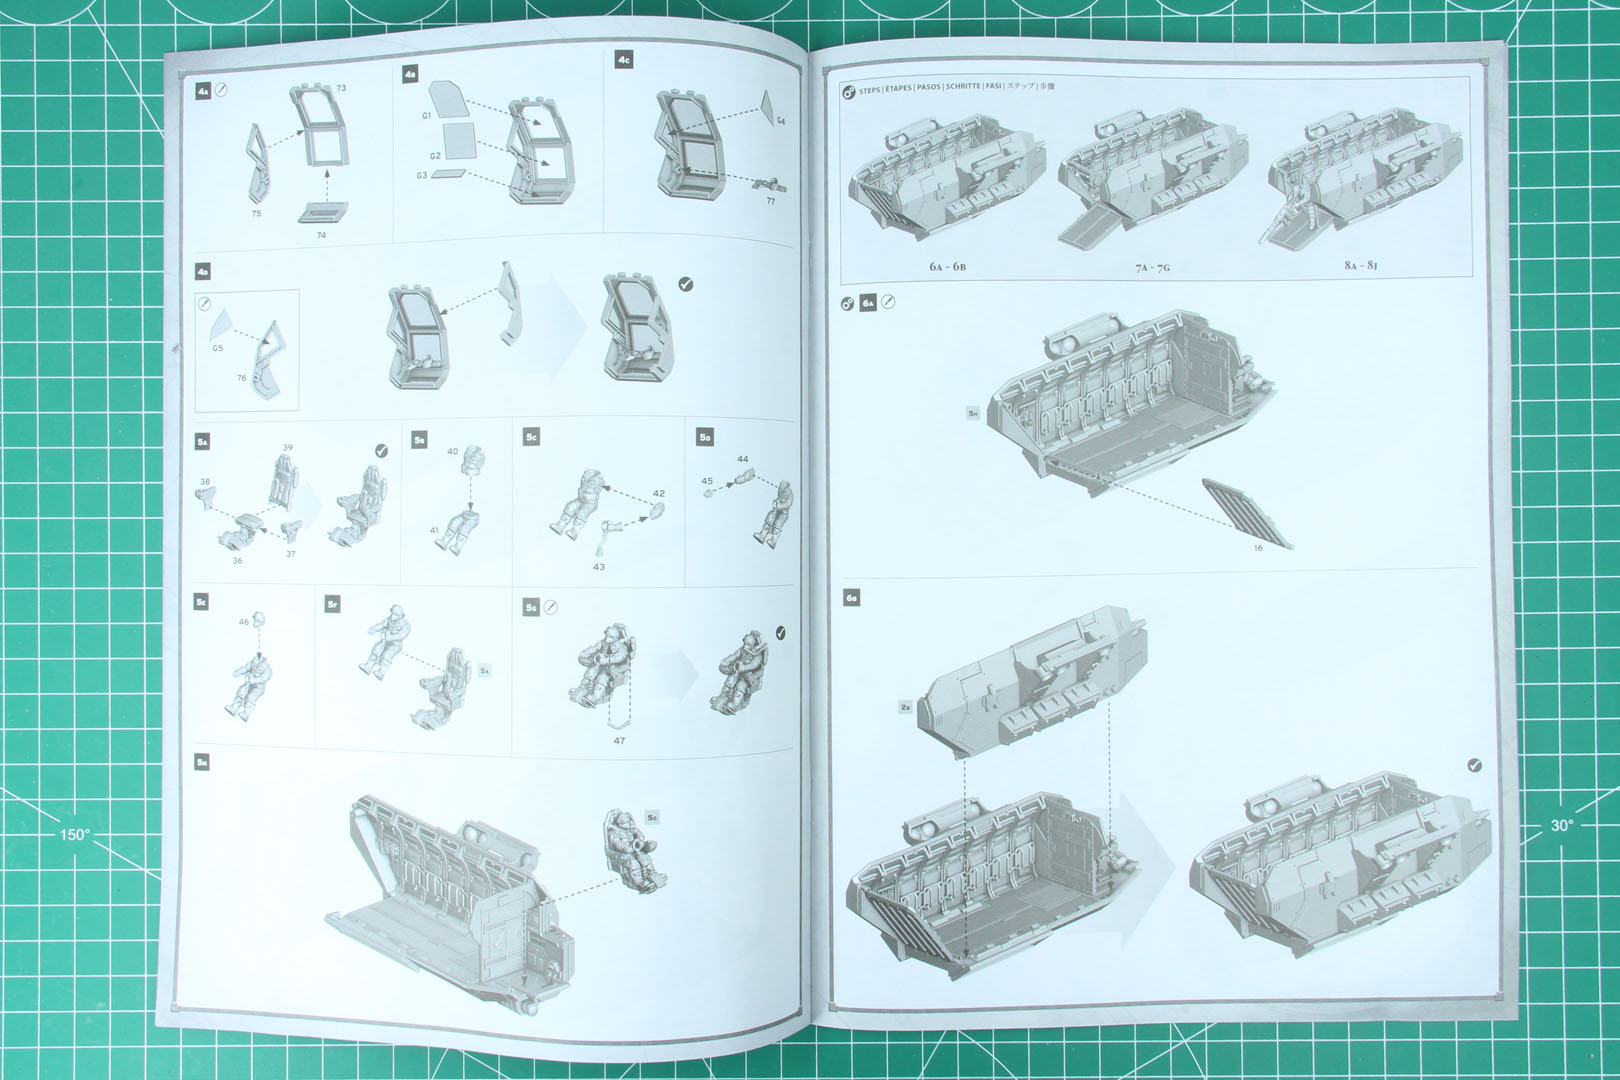
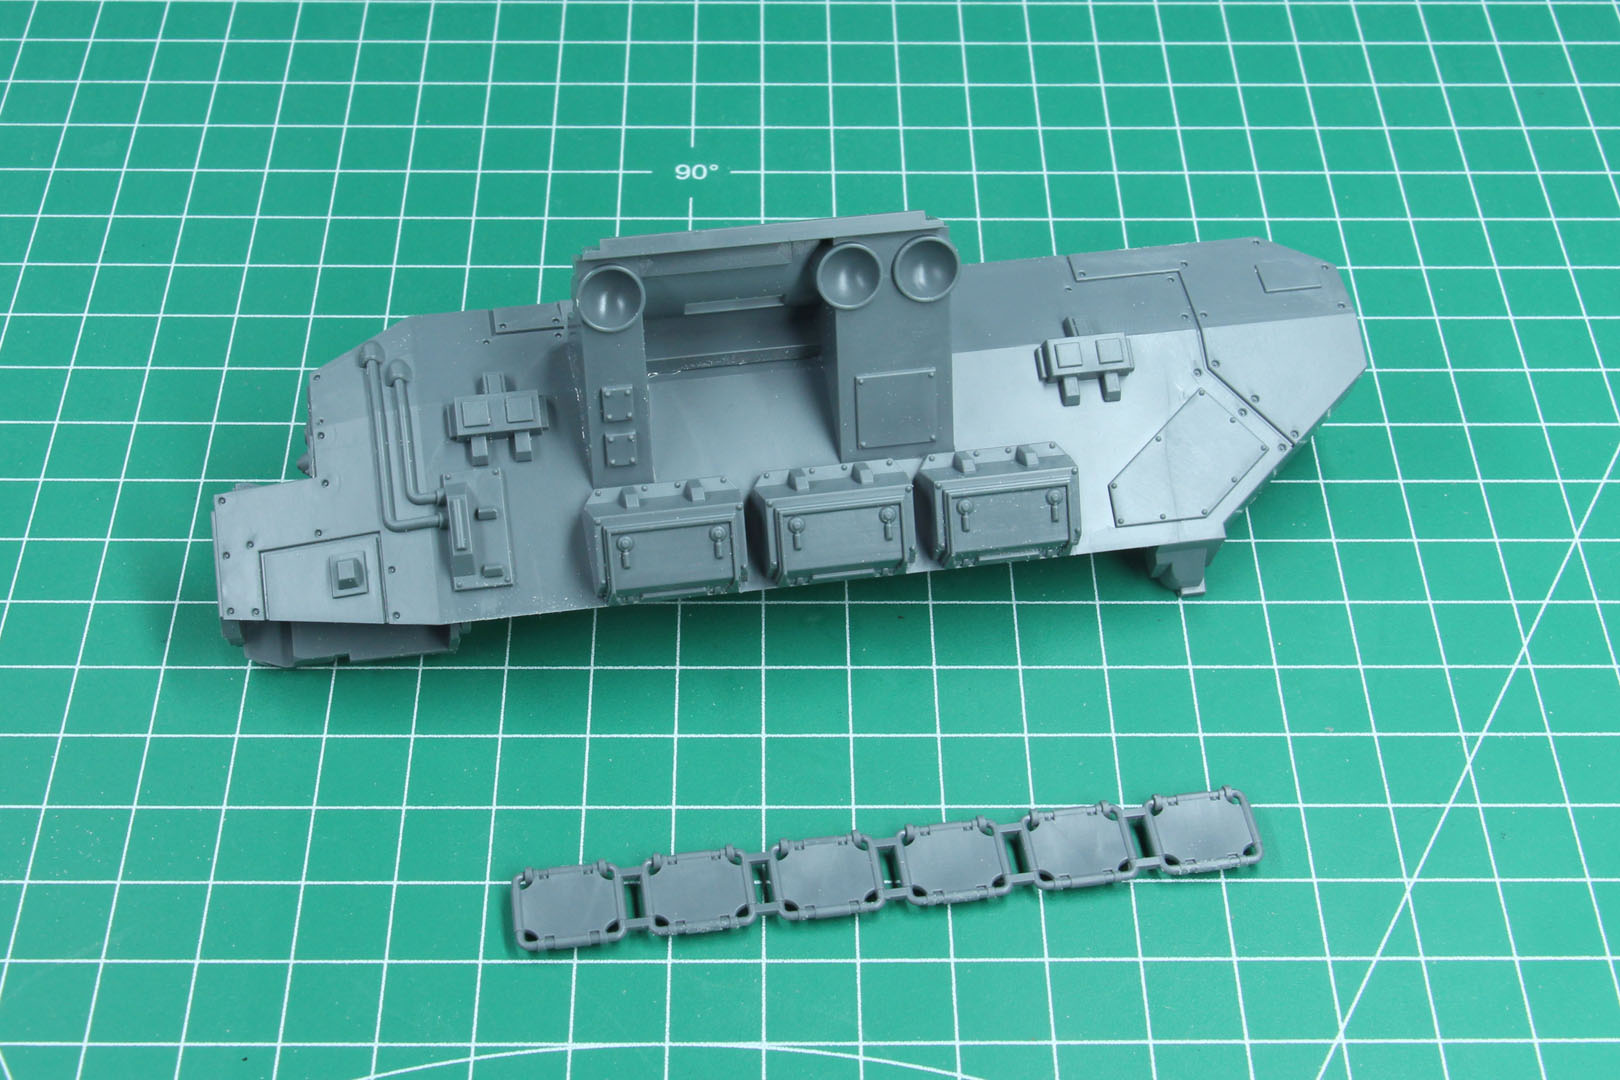
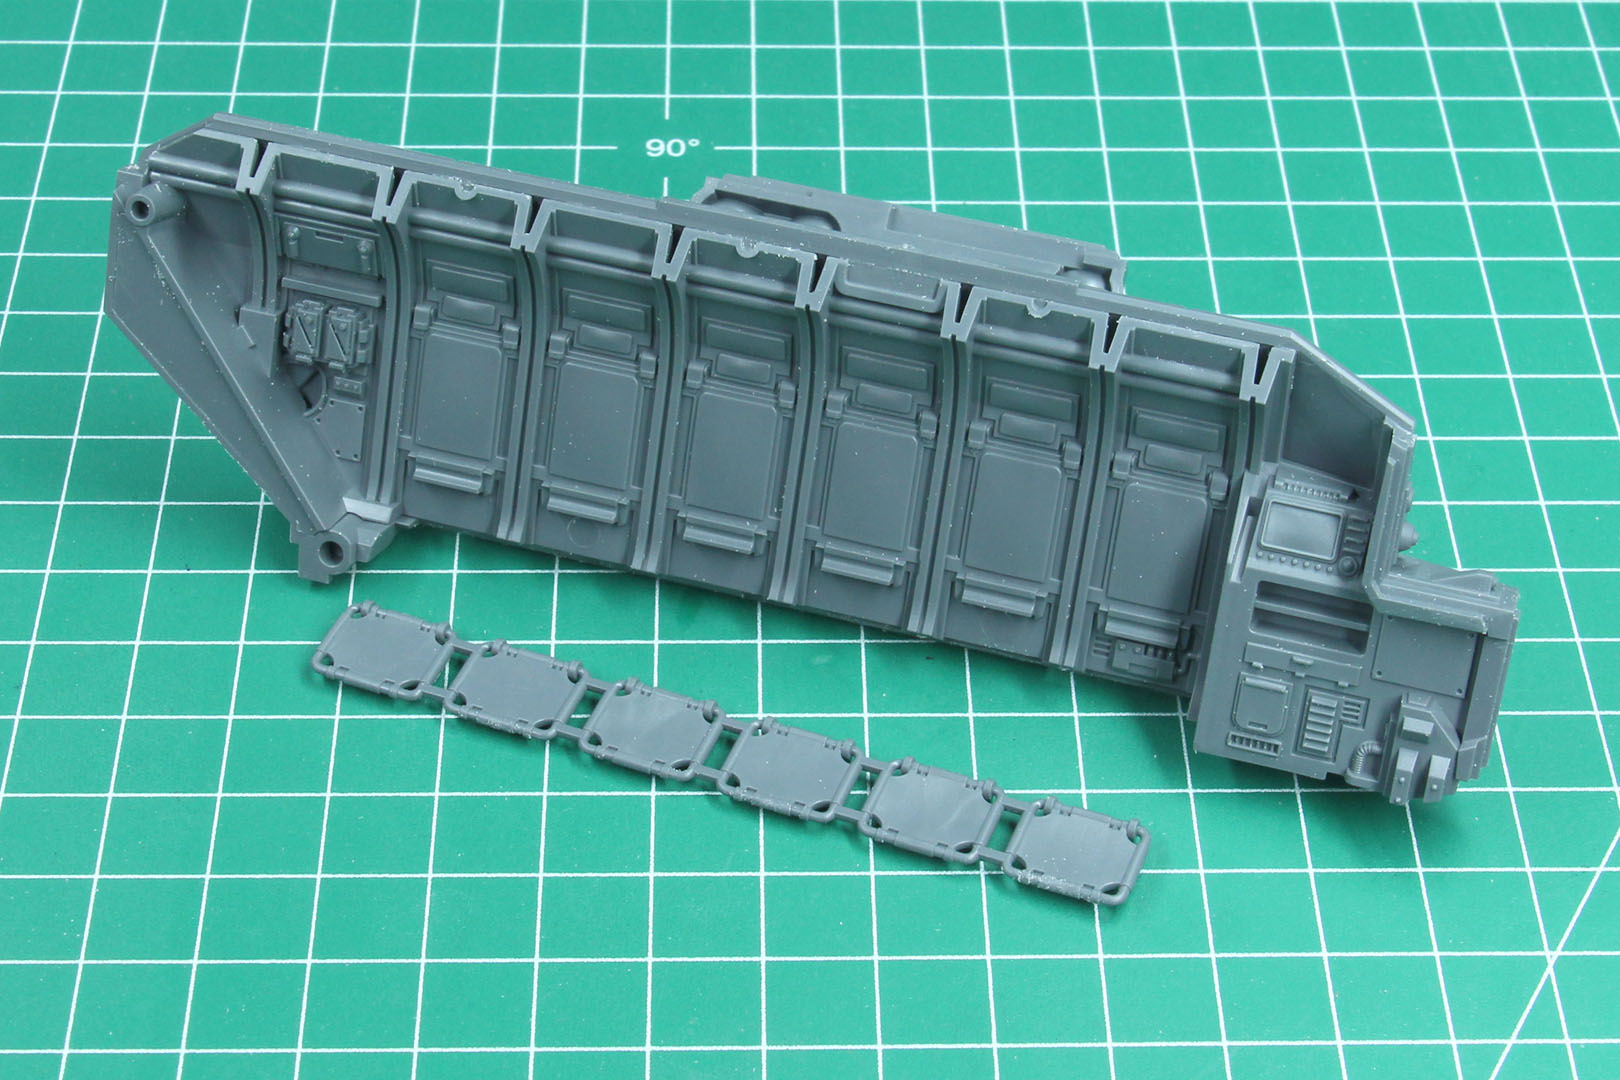
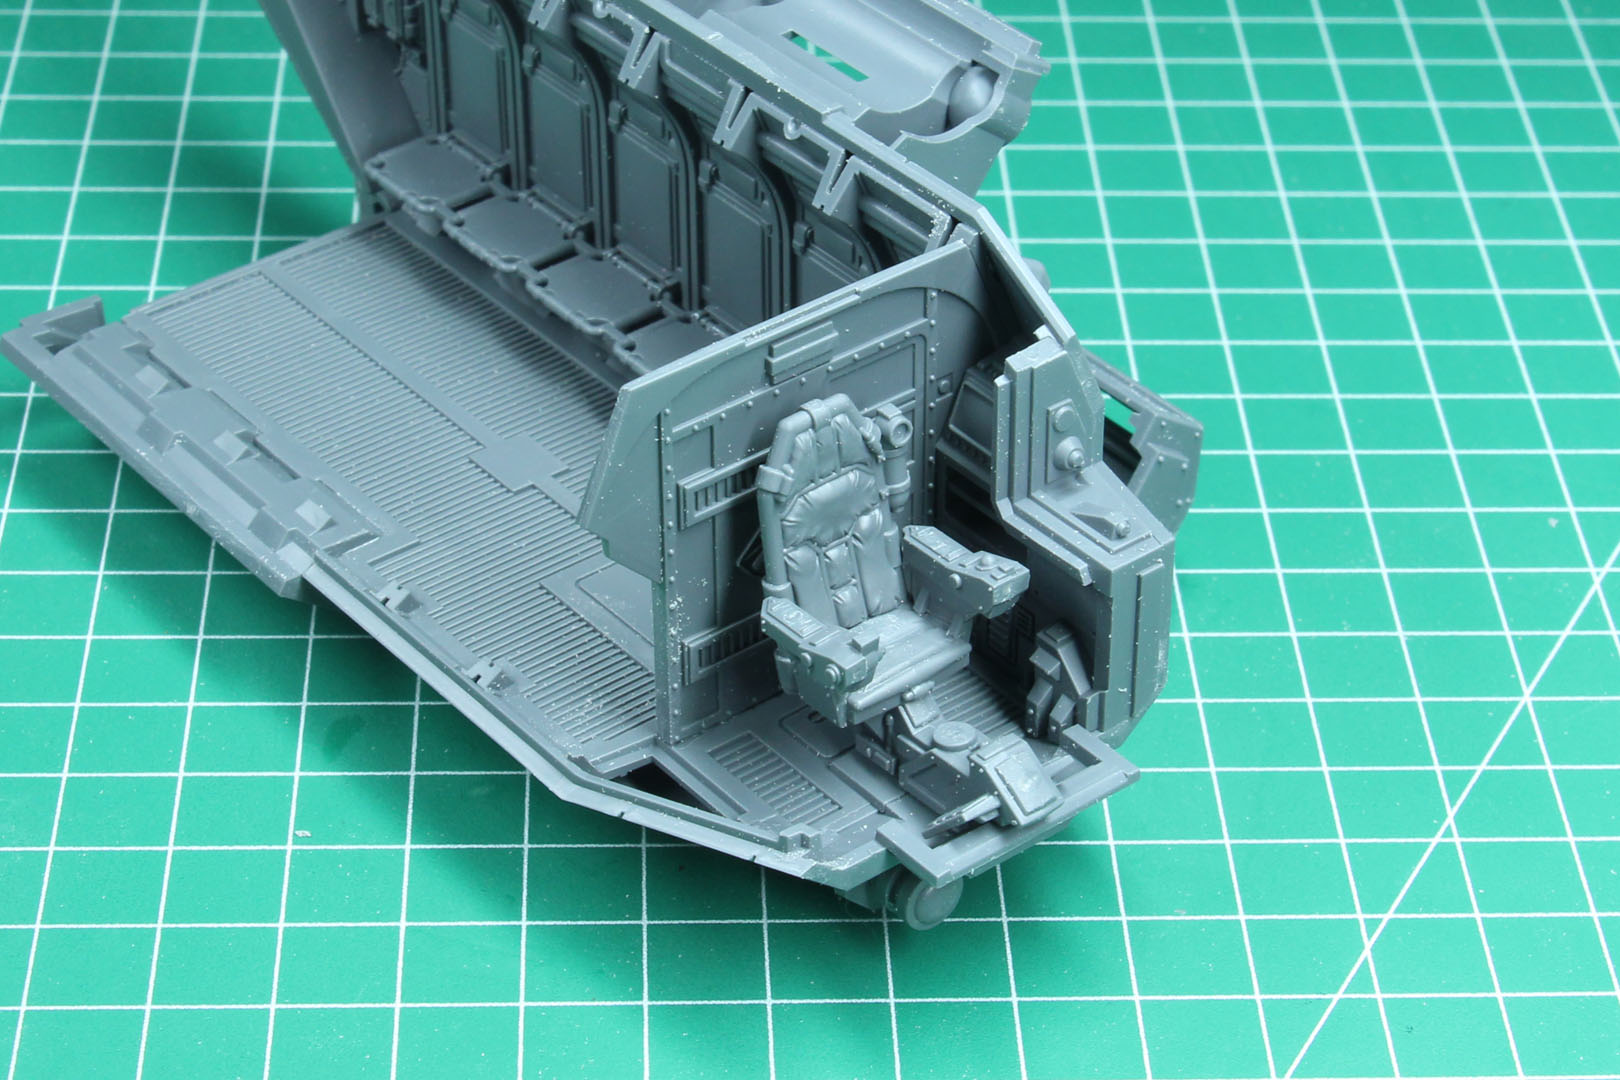
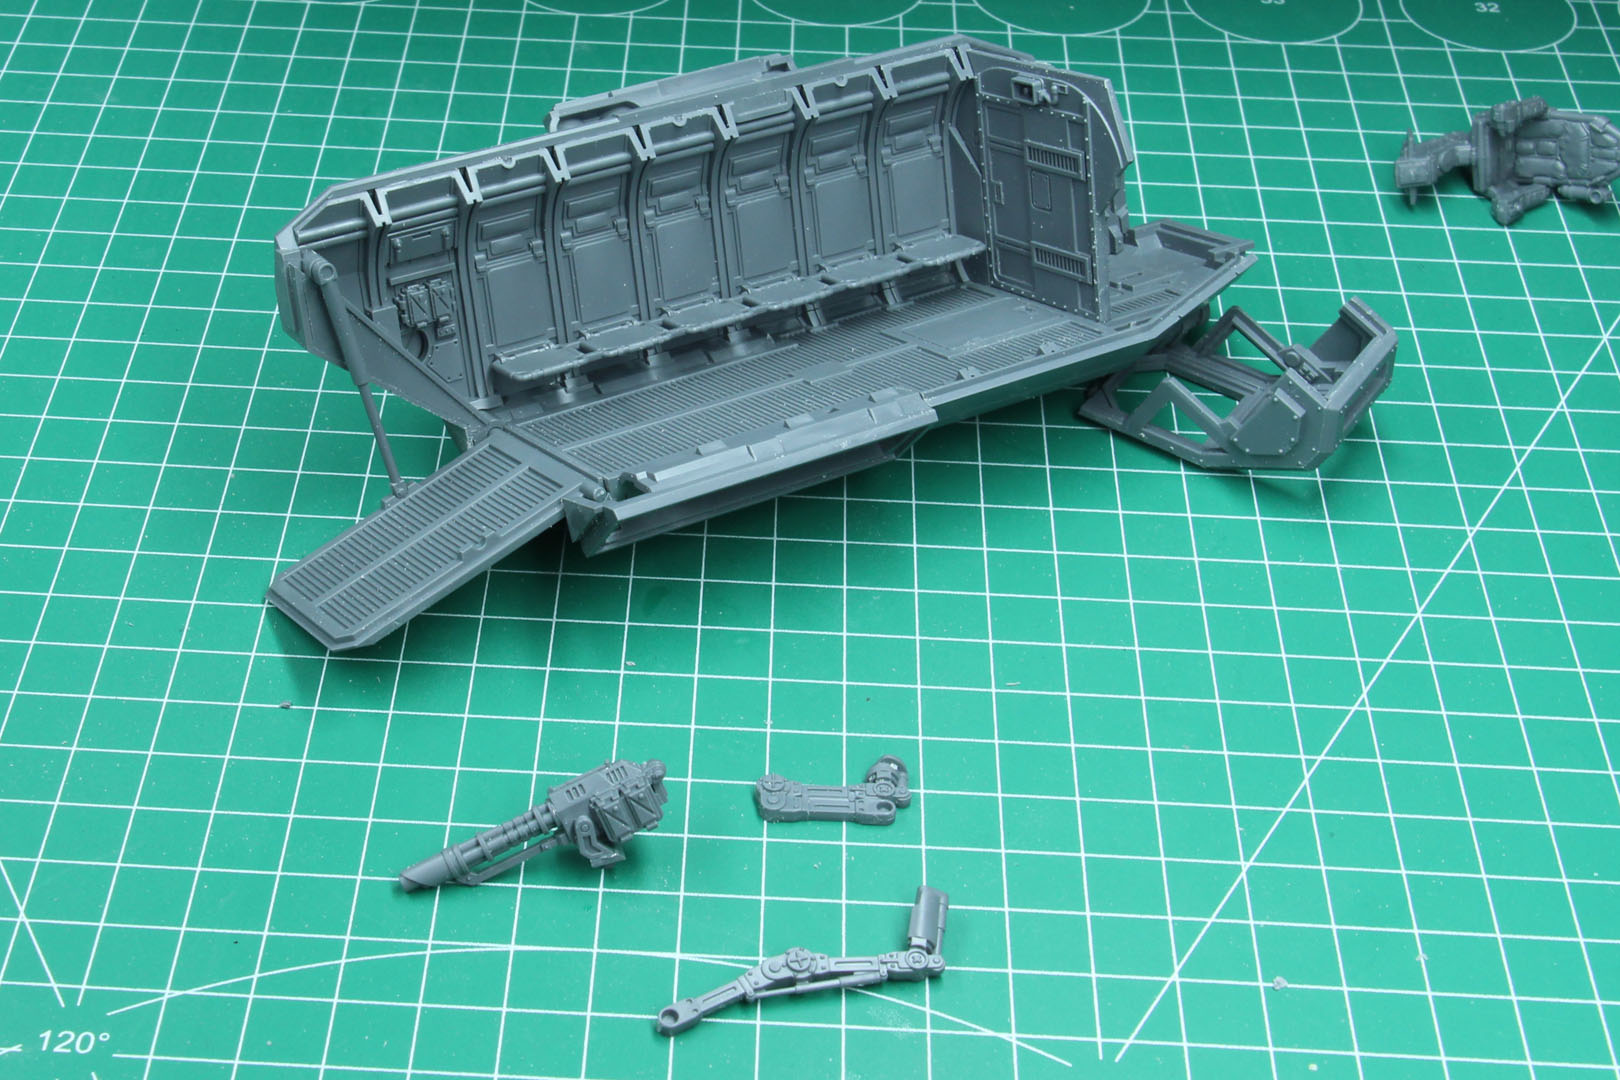
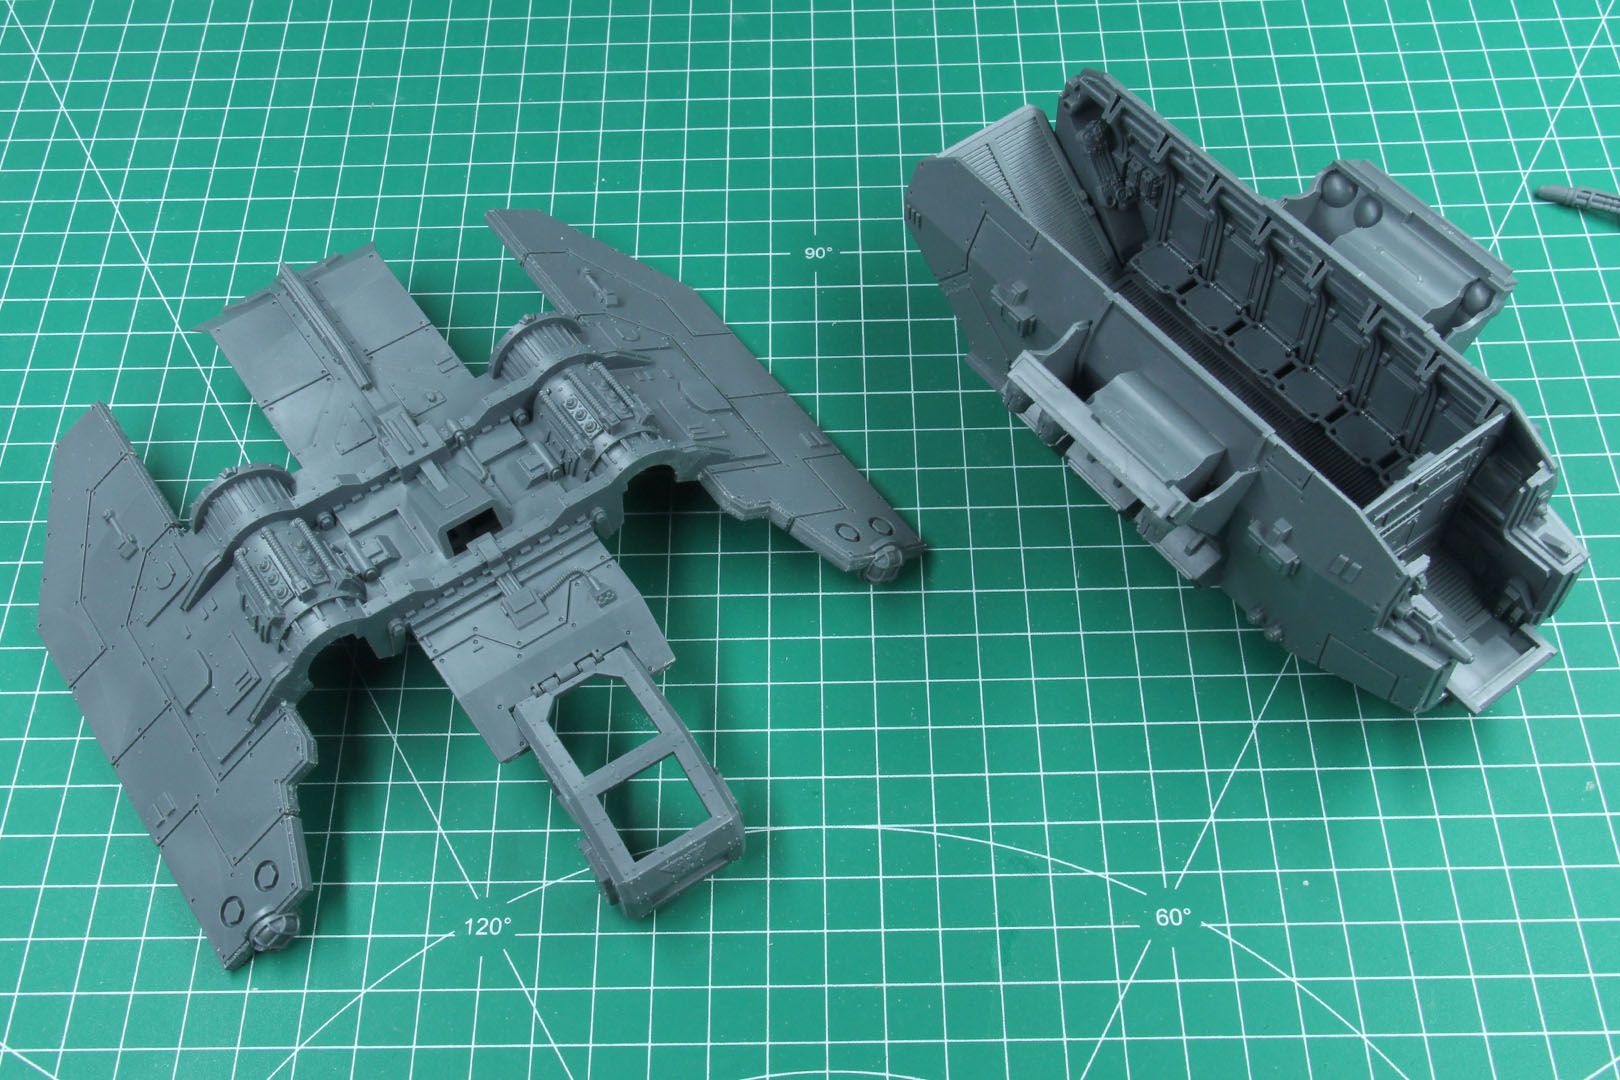
The build starts with the cargo room of the Arvus and you glue the inner and outer wall together. With us deciding for the first option, as we can lift the row of seats on each side (6 per side, 12 in total, just like the transport capacity of the Arvus Lighter) up or have them lowered.
As of now, we don't have seated infantry for the Solar Auxilia, the only Imperial Guard / Astra Militarum regiment covering this, would be the Death Korps of Krieg, with the Centaur crew.
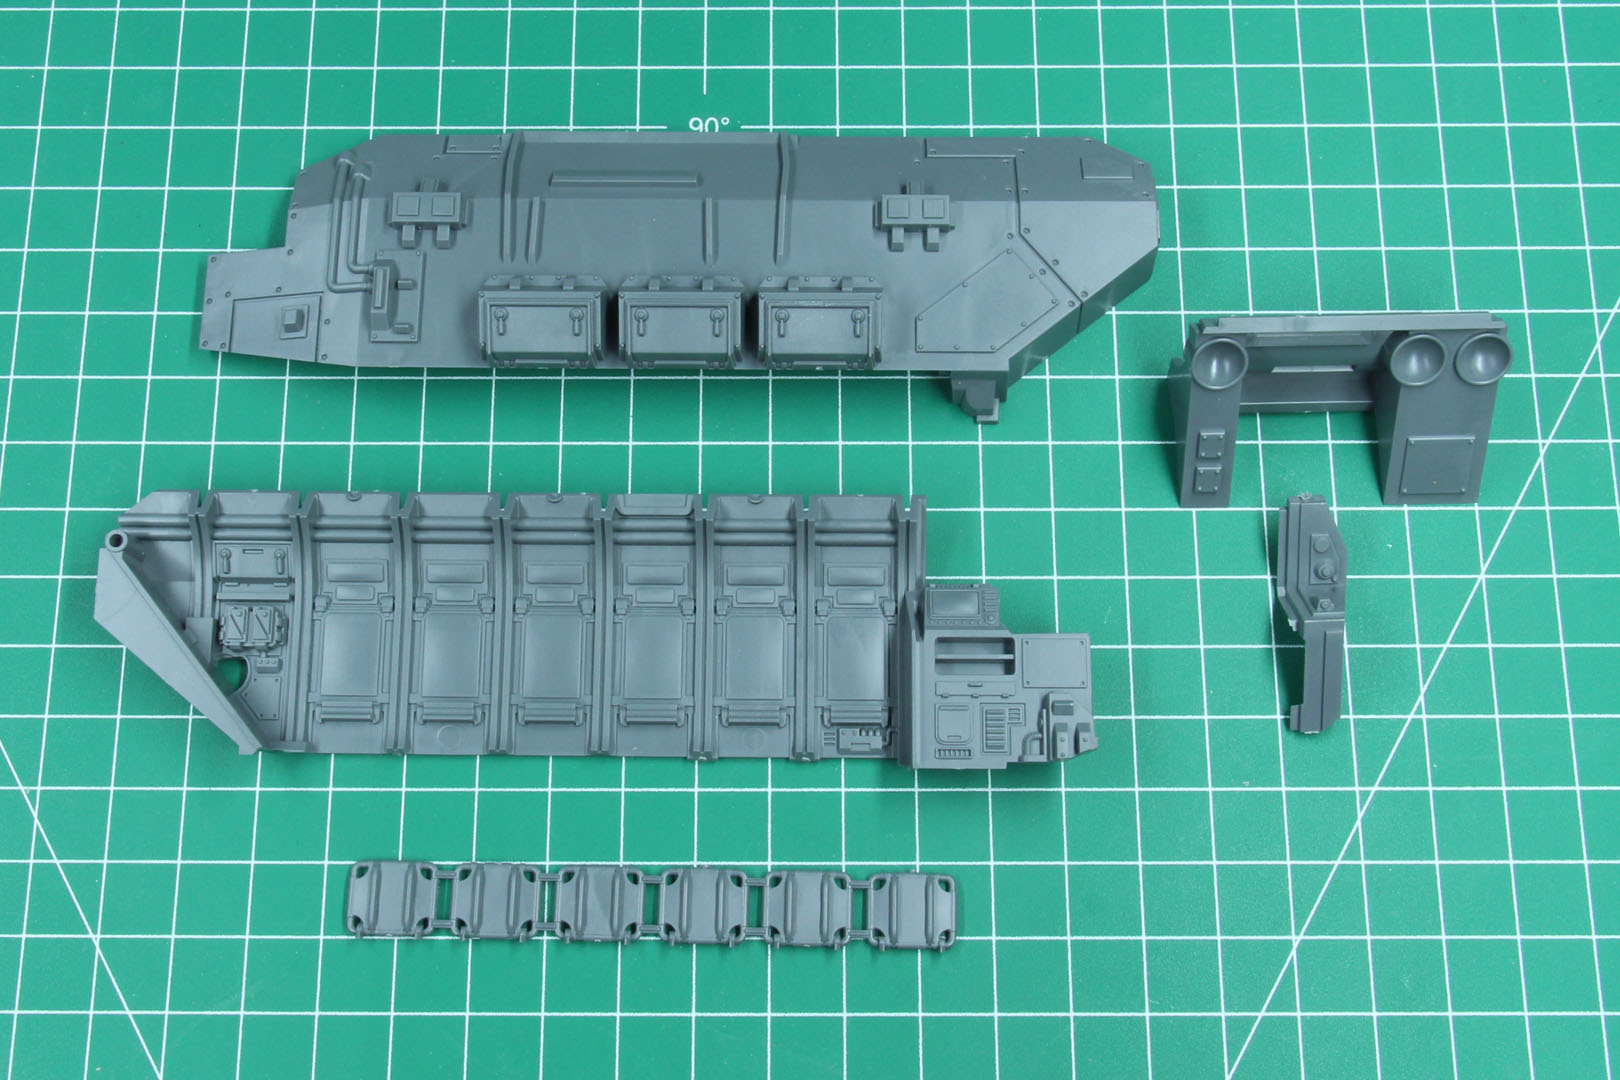


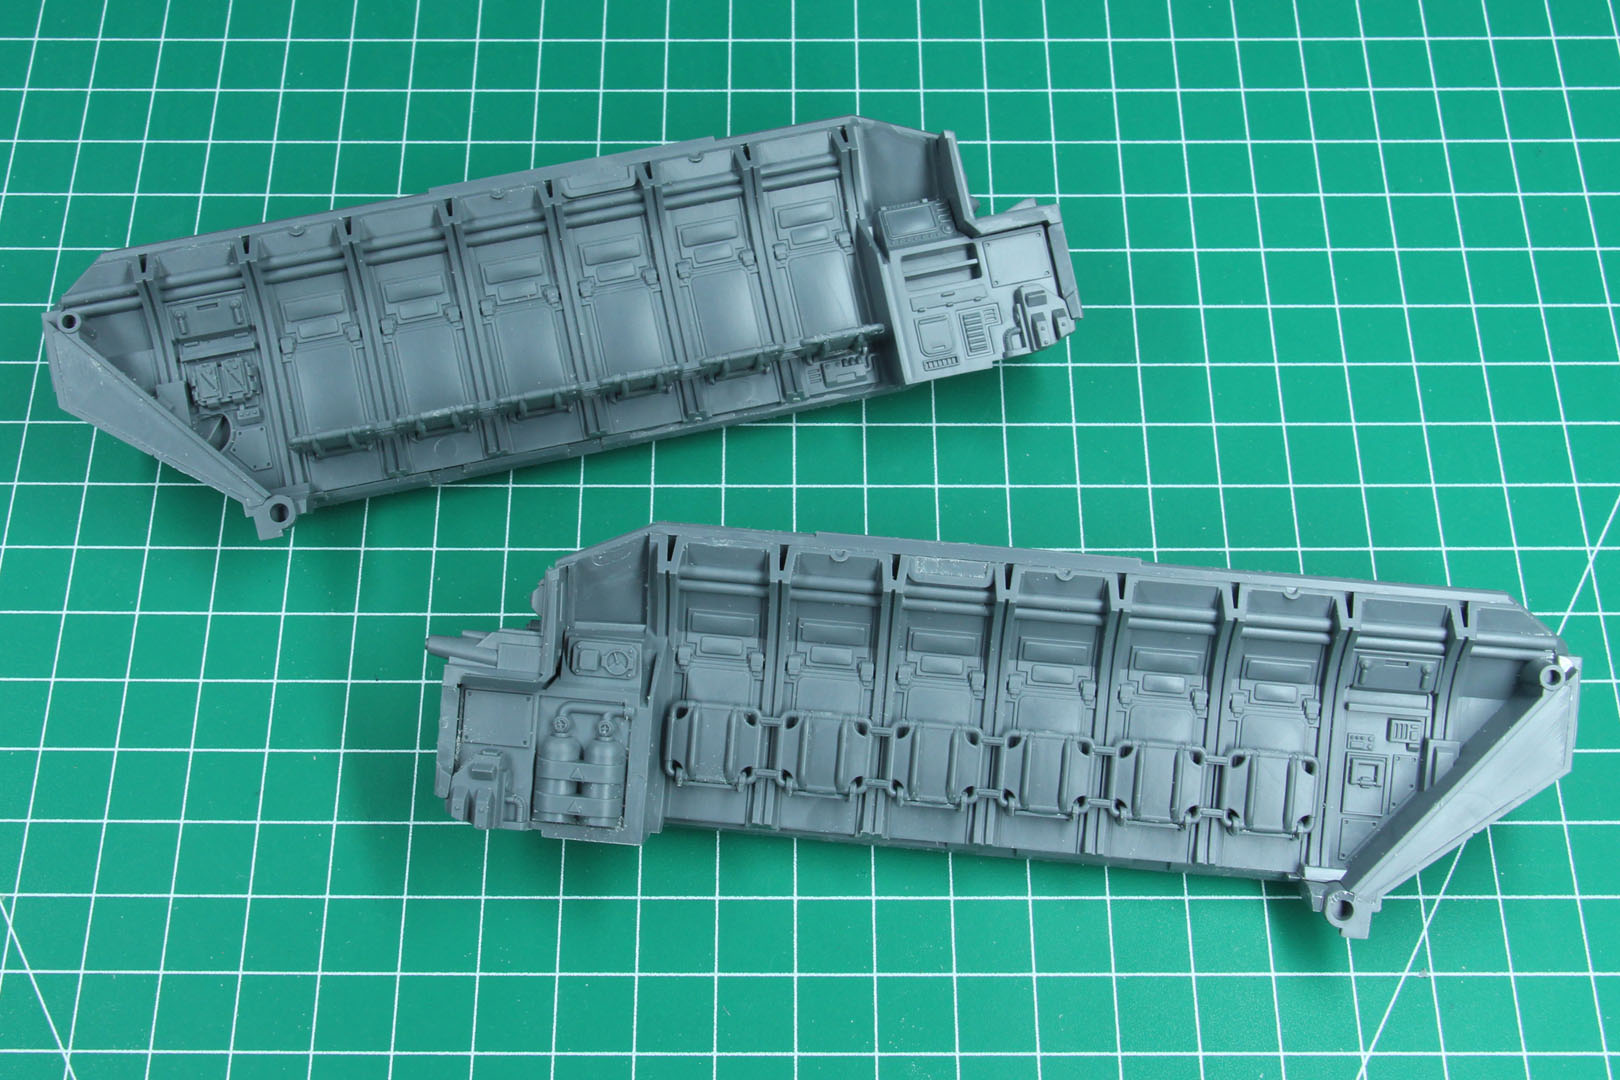
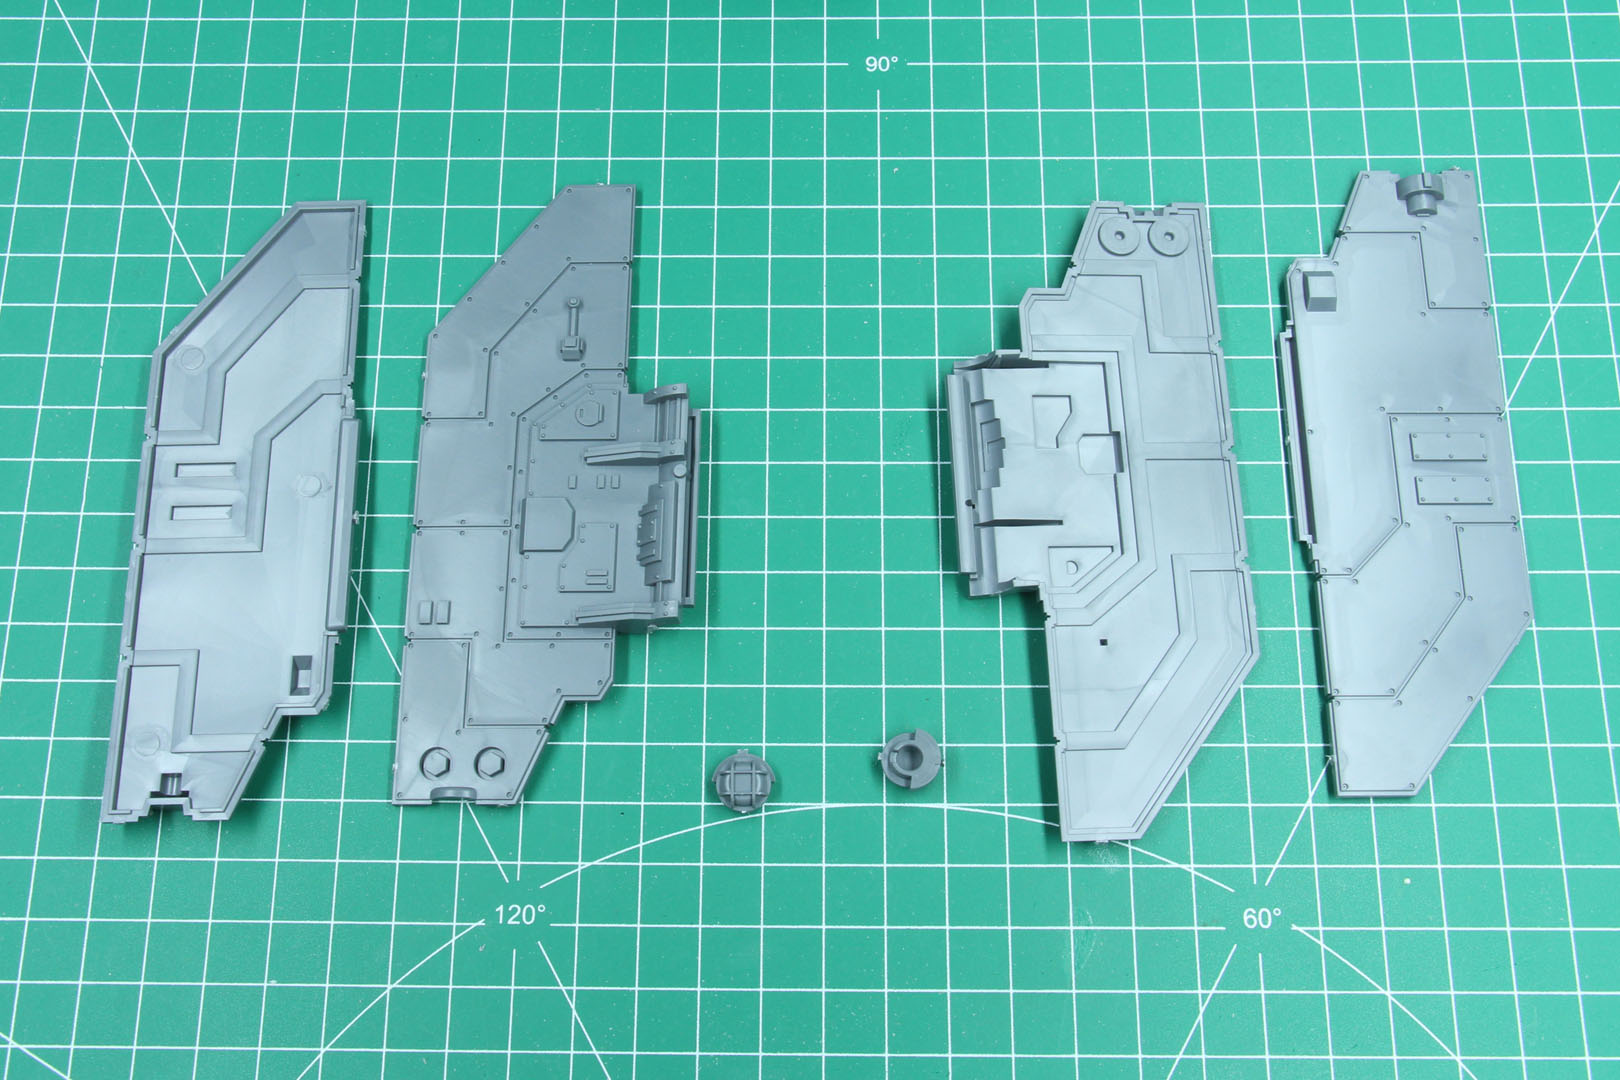
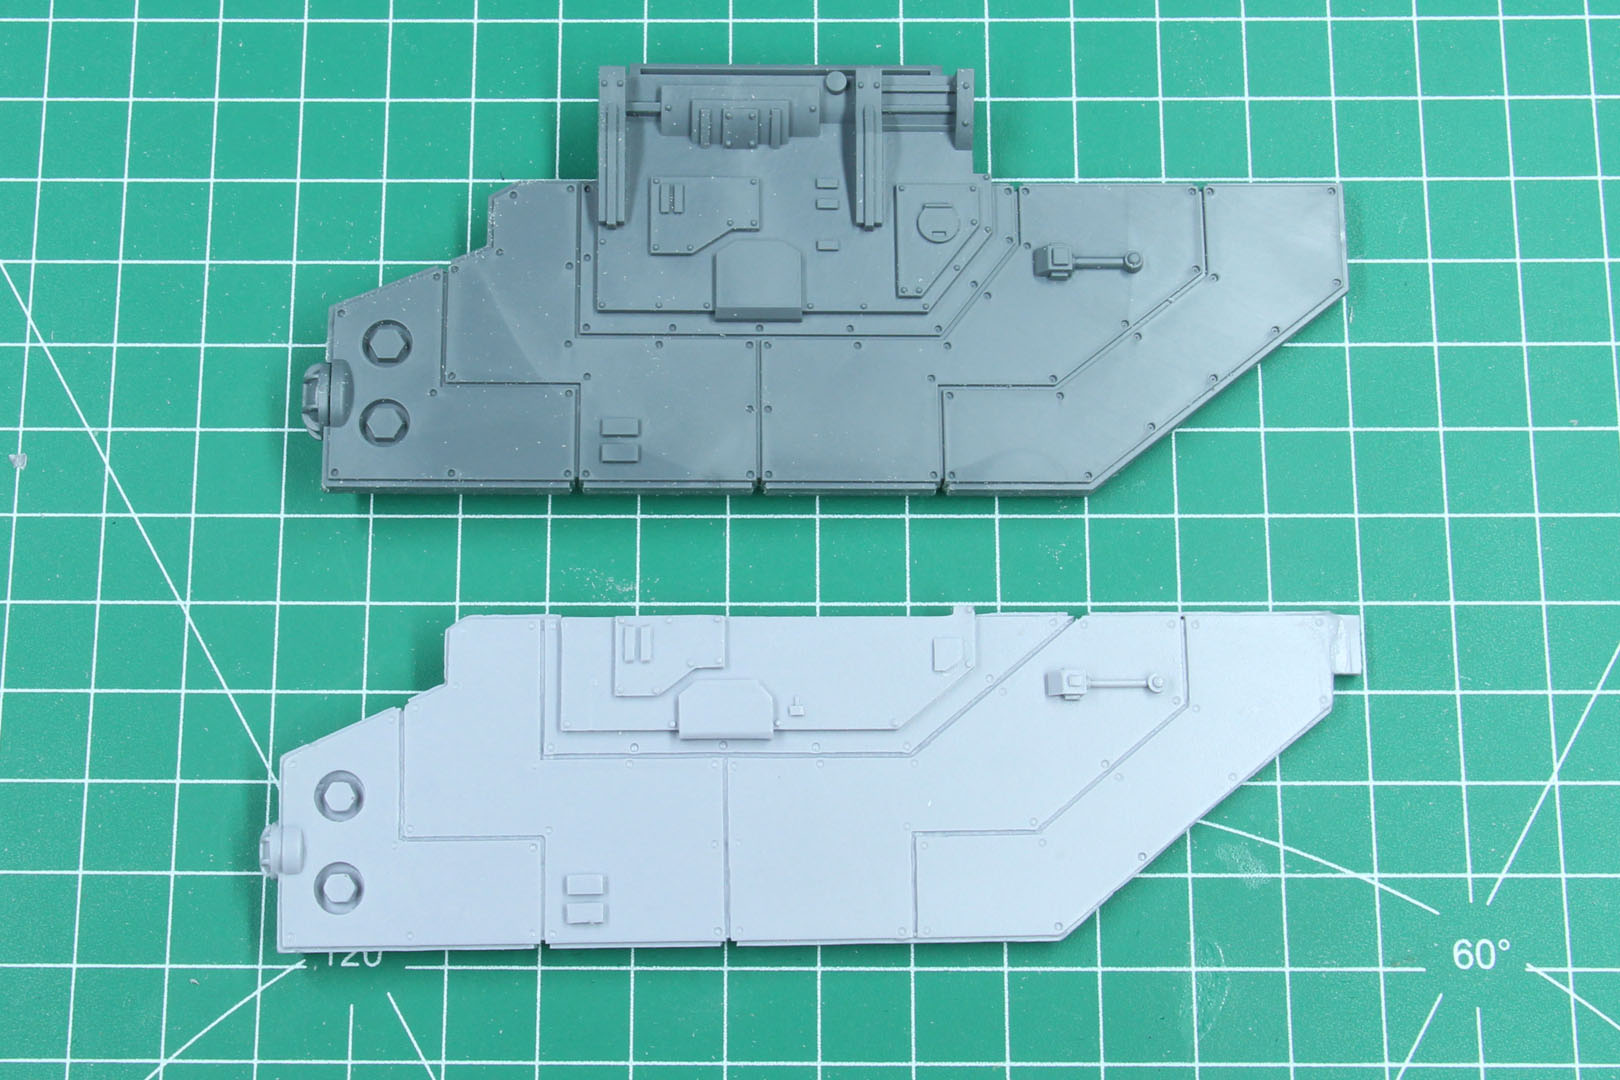
While I have a resin model of the Arvus Lighter at hand, I can provide a side by side comparison of the components. You can see the interior is meant to be a cargo lifter, and the outset got more detailled with the plastic kit.


We repeat the steps for the other side as well and went for one row of seats lifted and one put down.
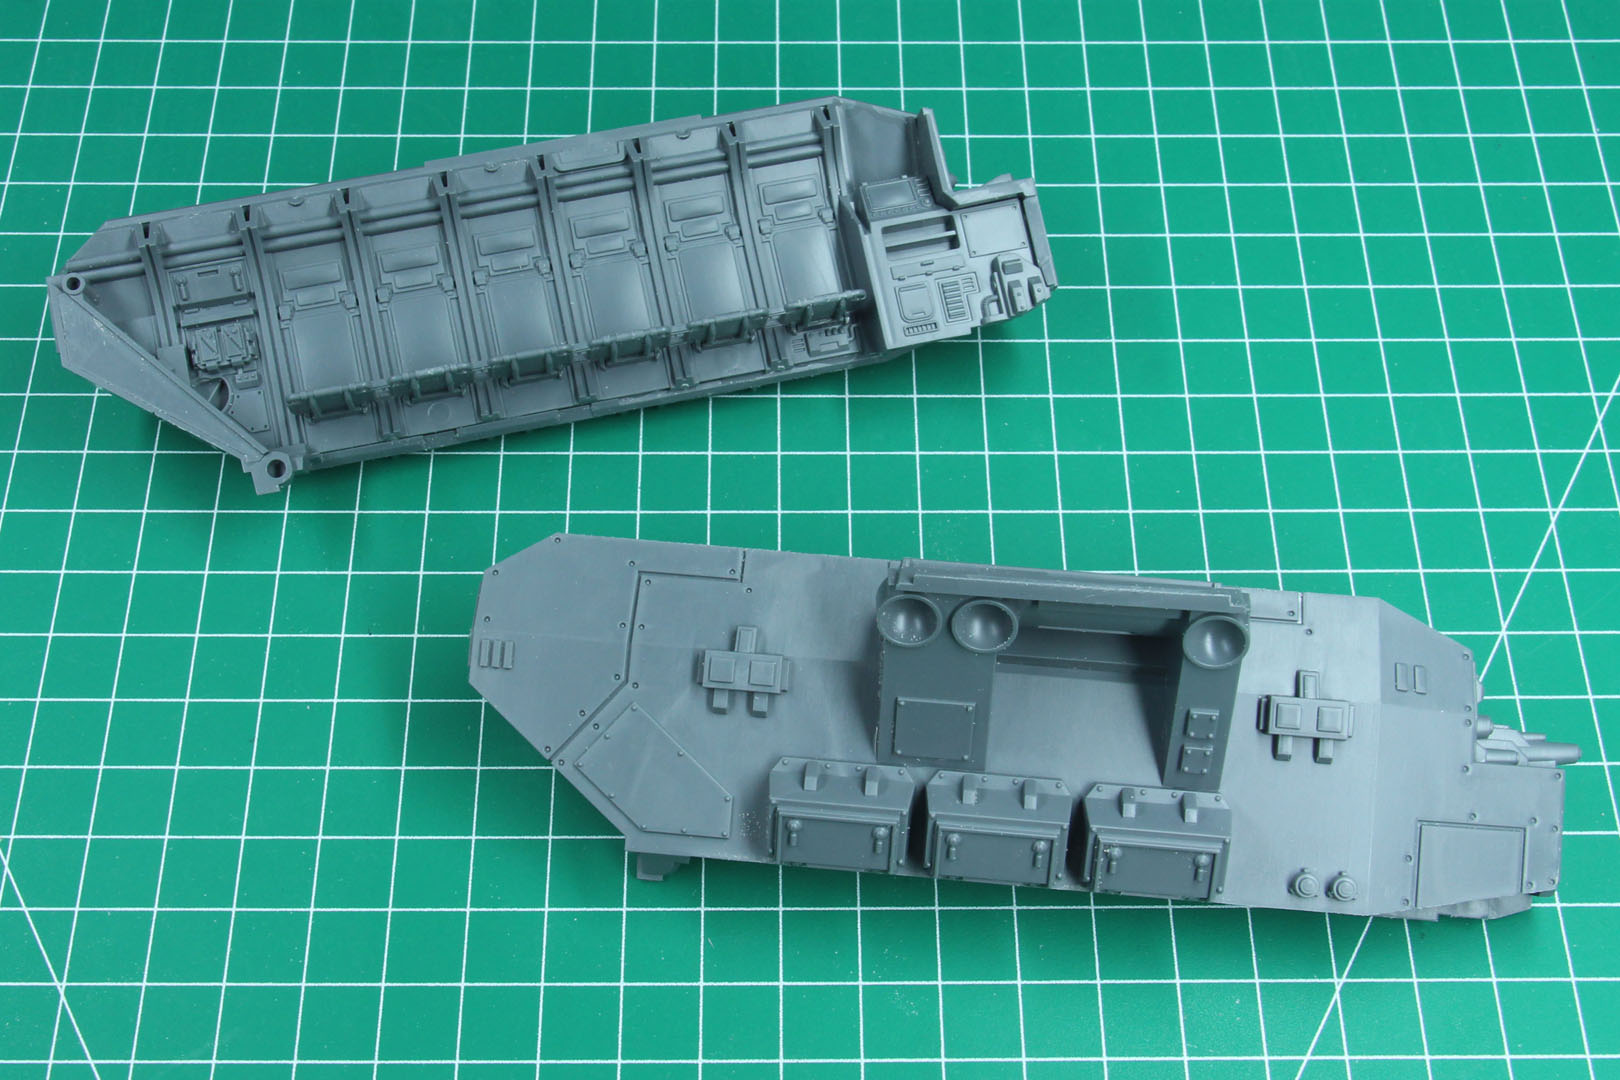
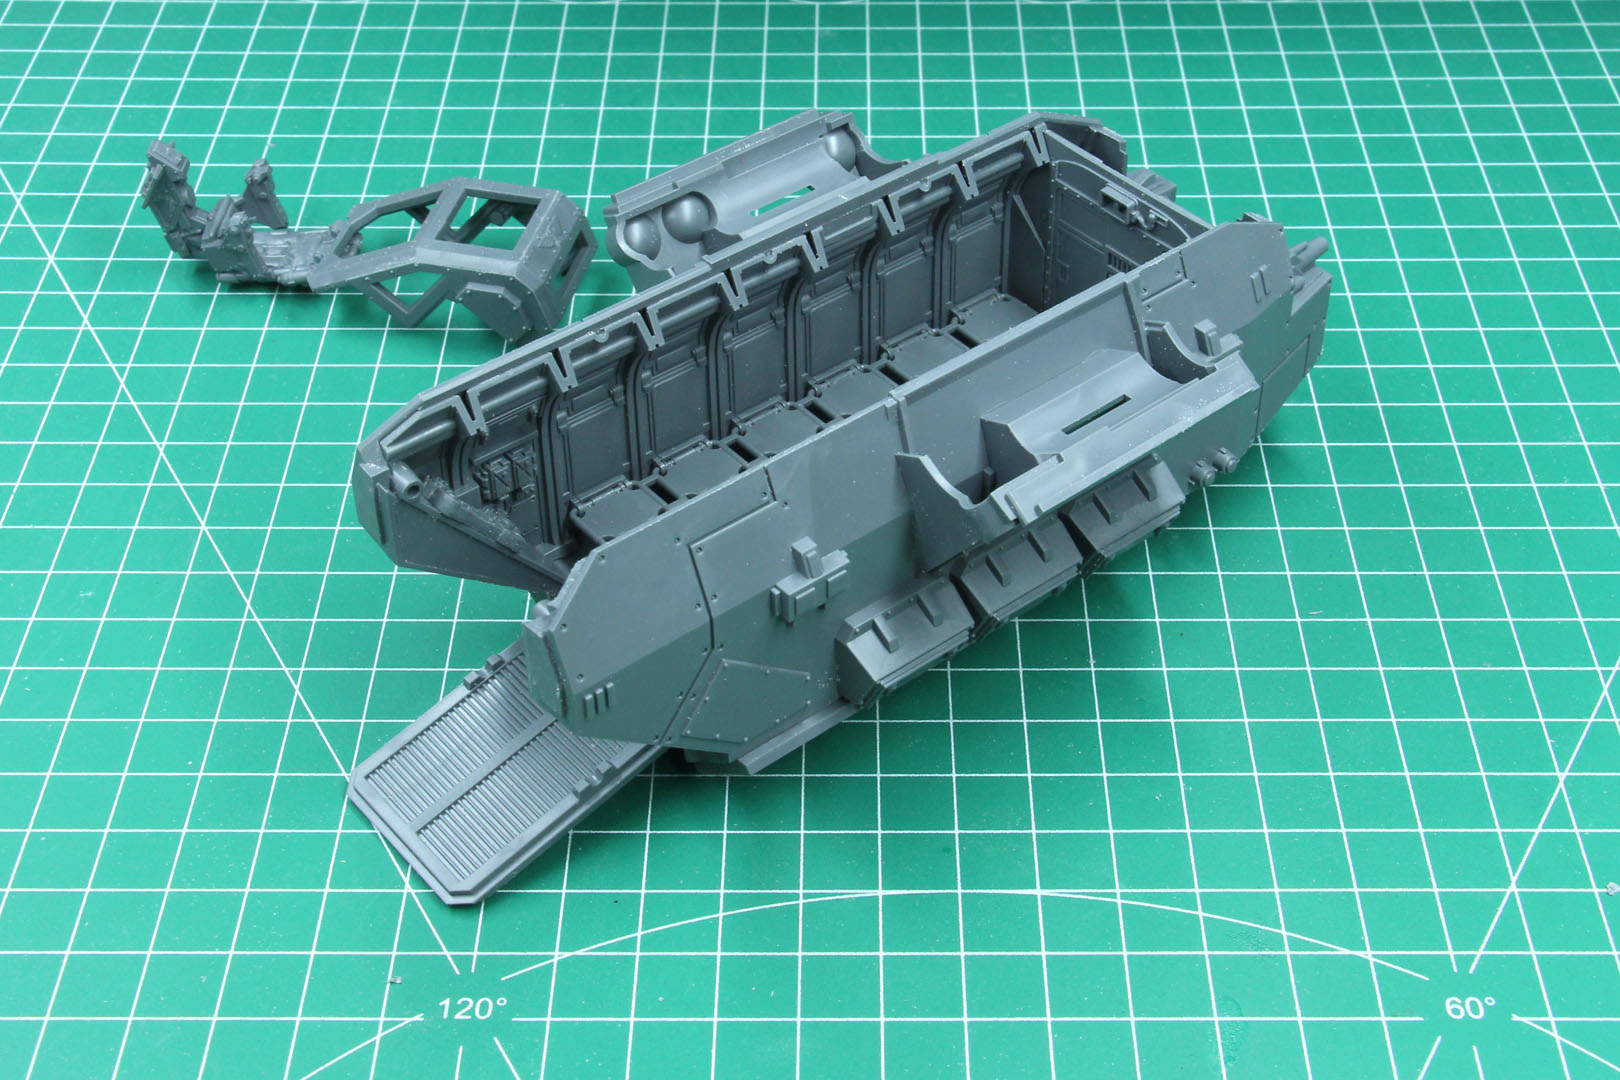
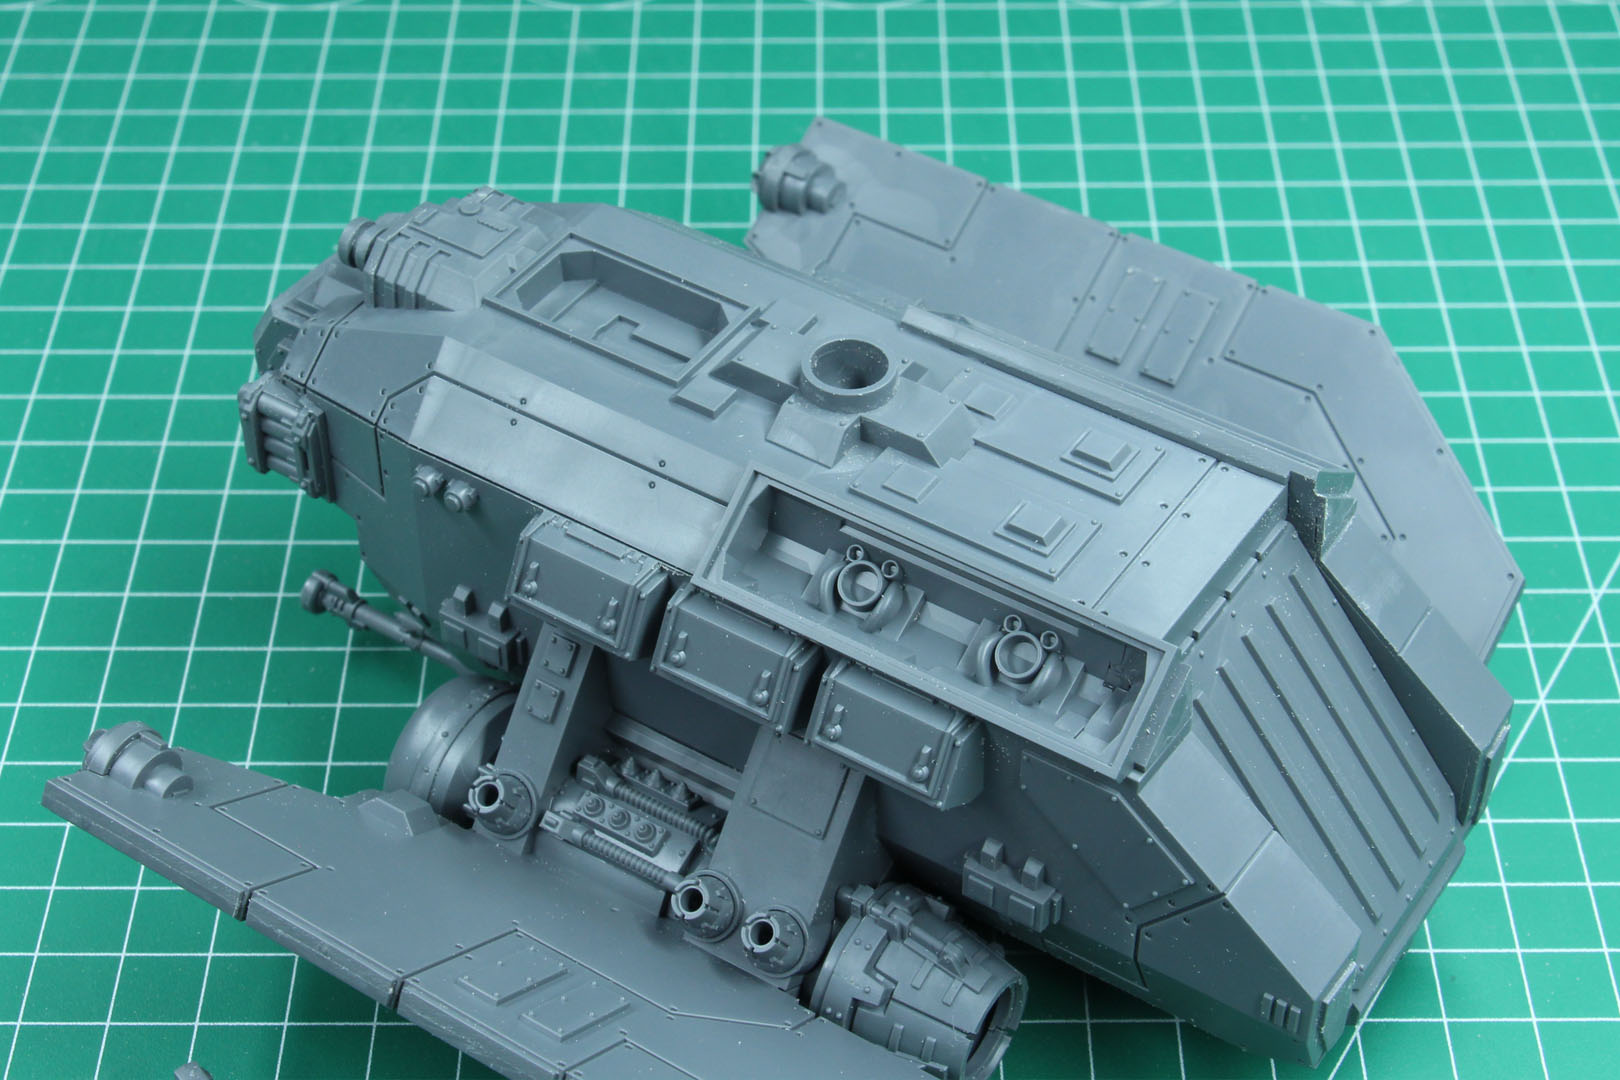
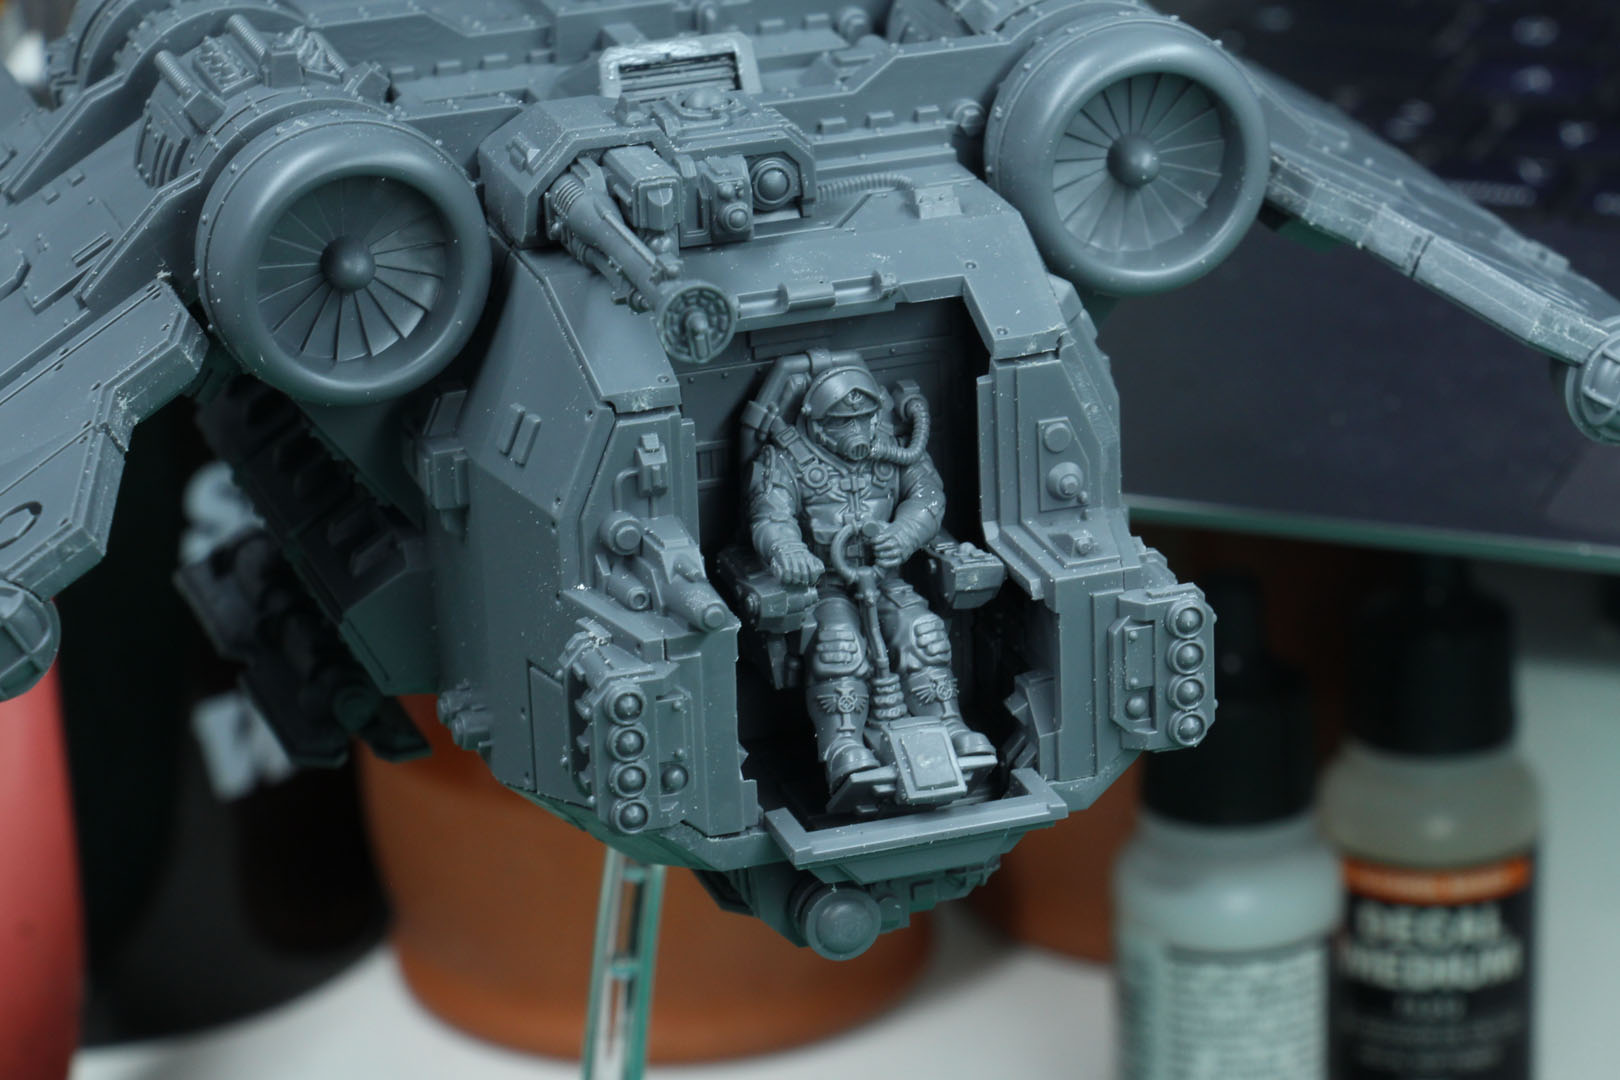
Now we move on to the bottom part. You can see the ball-joint mount for the flying base, as well as the mounts for the landing gear, which we will add later on. The bottom part is enlarged to the sides, which adds more integrity to the sections, as well as a dividing door between the cargo space and cock pit. The sides slot in neatly.
Please note, the gaps you see in the following steps are caused due to the fact, that I didn't glue in the right part side for further painting purposes and only locked them in place.

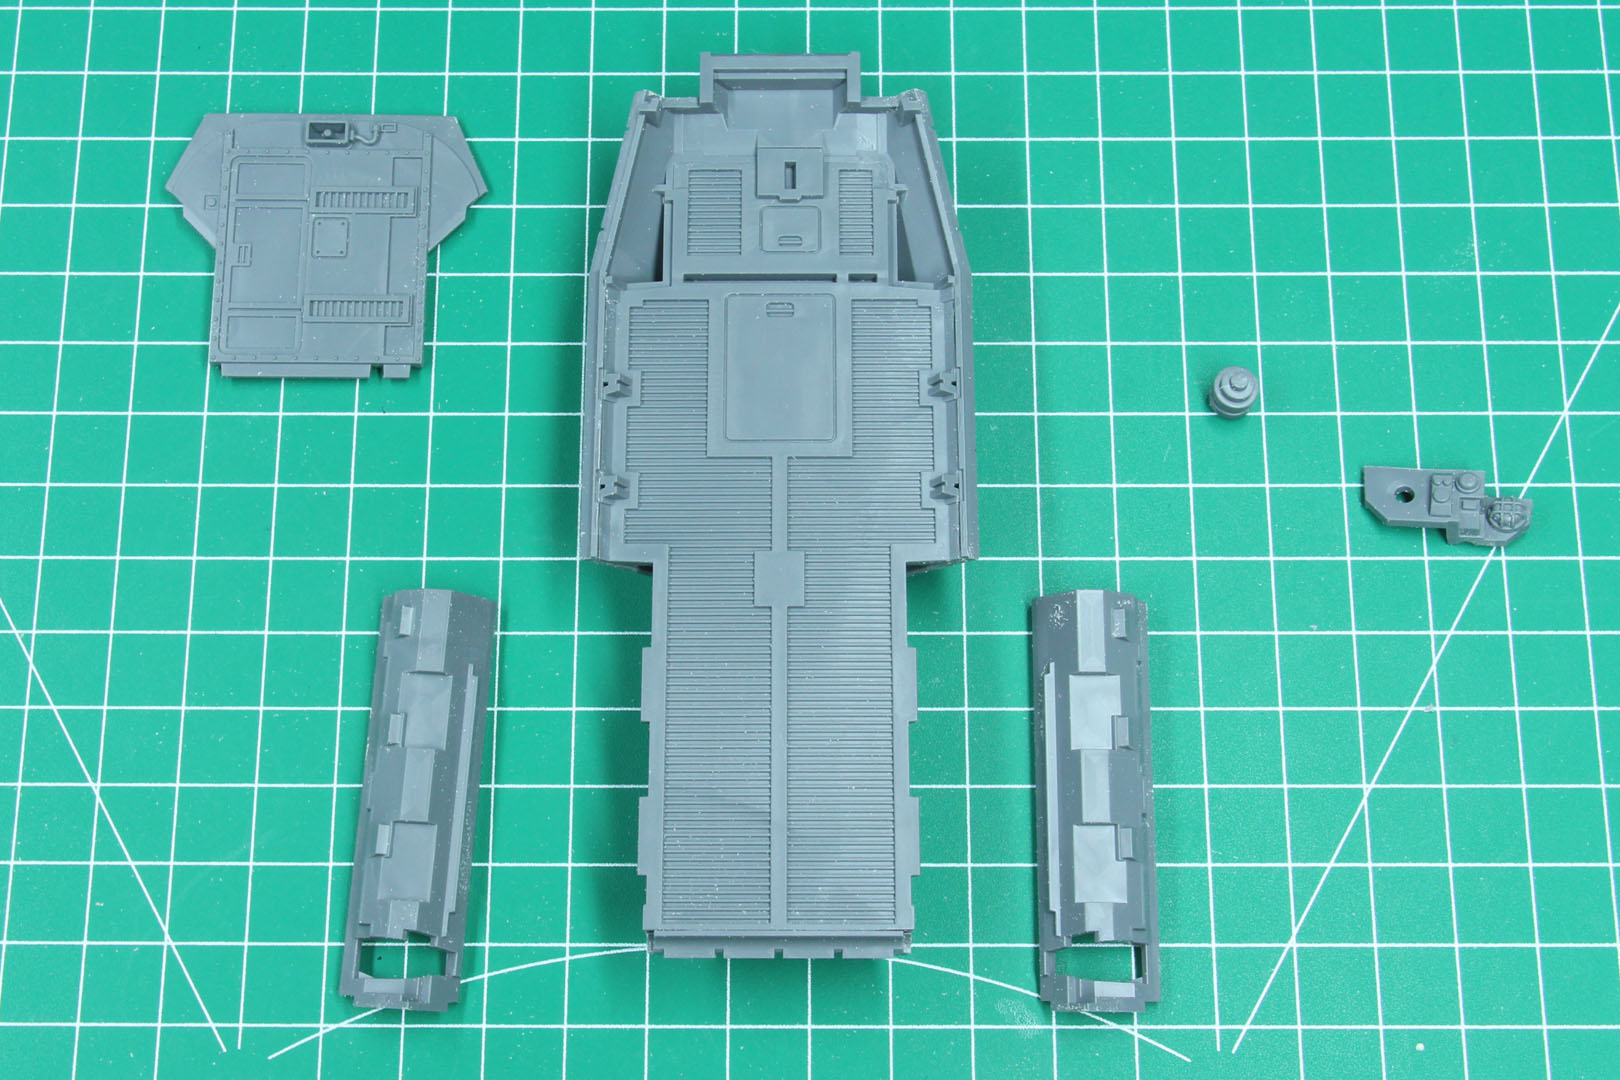


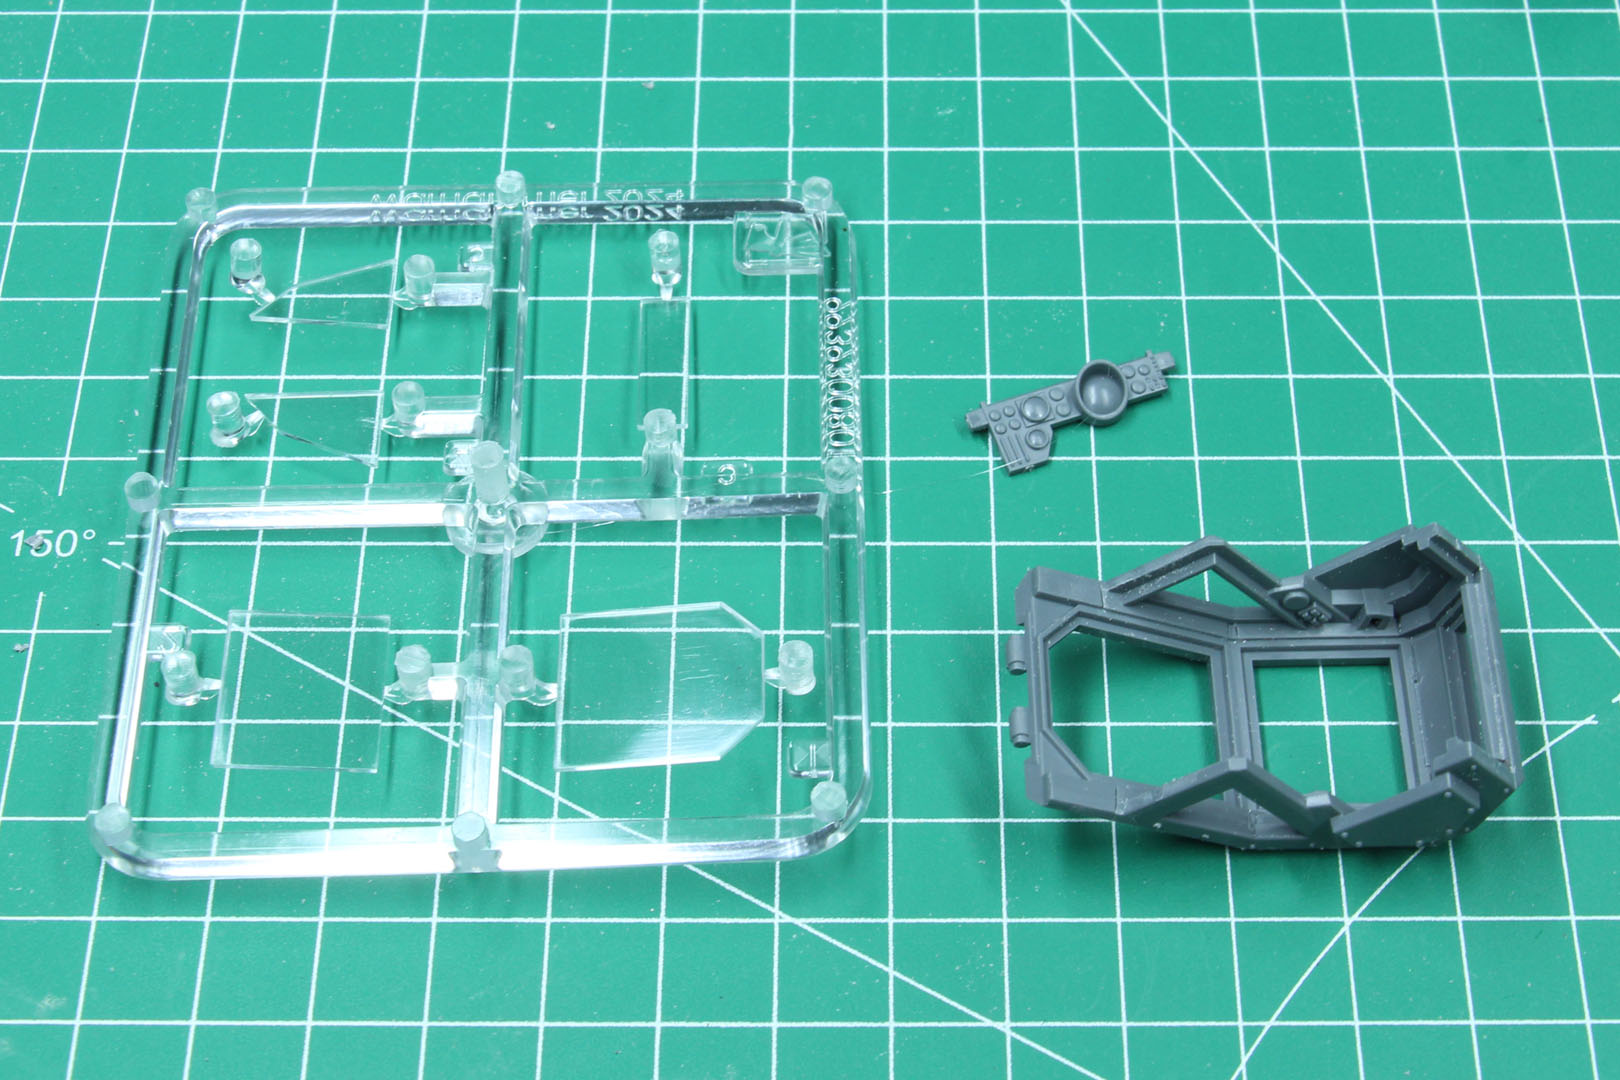
The cockpit front door is assembled as well and comes with clear plastic pieces. As I intend to paint them and don't want to go through the pain of masking the clear elements, I left them off for the time being. This means, I did have to leave of the command panel as well. This will be slightly modified to glue in place later on.
Please keep in mind, that super glue might frost clear plastic and regular plastic glue might leave stains (or finger prints) if you are not careful. The pilot seat is build in this step as well. Both pieces are not glued in place at this point.
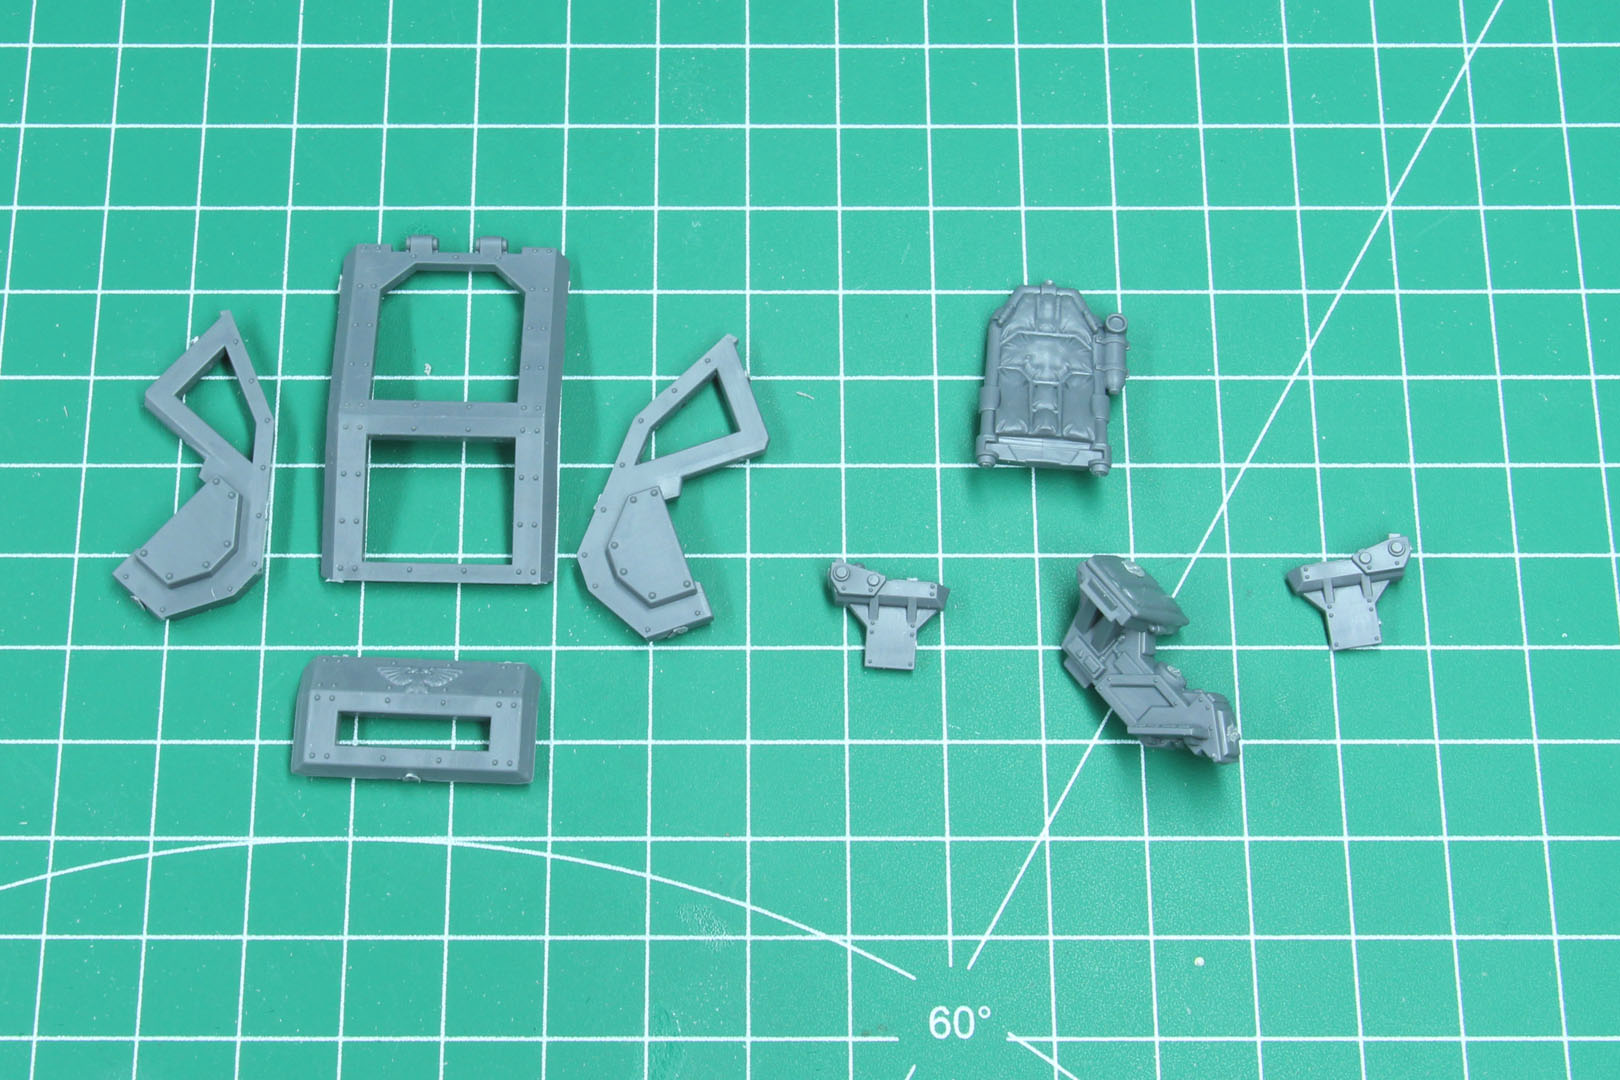

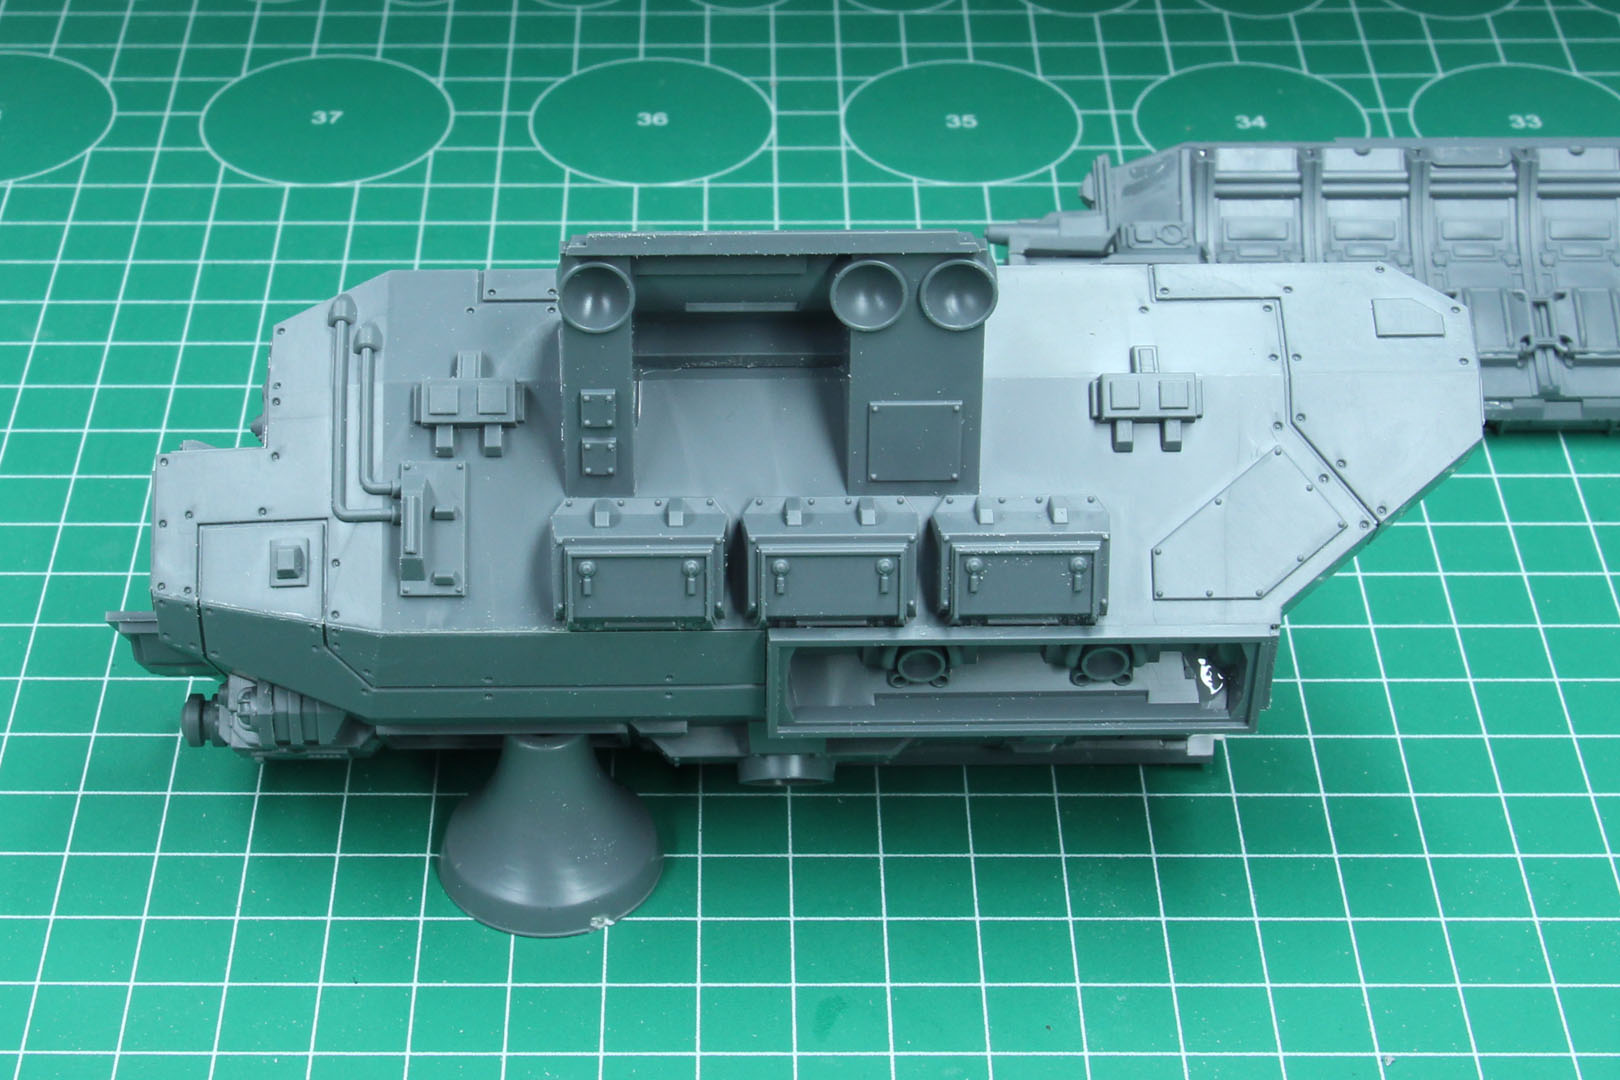
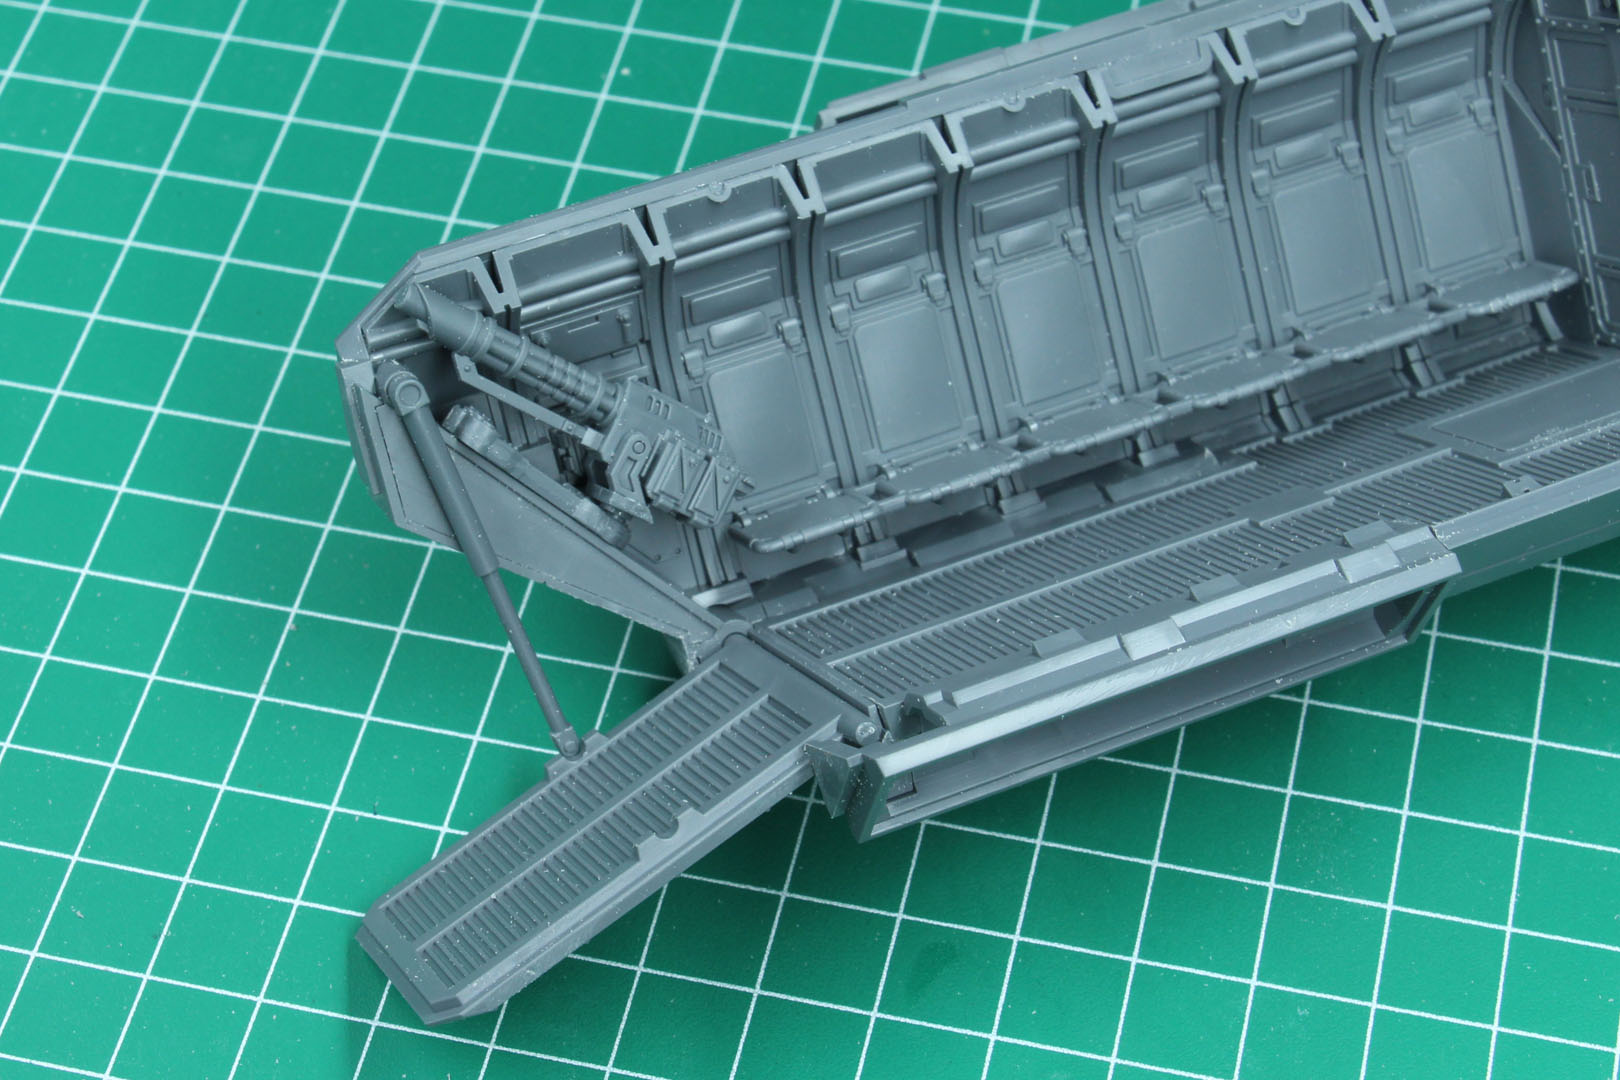
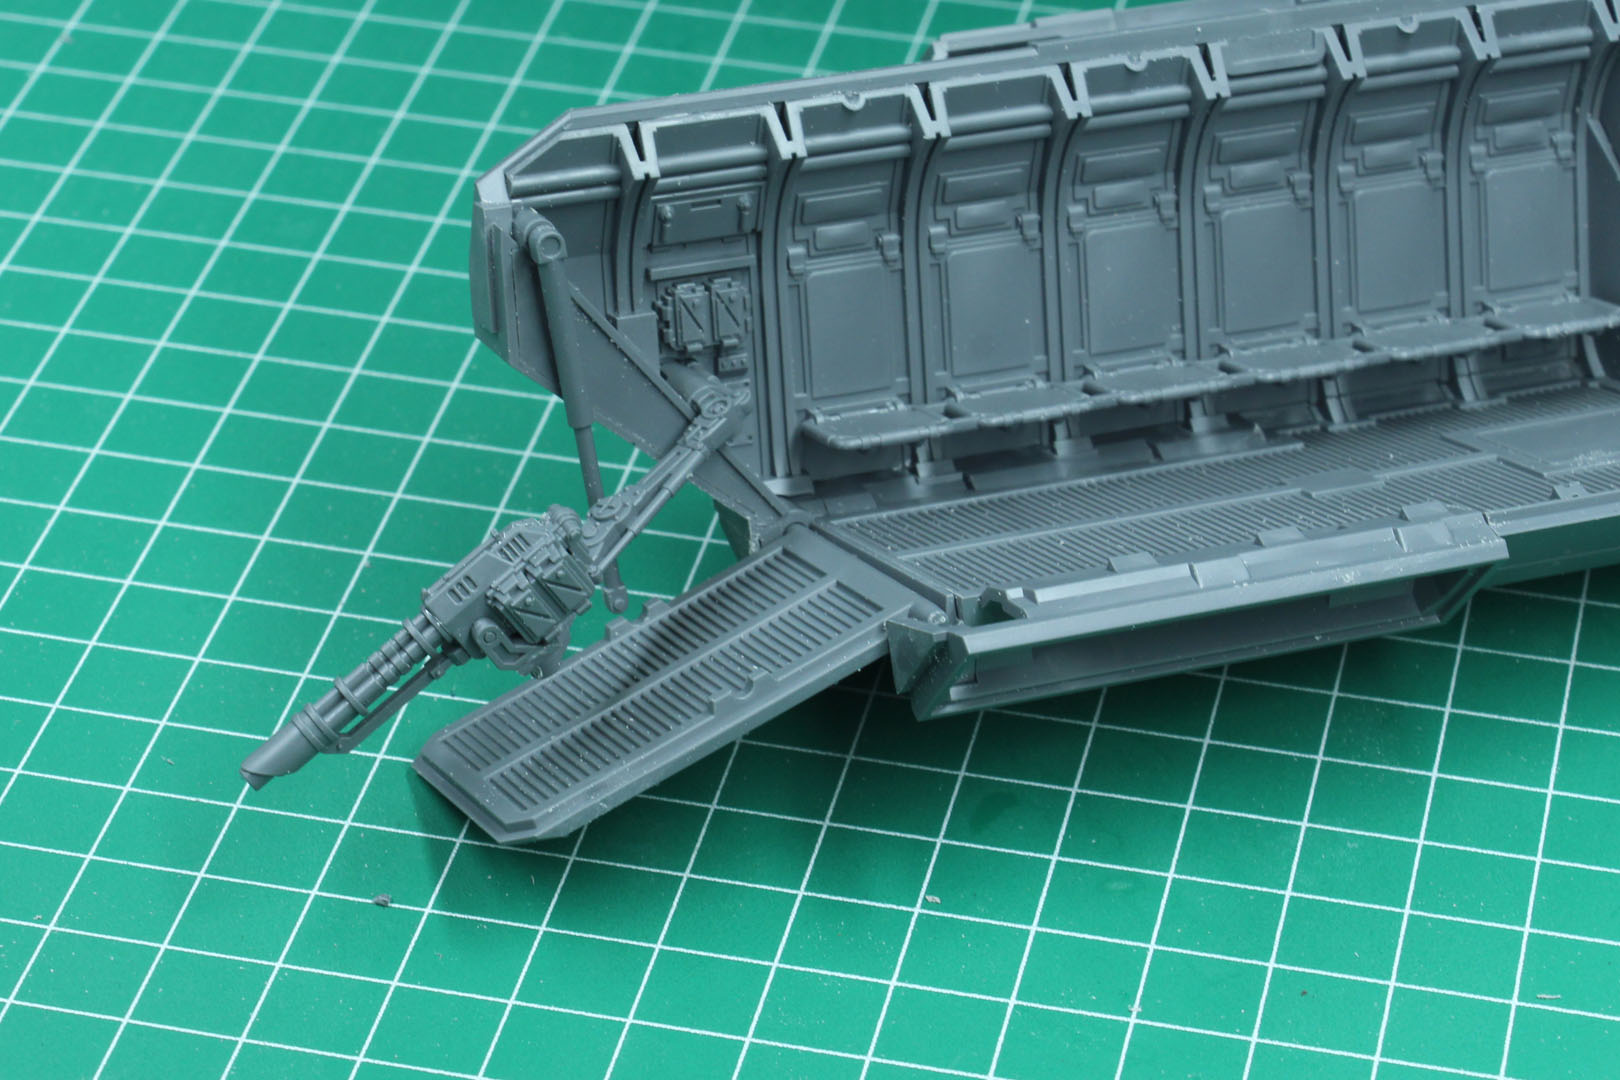
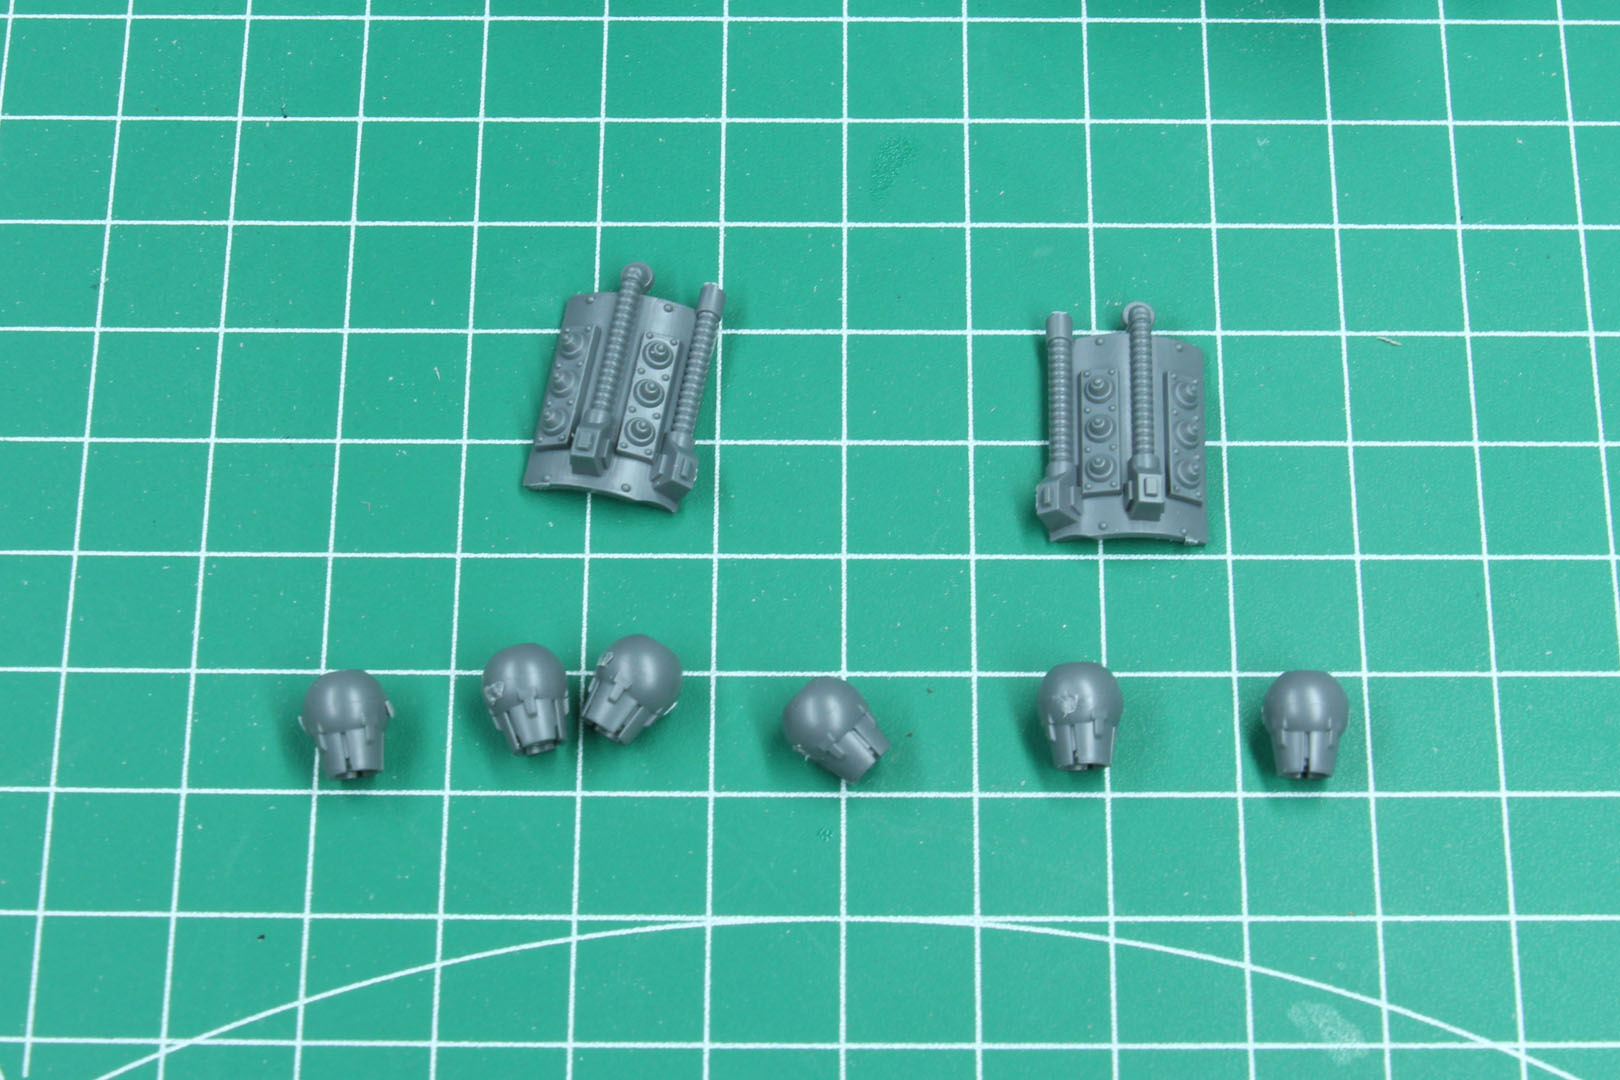
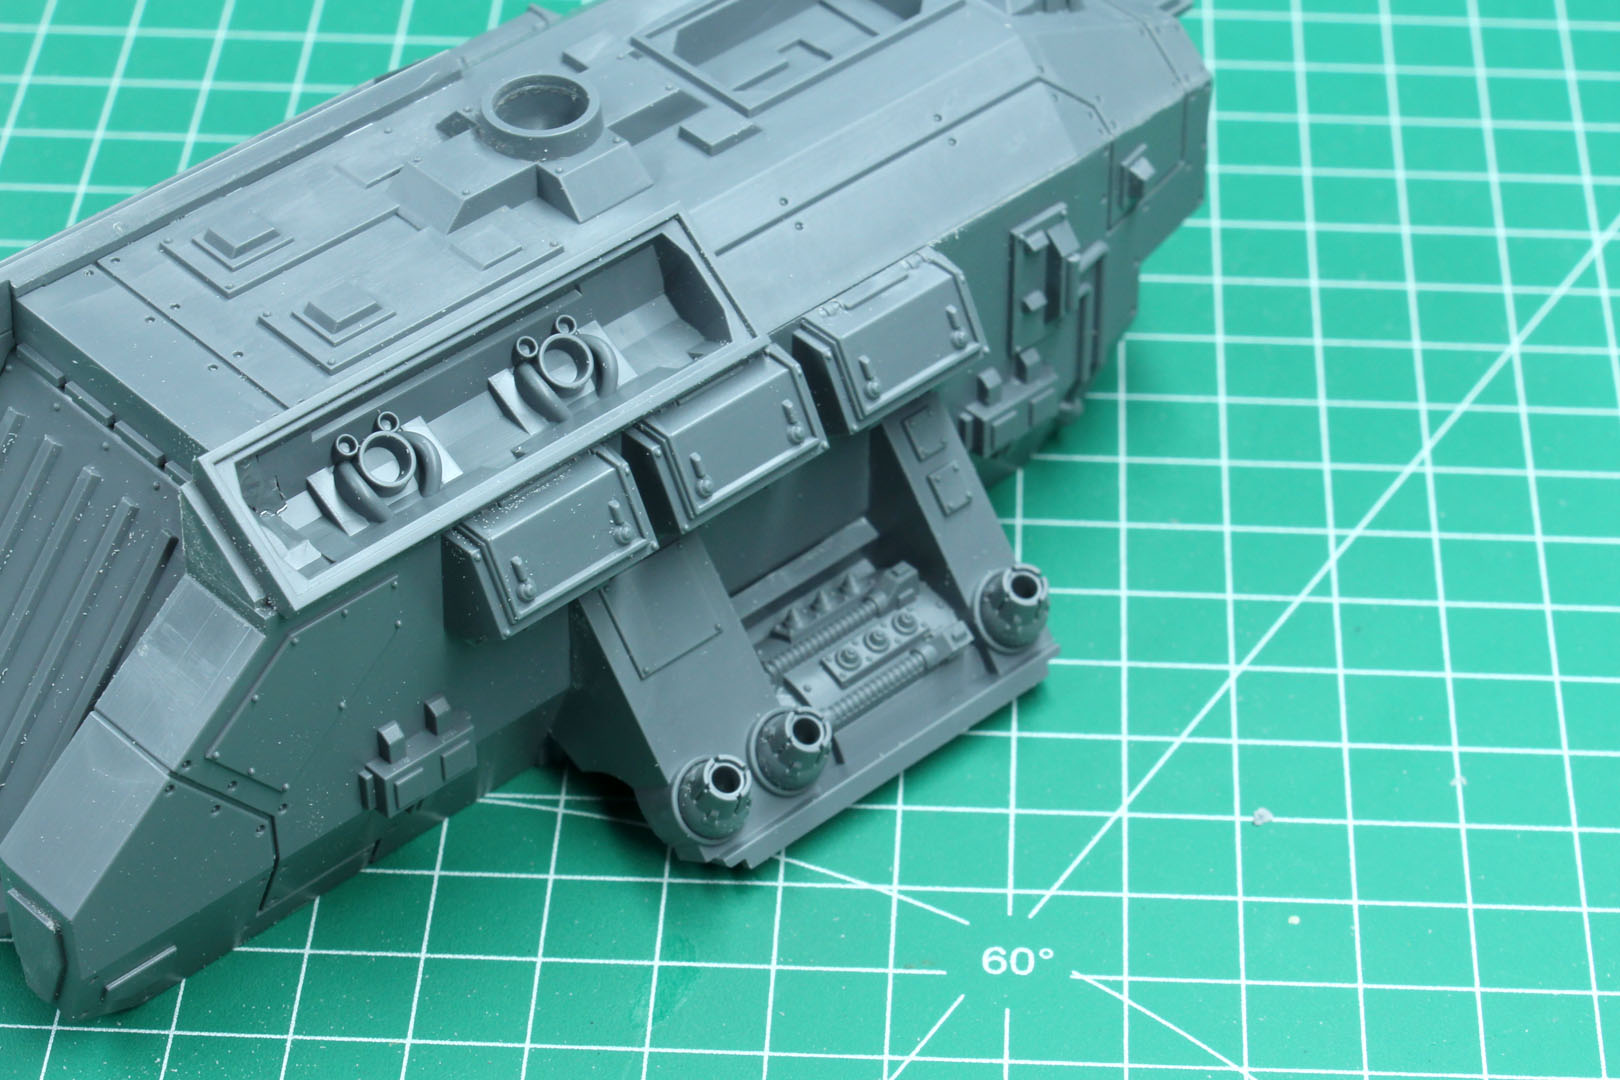
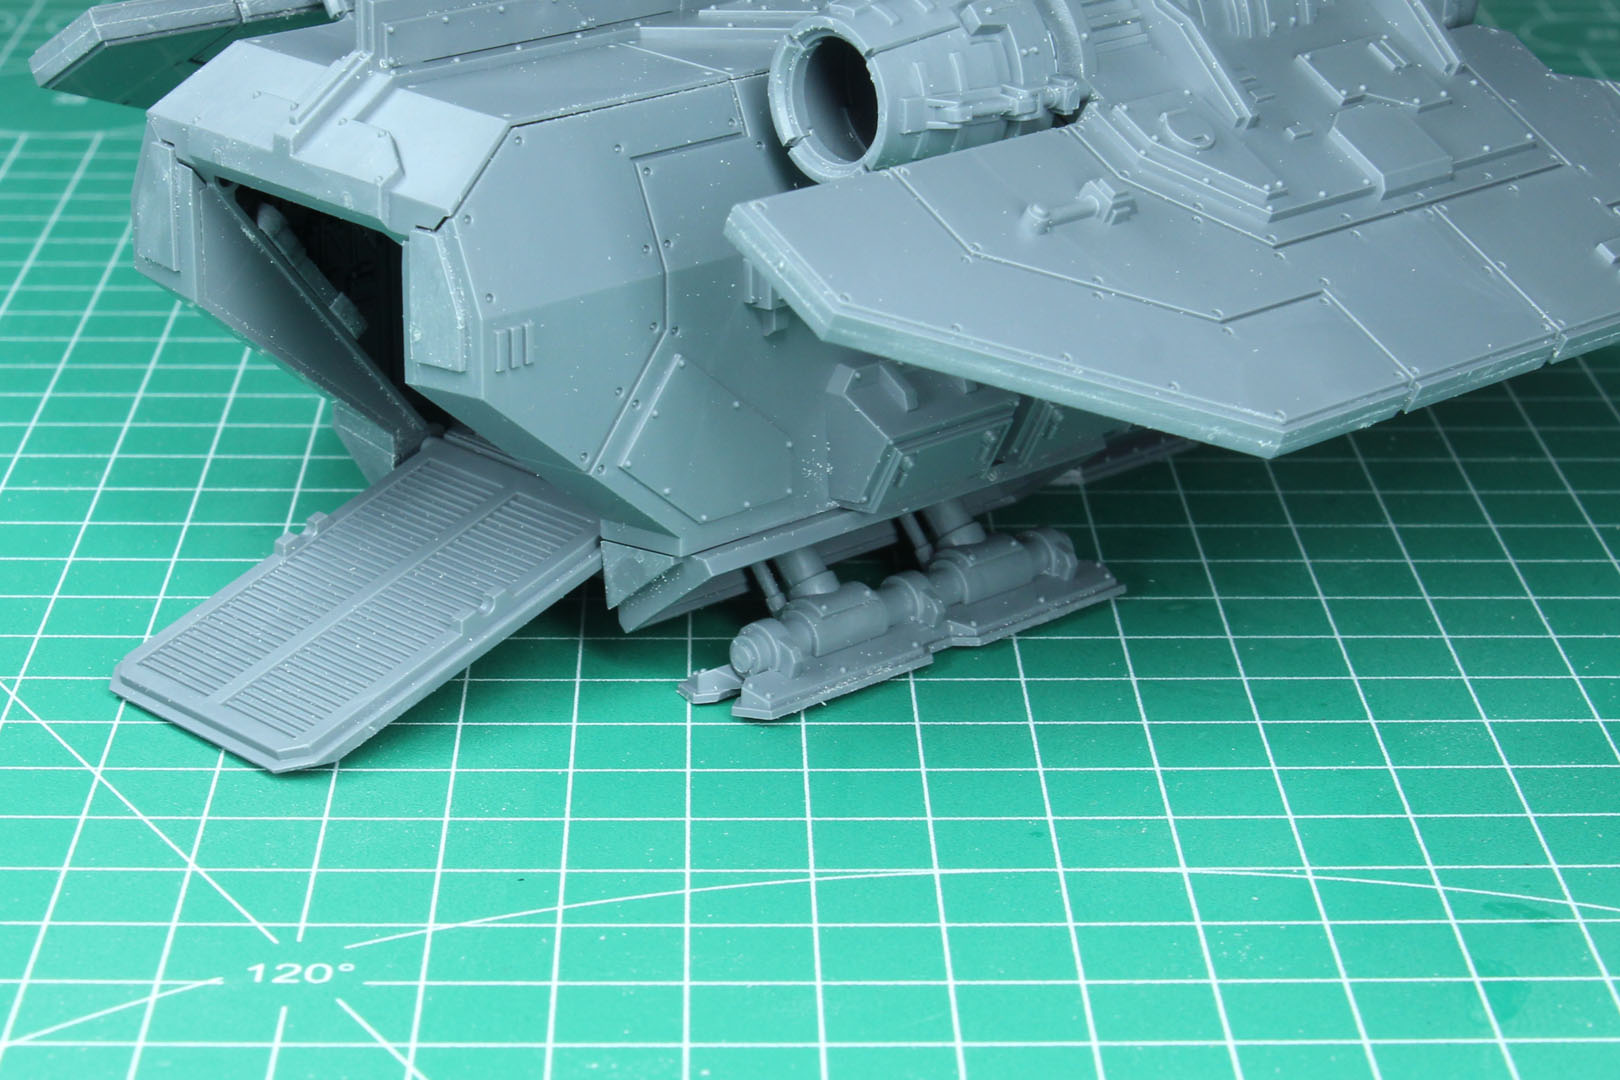
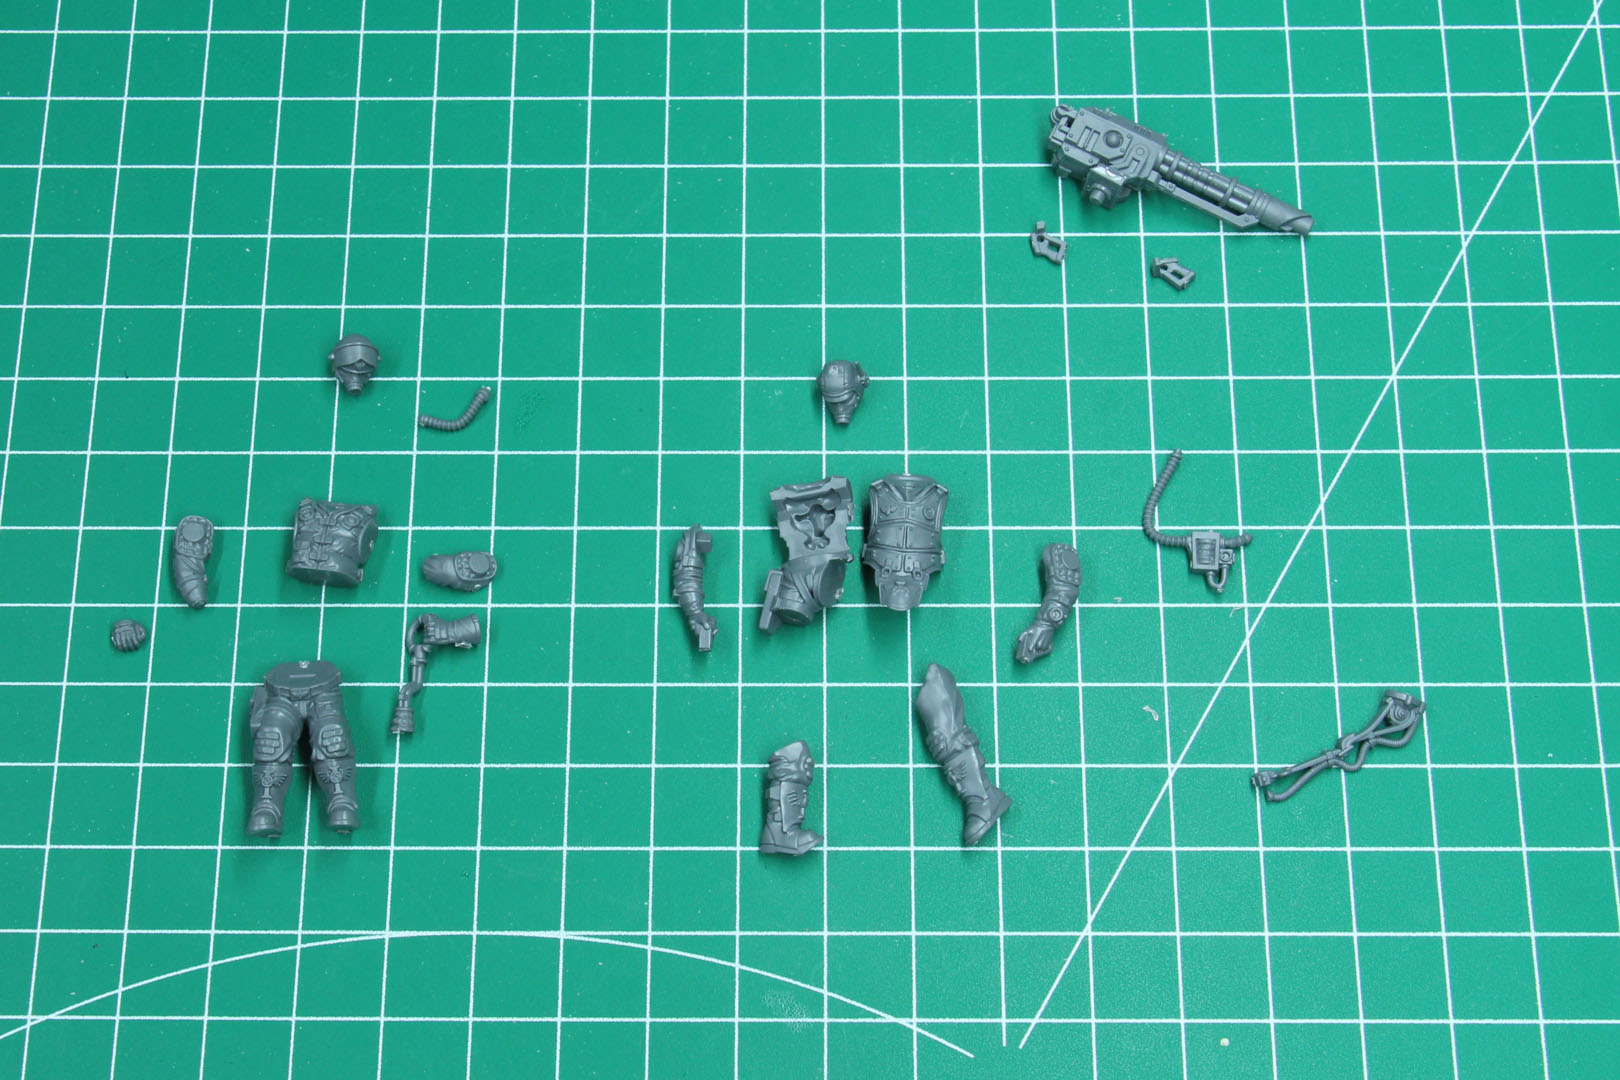
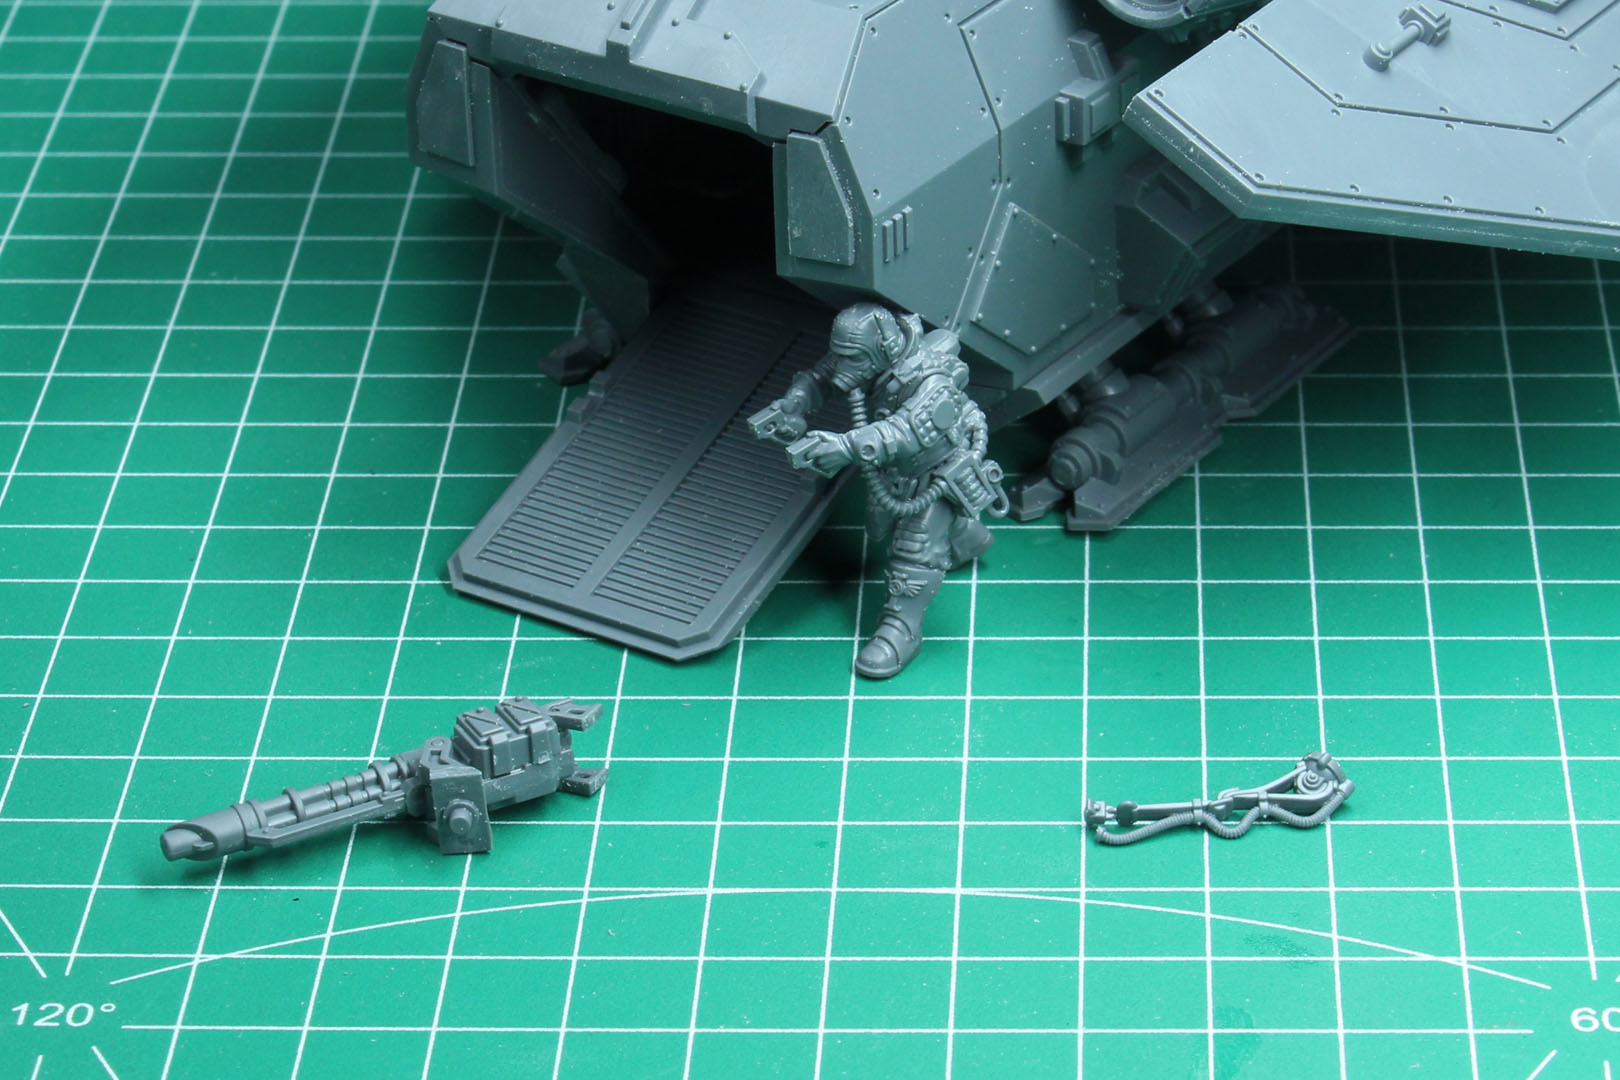
Another option we can build is with the rear ramp and the rear mounted multi-laser. You can either close the door and have a much simpler painting experience (especially if you just paint the canopy as well instead of leaving it clear), have the ramp down with the pistons and either have the multi-laser armed by a crew man or have it folded on the side.

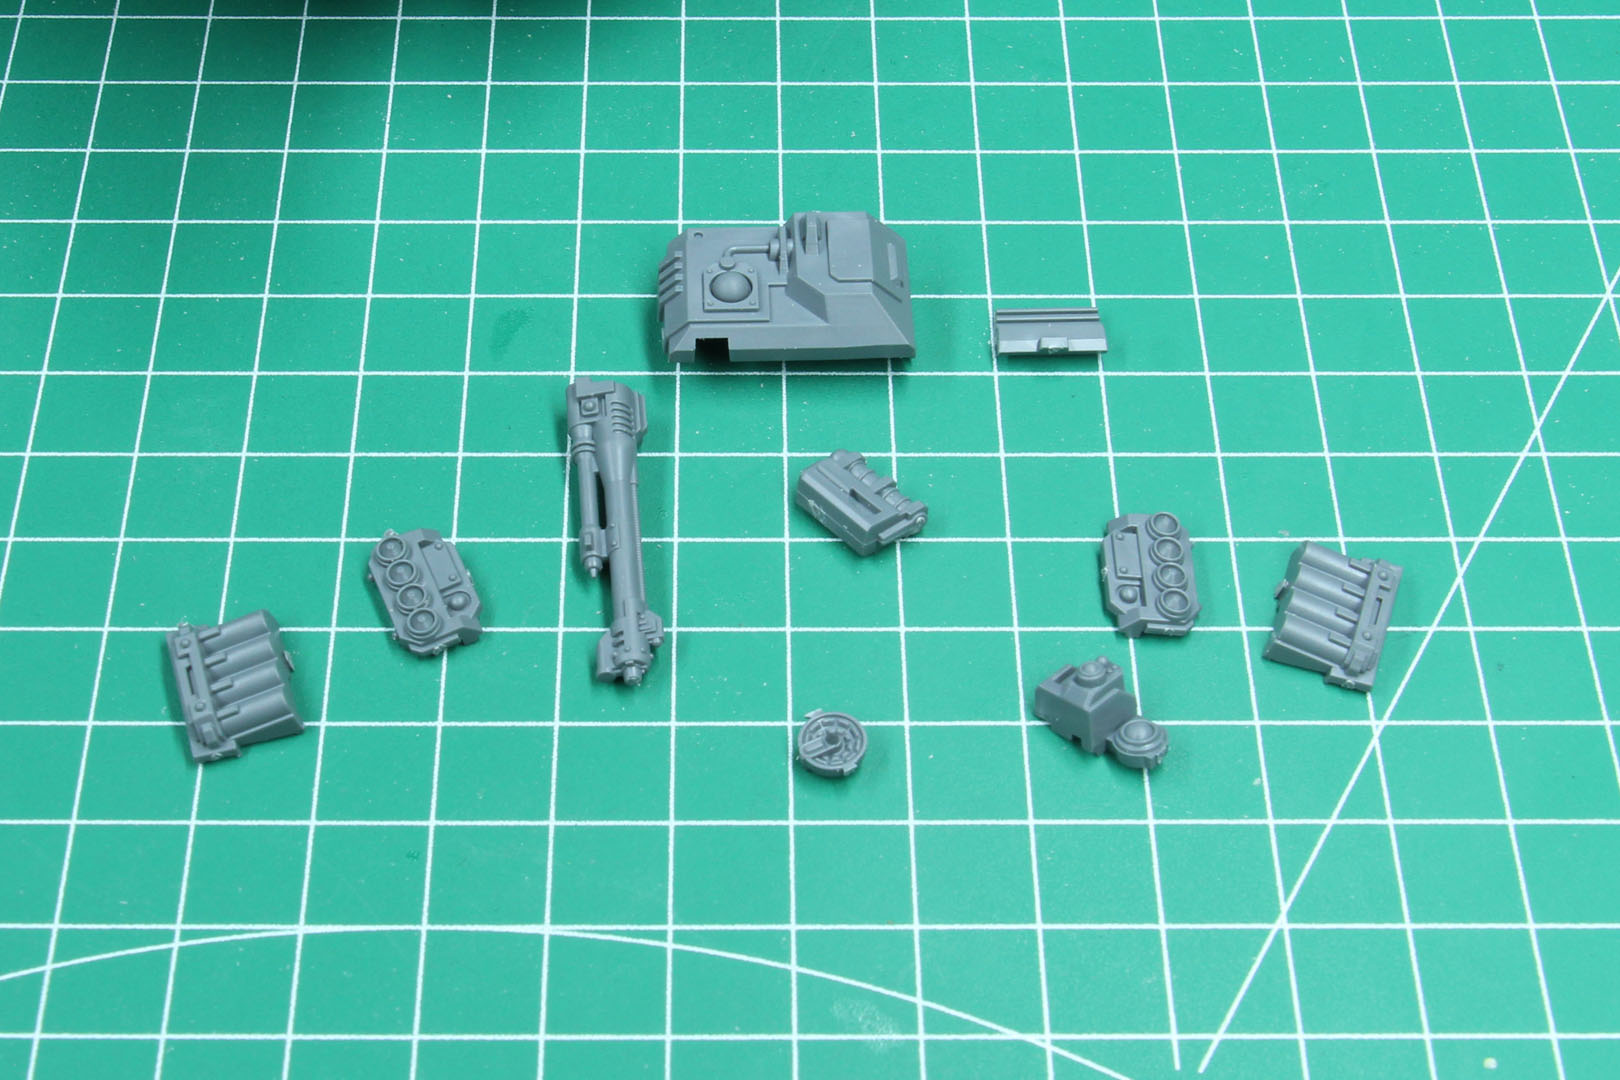
We add the side part (as mentioned above, just slotted in, not glued into place) and add the small jets for each side, six in total and the lower walls of the engines.

Now we assemble the roof and I missed a piece there, the cover for the air intake in the middle, which I had to fiddle in there afterwards. So do yourself a favor and add the piece in this step, as it is meant to be.
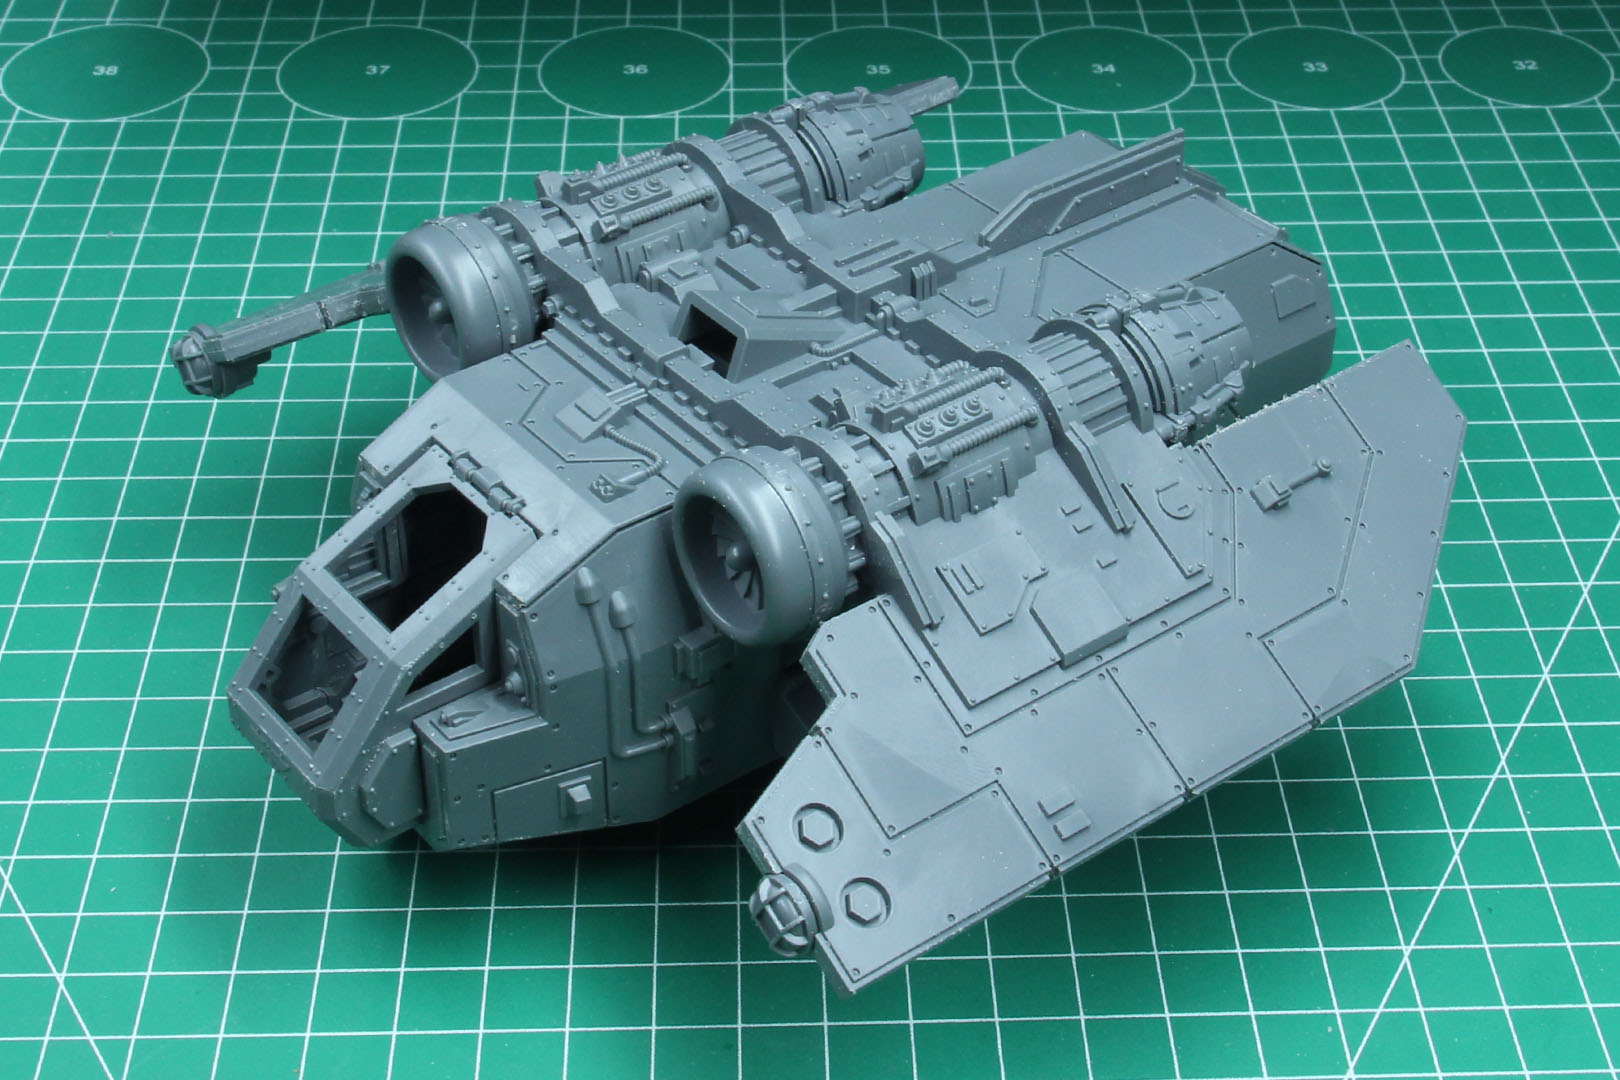
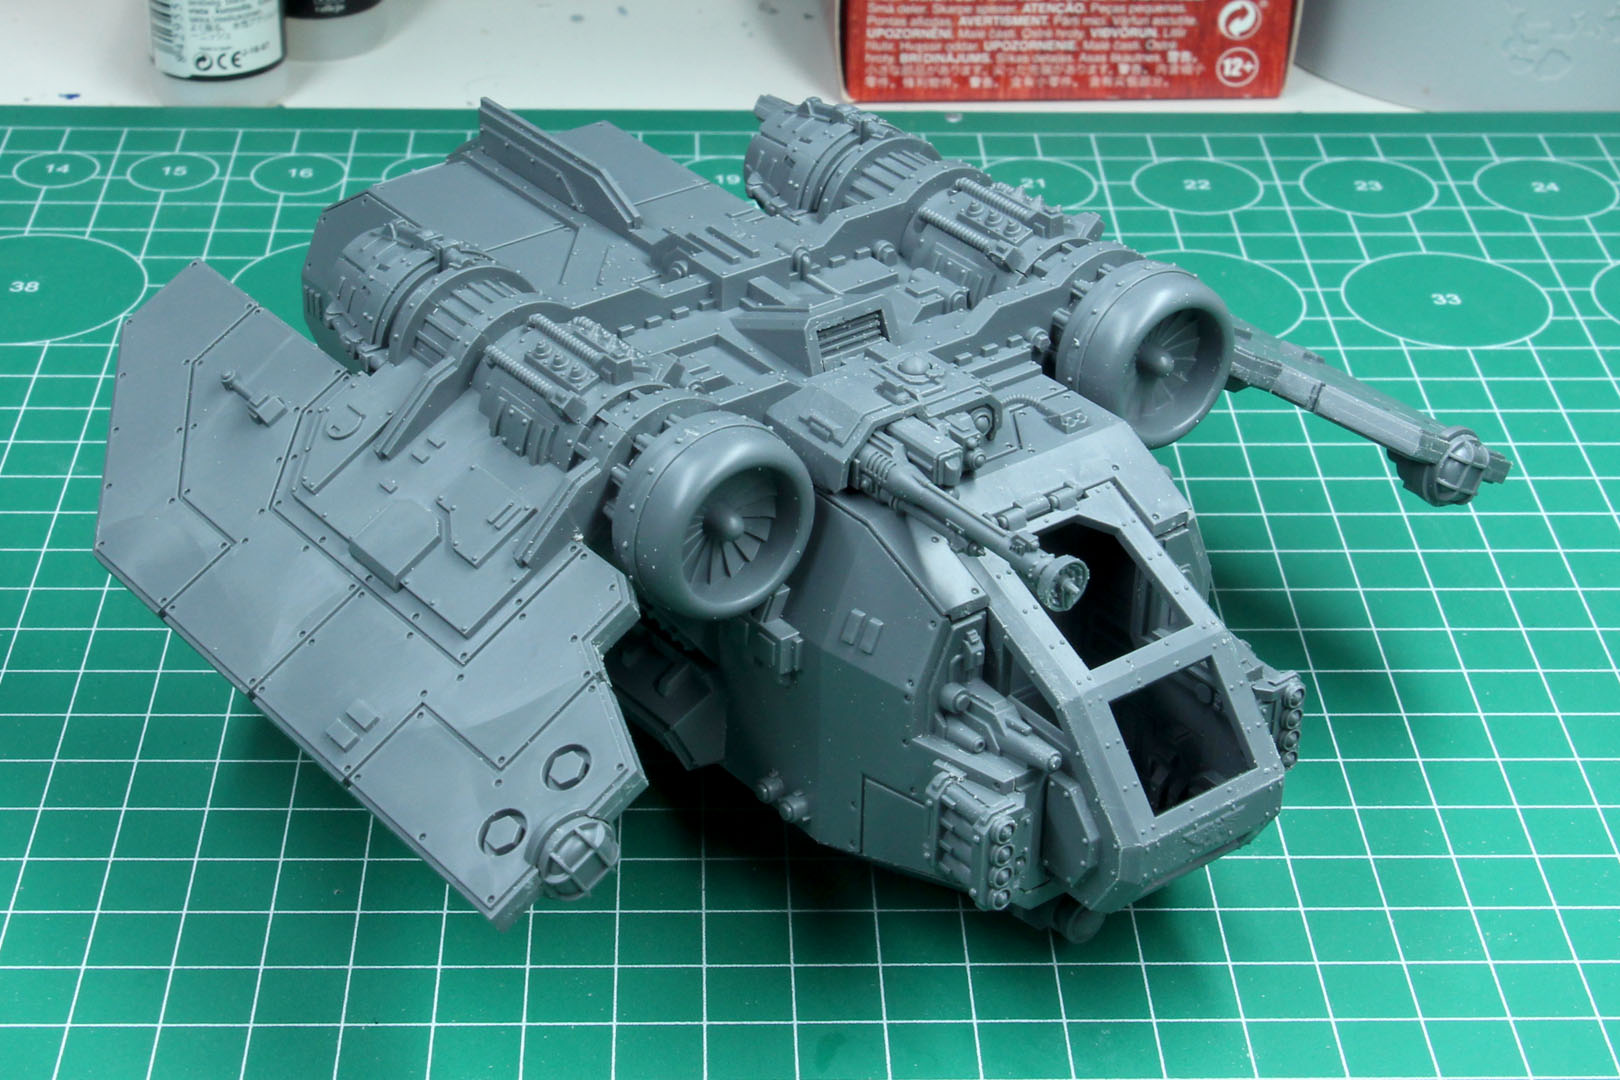
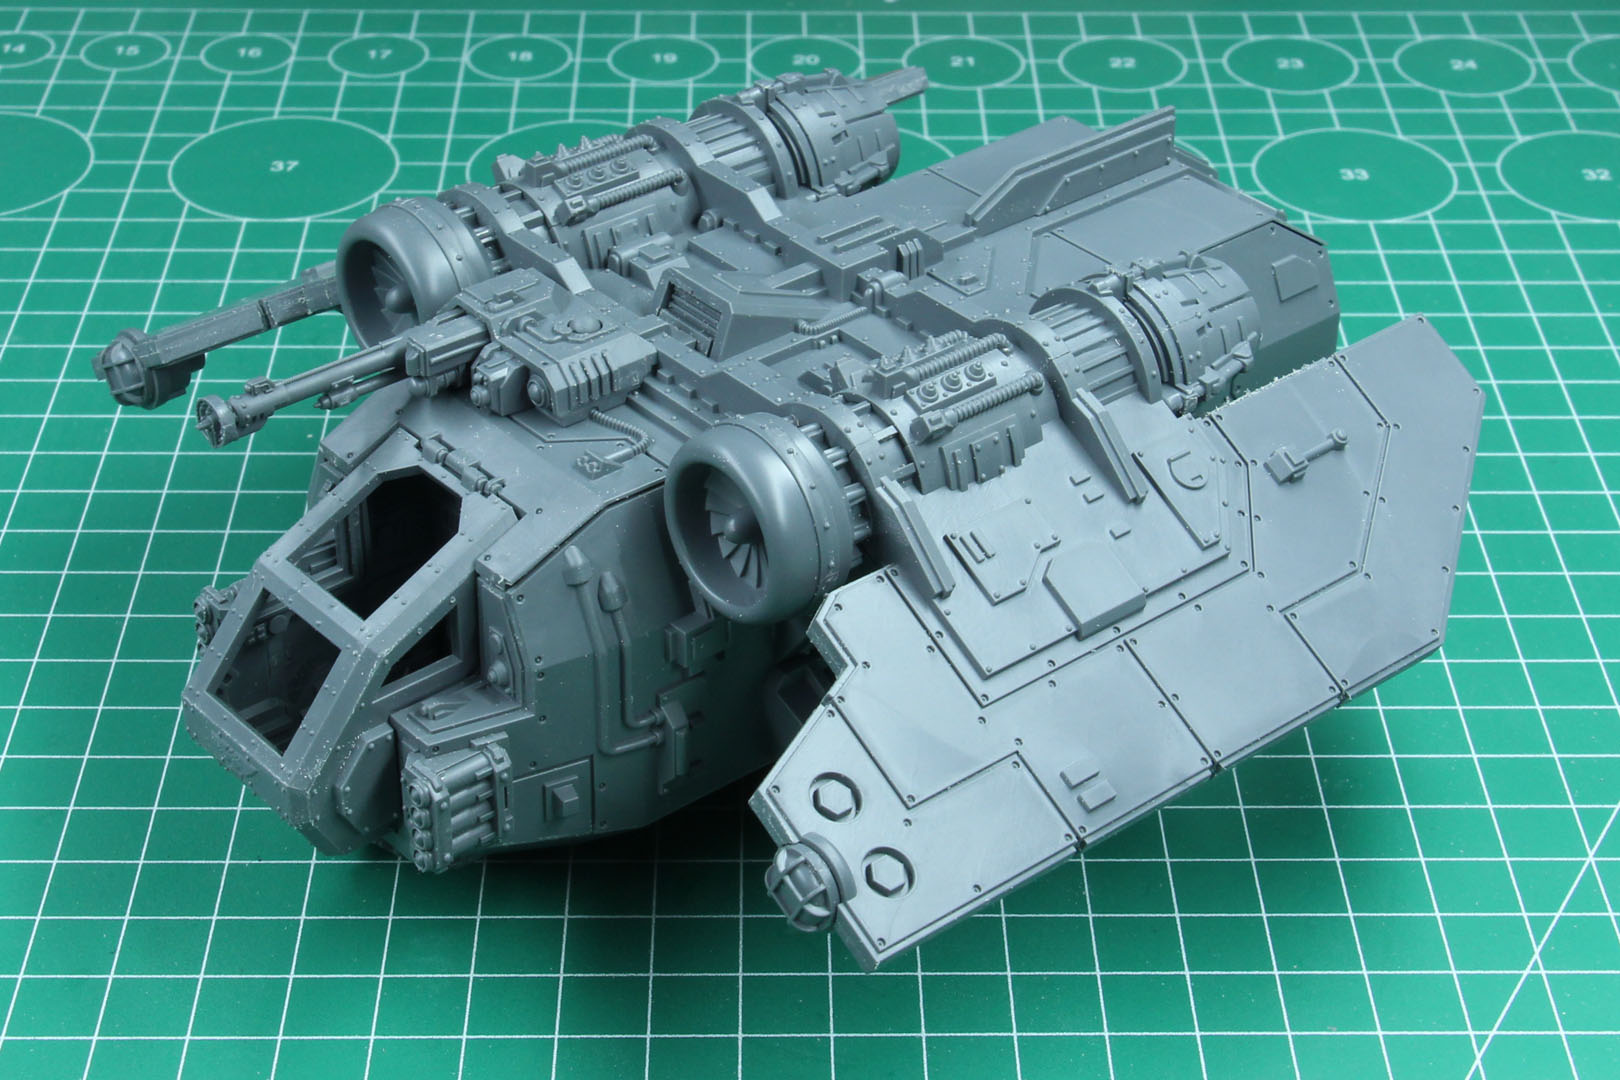
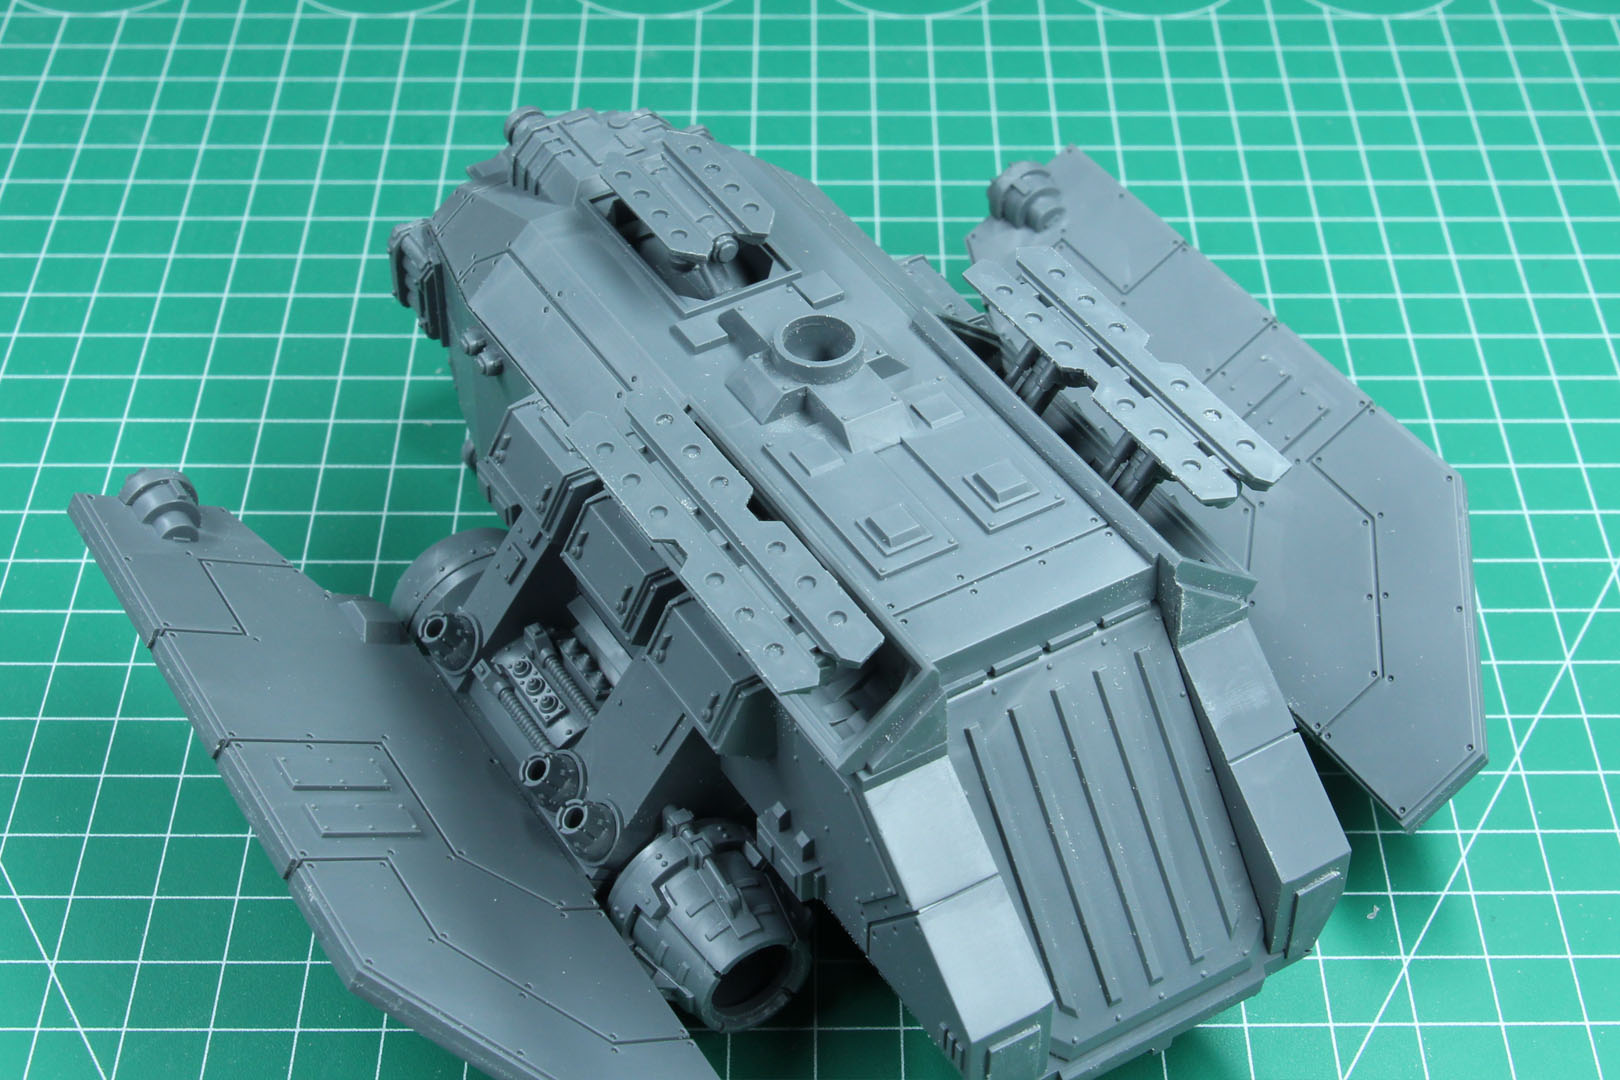
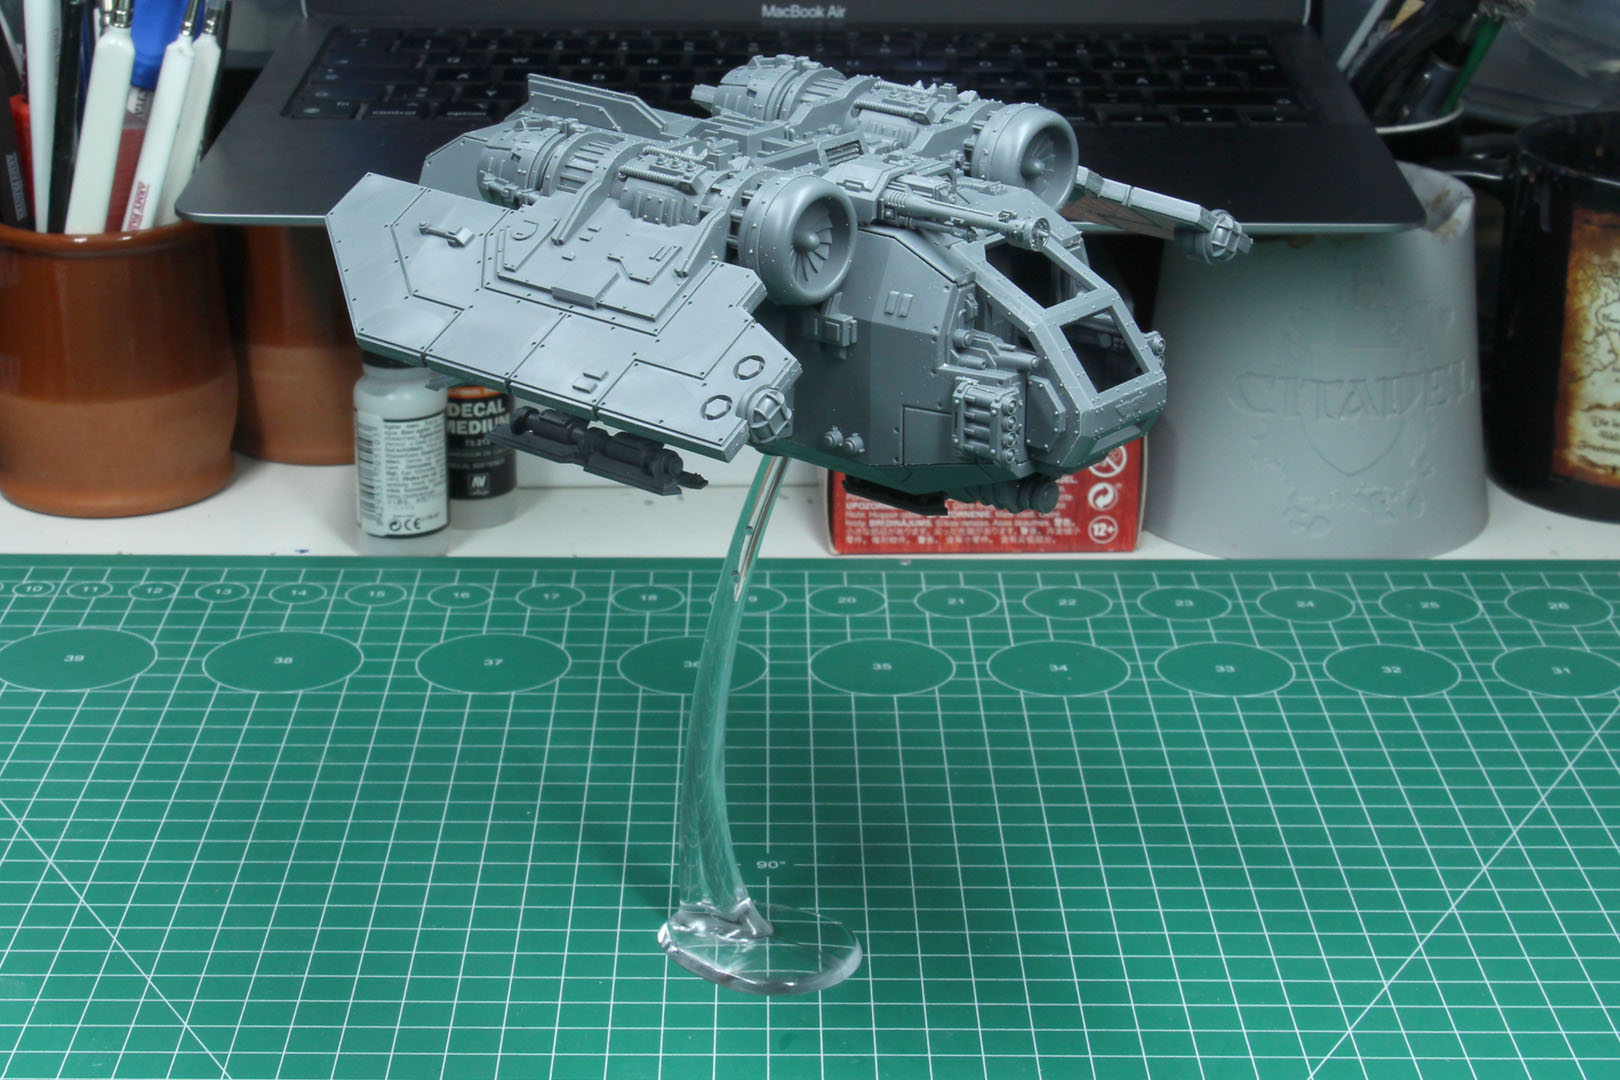
The wings are quite thin, but surprisingly stable, and slightly more detailled / different shaped to the resin one. You add this to the sides and mount the entire part ontop of the lower ship hull.


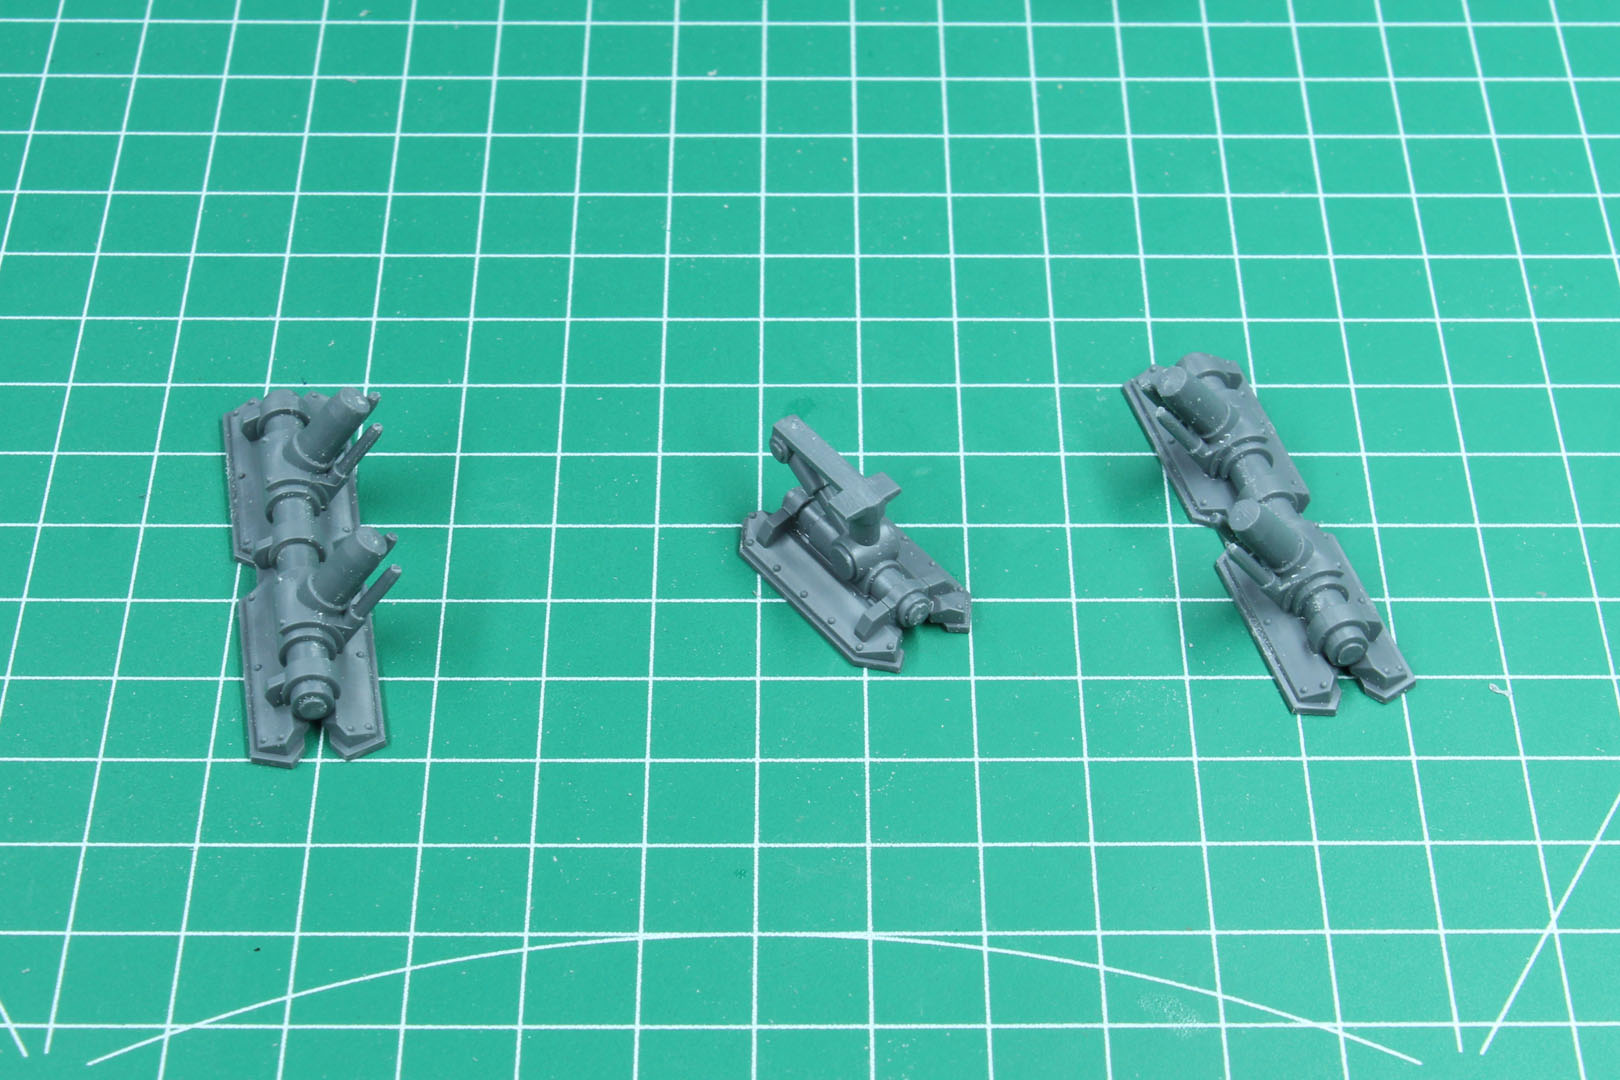
Now for the engines themself, a lot of similar pieces and a good fit. You can't really mix something up here, as the guiding parts will ensure that you put them in the right place.

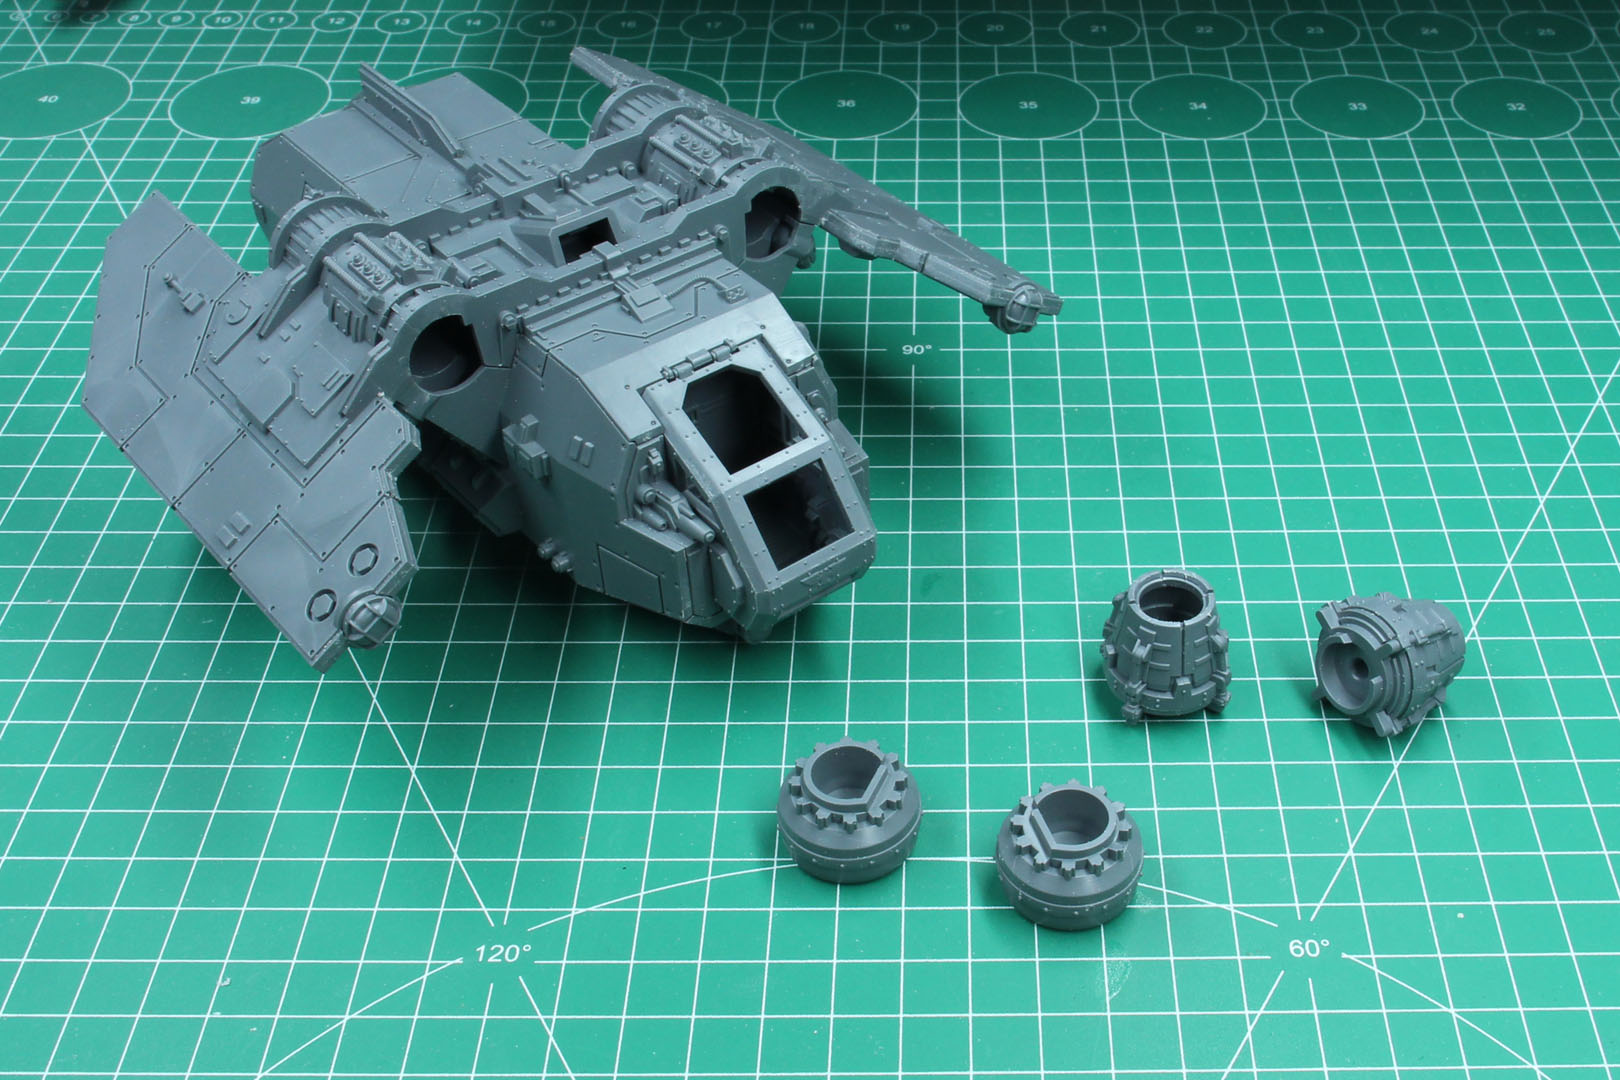
A new addition to the design of the Arvus is this sensor array on the top and it looks like it is optional. Because if you leave it off, the kit looks like the old cargo design. It was in this step, that I noticed, that I overlooked that piece in one of the former steps.

And we are almost at the end, it is time for the landing gear. As you can see from the picture of the instruction, you can either have that folded in or prepared for take off / landing with the gear extended. I went with the extended variant, to be able to use the model off the flying base.
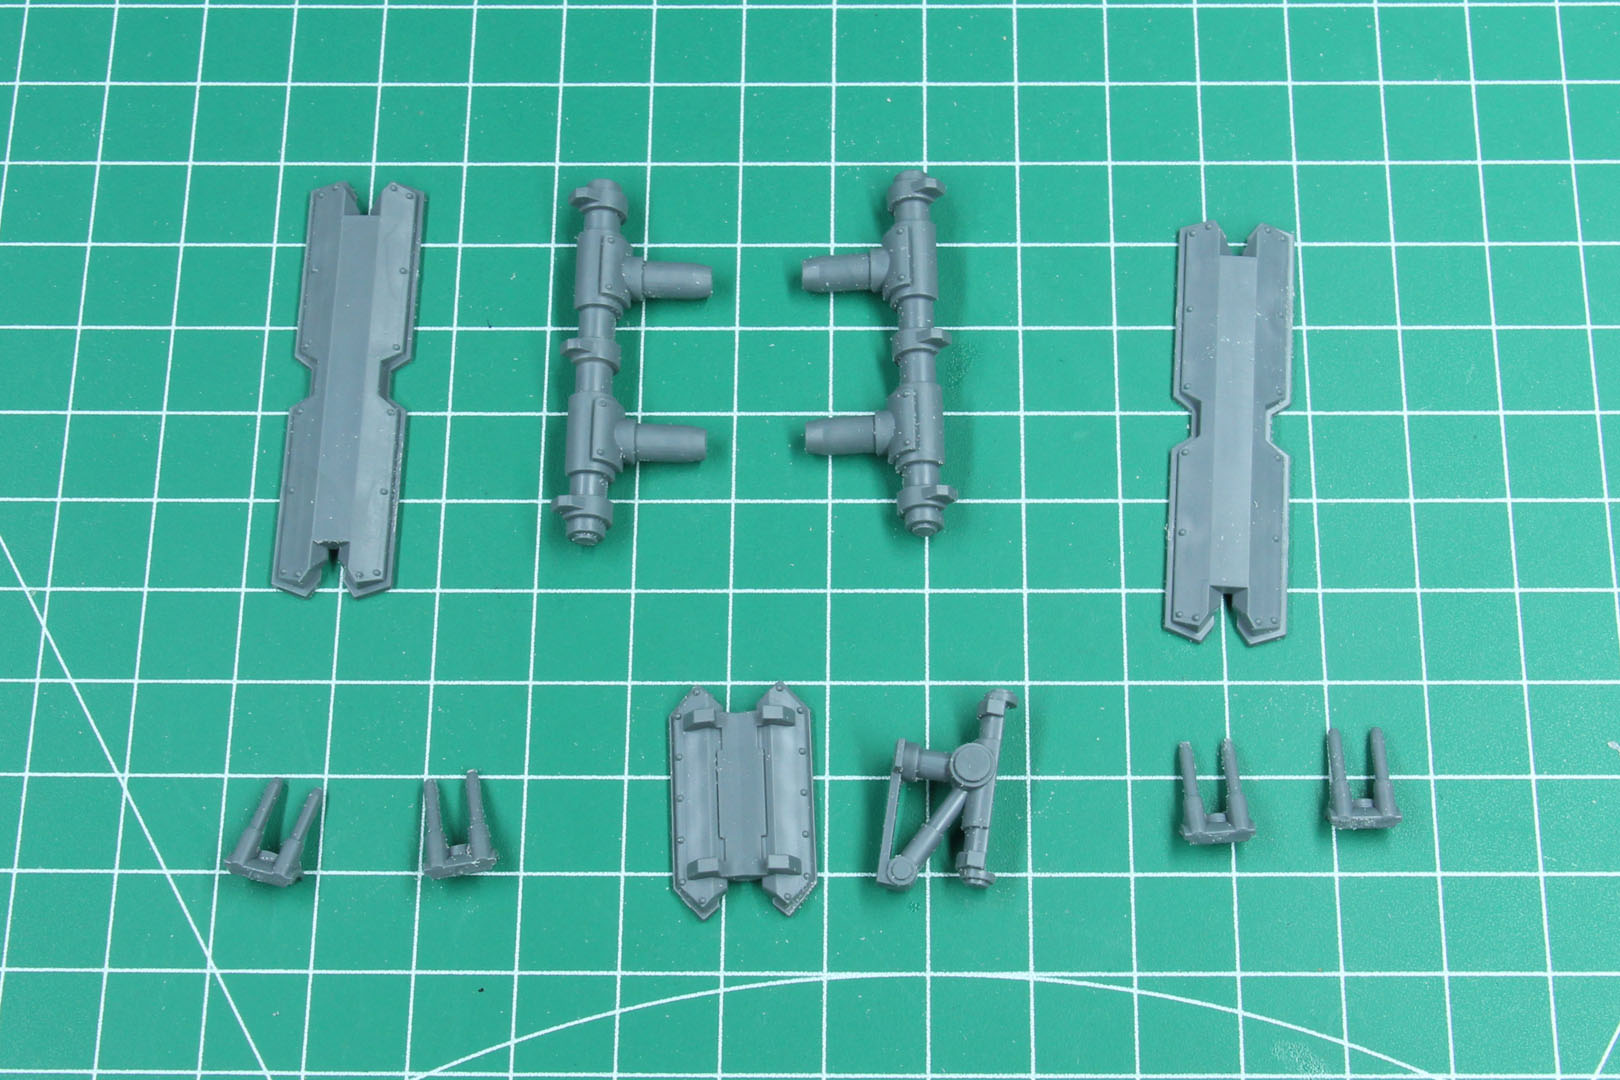
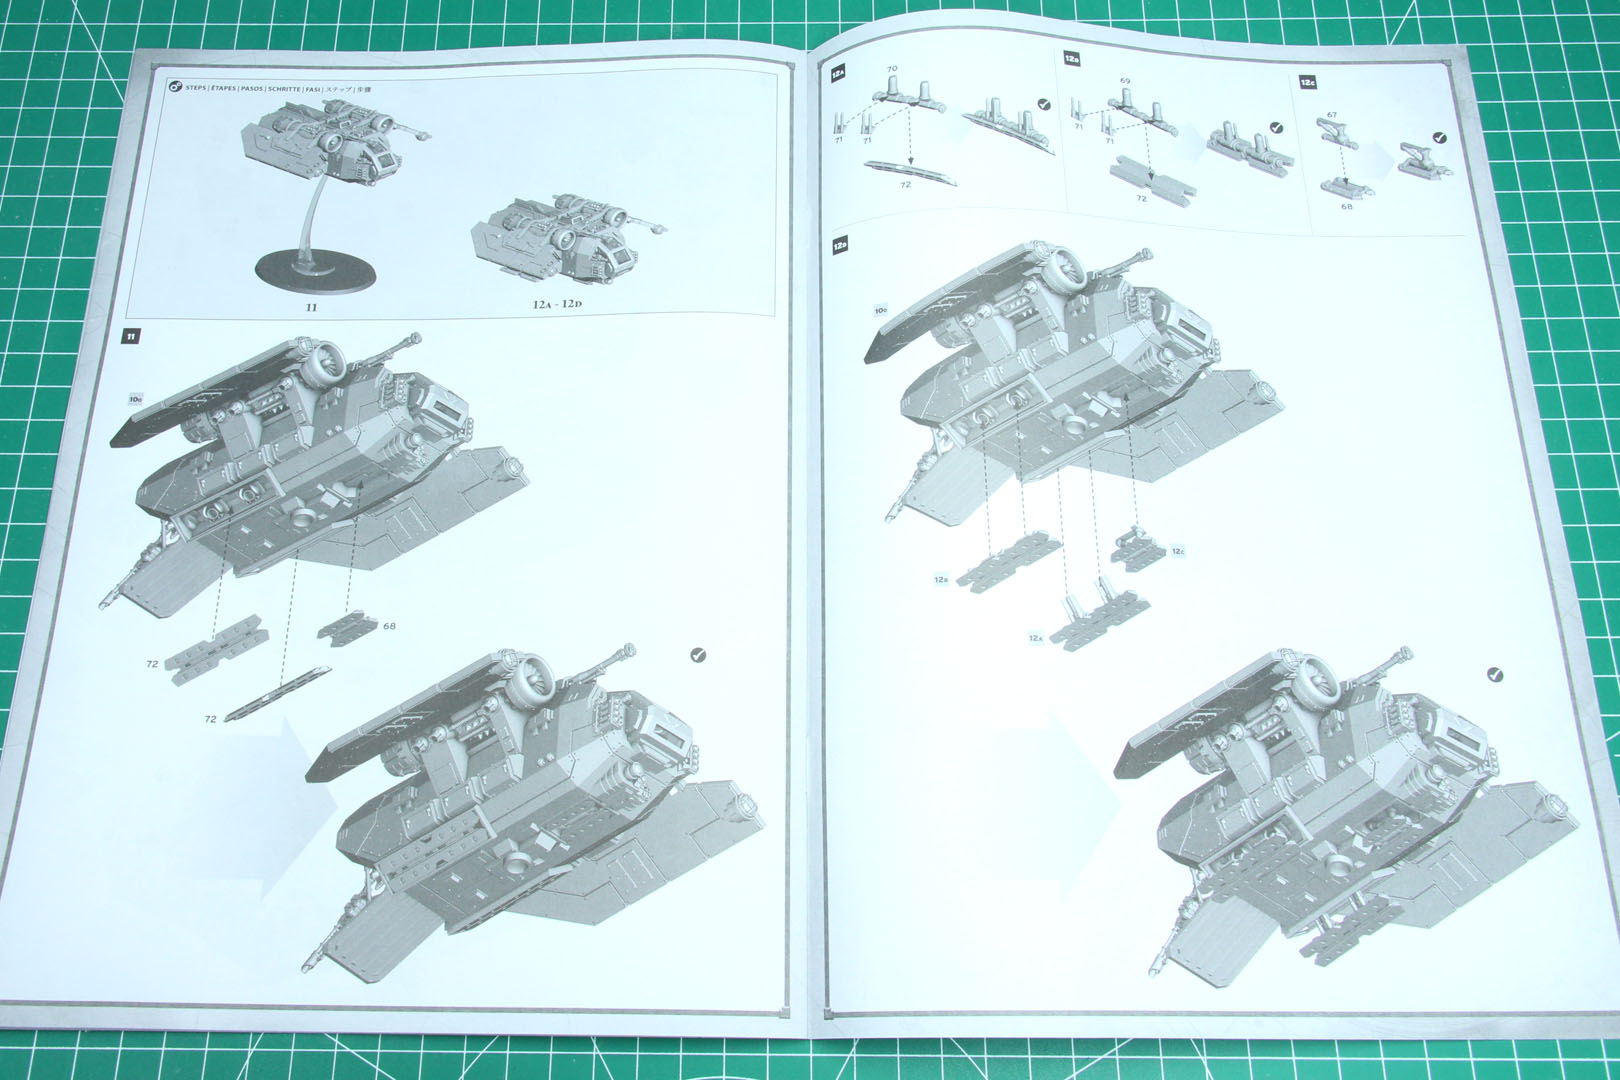
Now we can put the Arvus on the flying base, as you can see it comes with a ball joint and with a cross, to fit both designs of flying mounts currently in range by Games Workshop. And I was surprised how stable the mount is with the thin stem.
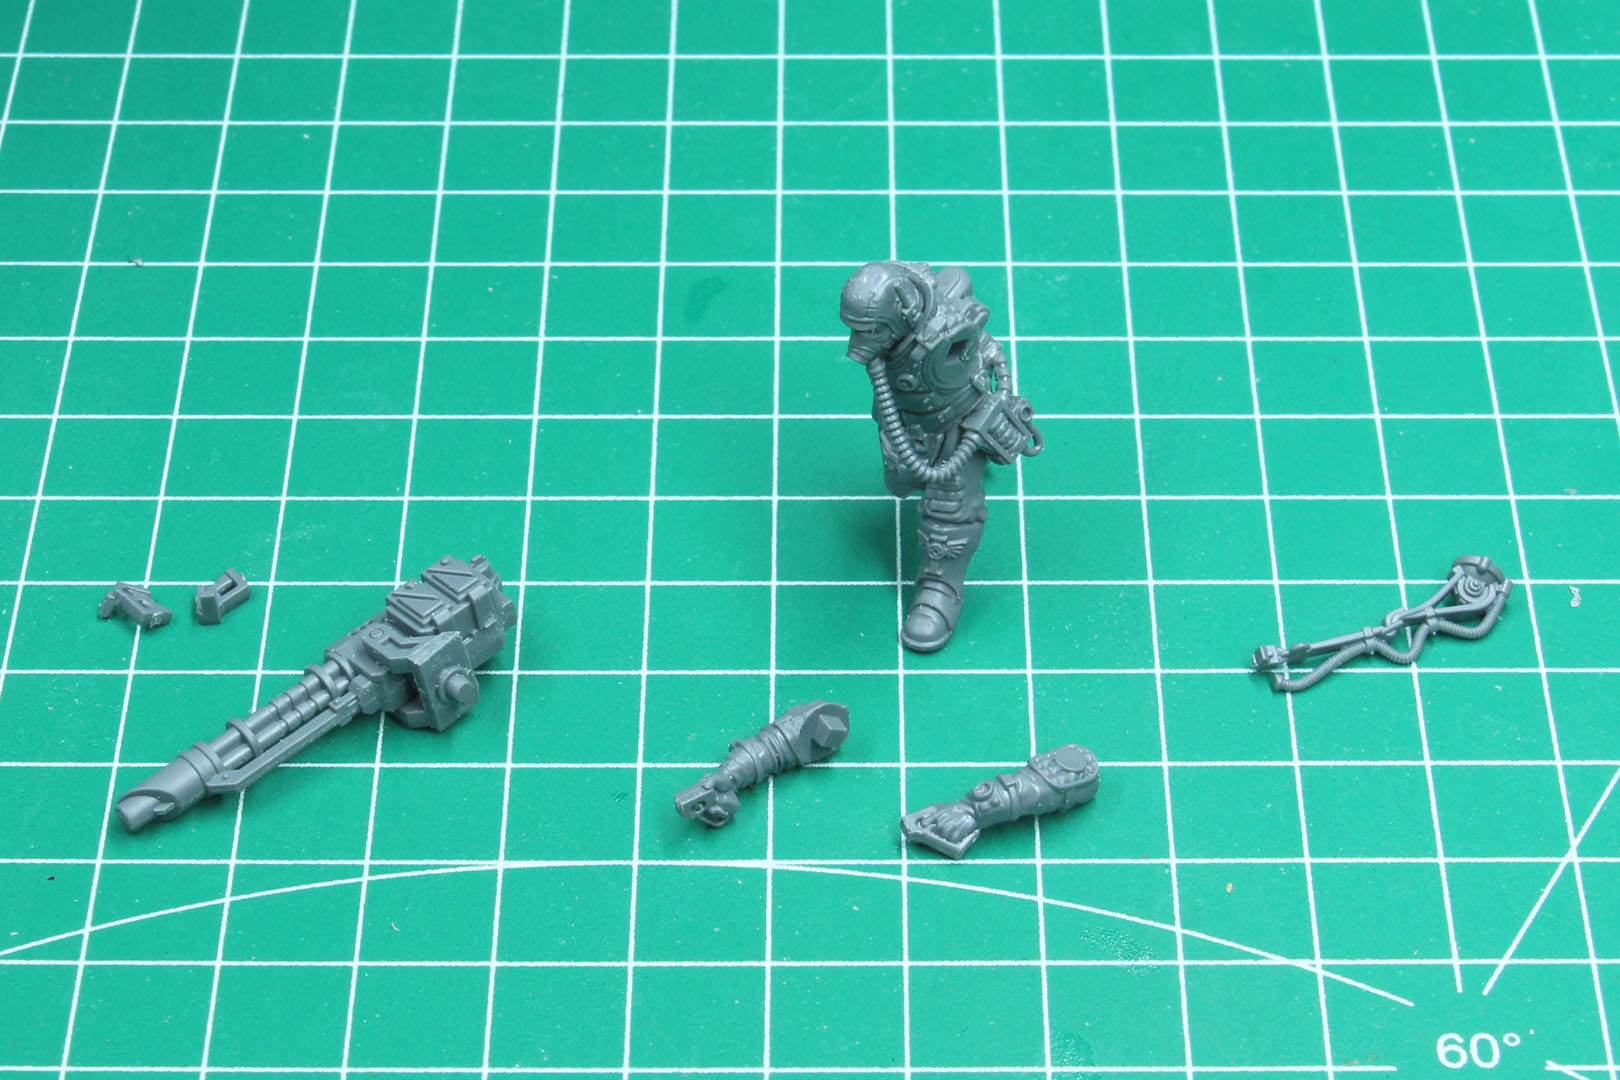
The only pieces missing are the two Solar Auxilia crewmen. I kept these to the end, as for one they aren't necessary for the build and not mandatory either, as the Arvus was in service of the Inquisition as well. Both have no option, but I am pretty sure, you could kit bash the gunner with parts from the regular vehicle crew, in case you just want to have him standing on the ramp, with the multi-laser folded.
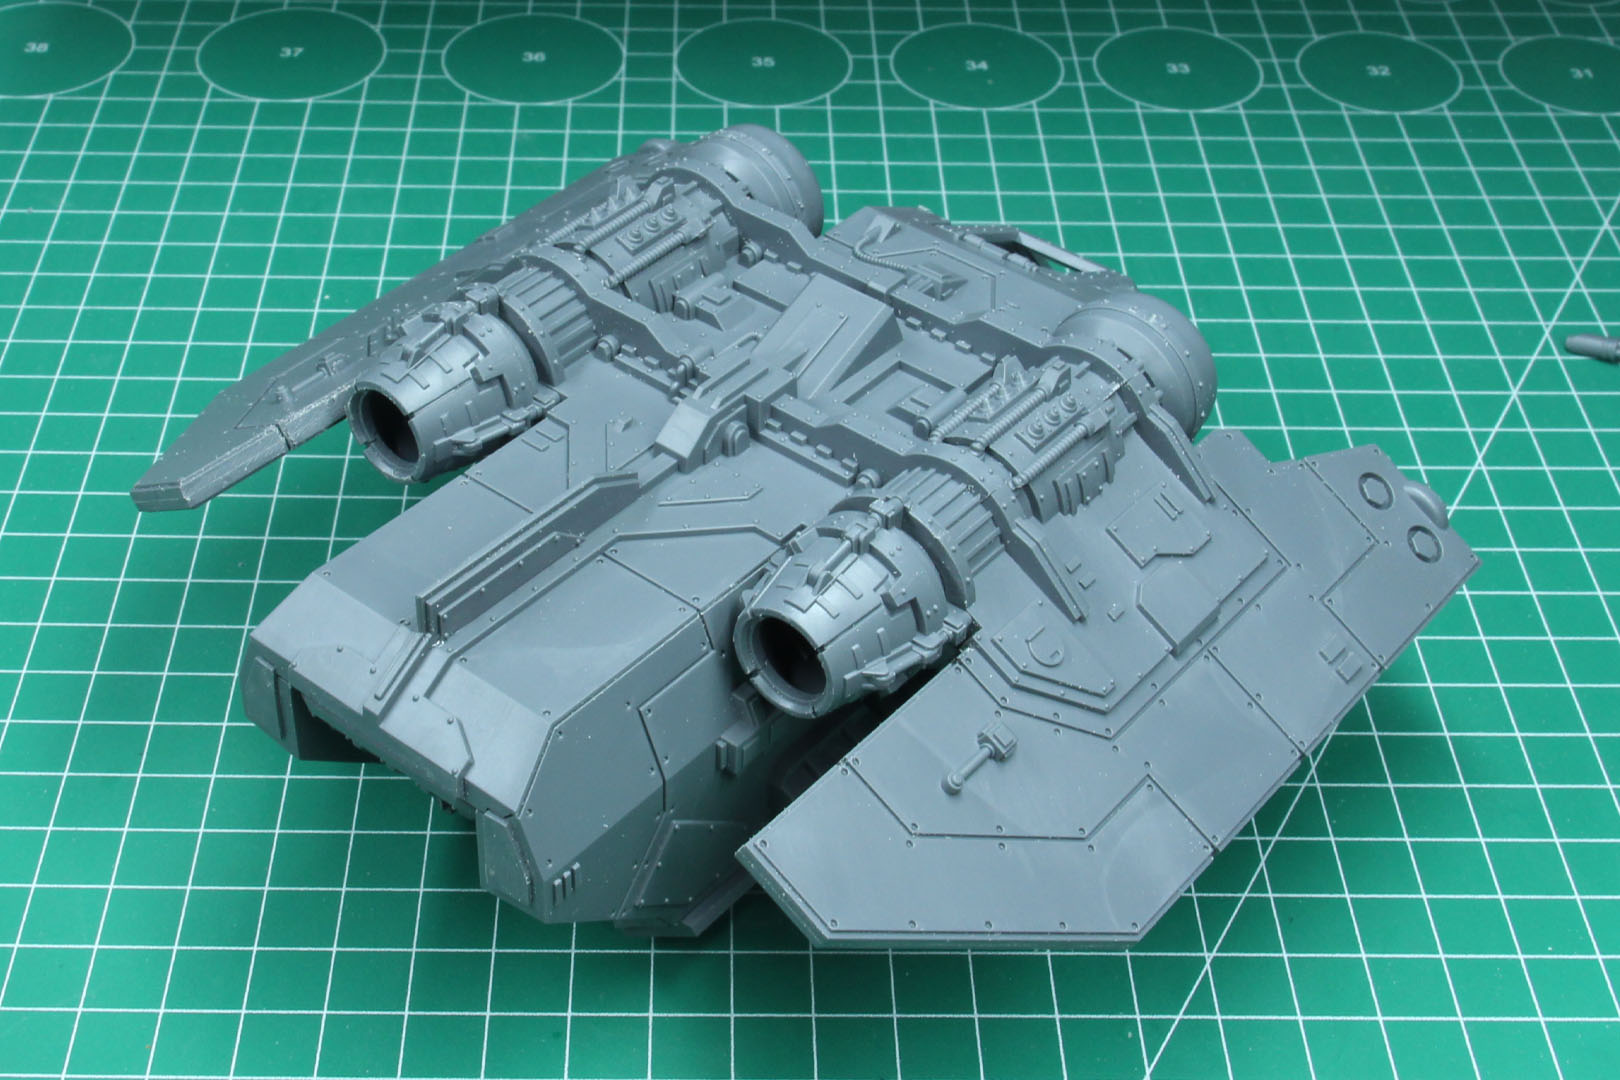
And that is the finished build of the Arvus Lighter, along with the way I segmented it for later painting.

Conclusion
This was a very pleasant build experience. A lot of large pieces, but no warpage or problems during assembly. Everything was a proper fit, you just need a bit of pressure to add the roof to the lower hull as they have two groves on each side, which need to slip in the wings, but beyond that surprisingly easy for a kit of that size and complexity.
With 47,50 GBP / 62,50 EUR the Arvus Lighter is cheaper than the Valkyrie, but is a smaller model and covers less options. Yet, from the amount of details you notice there is a technological generation between them.
I am a bit surprised, that we saw this in plastic, as it is pretty much an unarmed transporter, with low point costs, but as we don't have the Aurox, this is a cheaper and smaller transport option to the massive Dracosan.
Warhammer 40,000 and The Horus Heresy are brands by Games Workshop.
The reviewed product item was provided by the manufacturer.
Enjoy this article?
Like us on Facebook

Follow me on Instagram

Categories
- events (195)
- fantasy (557)
- General (156)
- historical (607)
- Little Big Adventures (4)
- offtopic (5)
- reviews (485)
- science fiction (608)
- showroom (98)
- terrain (109)
- work-in-progress (400)


January 19th, 2025 - 20:06
There were seated Elysians for the Valkyrie troop compartment, but those are long gone now.
January 19th, 2025 - 20:09
Oh, you’re right. I completely forgot about those. They are as rare as hen’s teeth