Blood Bowl – Mordheim Marauders Part 1
After the initial introduction of the roster and lineup of the Chaos Team, it is the time to get started.
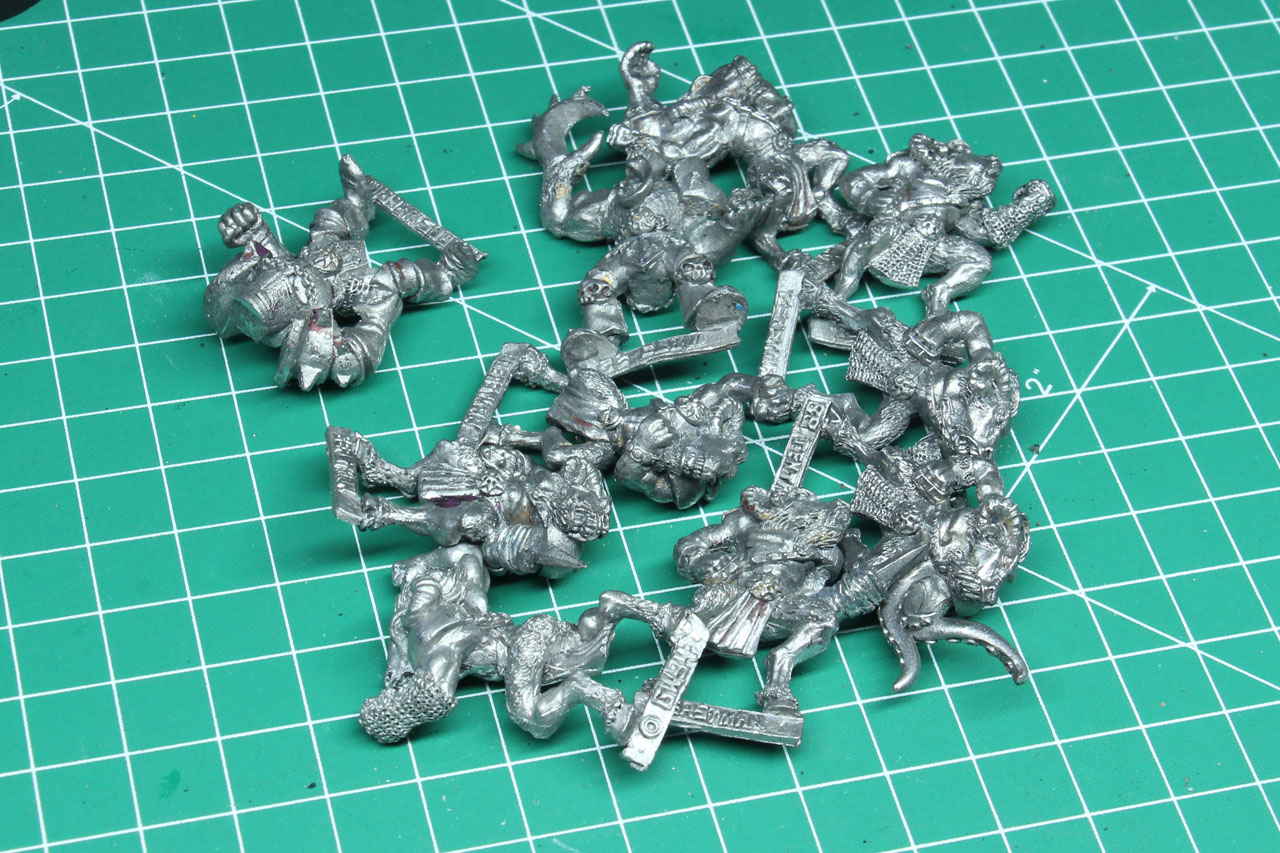
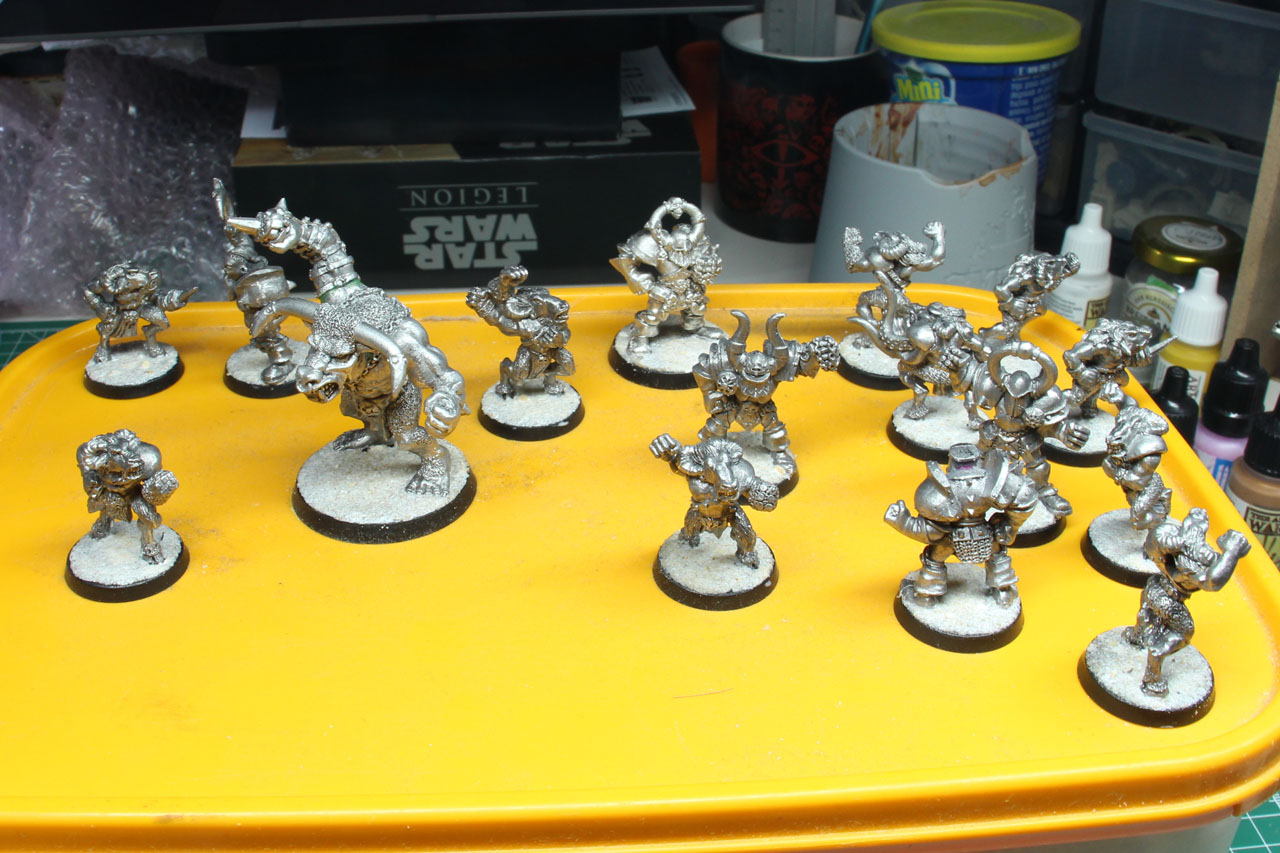
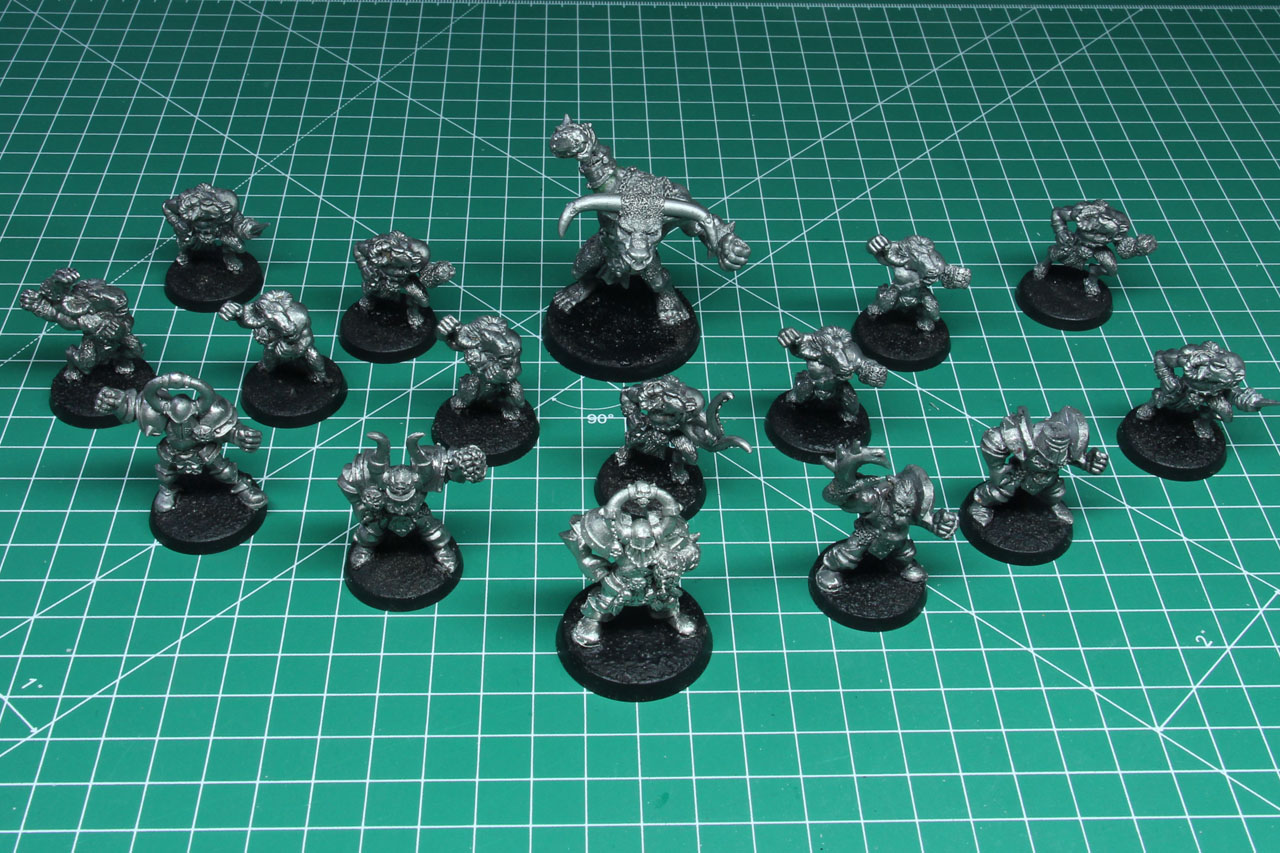
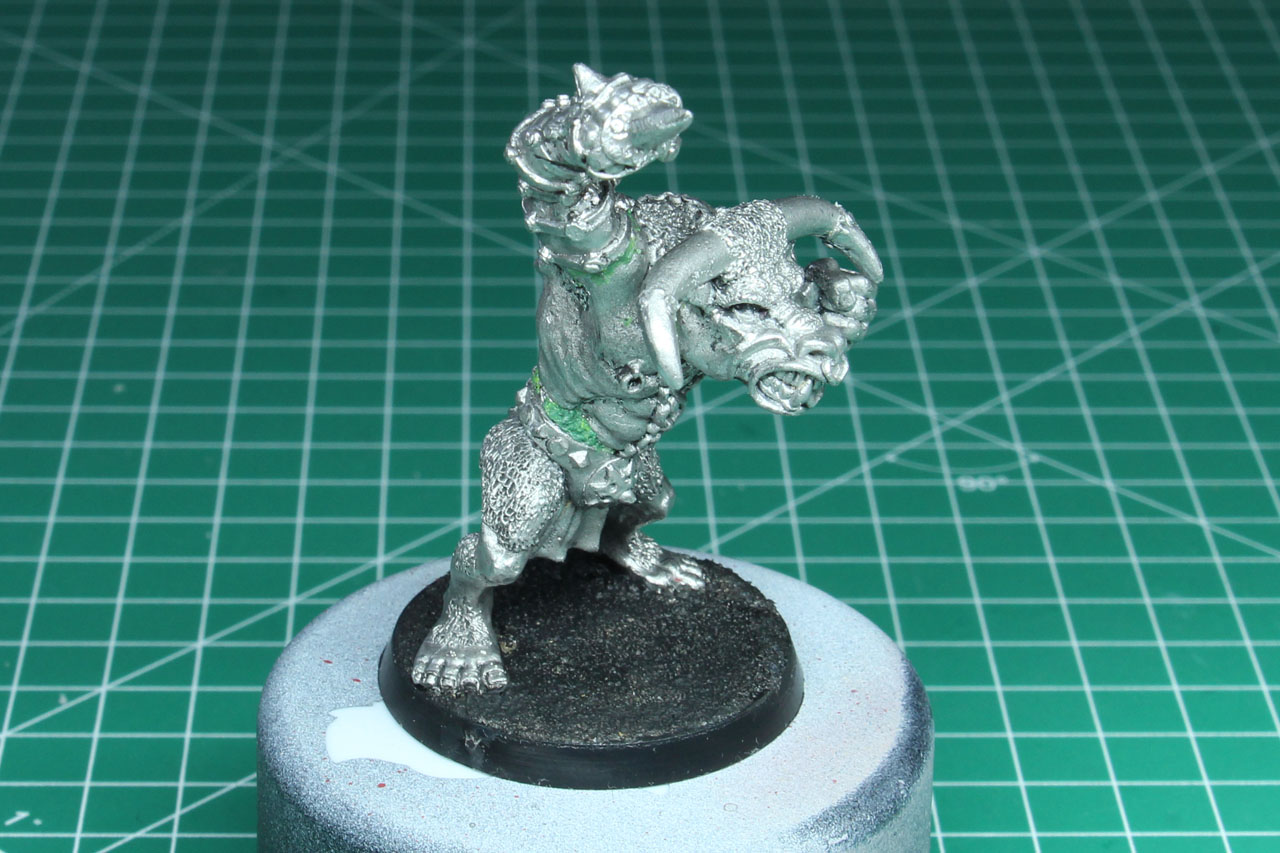
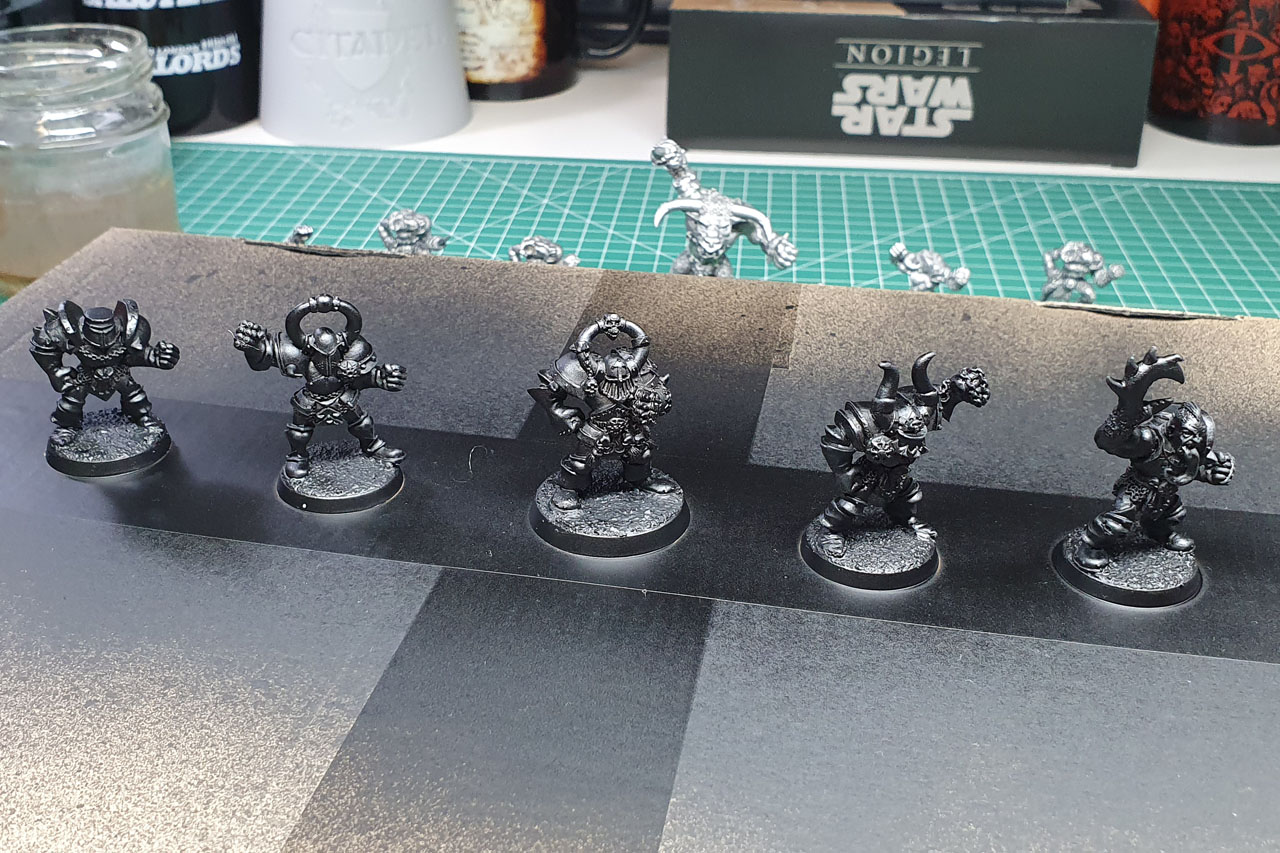
The old paint job had to go. It was primed black and partially painted, so I stripped them (as covered earlier here). And this time, I wanted to spend the time on properly preparing the miniatures. So at first I went over the models with a file, cleaning all the mould lines and casting noses, that might still be around (usually some may pop up during painting and are more annoying to remove then, so take your time on this step).
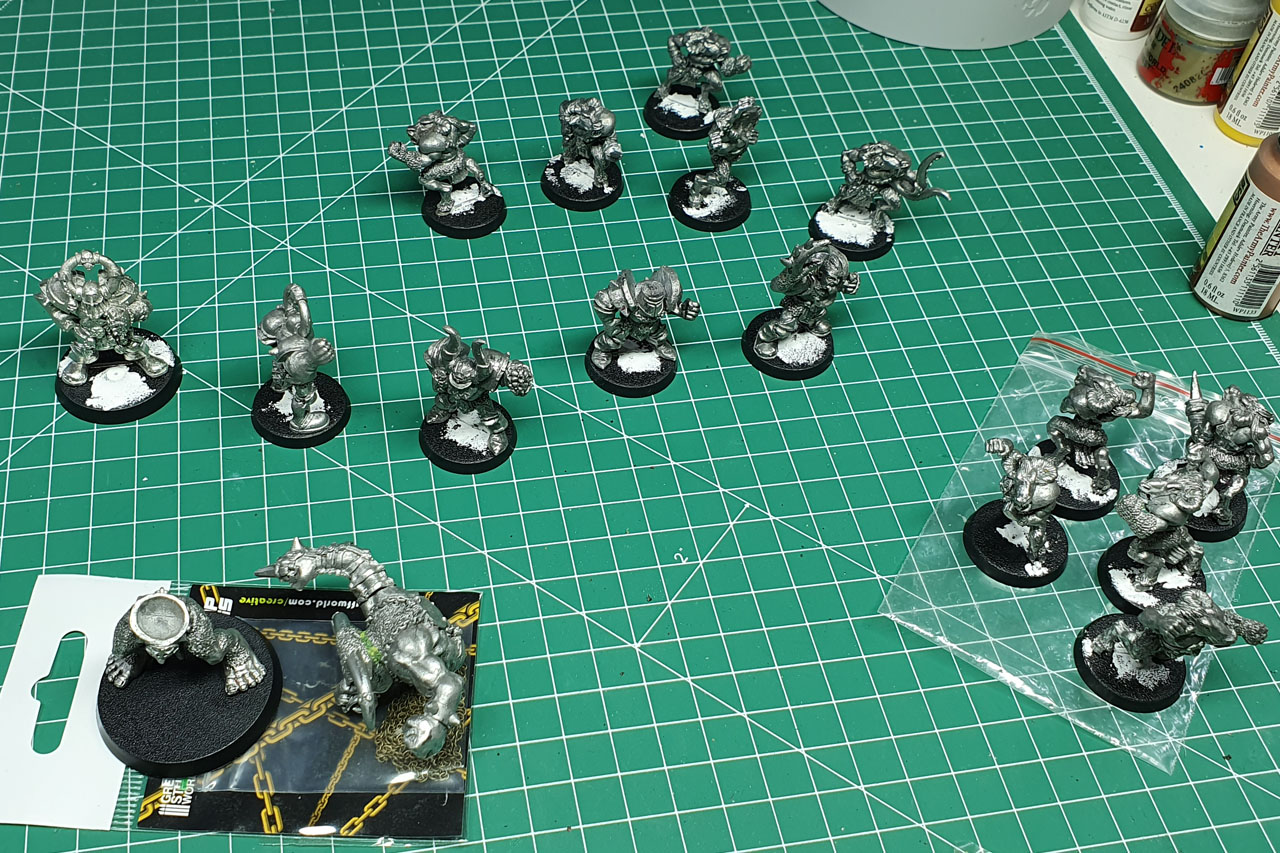
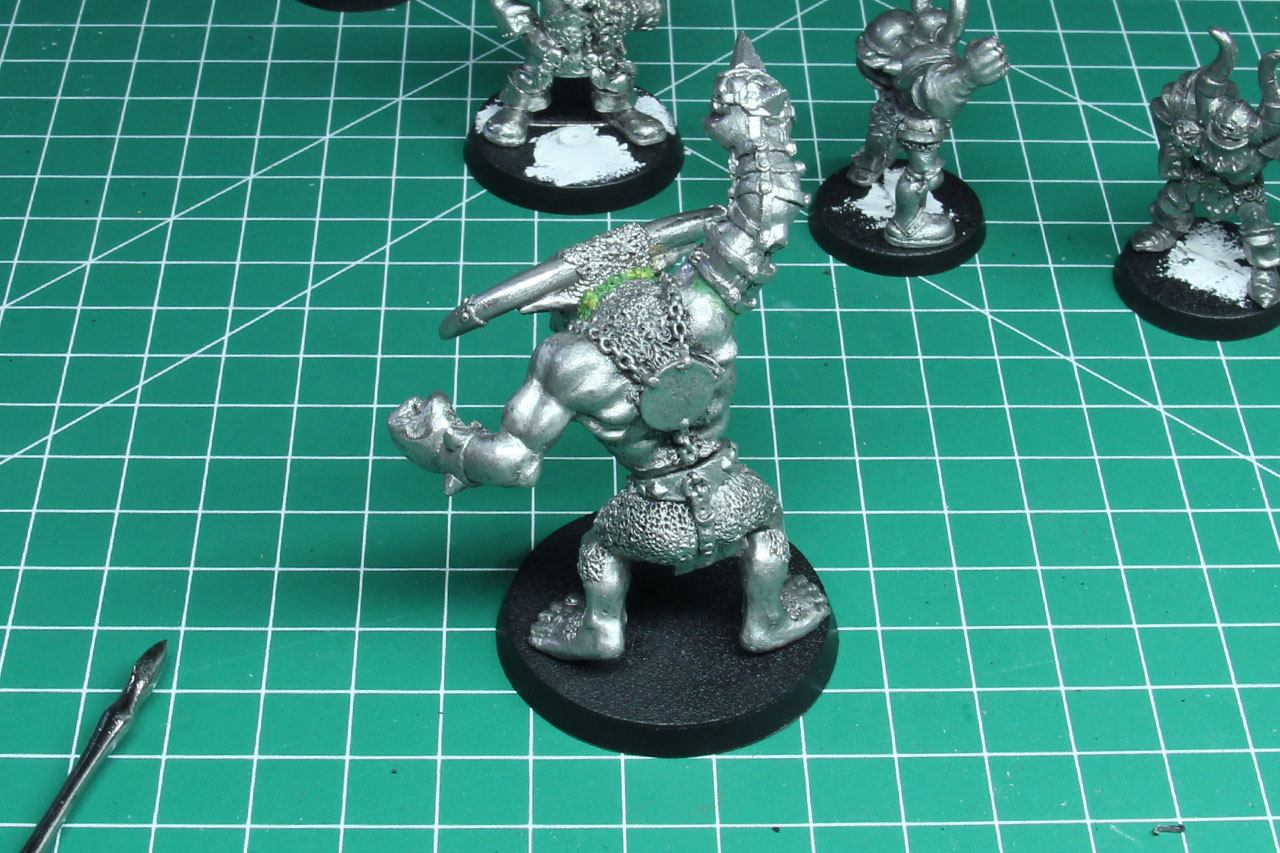
Basing was the next thing to do. I went with round bases for the whole line-up, no more 40mm squares for big guys. I filled the gaps along the slotabases and gave them afterwards a coat of pva and sand. As Blood Bowl miniatures are handled a bit harder than regular gaming models (16 turns per game, laying on the side etc. is a bit rougher than standing rank & file or being moved as part fo a multi-base), so I sealed the sand with a bit of thinned down pva and paint. Honestly it was the first time I did that, and felt a bit thick. So I probably thin down the PVA the next time even more.
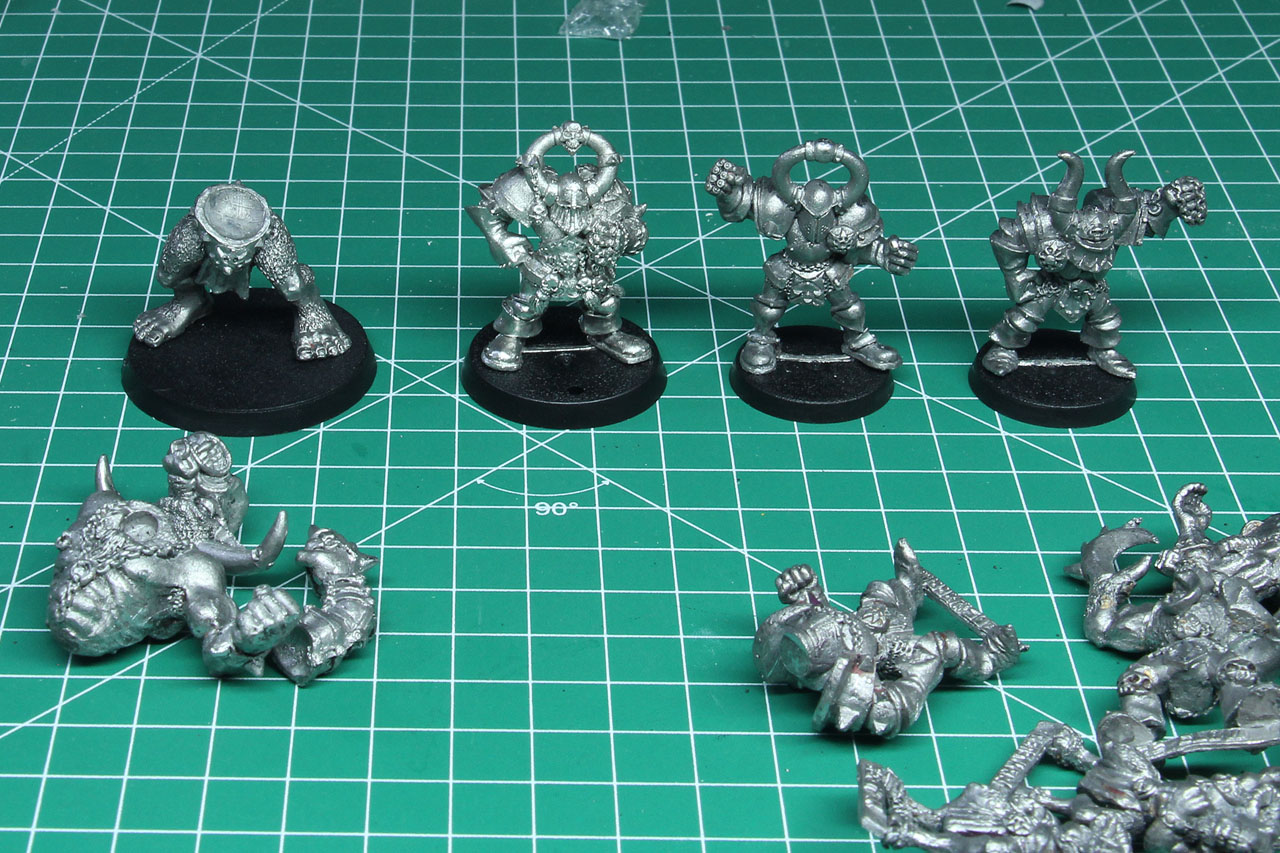
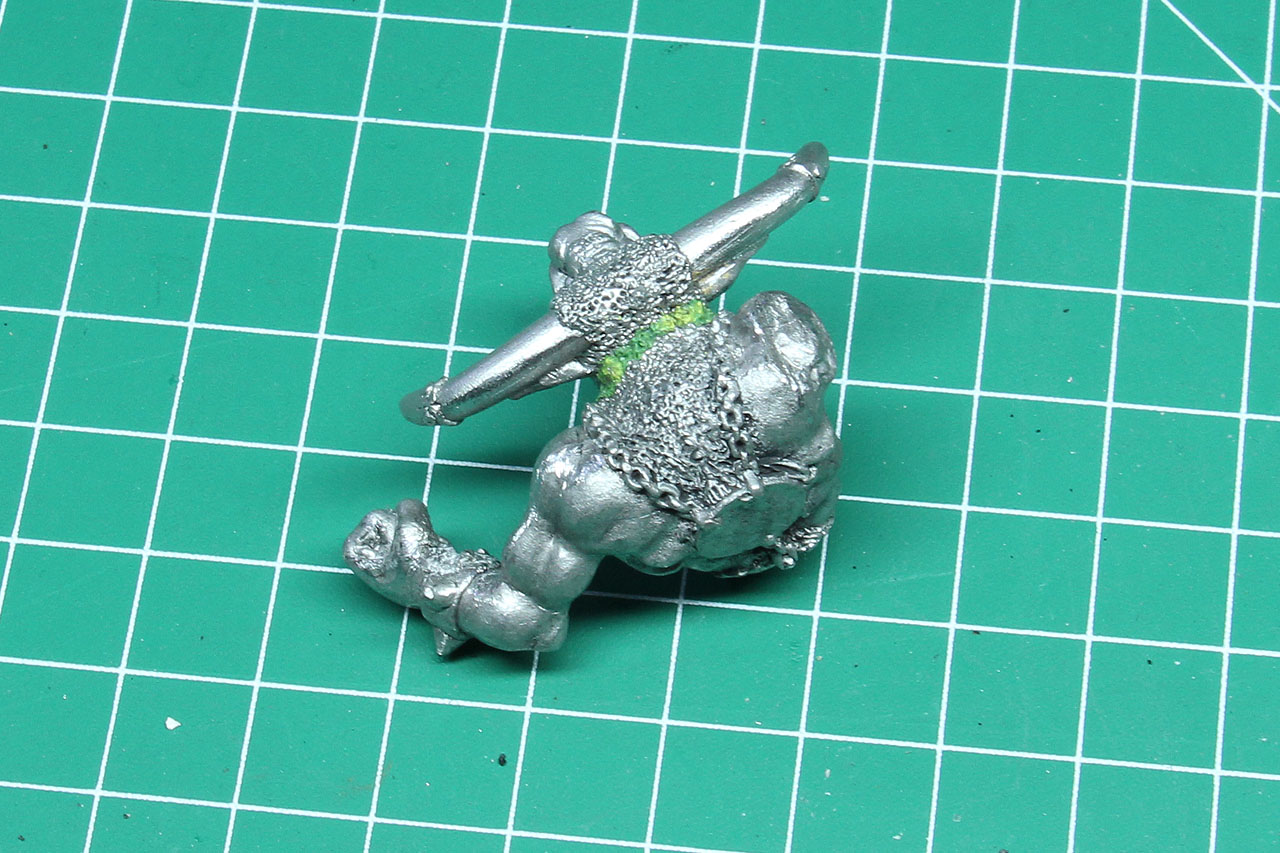
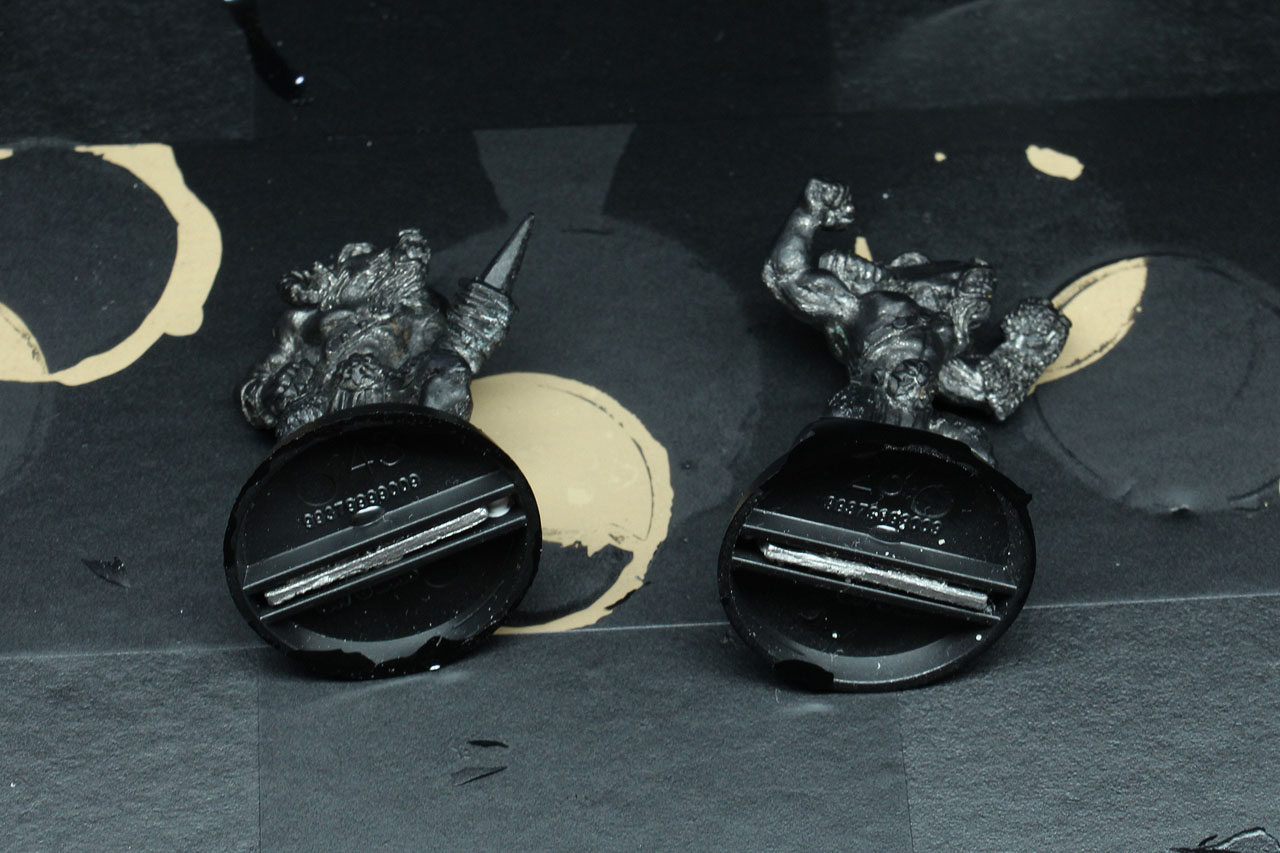
The whole team, beside Grashnak Blackhoof, are all single casts, to no assembly required. But with the star player / big guy / minotaur I went the traditional way of pinning the parts. In case you don't know what that means, it is supporting the bond between two parts with a pin, for example a piece of wire or paperclip. So you drill a hole in both pieces, you intend to pin, connect them with the pin and glue them to both sides.
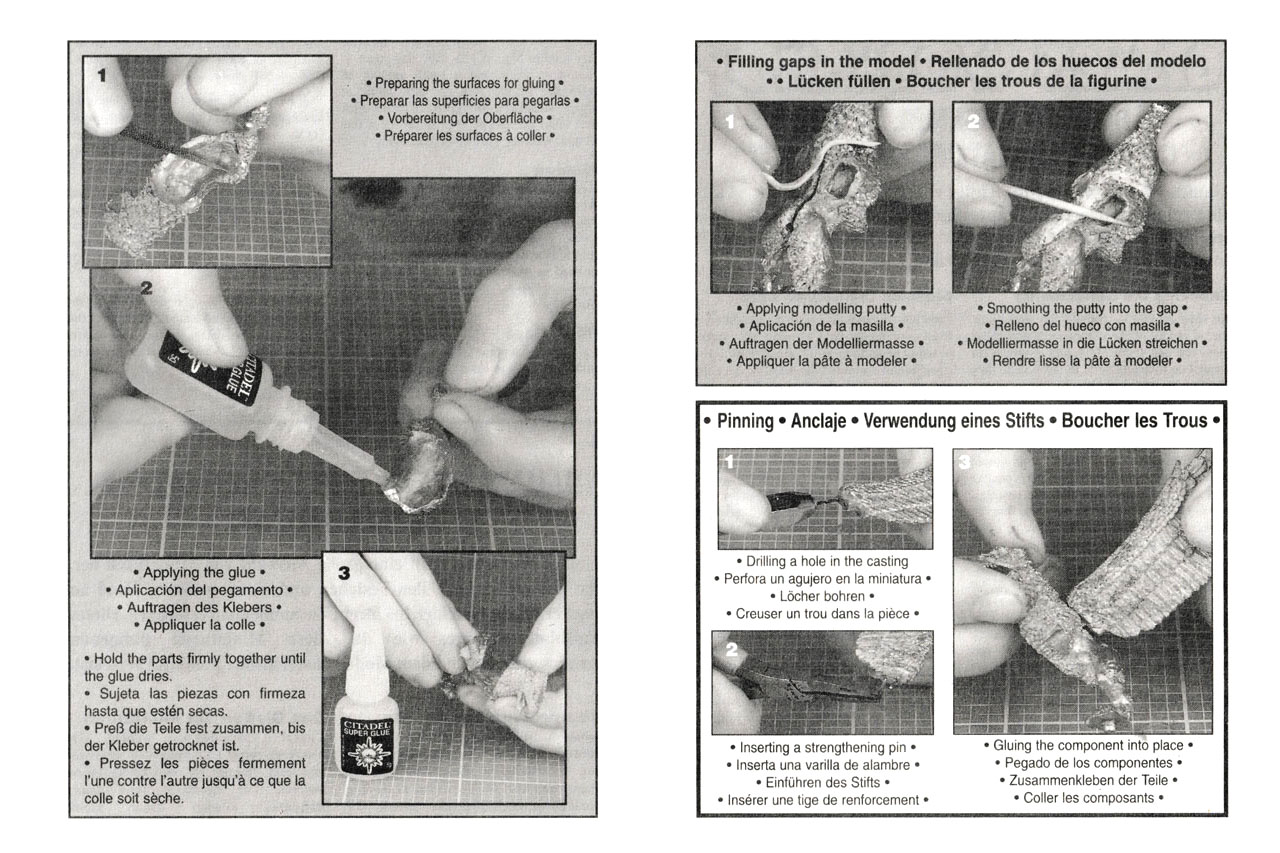
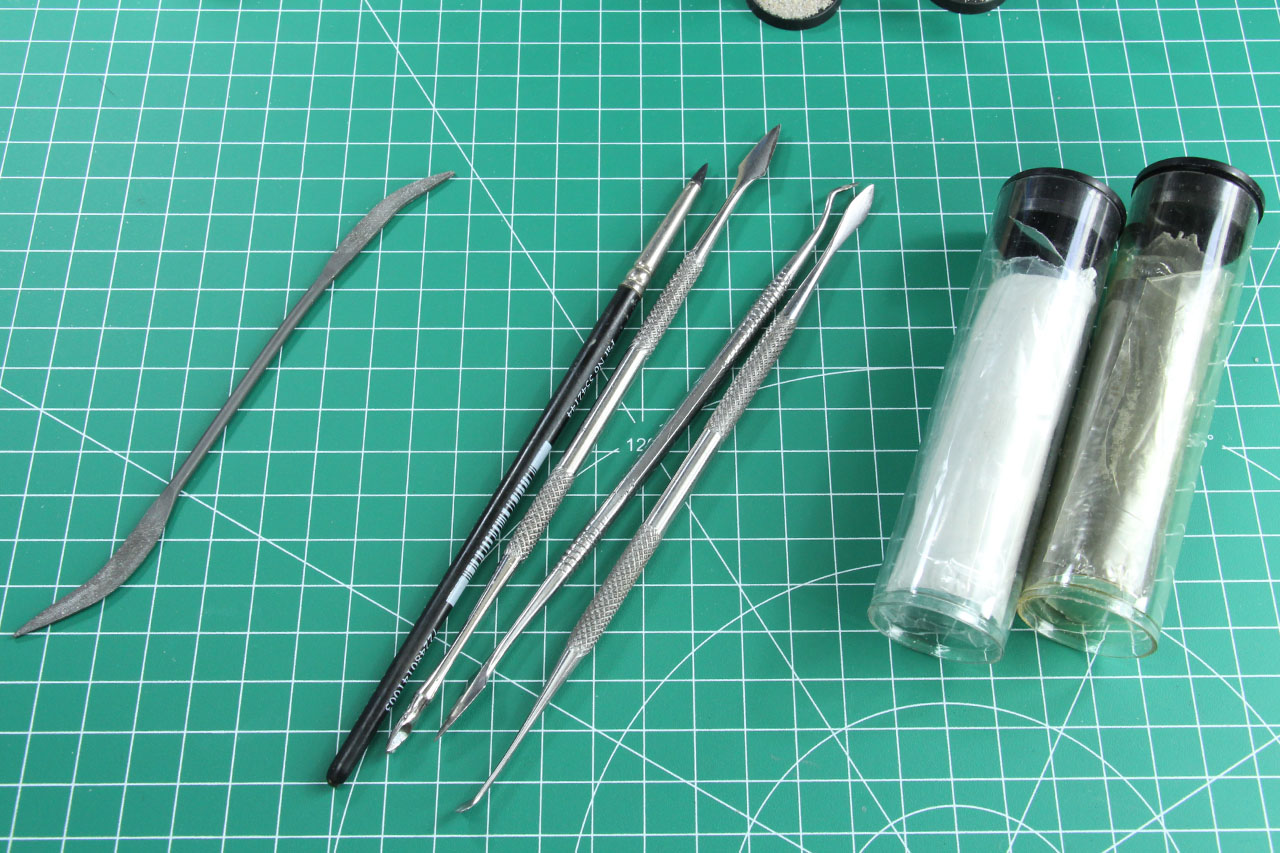
In addition I used green stuff to close the gaps between the pieces. So you knead a small ball of green stuff and roll it out into a thin roll, padding it over the gap with a sculpting tool (I use metal tools as well as a clay shaper) and depending on the amount of green stuff you used, another roll to not only fill the gap but sculpt a texture to create a seamless connection. Fur is quite easy to do. Start with some hole and pull / push them into direction, to create a realistic result. Once it is primed, you probably wouldn't even notice the added part.
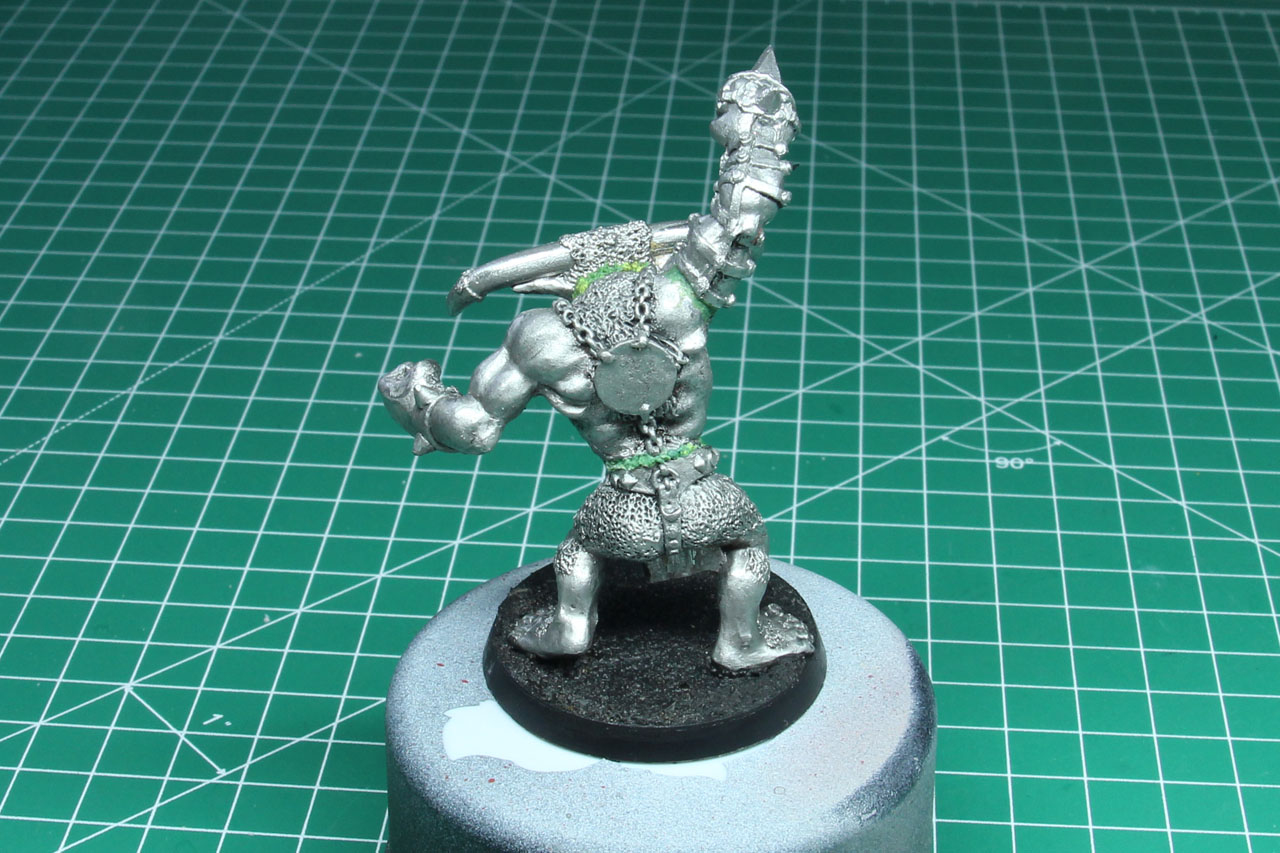
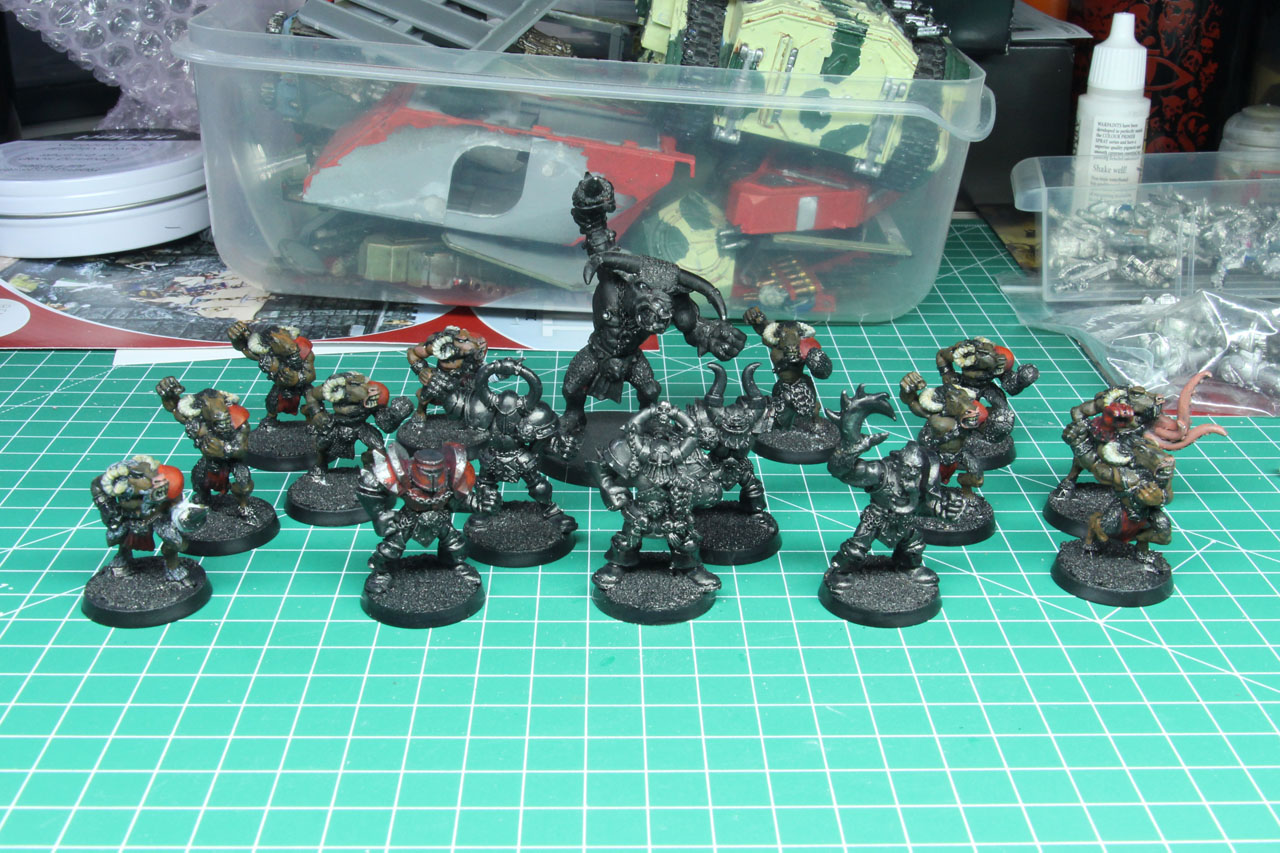
As for primer, I usually go with a black primer to begin with. I am very satisfied with the results that Hit Colour Belton flat black provides. So I went out and gave them a proper coat and reduced the drying time by using a hair dryer afterwards. If you prime in bulk, you will probably need to cover up some spots, you didn't reach. I grabbed a brush and some P3 Thamar Black, thinned it down a bit and finished the primer.
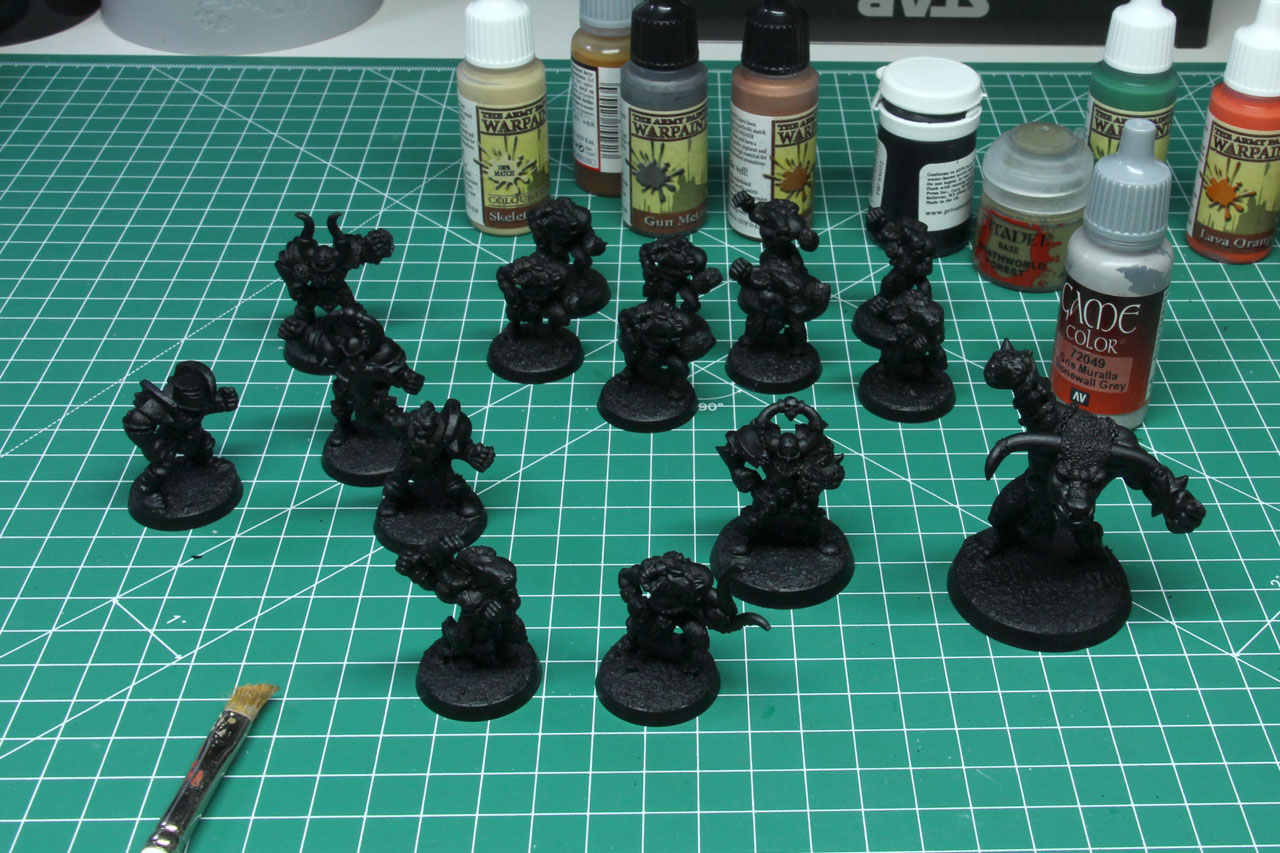
Let that sit for about 24 hours, to have a proper bone dry paint job to start from.
About that, I've chosen a name and jersey - it's the Mordheim Marauders and their team colours will be green, purple and brown.
Enjoy this article?
Like us on Facebook

Follow me on Instagram

Categories
- events (206)
- fantasy (600)
- General (160)
- historical (637)
- Little Big Adventures (4)
- offtopic (5)
- reviews (540)
- science fiction (694)
- showroom (107)
- terrain (118)
- work-in-progress (420)


Leave a Reply