3d printing – a recap
My in-house 3D printing has come to an end, at least for the time being.
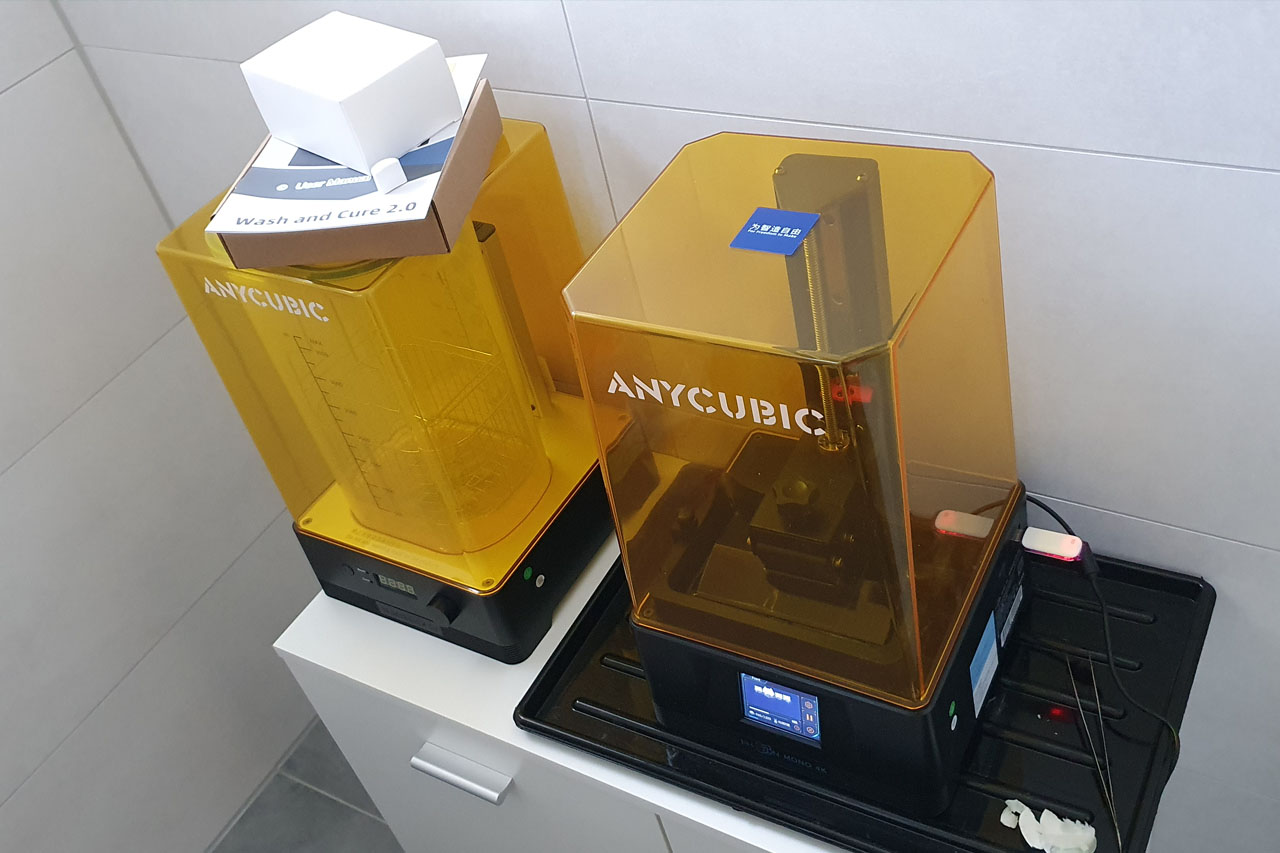
In March 2022, I bought a resin printer from Anycubic in an Easter sale, and now I would like to share a recap of my experience. First of all, thank you so much to Broncofish for the help at the beginning. This made the learning curve much steeper, with no major issues, which made it such a pleasant experience right from the start.
What were the costs over the last three and a half years? In total, I spent just under one thousand dollars on the 3D printer and consumables. Here is a detailed breakdown:
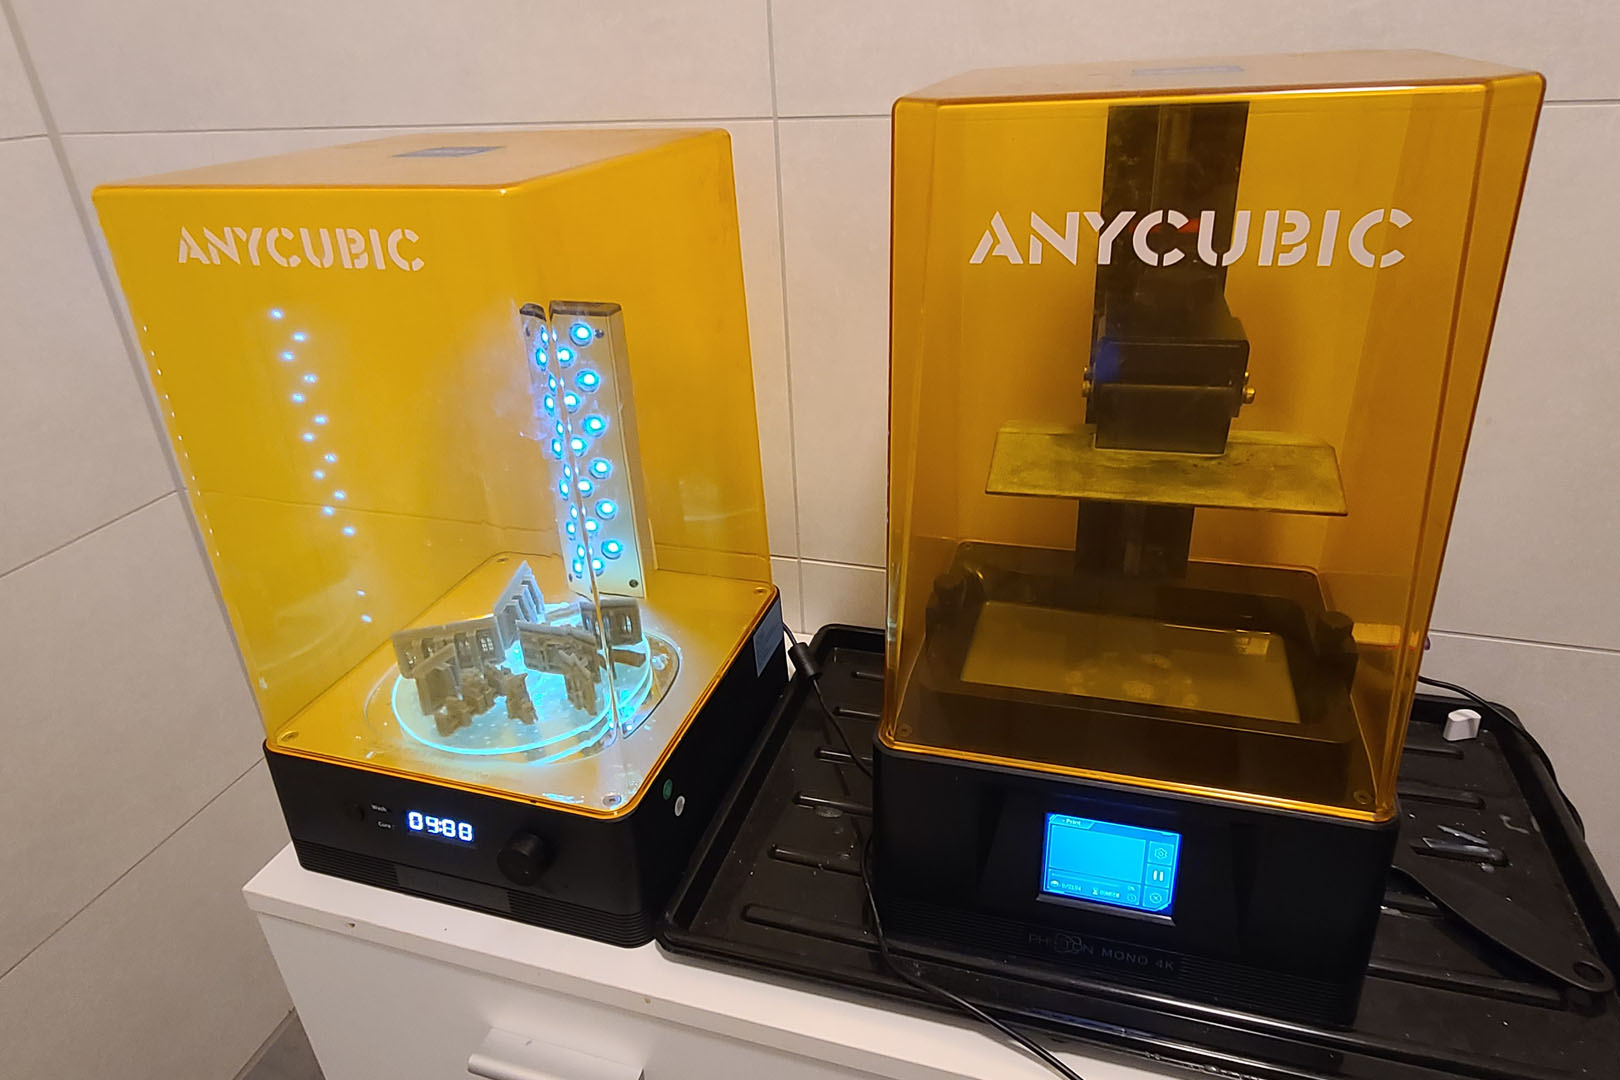
- Anycubic Photon Mono 4K Bundle (including Wash & Cure 2.0 and 1 kg of resin) – 354 EUR
- Additional gear: FEP film sheets*, display covers, filters and funnels – 83 EUR
- Safety gear (goggles, respirator mask, gloves and containers for used IPA) – 45 EUR
*The FEP film sheets for the Mono 4K were more expensive as they came with a plastic frame. However, you could swap the FEP tray from the Anycubic for an aftermarket piece and use cheaper films without the frame. I went through about 5 FEP sheets in 3.5 years. I also bought some in advance as some spare parts for the Mono 4K went out of stock and the FEP frame was more or less exclusively available through Anycubic.


This meant that my initial costs were just under 500 EUR for the setup. This may not seem like a bargain at first, but compared to the cost of 3D printers around 2020, it's a significant saving.
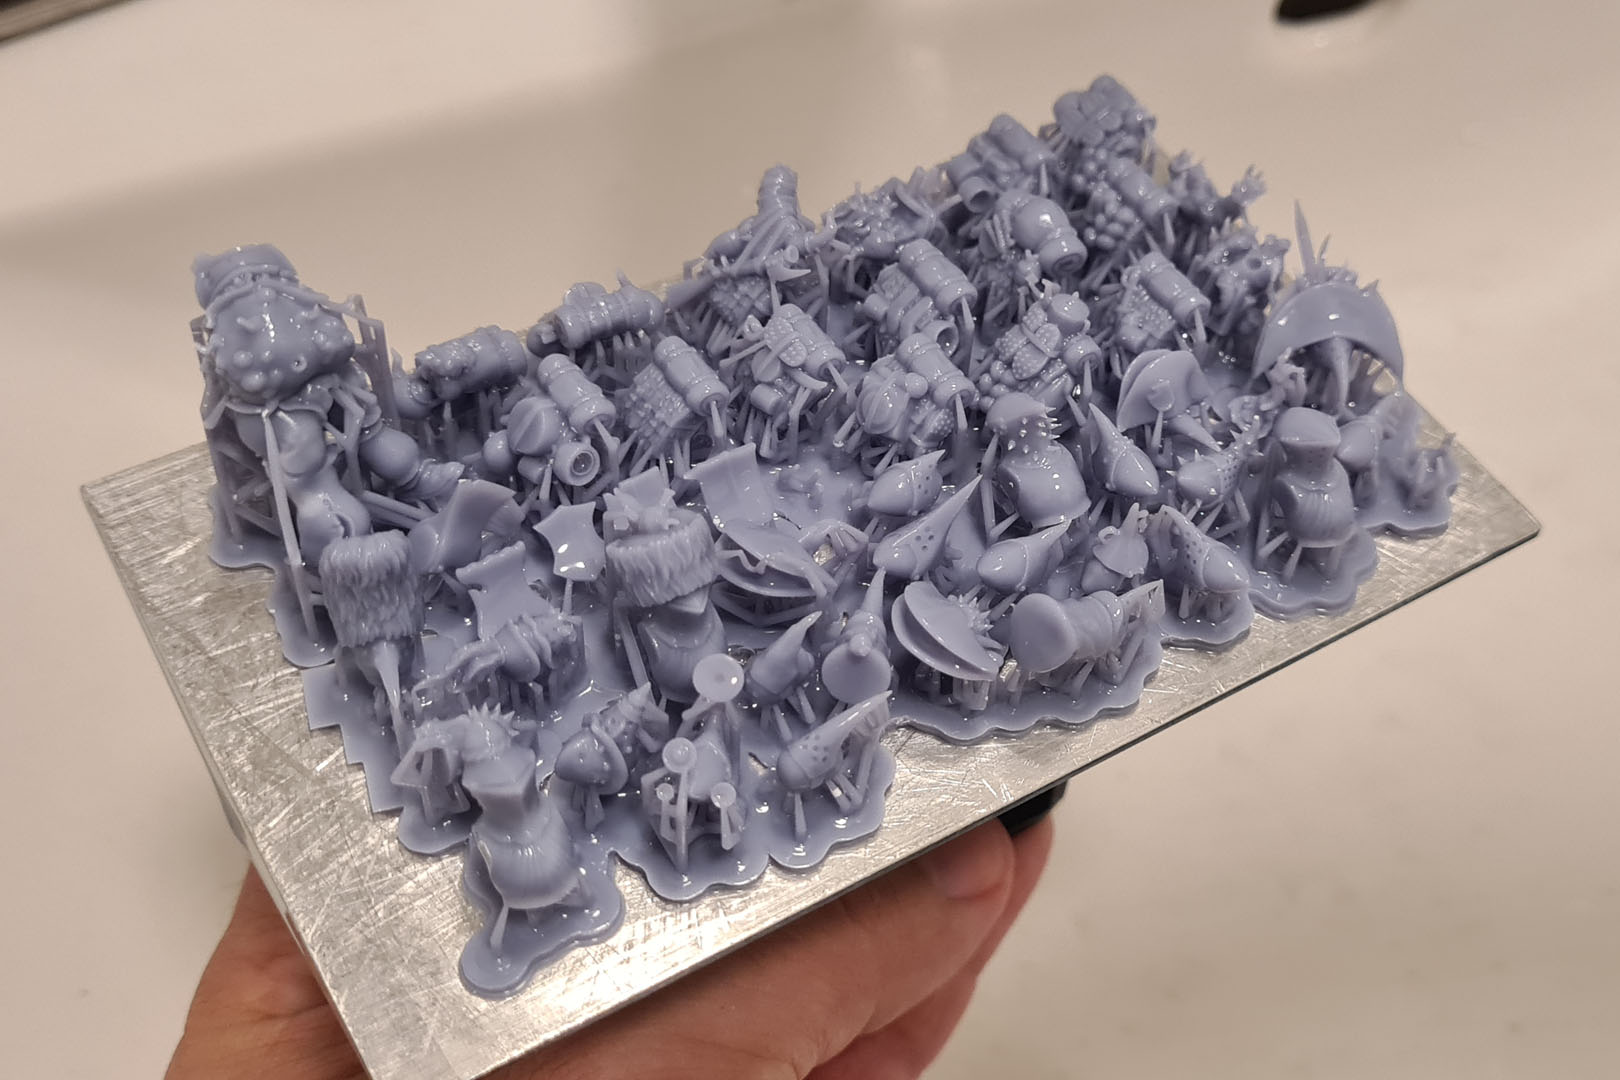
In terms of consumables, I went through the following amounts of resin and IPA. The resin that came with the Mono 4K Bundle was translucent green and a bit too brittle for some of my intended purposes, so I opted for regular grey UV resin. I never tried other resins as I was happy with the results, but I probably should have tested some flexible resins to print gaming pieces such as banners and spears.
- 20 litres of UV resin – 404 EUR
- 25 litres of IPA – 97 EUR
I bought the resin in bulk and during sales, when the price dropped from 29 to 20 EUR for 3+ litres. 20 litres of resin doesn't sound like much over a period of three and a half years, but I mostly printed small-scale items and scatter terrain that didn't require that much resin. Most of the PWM files I sliced stated a resin consumption of 40–60 ml per print.
Regarding the IPA, over the three years I bought two 10-litre canisters and a 5-litre canister a few months ago. Once I switched to the double-dip method for cleaning, the IPA consumption decreased.
So, the big question: was it worth it? Oh, absolutely!
I initially bought the printer to print scatter terrain and small items for base decoration, by Grim Dark Terrain and mostly for Adeptus Titanicus. This was before the release of Legions Imperialis and the availability of newer plastics in Epic scale.
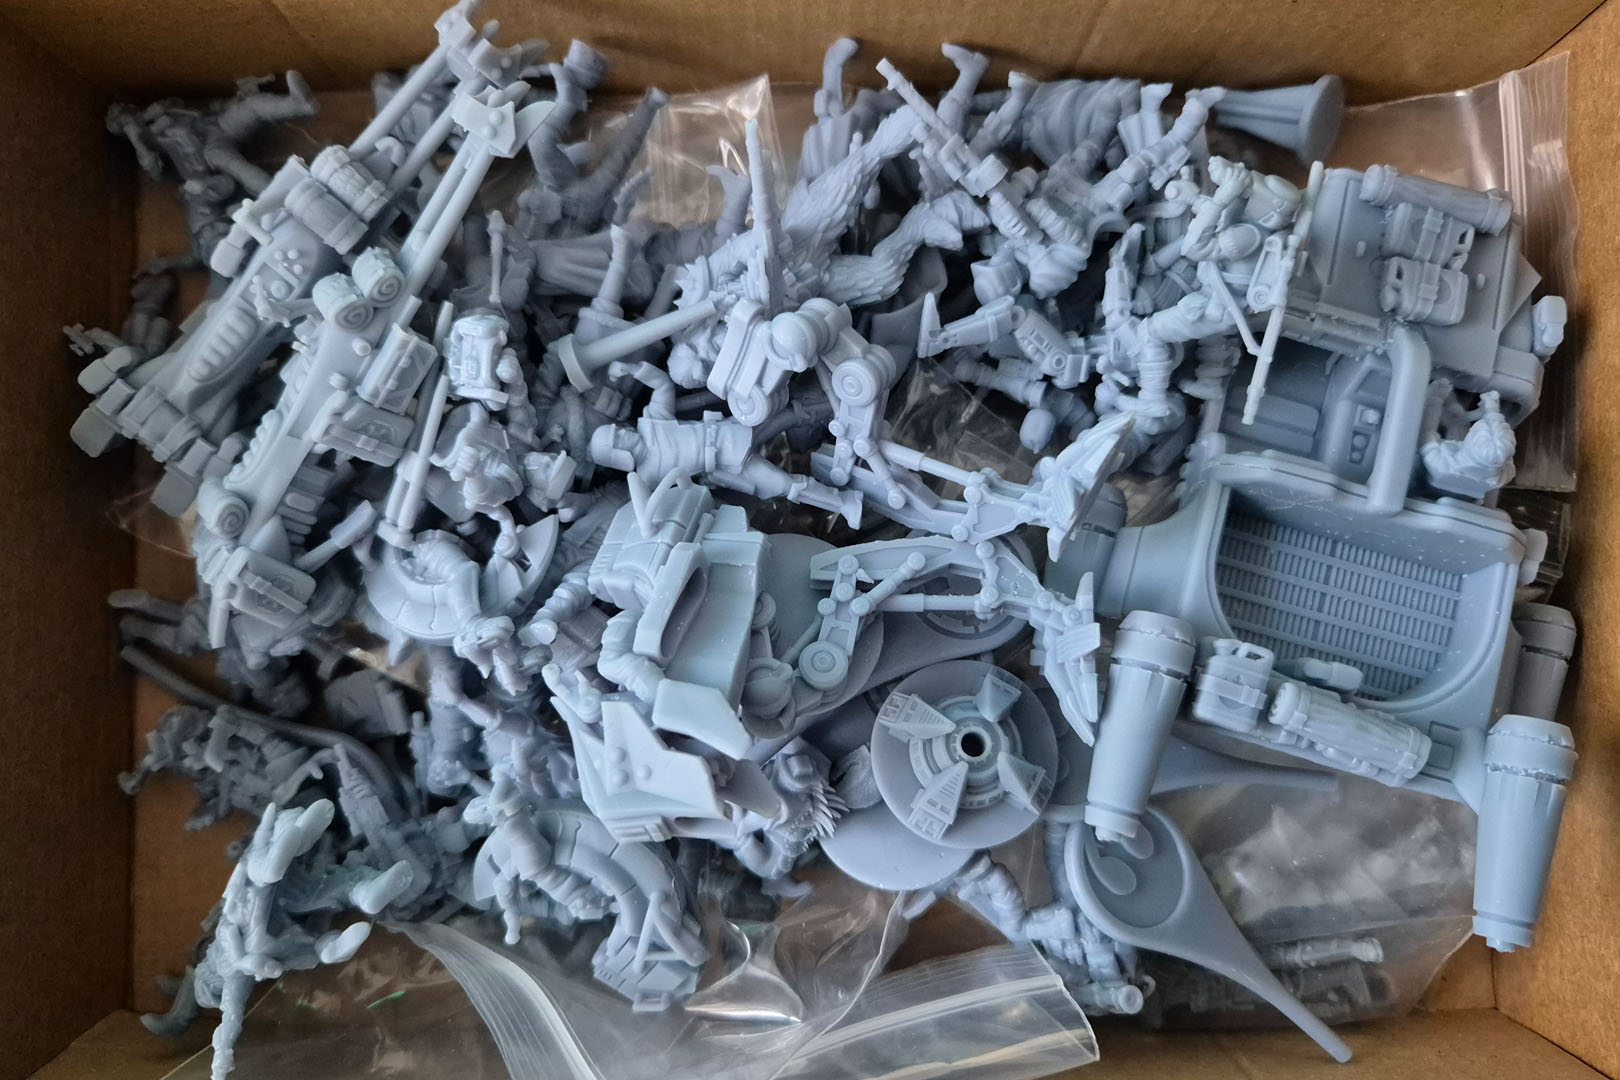
Once I saw the quality of the 28 mm miniatures that I could print, I was amazed and hooked. For me, it was never just about the 3D printer goes brrrt, but about having small Space Marines and wrecks for my Titan bases, mission markers, and, once I came across MiniRat, Varus, and Forest Dragon, adding some Warmaster to my collection. I printed four armies for this: Vampire Counts and Bretonnia for myself, and High Elves and Tomb Kings for friends of mine. All of them were around 3,000 points!
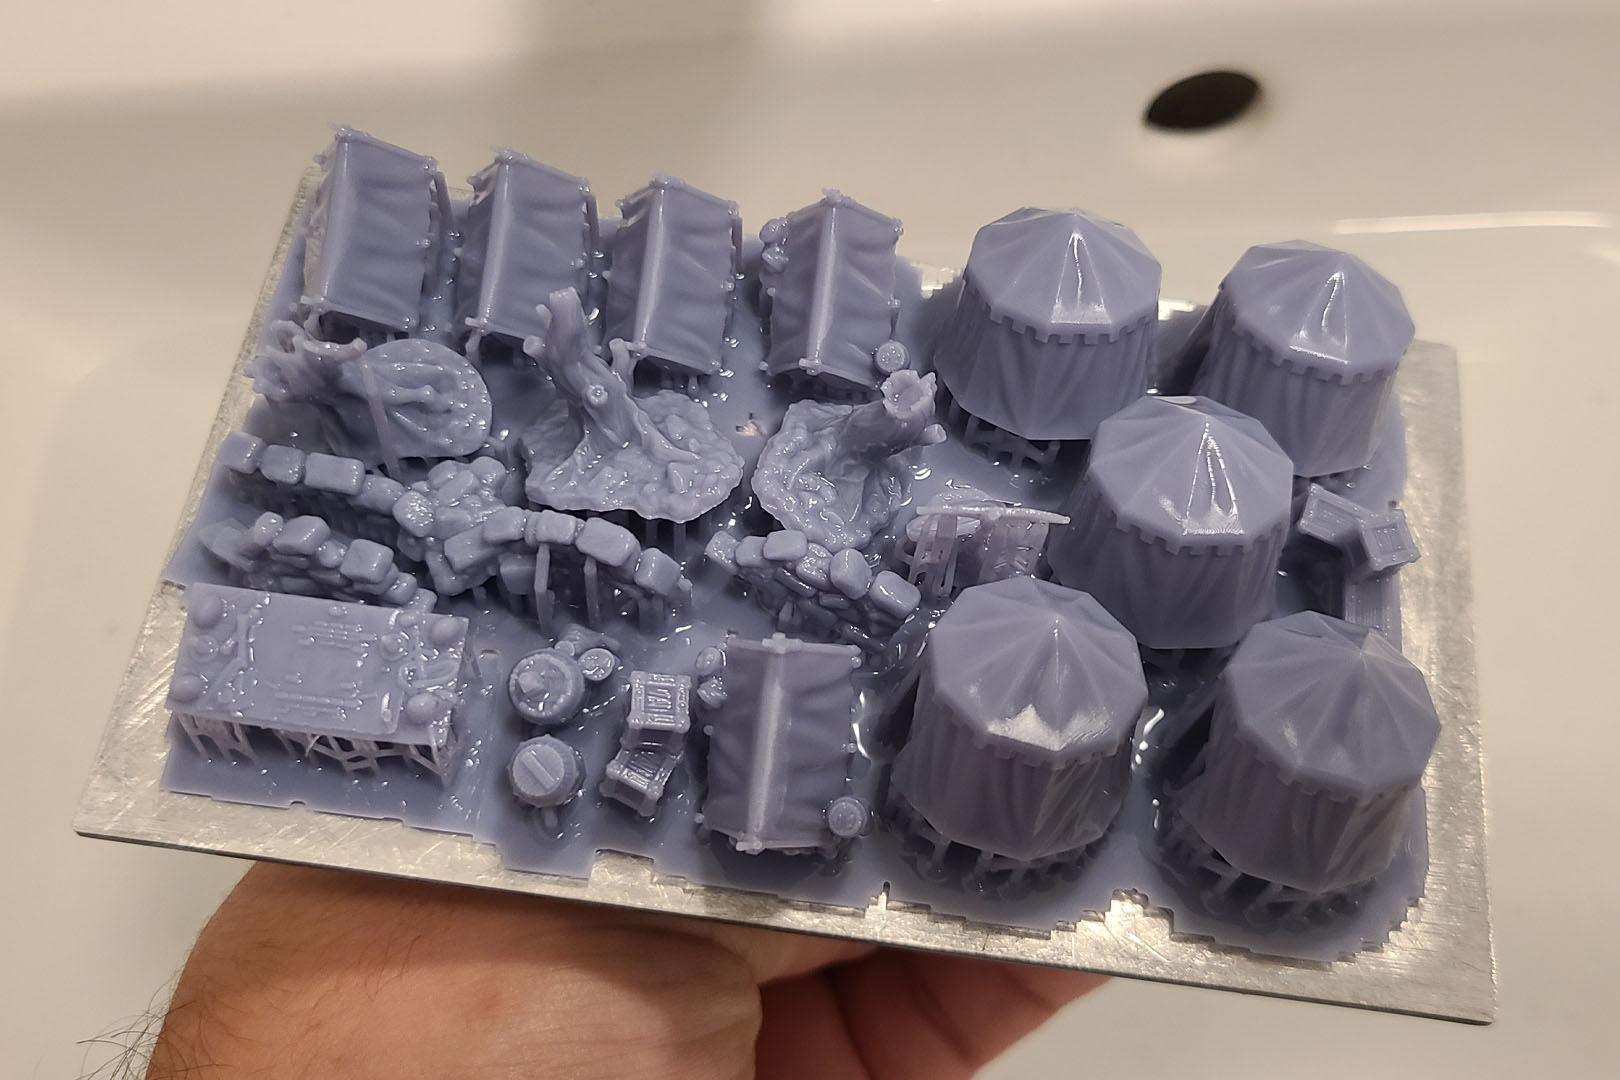
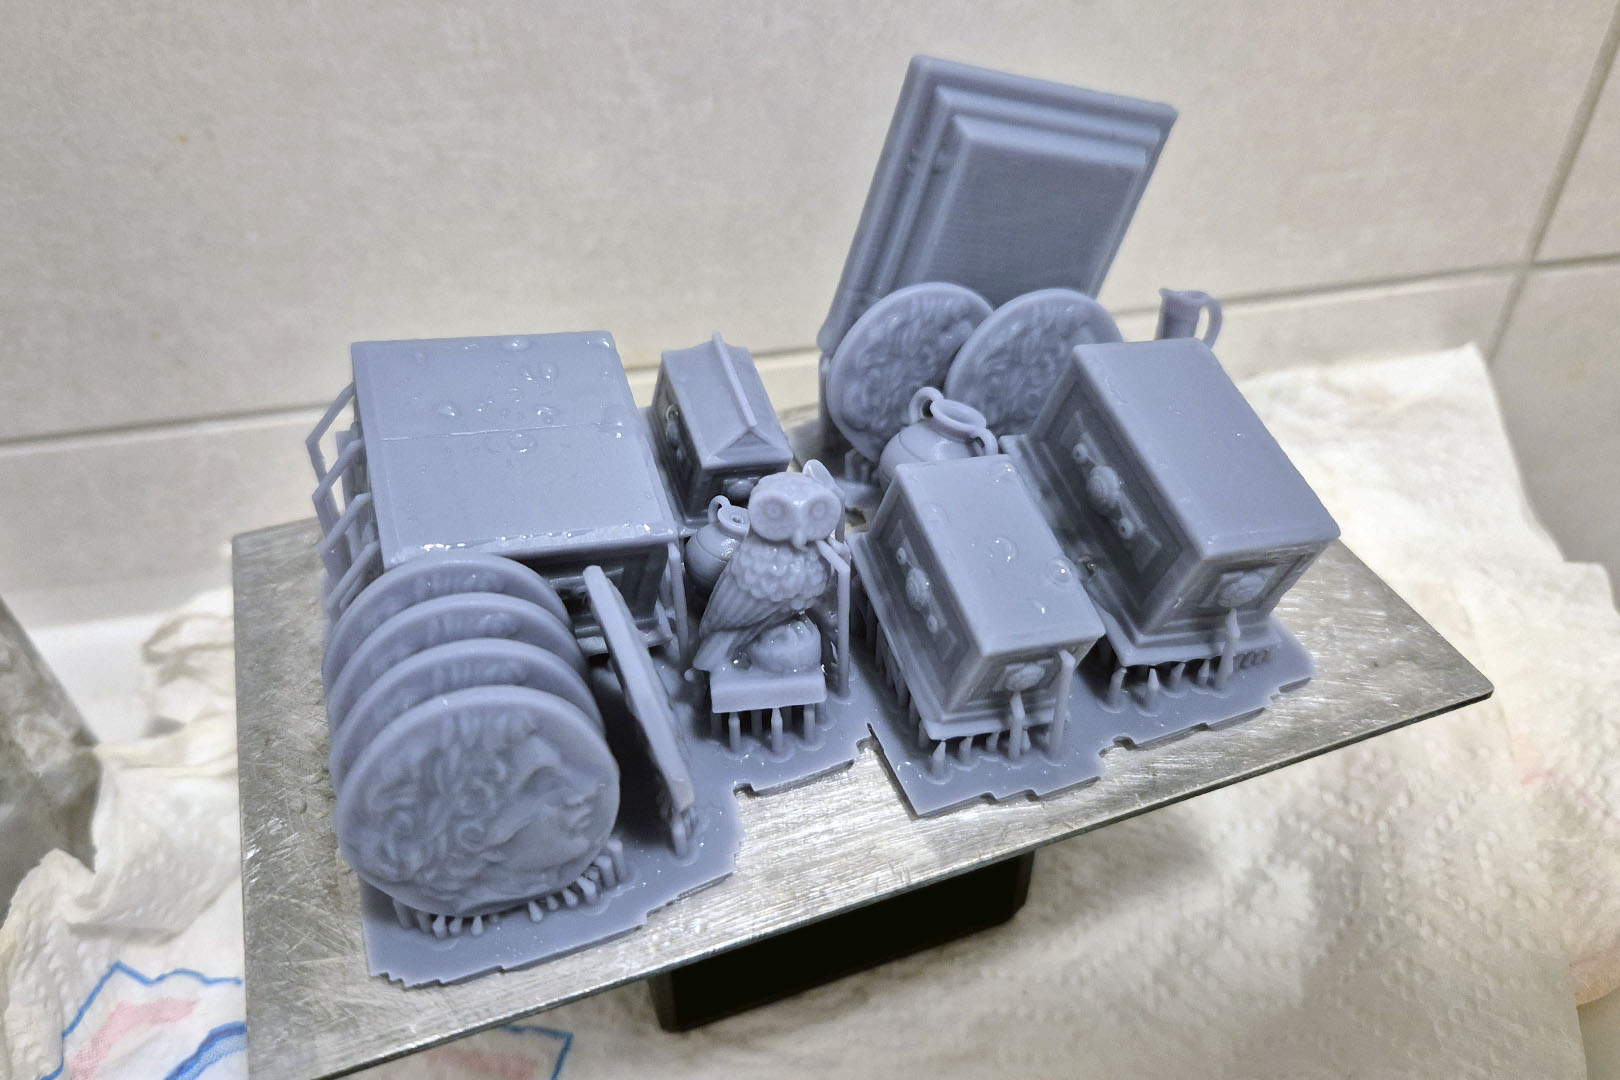
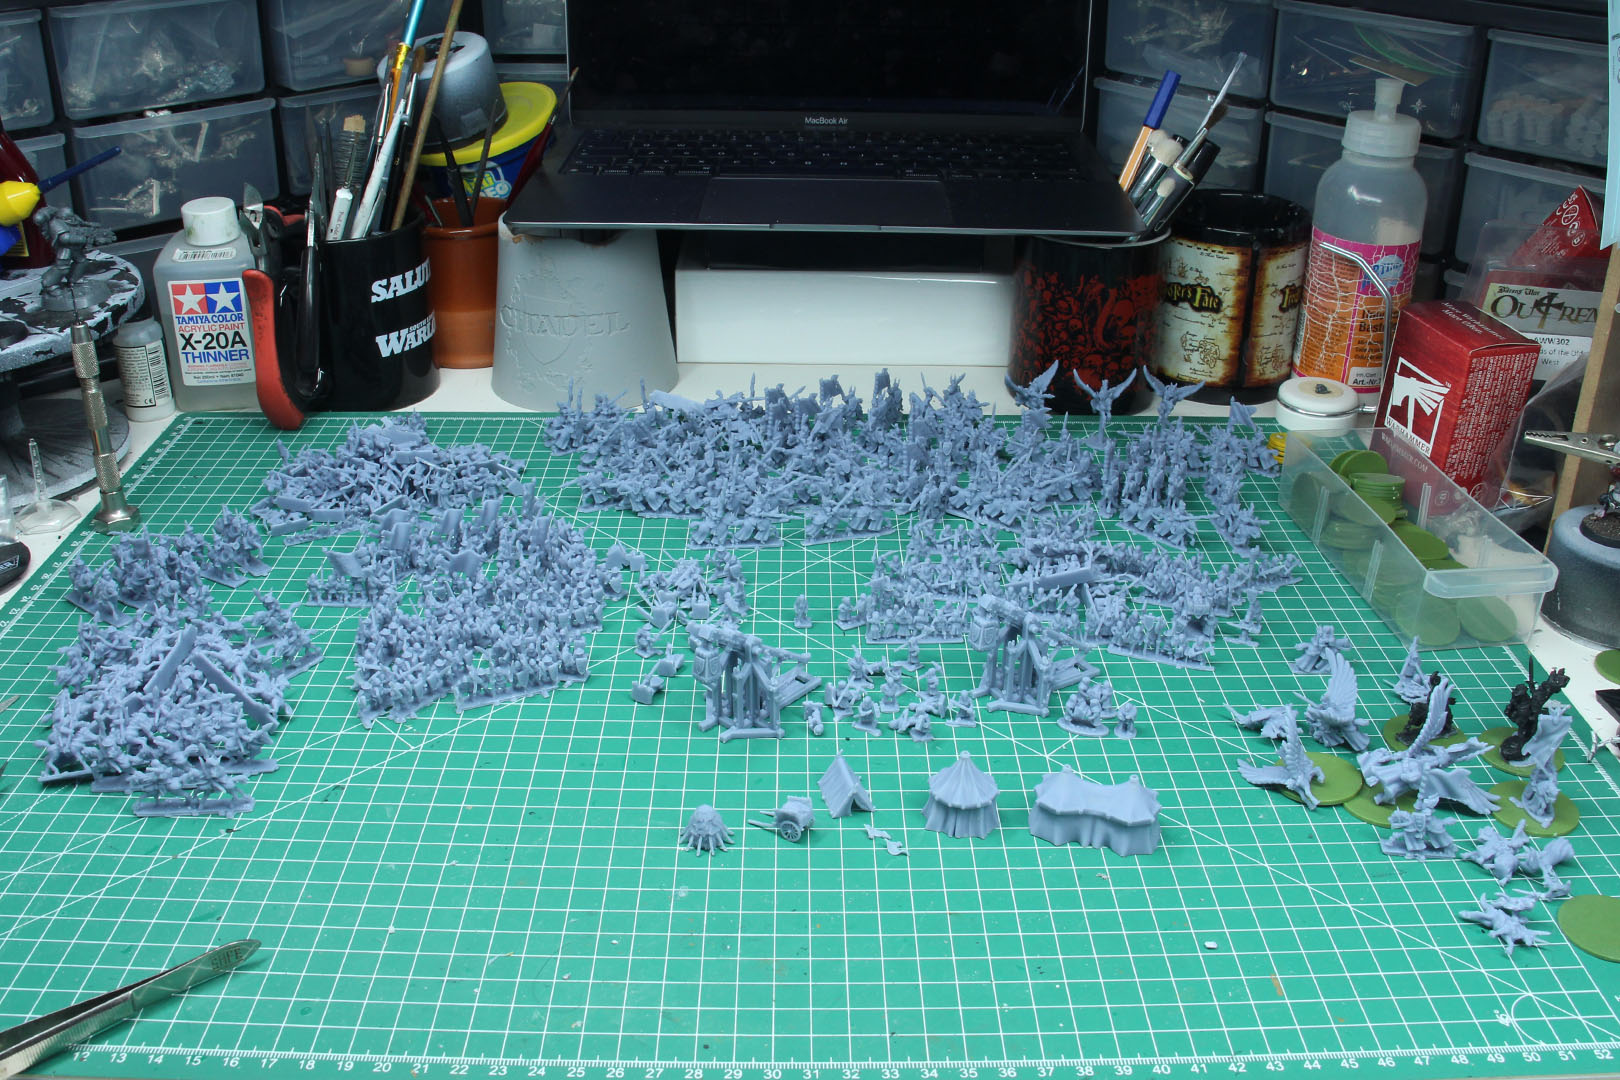
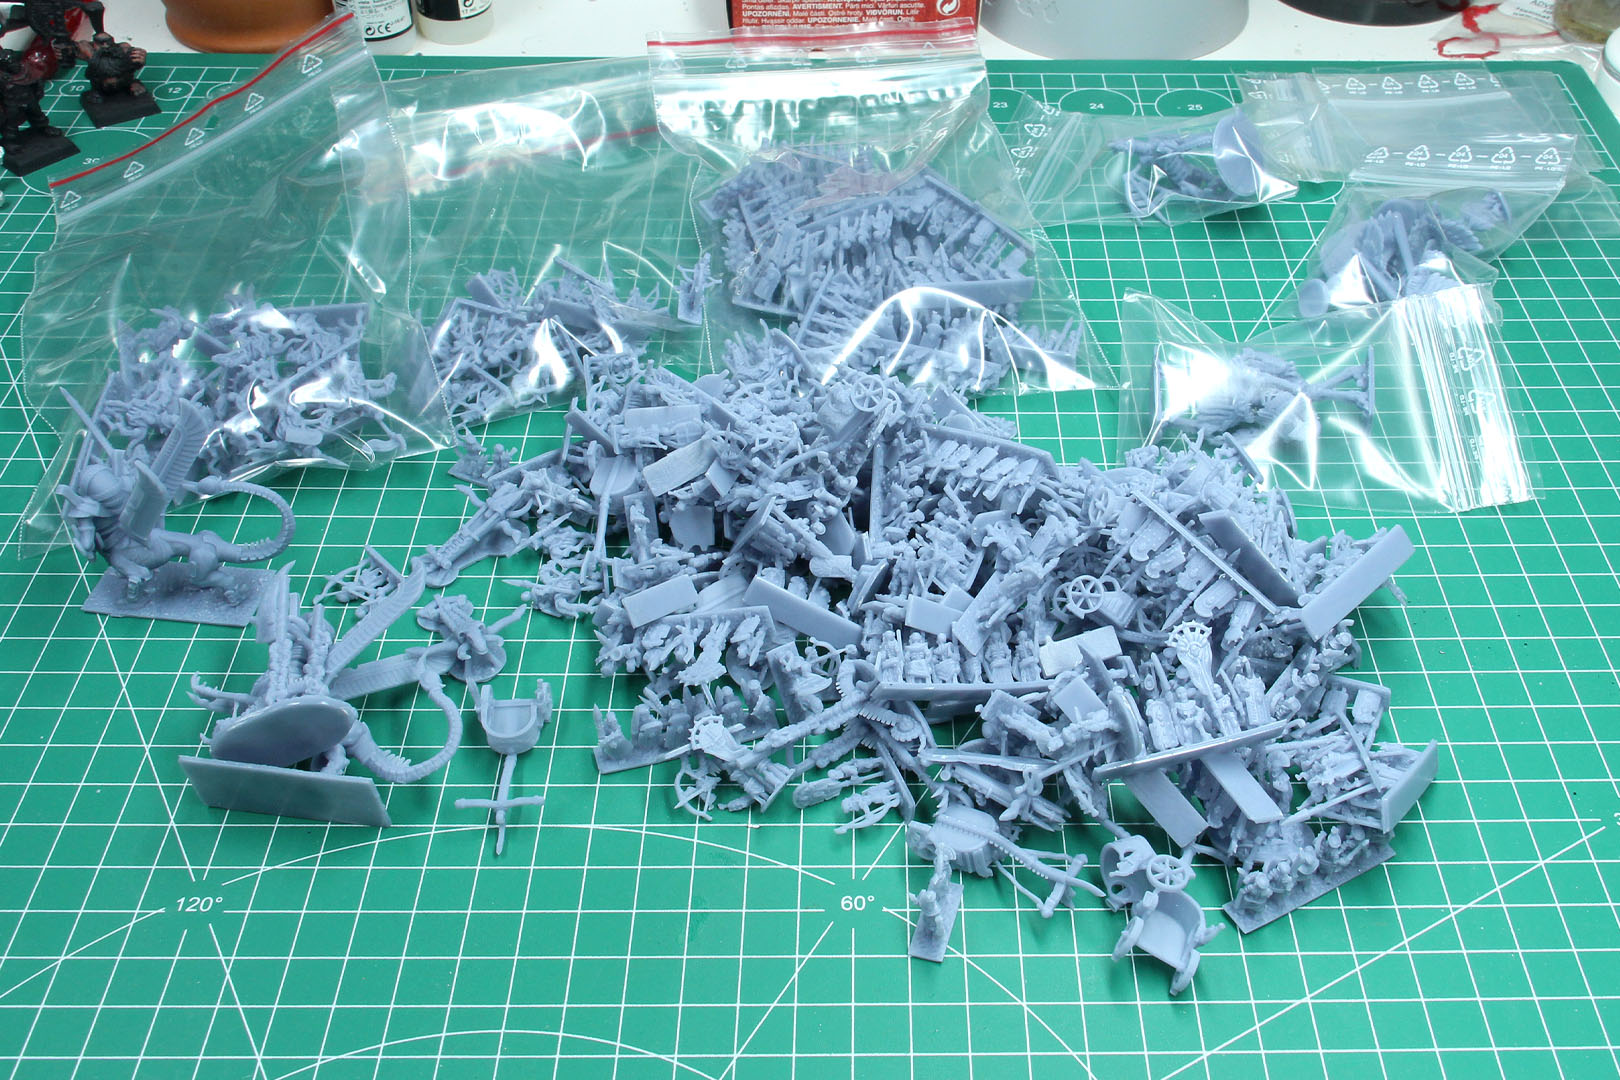
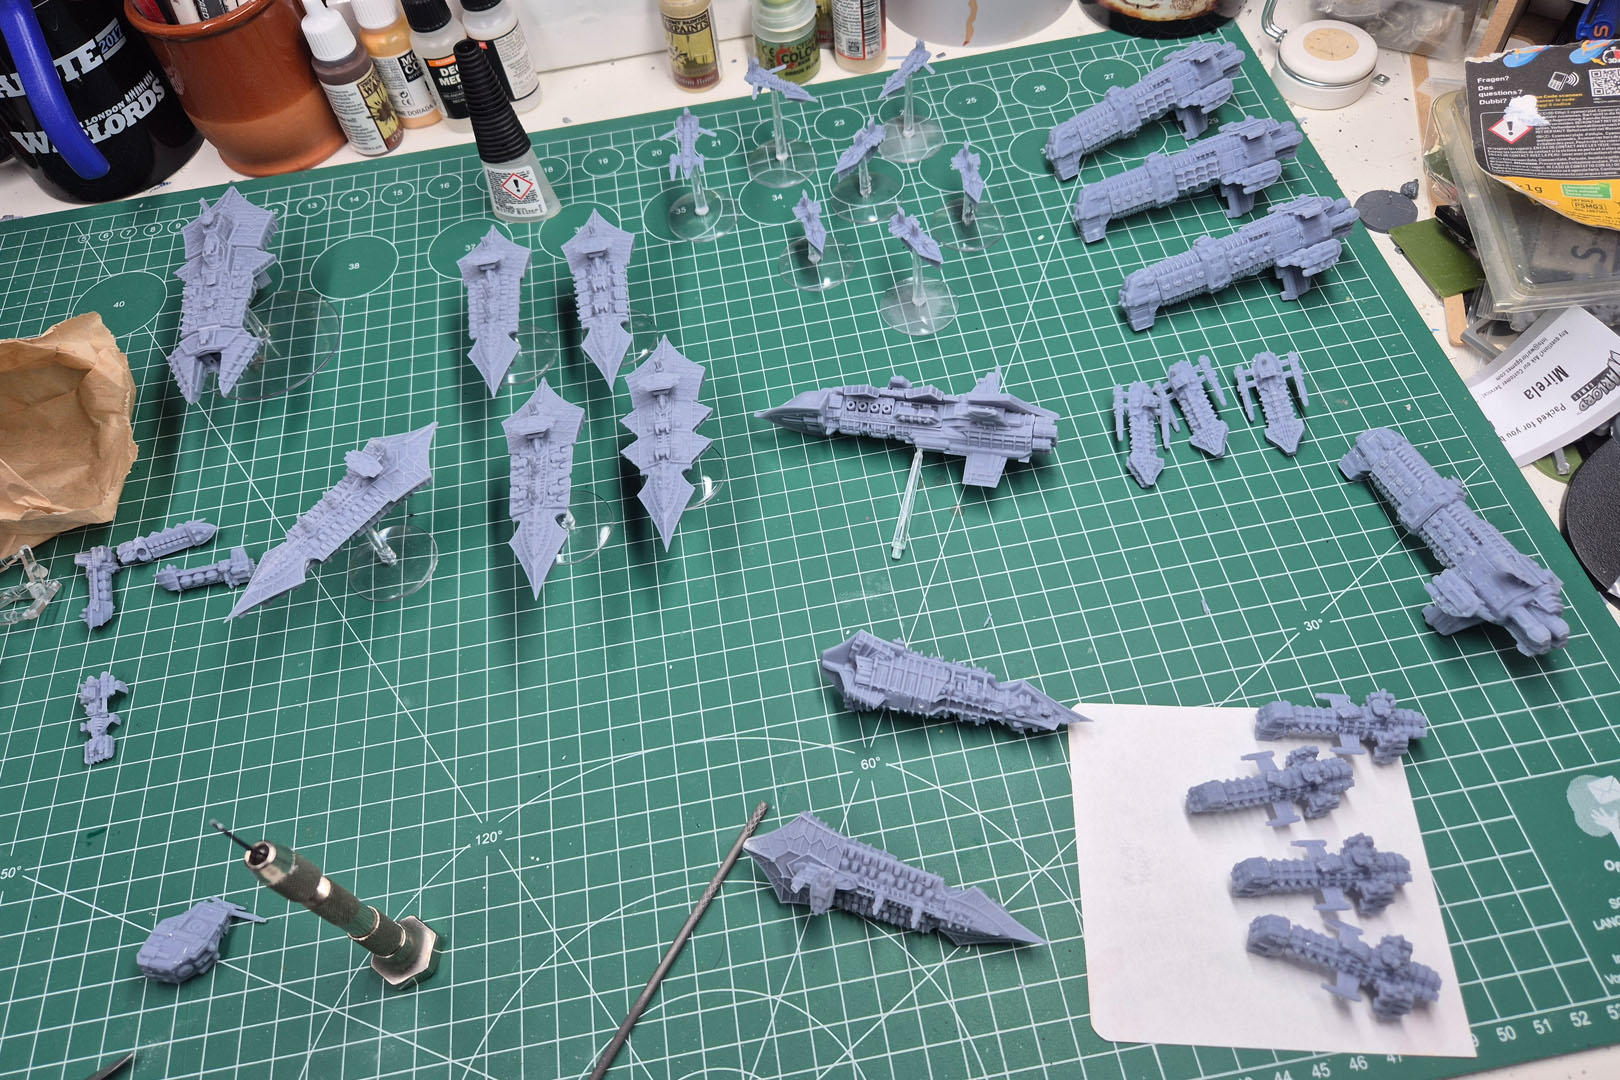
I also printed lots of scatter terrain for various projects: Deth Wizards, Gaslands, Tanks!, Necromunda, Turnip and some larger pieces for Blood Bowl. I also printed two fleets and accessories for Battlefleet Gothic and a lot of miniatures for Star Wars/StarGrave.
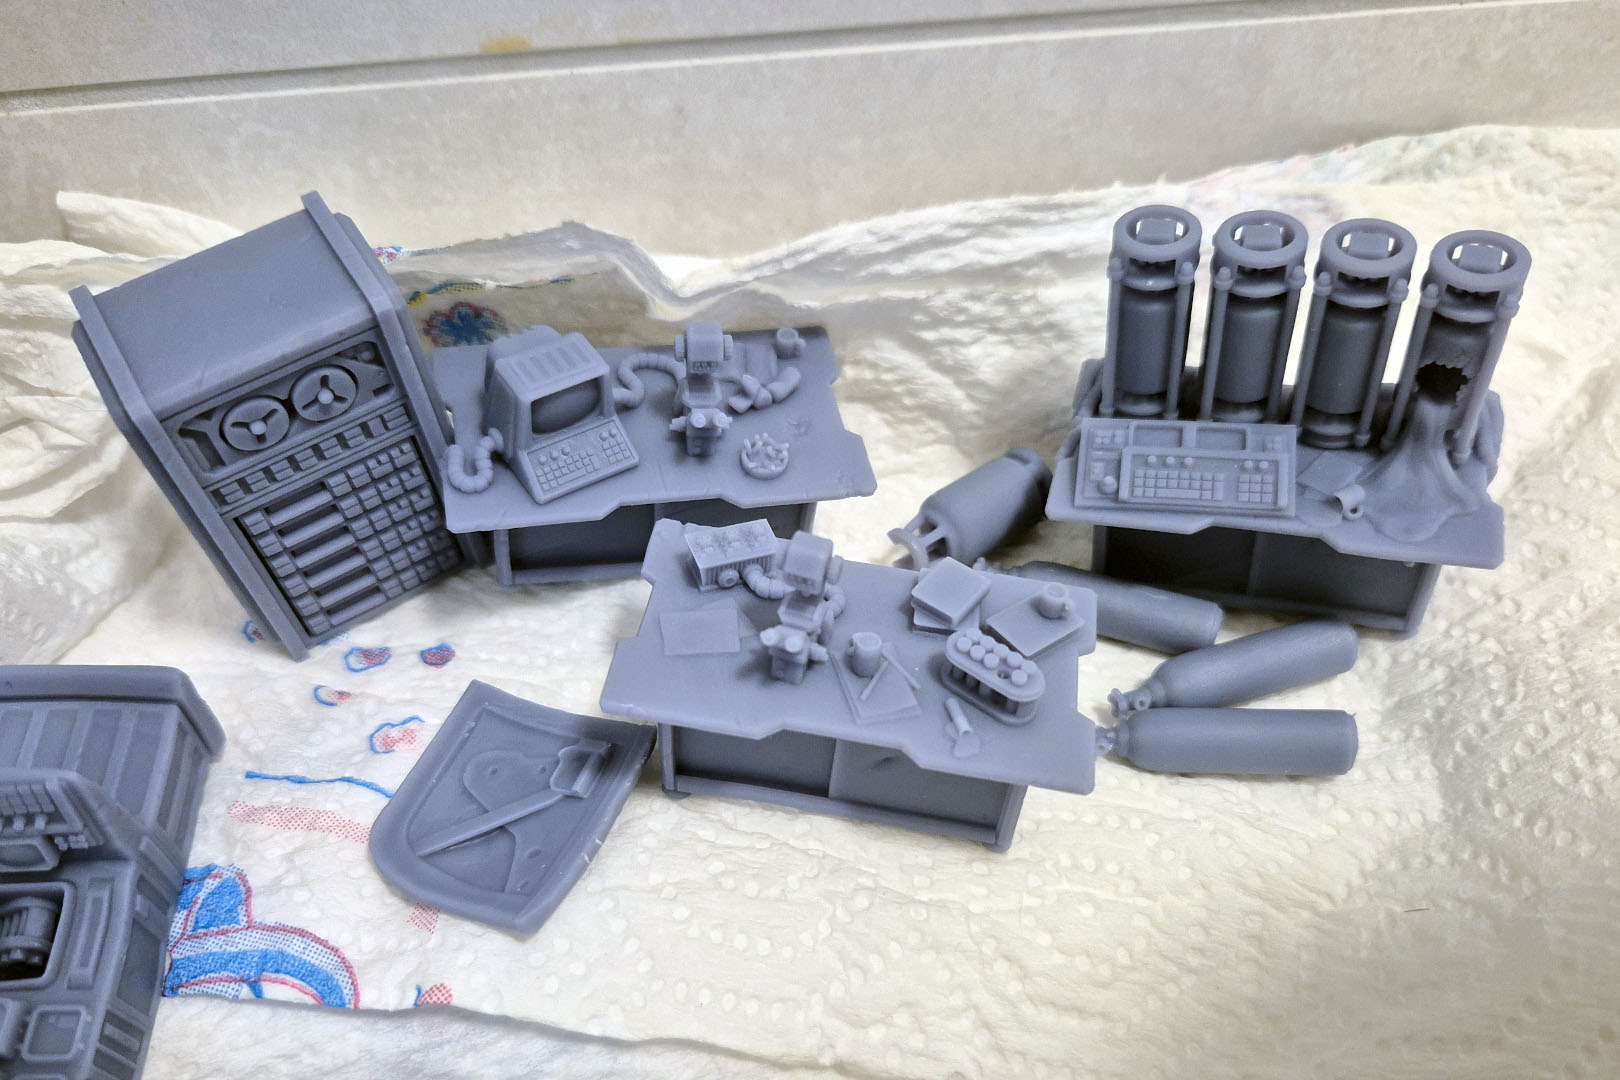
The entire endeavour was well worth it, and I'll surely miss being able to print spare parts and scatter terrain, especially without having to rely on someone doing me a favour.
But what lessons did I learn from this that I'd like to share?
Proper Workspace
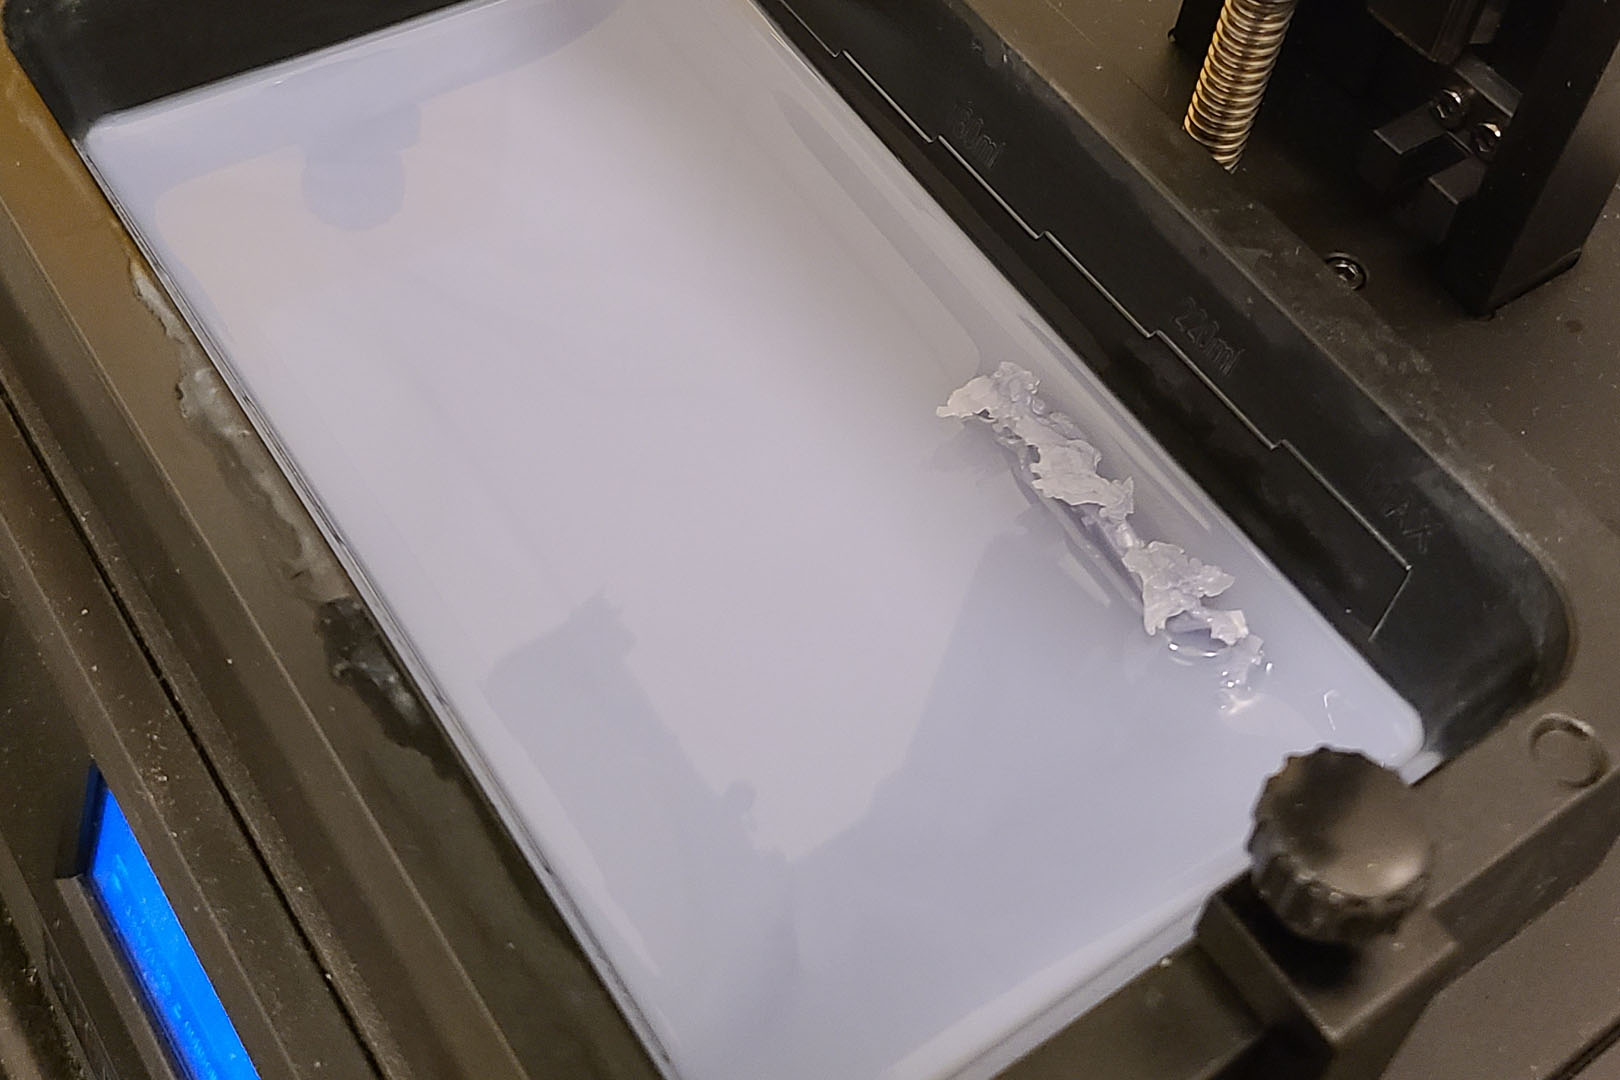
While having a spare bathroom that I could use for 3D printing came in incredibly handy, as it had a lockable door and tiles that made for a good surface in some of the messier situations, the lack of workspace was an issue. Make sure you have at least 40 x 60 cm of space for post-processing your prints. Ideally, this should have a raised edge to contain any spillage. A tray or a silicone mat might come in handy.
Two-Step Cleaning
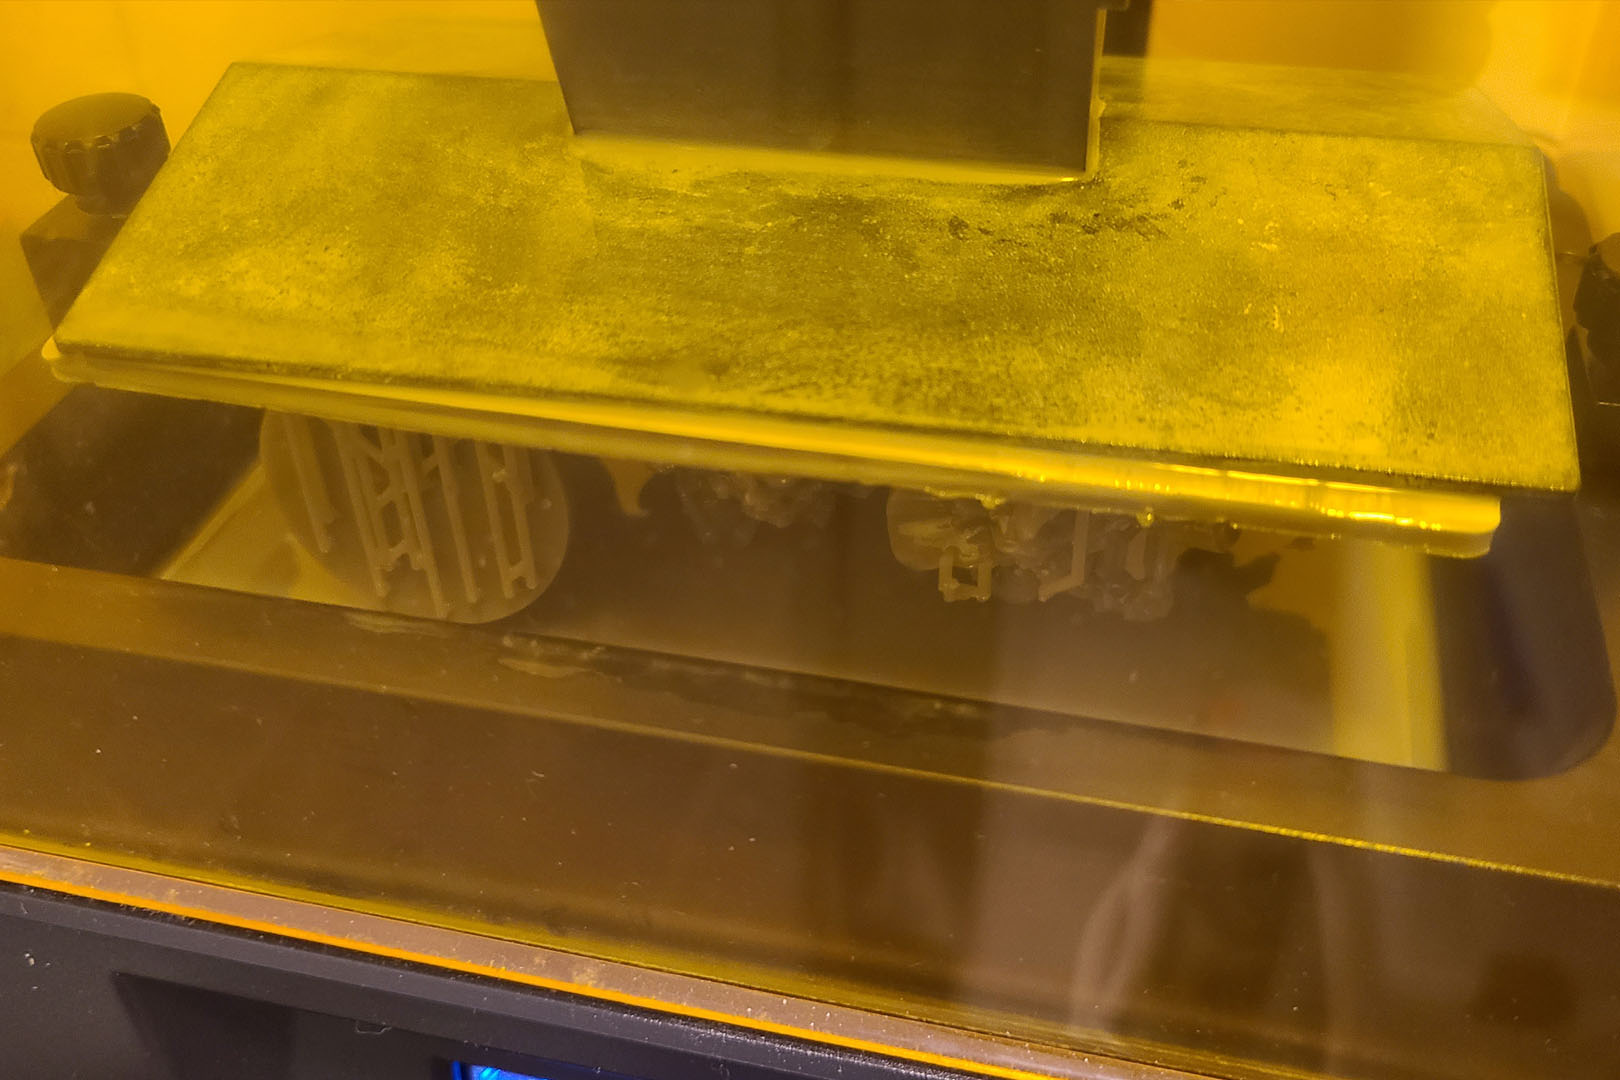
Rather than moving the prints directly from the printer to the wash station, I added an intermediate step. I pre-dip the build plate with the 3D print in a small container of IPA and shake it for a while. This removes most of the uncured resin and keeps the IPA in the wash station cleaner for a much longer time. The container is also easier to clean than the Wash & Cure station as you can simply place it in the sun and filter the used IPA for reuse.
Take the time to check your files
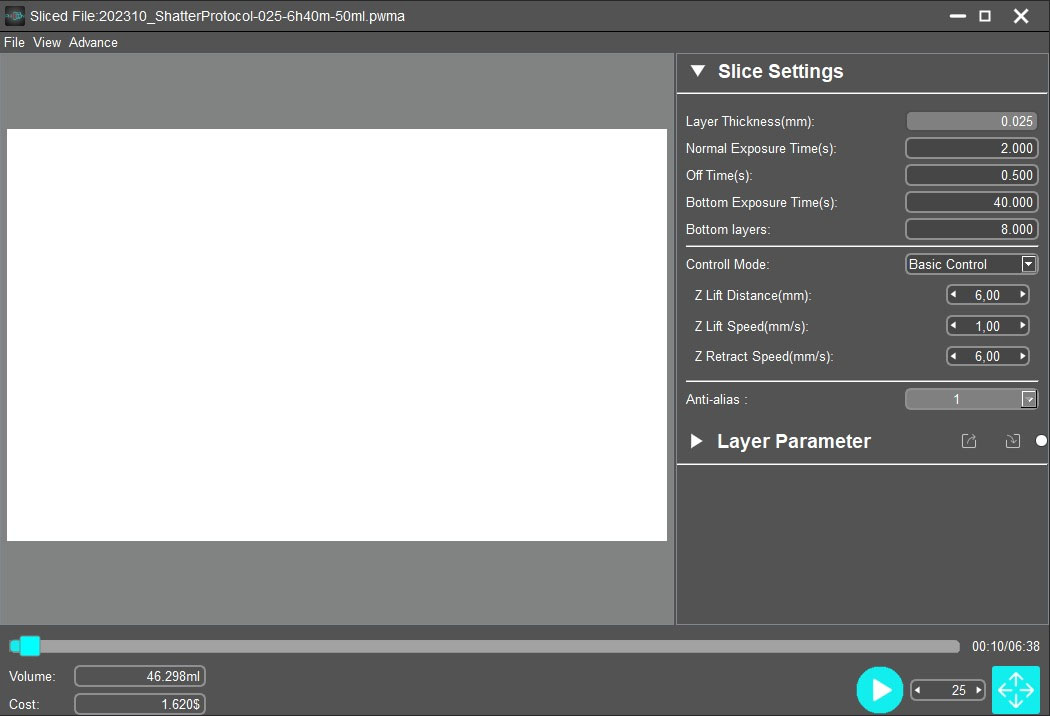
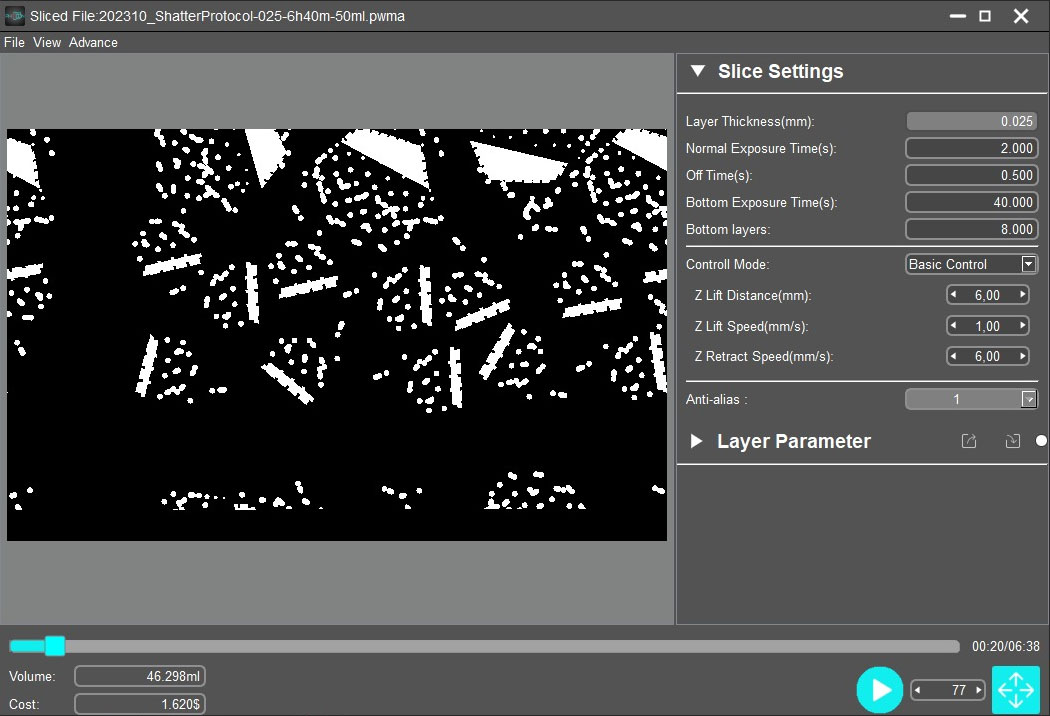
There are multiple things to check. Meshmixer can check for errors in STLs that Photon Workshop or Chitubox won't show you. The fewer errors you find, the fewer problems you will have when printing. The same goes for supported files. I know my printer best and feel more comfortable adding my own supports with Chitubox. When in doubt, I add a few more, as the 'wasted' resin is less of a problem than a failed print. Even after slicing, I check the PWMA file to ensure the bottom layers connect to the print plate and that there are no errors or missing parts, such as islands.
If you experience a print error, check the sliced file on your USB drive. It may have been damaged while copying. This only takes a few minutes and avoids wasting a print that could take multiple hours.
What's next?
If I had the chance to set up the 3D printer again, I would. The only reason I no longer use it isn't the cost, but simply that the room has been returned to its original purpose as the children's bathroom. While they were younger, they used our en-suite bathroom, but now they're at school it makes sense for them to use their own, so I've cleaned up the room and removed the 3D printing gear. Using a bathroom, as mentioned above, came in incredibly handy. While you have more flexibility nowadays with FEP heaters, tents and other additional equipment for setting up your printer, none of these are currently feasible solutions for me. However, as it's not very time-consuming or costly, I'd get back to it as soon as possible.
I'm still amazed by the quality of my entry-level setup. I went to Formnext, a leading additive manufacturing event, where I saw the cost of proper printers (some of which were used for masters). It's impressive to see how low the prices have fallen in just a few years, and the same goes for the increase in print quality. Yes, printing steps can still be an issue, but with 4K printers and a little knowledge, you can minimise them considerably. That being said, I didn't opt for the high-end 60–80 euro-per-litre resin, nor the 8K or fast resin, as I didn't see the need for that. Time isn't an issue for me, so paying triple the price for resin just to save a bit of time on printing wasn't appealing. Besides, you end up with some rather expensive misprints, supports and rejects if you do that. If I got back to printing, I would probably add some flex resin to my mixture and maybe go for something slightly bigger than the Mono, as I had issues with some mid-sized scatter terrain not fitting on my plate or requiring many more plates, which would have been much less work if I had had a few square centimetres more surface area. Today, the difference in price between a Mono 4 and a Mono 7 is only about 100 dollars; the price difference was greater when I was looking to buy one.
In terms of return on investment, it was a great choice. The Warmaster armies alone covered the entire cost of the investment, as buying 1,500–2,000 points on eBay would easily cost 200–300 euros, not to mention the cost of all the individual pieces, which would be far higher than the cost of resin, consumables and power. I can also print any single item I need as often as I want, without having to buy multiple sets just for one piece. That is incredibly helpful. Need 50 armour pouches? No problem — put it into the slicer and 2–3 hours later you have everything you need. Base decoration? Shoulder pads? Empty left arms? You name it! It's such an amazing addition to our hobby, especially for conversions or kit bashing.
Would I recommend getting a 3D printer? If you can afford it, absolutely. It's worth checking in advance what you want to print and how large your demand is for it. If you're mostly printing mid-to-large items, such as terrain or vehicles, it might be worth looking into FDM/PLA printing. The new Bambulab A1s are amazing, and the overall customer experience has improved significantly as there is far less DIY involved than a few years ago. However, if you mostly print small items or miniatures, and you have the space to set everything up safely, go for a resin printer.
Enjoy this article?
Like us on Facebook

Follow me on Instagram

Categories
- events (201)
- fantasy (590)
- General (160)
- historical (628)
- Little Big Adventures (4)
- offtopic (5)
- reviews (531)
- science fiction (665)
- showroom (101)
- terrain (114)
- work-in-progress (413)


Leave a Reply