Adeptus Titanicus – House Moritain Ad Arma Pt. II
We're jumping back in time to cover the progress on the miniatures for our Battle for Uulda campaign weekend. In addition to be a bit more flexible with my Legio Astraman, I added a few auxiliary knights from House Moritain.
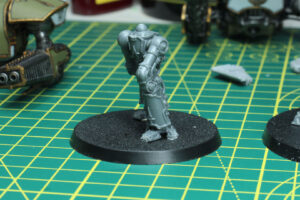
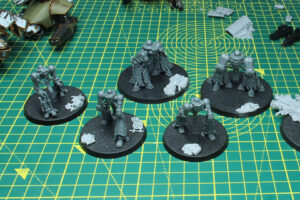
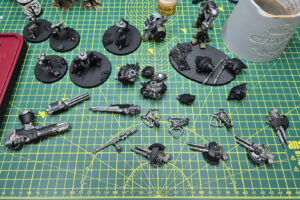
As we would be playing between 1.250 to 2.000 points, in different matches and to cover the different point sizes of in these lists, I added three Cerastus Lancers and two Acastus Knight Porphyrion to the backlog of the current project. As I already put the Lancers on bases, but with thin sheets of plastic between the feet and the base, to not have them sink into the base decoration, I repeated the same thing for the Acastus knights and covered initial base decoration.
Yet, to have a better overview of what needed to be done, I did the same thing as with the bigger titans of Legio Astraman and wrote a to-do list.
Assembly+ Priming of Knights- Paints sorted for Knight Household
- Base decoration for Knights (partially done)
- Decals sorted for Knights
- Base paints
- Washes and Highlights
- Decals applied
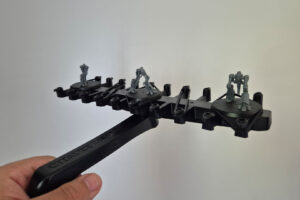
For priming I got myself a new tool, the pretty practical Citadel Spray Stick. I wasn't sure about that thing first, but saw it on Squidmar, and thought especially for the models with the bigger bases this would be quite practical. And it surely is.
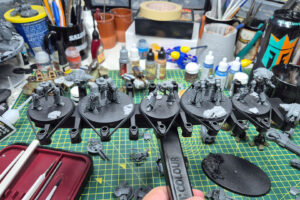
I strapped them in with the rubber bands and gave them a quick black primer. And I have to say, it works really well and I had less work touching up the primed models compared to when I do this in a regular spray booth (aka larger cardboard box)
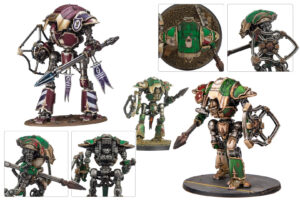
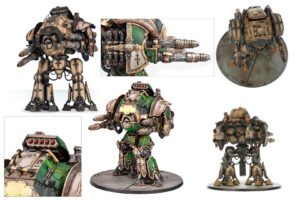
As I am not familiar with these models and didn't paint them "full scale", I build a collage for orientation. Which panels are usually kept in heraldic colours, where does the armour and trim go etc. and did this for the Cerastus and Acastus. I put these on a tablet or on my phone, so I have them within reach and can zoom in, if I need to.
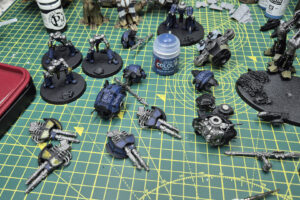
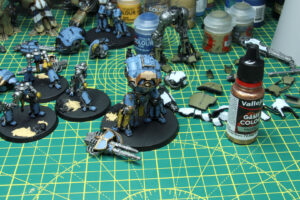
The knights were painted from the inside out, so I began with a base layer of Army Painter Gun Metal.
As I wanted to a retro Space Wolves look on theese, I began blocking in the base colours on the armour panels in Citadel Base Kantor Blue and Averland Sunset, with a second layer of a lighter colour, Army Painter Wolf Gray and Vallejo Sun Yellow. All the Trim was done with Vallejo Brassy Brass. With the details like banners trim in Vallejo Dragon Red and cables in Citadel Deathworld Forest.
I really liked how everything came together, bit by bit and how I came close to the the intended look.
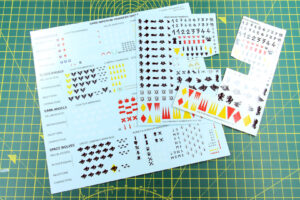
The decals for the knights would use the fitting space wolves insignia, for that I had multiple older and more recent decal sheets at hand. And as these were plenty, they would surely be enough for the few knights.
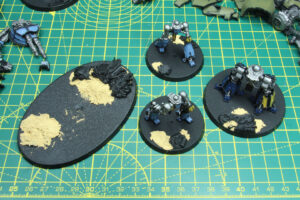
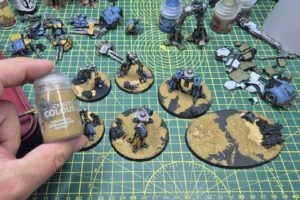
With the base colours mostly blocked in, I began starting with the bases. The base structure was done with Vallejo Desert Sand, it is a coarse texture paint, but mine is coming to an end and is partially dried up. Afterwars I added a coat of Armageddon Dunes and Armageddon Dust. You can sprinkle in some fine sand for further texture. If there are spots, that are not properly covered, you can even them out with P3 Gun Corps Brown, which is the same colour as the dried finish.
This was a good progress so far, and we were able to cross off some points from our to-do list.
Assembly + Priming of KnightsPaints sorted for Knight HouseholdBase decoration for KnightsDecals sorted for KnightsBase paints- Washes and Highlights
- Decals applied
Waiting for the bases to be fully dried to continue with the next steps, is a good break for now.





Leave a Reply