Legions Imperialis – Reaver Titan with Graviton Obliterator and Volkite Annihilator
This new Reaver Titan with Graviton Obliterator and Volkite Annihilator is the third boxed variant of a Reaver Titan, after the Reaver Titan with Gatling Blaster, Laser Blaster, Power Fist and Carapace Apocalypse Missile Launcher, and the Reaver Titan with Melta Cannon, Chainfist and Carapace Turbolaser Destructor.
With this box, we conclude our brief series on the latest releases for Legions Imperialis and Adeptus Titanicus, thanks again to our sponsor Radaddel.
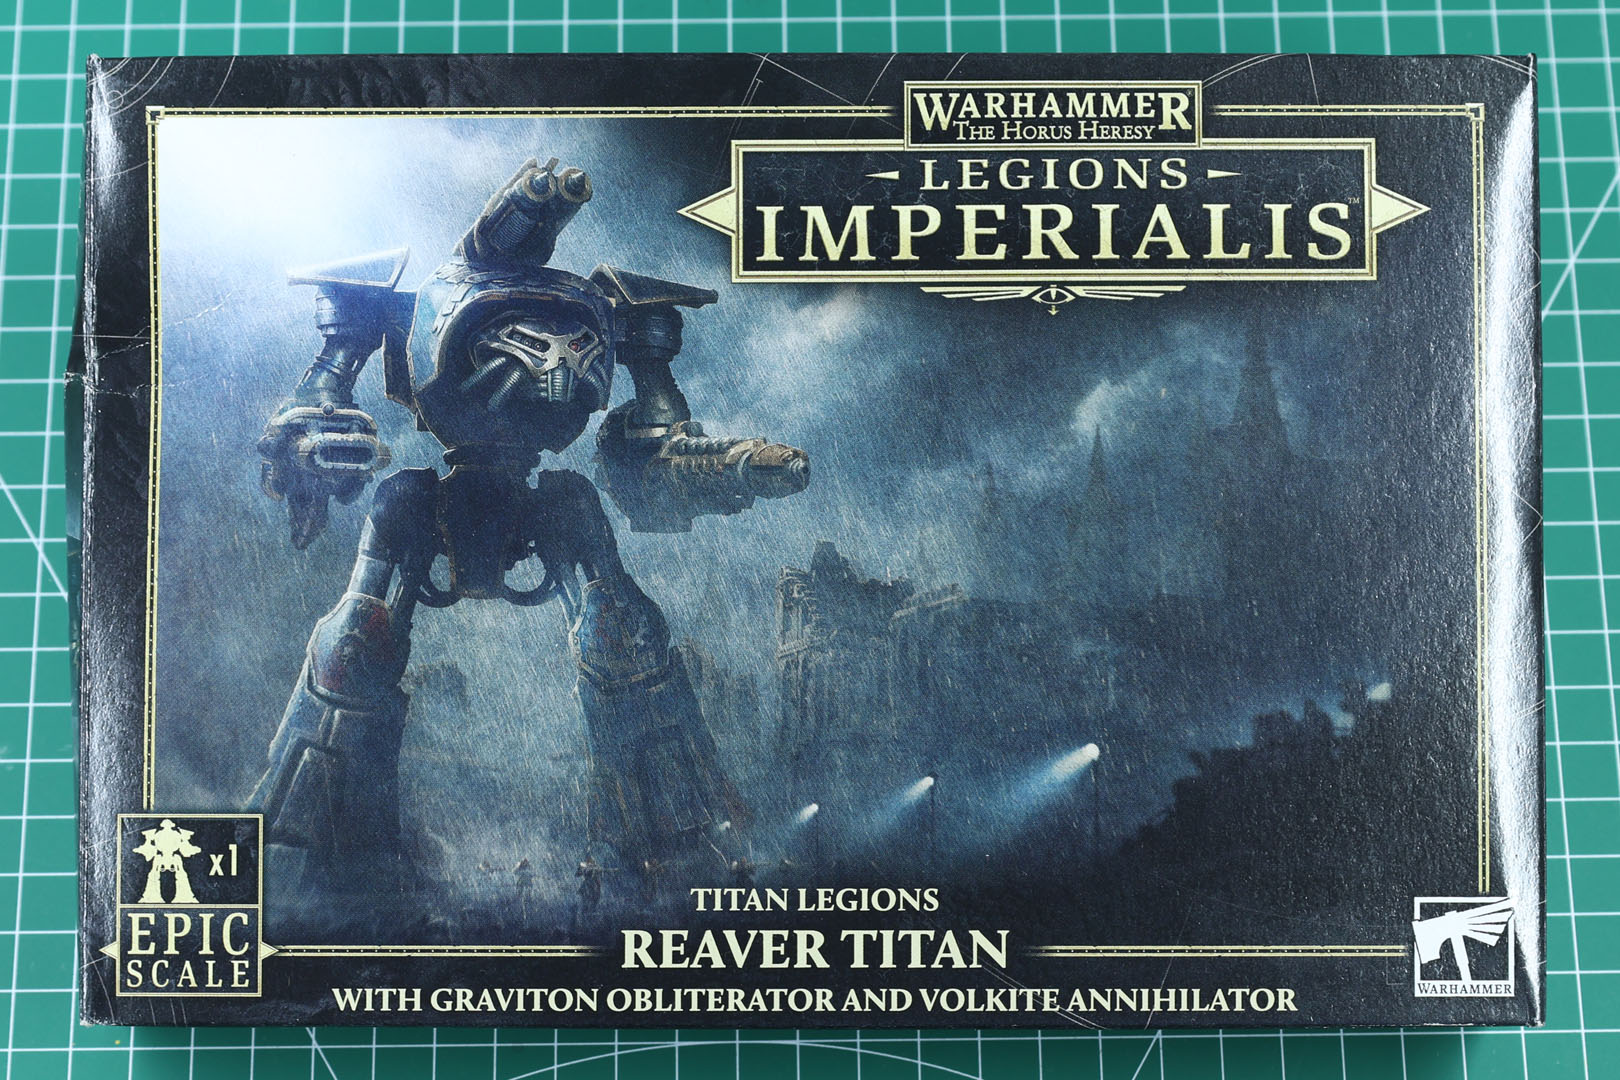
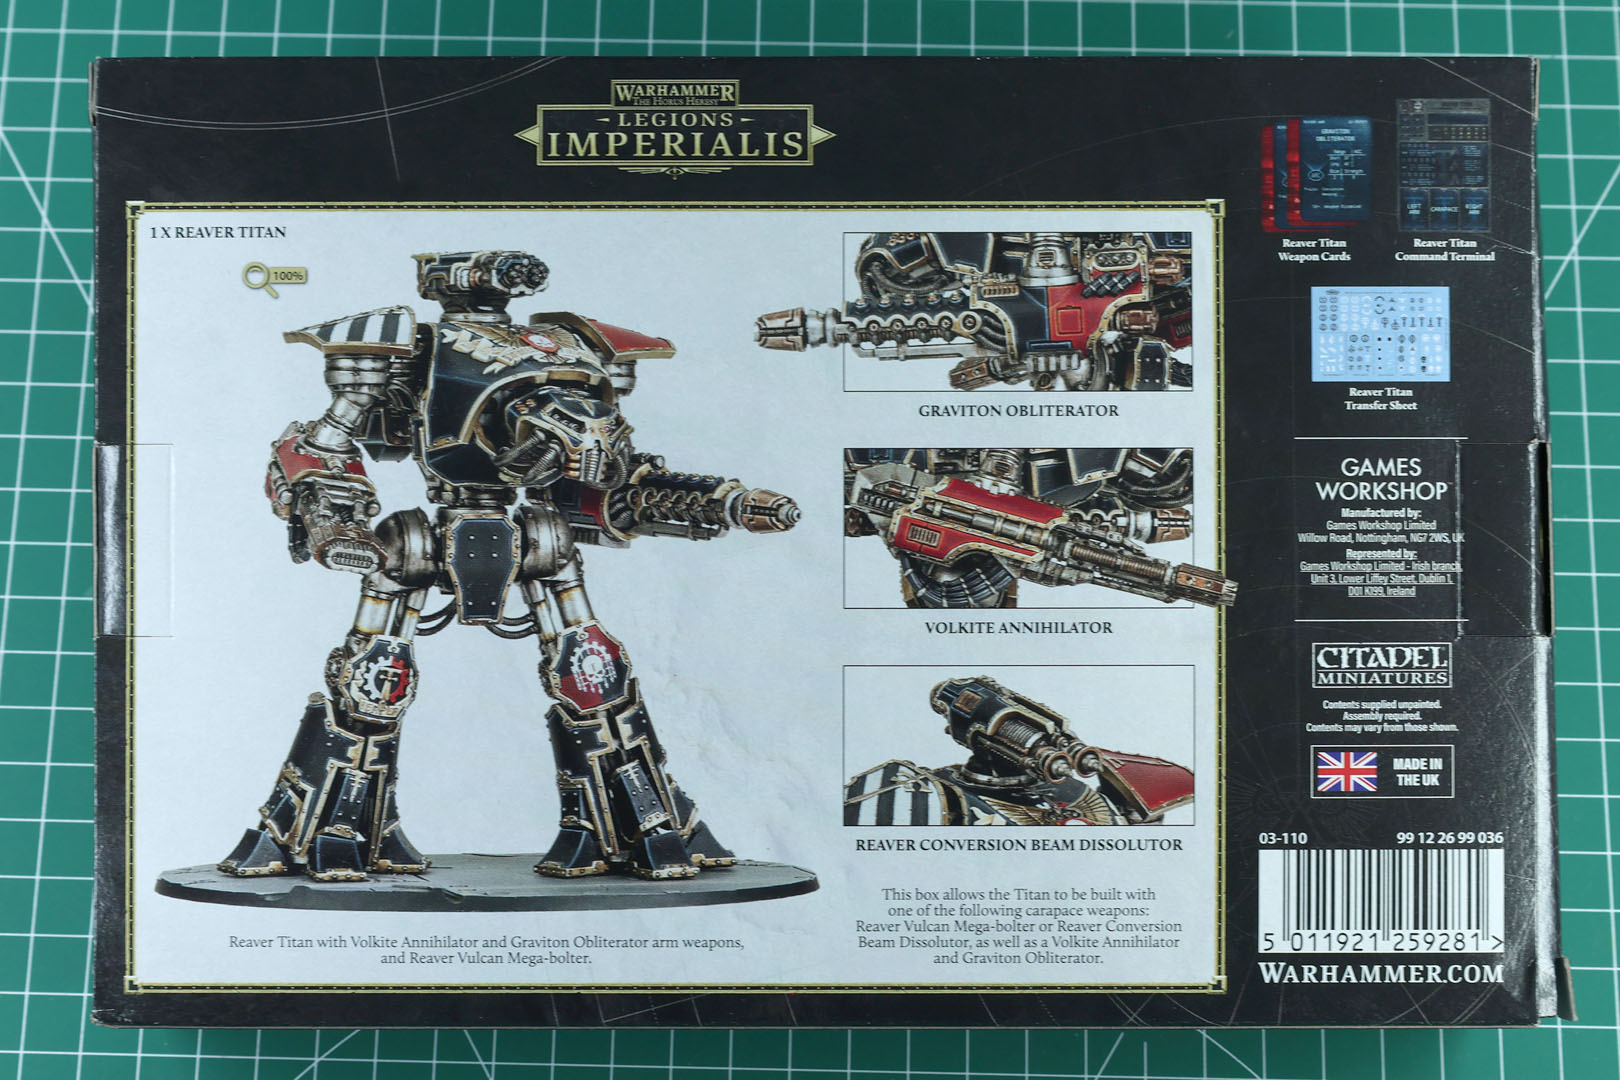
Just like the two other kits, the pre-order for the Reaver was opened on July 18th, with public release on August 1st. The new options in plastic are either available as a full kit for 51,50 EUR or just the Mail Order exclusive sprue for 23 EUR.
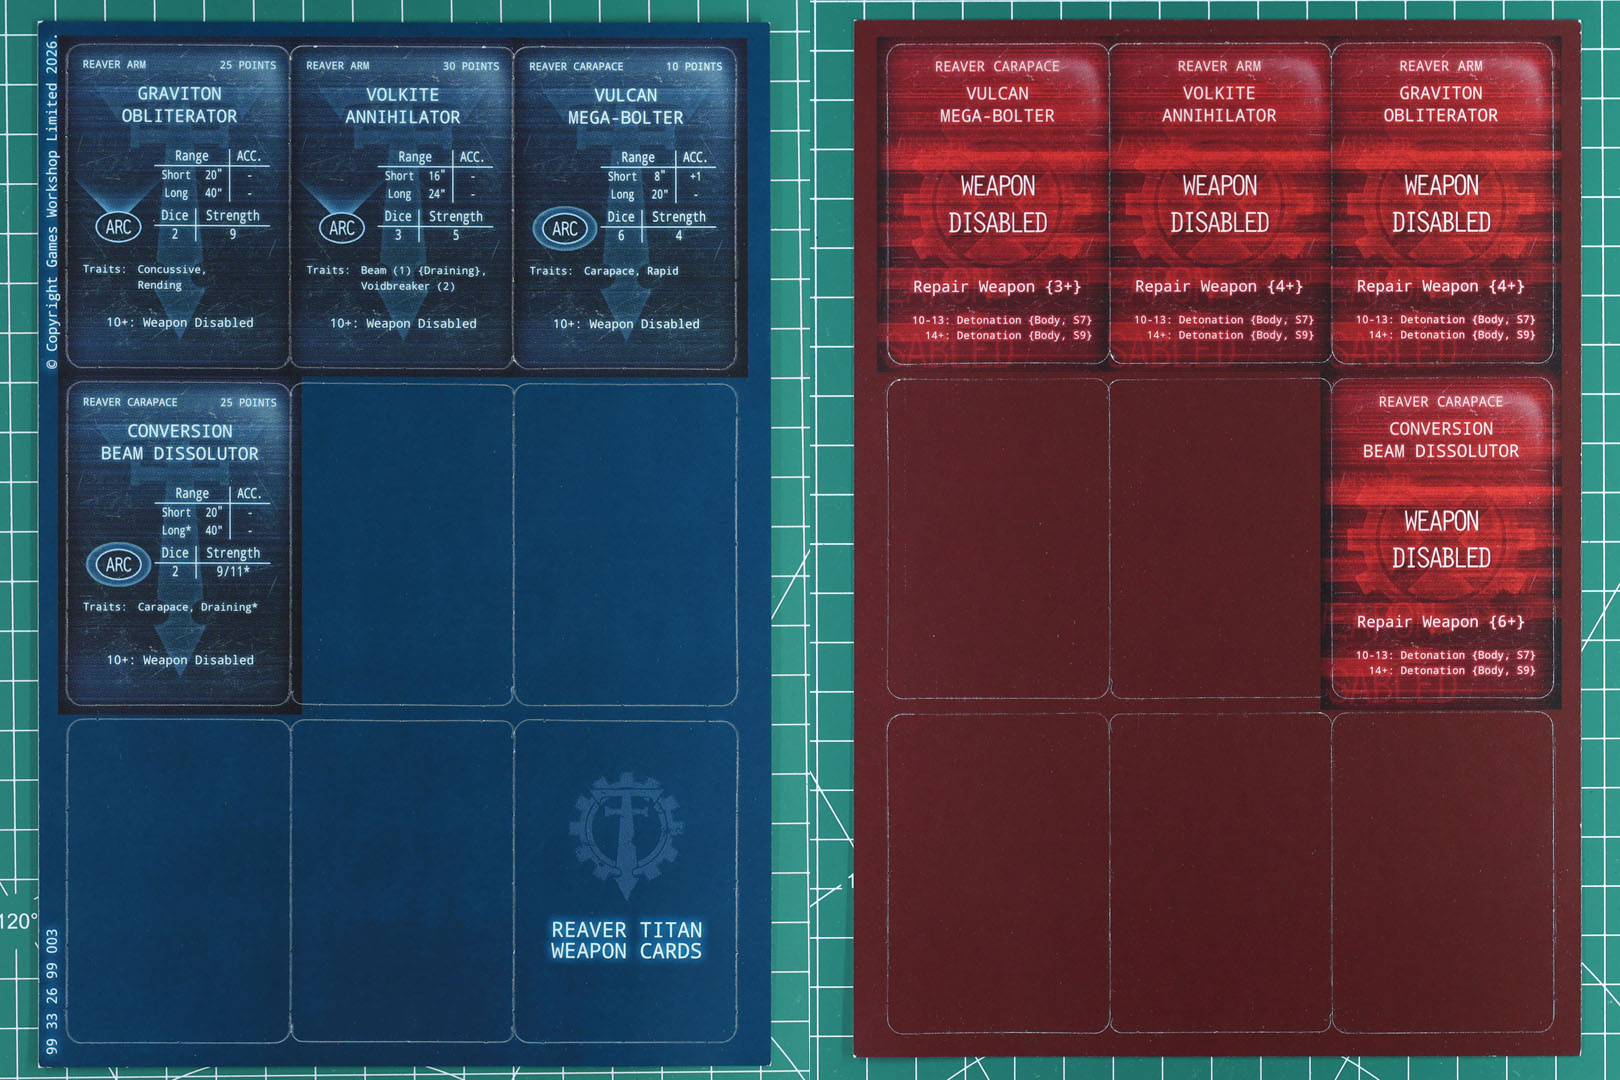
The boxed set provides everything you need to use the Reaver Titan in Adeptus Titanicus right inside the box: a Command Terminal plus Weapon cards covering the included armament. The sprue-only upgrade only covers the plastic and nothing else. The rules for using it in Legions Imperialis are covered in the core rulebook (p. 214) and the Liber Strategia (p. 162) rather than in the box.
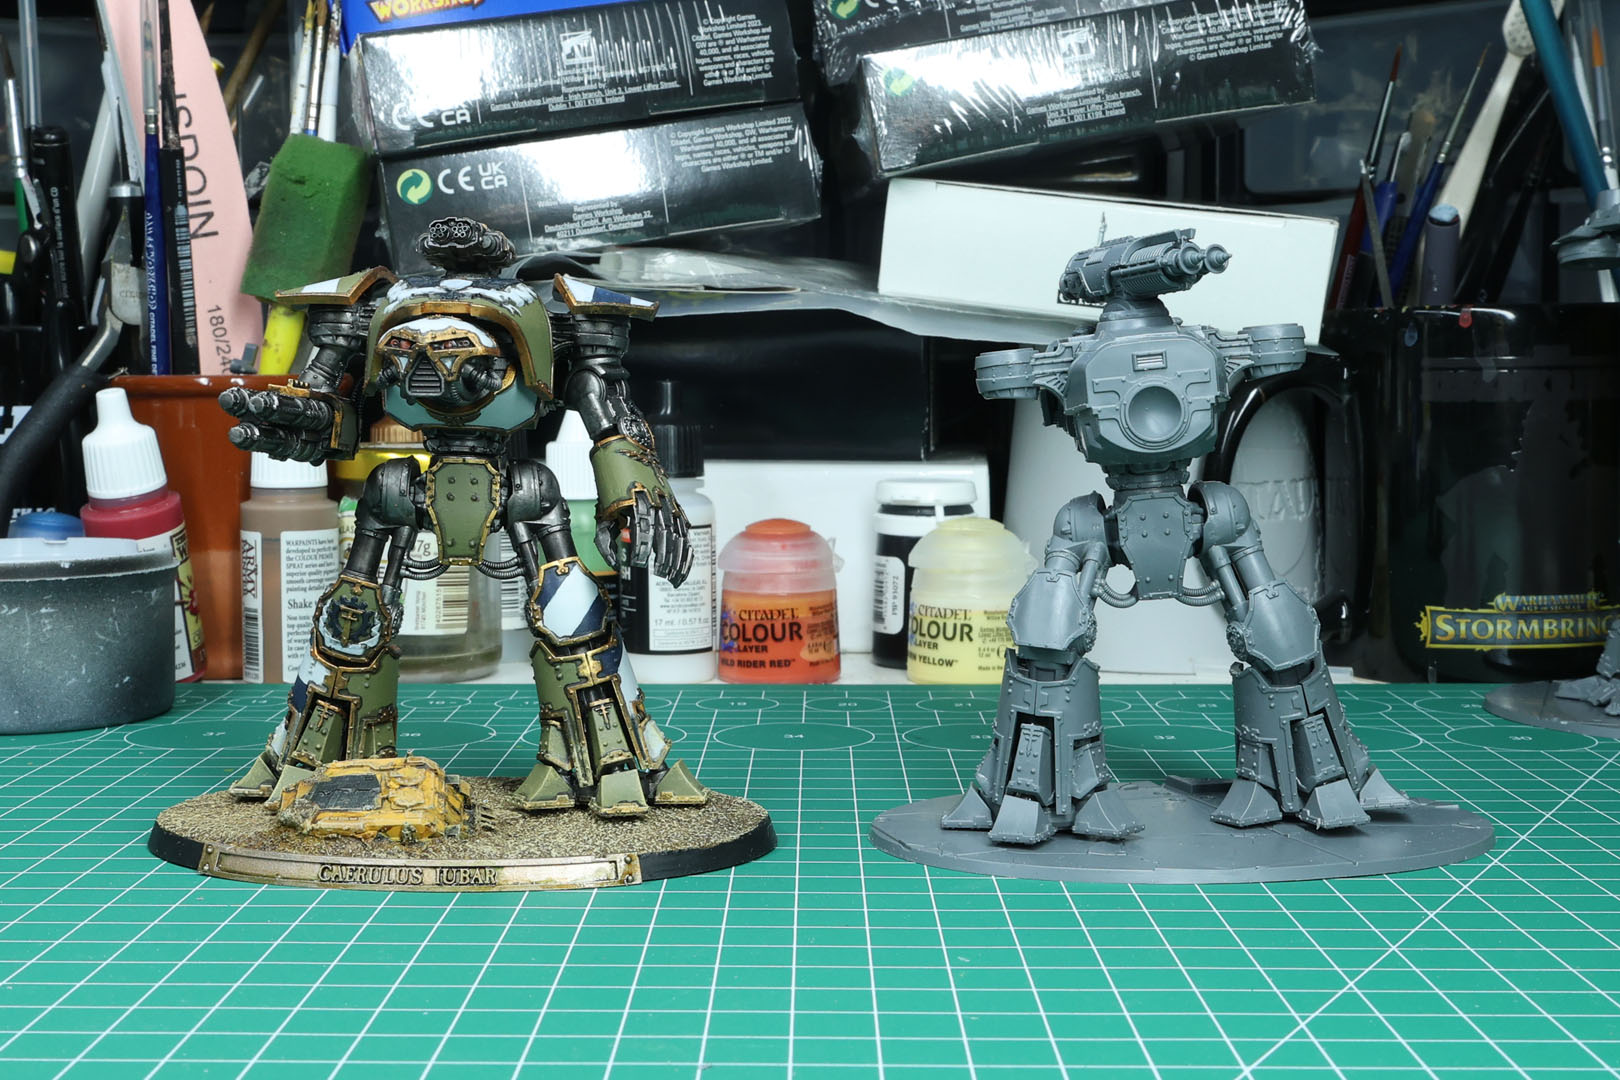
Unfortunately, the Reaver suffers from the same issue as other products in the AT/LI/AI ranges: digitally enhanced box art, showing the larger 28mm scale model with more detail and a partially different design than the actual product included in this set.
To give you a brief introduction to the Reaver Battle Titan: it counts as a medium class battle titan, almost twice as tall as a Warhound but still a lot leaner and smaller than a Warlord. Similar to the Warhound and Warlord, the Reaver has different production patterns, but more dominantly different Marks of its design. The design of the Reaver has been quite consistent over time and did not change that much over the decades. It "just" got more modern with better proportions. A Lucius Pattern was produced by Forge World for Epic 40k in the late 90s, but that is a relatively unknown fact. It is more commonly known for the different Marks of the Mars Pattern. I went into further detail in an older article on the blog, showing the Armorcast titans for 40k as well.
As medium battle titans, Reavers are typically deployed to support conventional forces in a shock or assault role, using the flexibility of the war engine to the maximum. Besides its taller size, the Reaver benefits from an additional weapon mount on top of the carapace, often used for a missile launcher. The design seen here is classified as a Mars Pattern from the Late Great Crusade era.
A Reaver is commanded by a Princeps and between 2 to 5 Moderati (Primus, Steersman, Navigator, Sensorius, Oratorius), along with an extended crew of multiple servitors and other supporting crew.
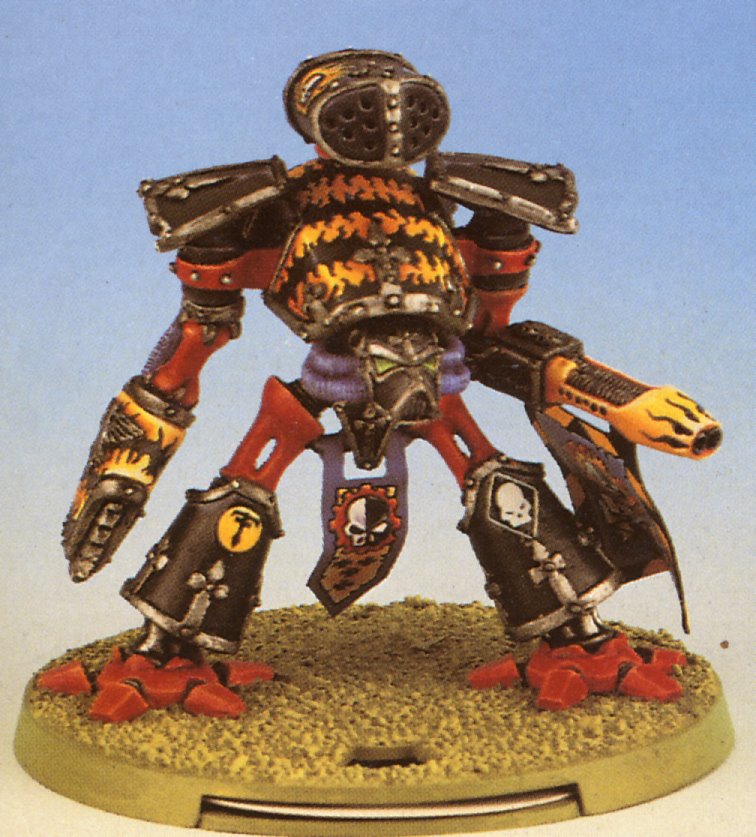
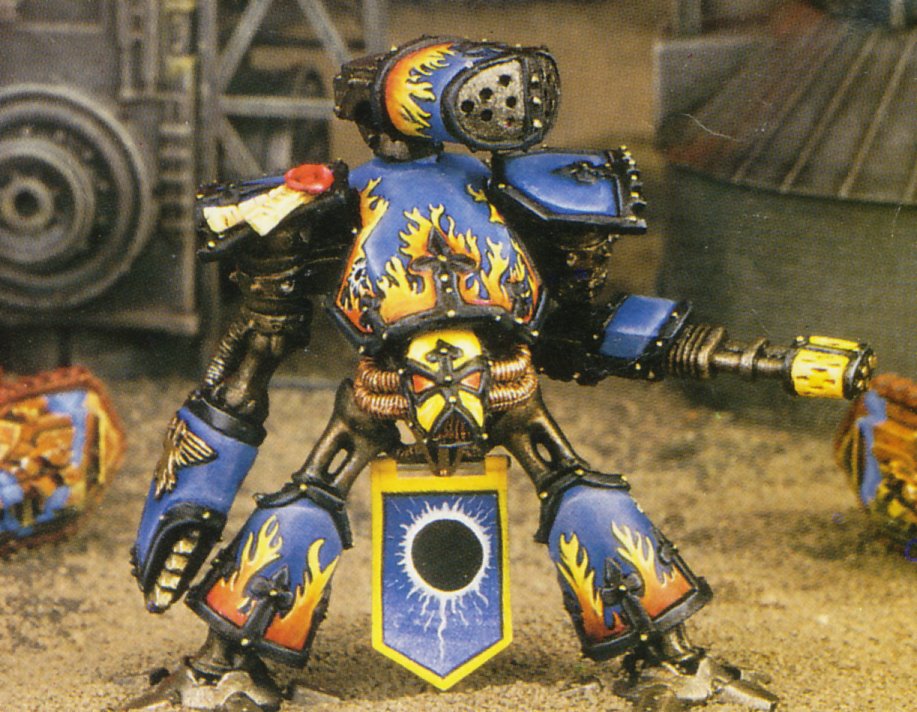
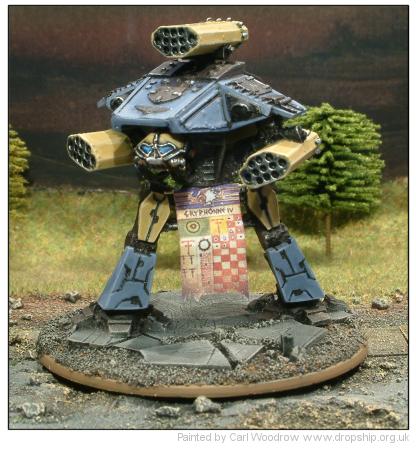
The medium battle titan benefits from a flexible and wide armoury. As of now, the following load outs are available in plastic:
- Reaver Titan with Gatling Blaster, Laser Blaster, Power Fist, and Carapace Apocalypse Missile Launcher
- Reaver Titan with Melta Cannon, Chainfist, Volcano Cannon, and Carapace Turbolaser Destructor
- Reaver Titan with Graviton Obliterator and Volkite Annihilator, and Carapace Vulkan-Mega Bolter and Conversion Beam Dissolutor
With this third boxed set, two options for the carapace were moved from resin to plastic (Vulkan Mega Bolter and Conversion Beam Dissolutor). The other two options, Graviton Obliterator and Volkite Annihilator, made the same transition from resin to plastic, but additionally moved from a carapace mount (former Graviton Destructor and Volkite Eradicator) to an arm option. The only weapon option not available as of now is the Carapace Warp Missile Rack.
Each of the Reaver kits costs 51,50 EUR and contains three sprues per box (two shared body sprues plus a third dedicated to the weapon options listed above) along with an oval base, decal sheet, and a Command Terminal with weapon cards.
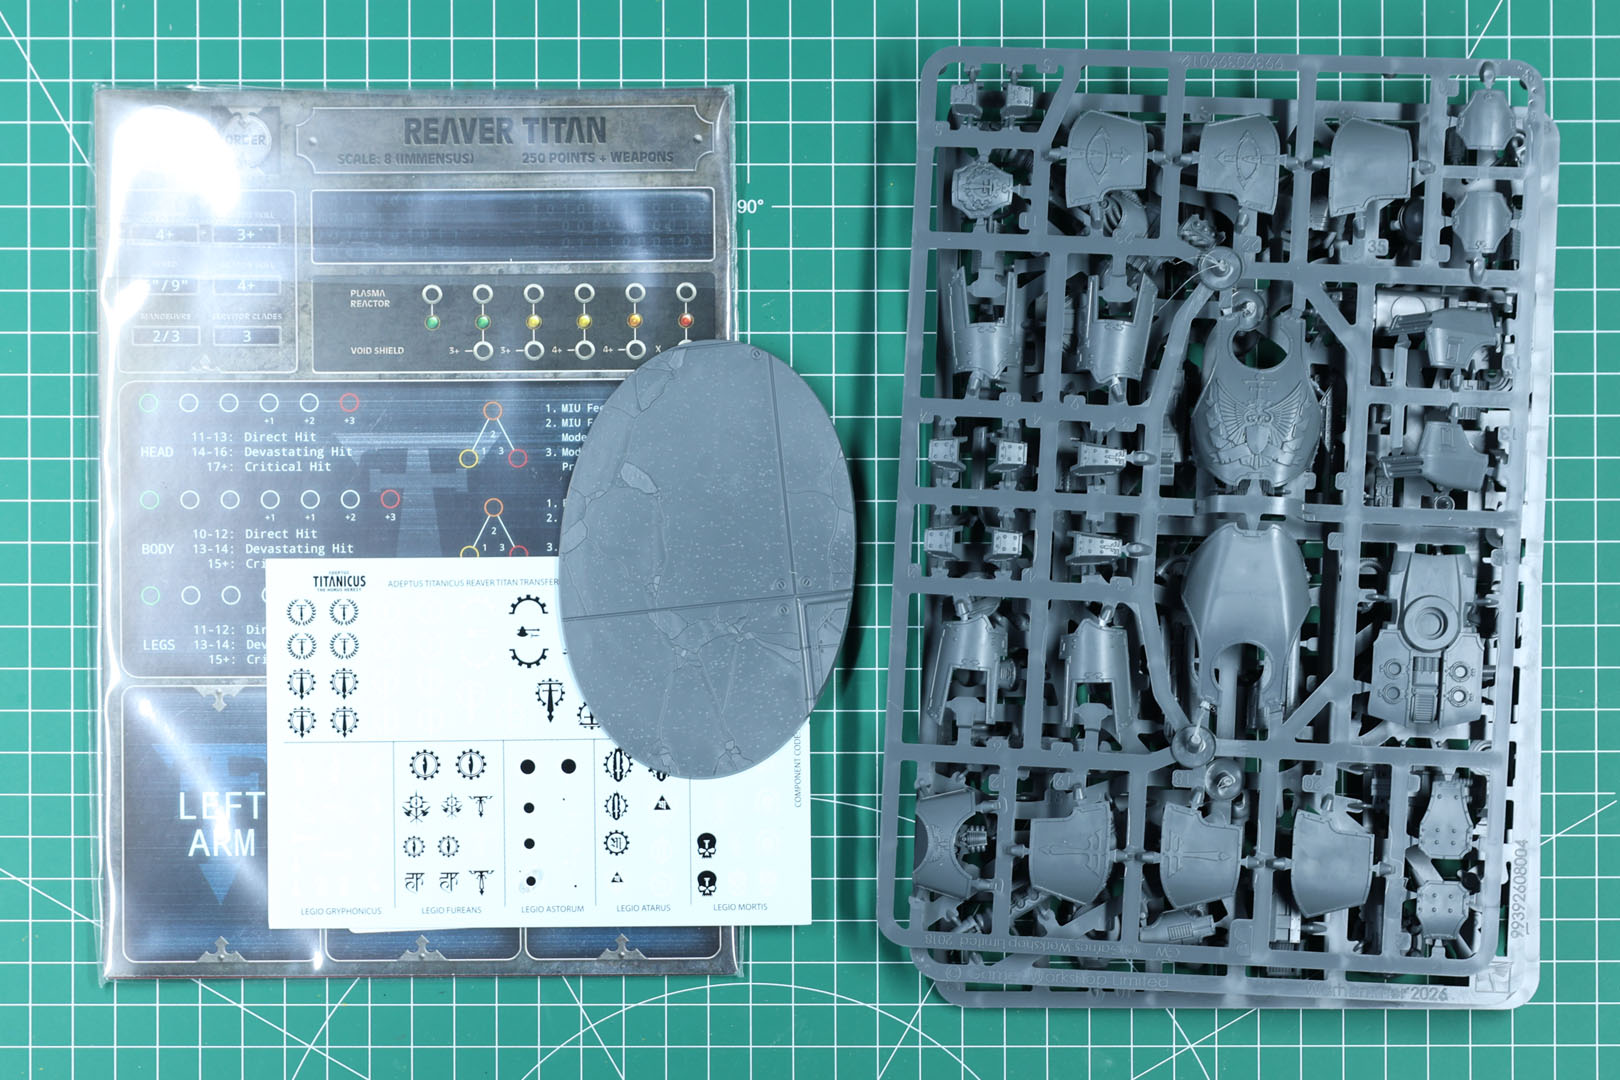
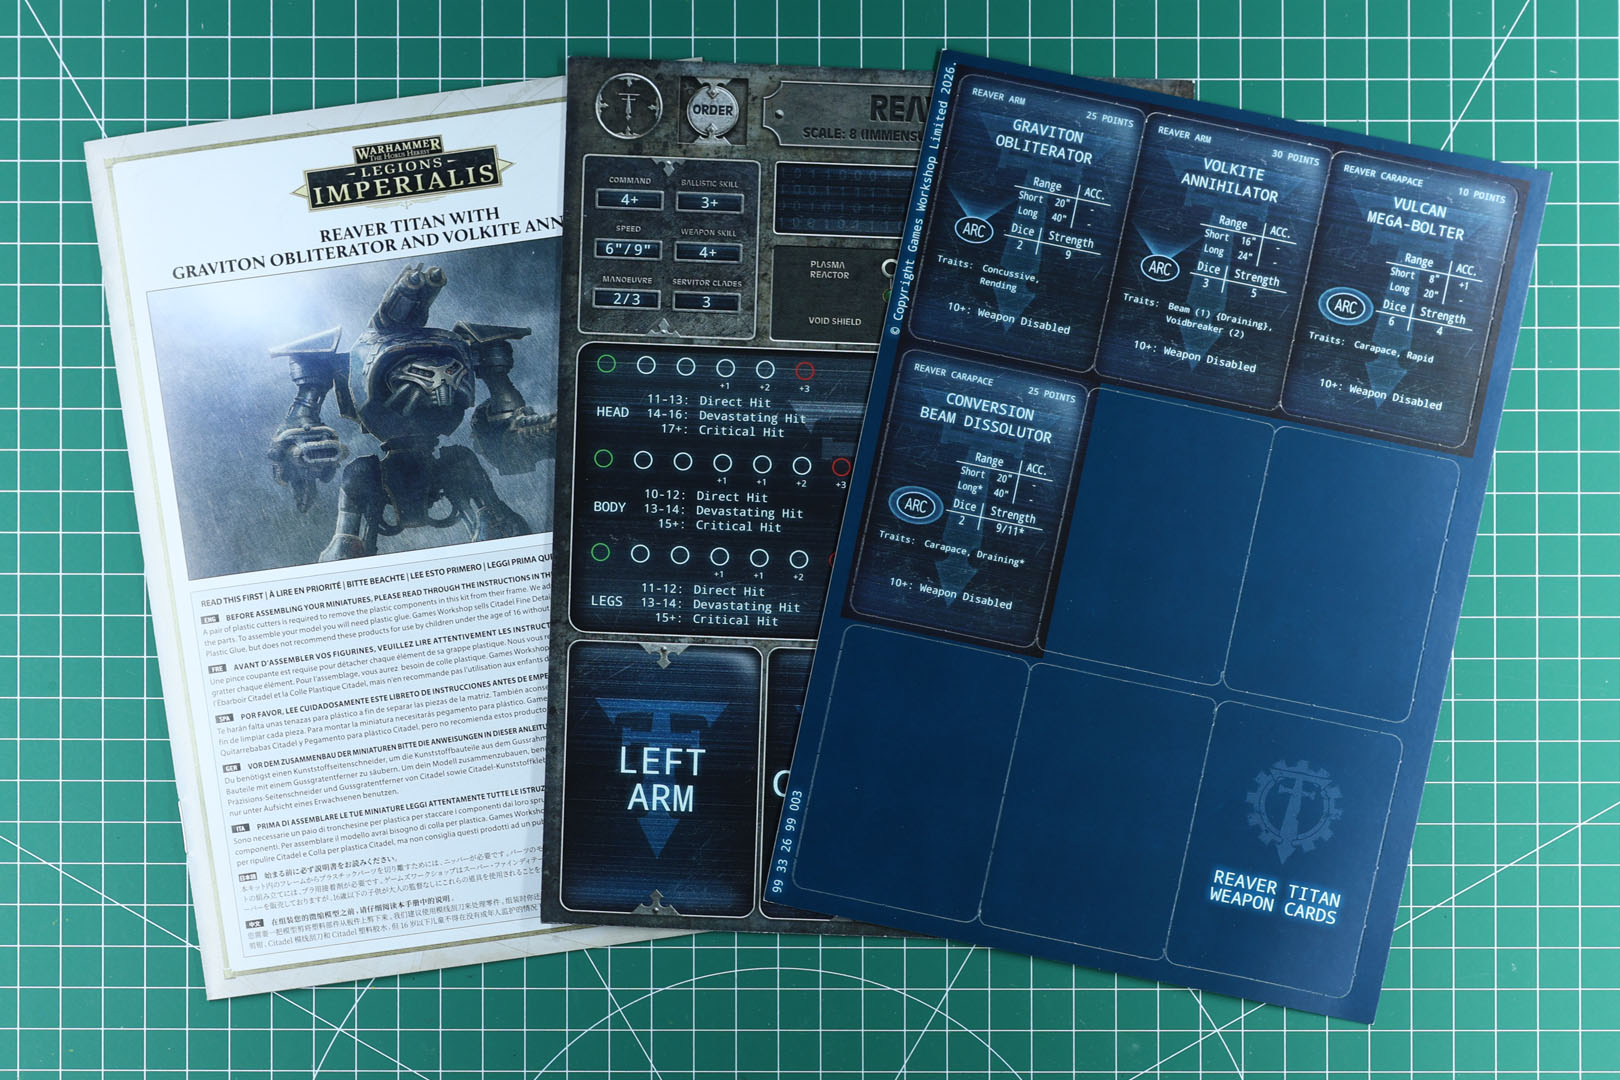
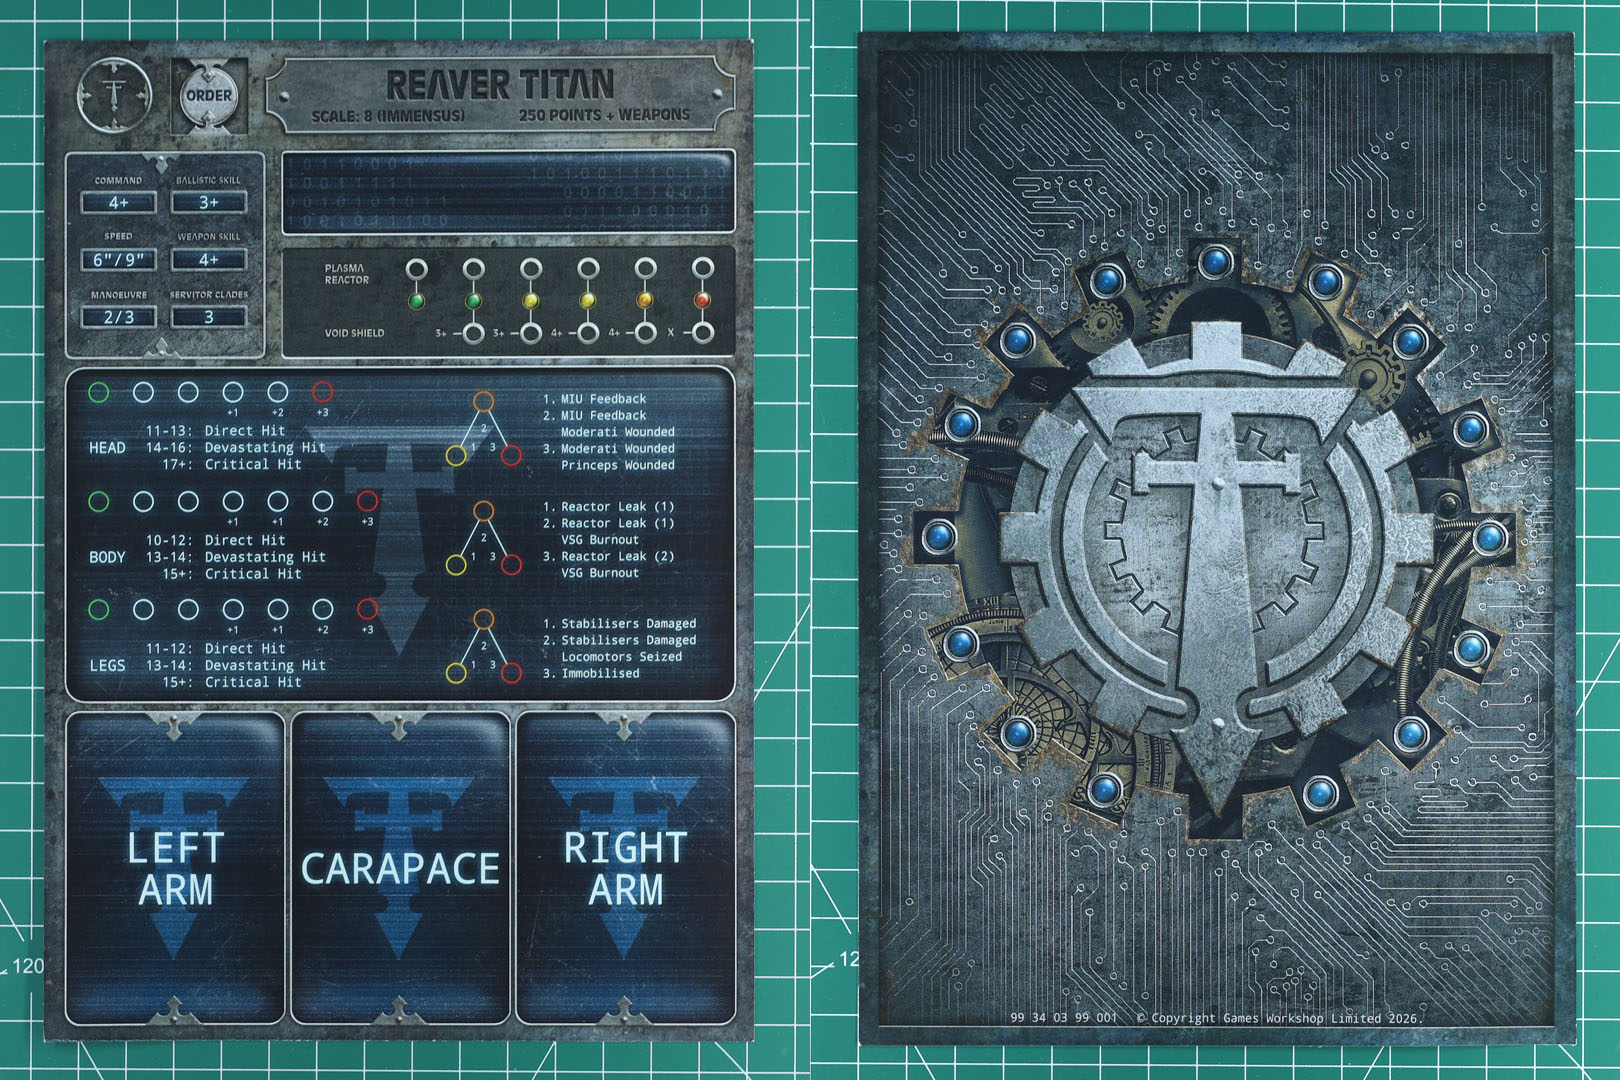
The terminals themselves are the newer, more compact Adeptus Titanicus style, printed on thinner card. There is a sheet of four weapon cards for the different weapons with the rules for Adeptus Titanicus.
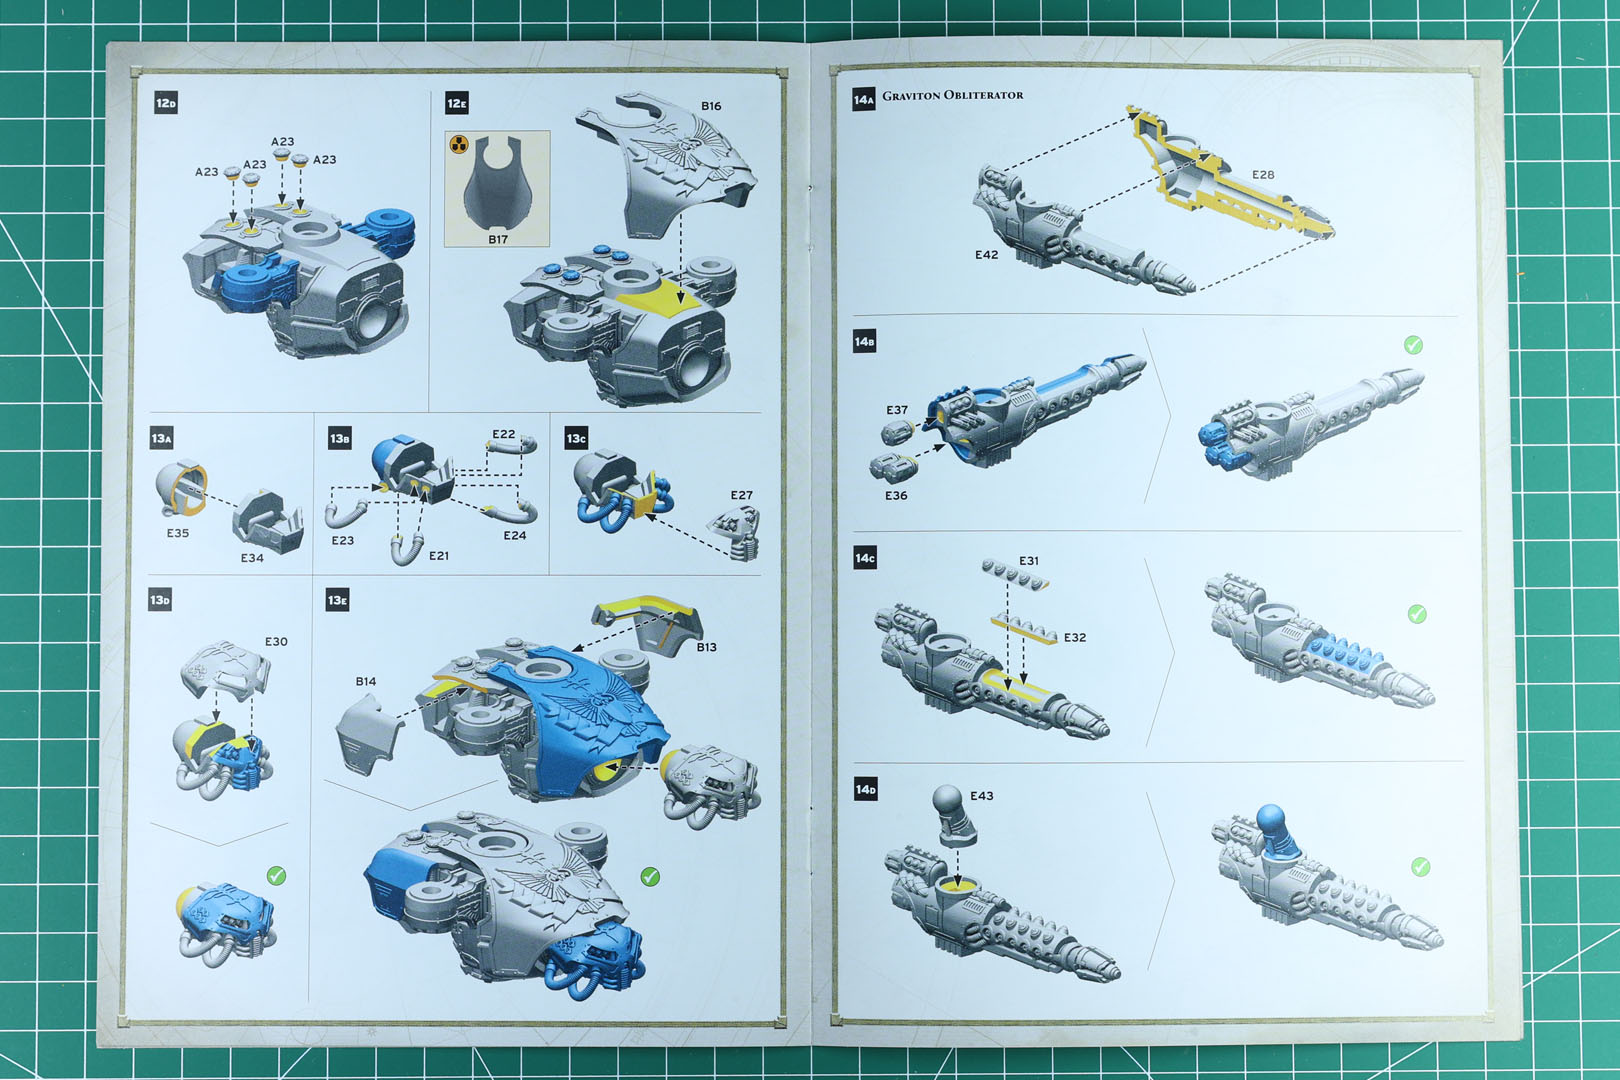
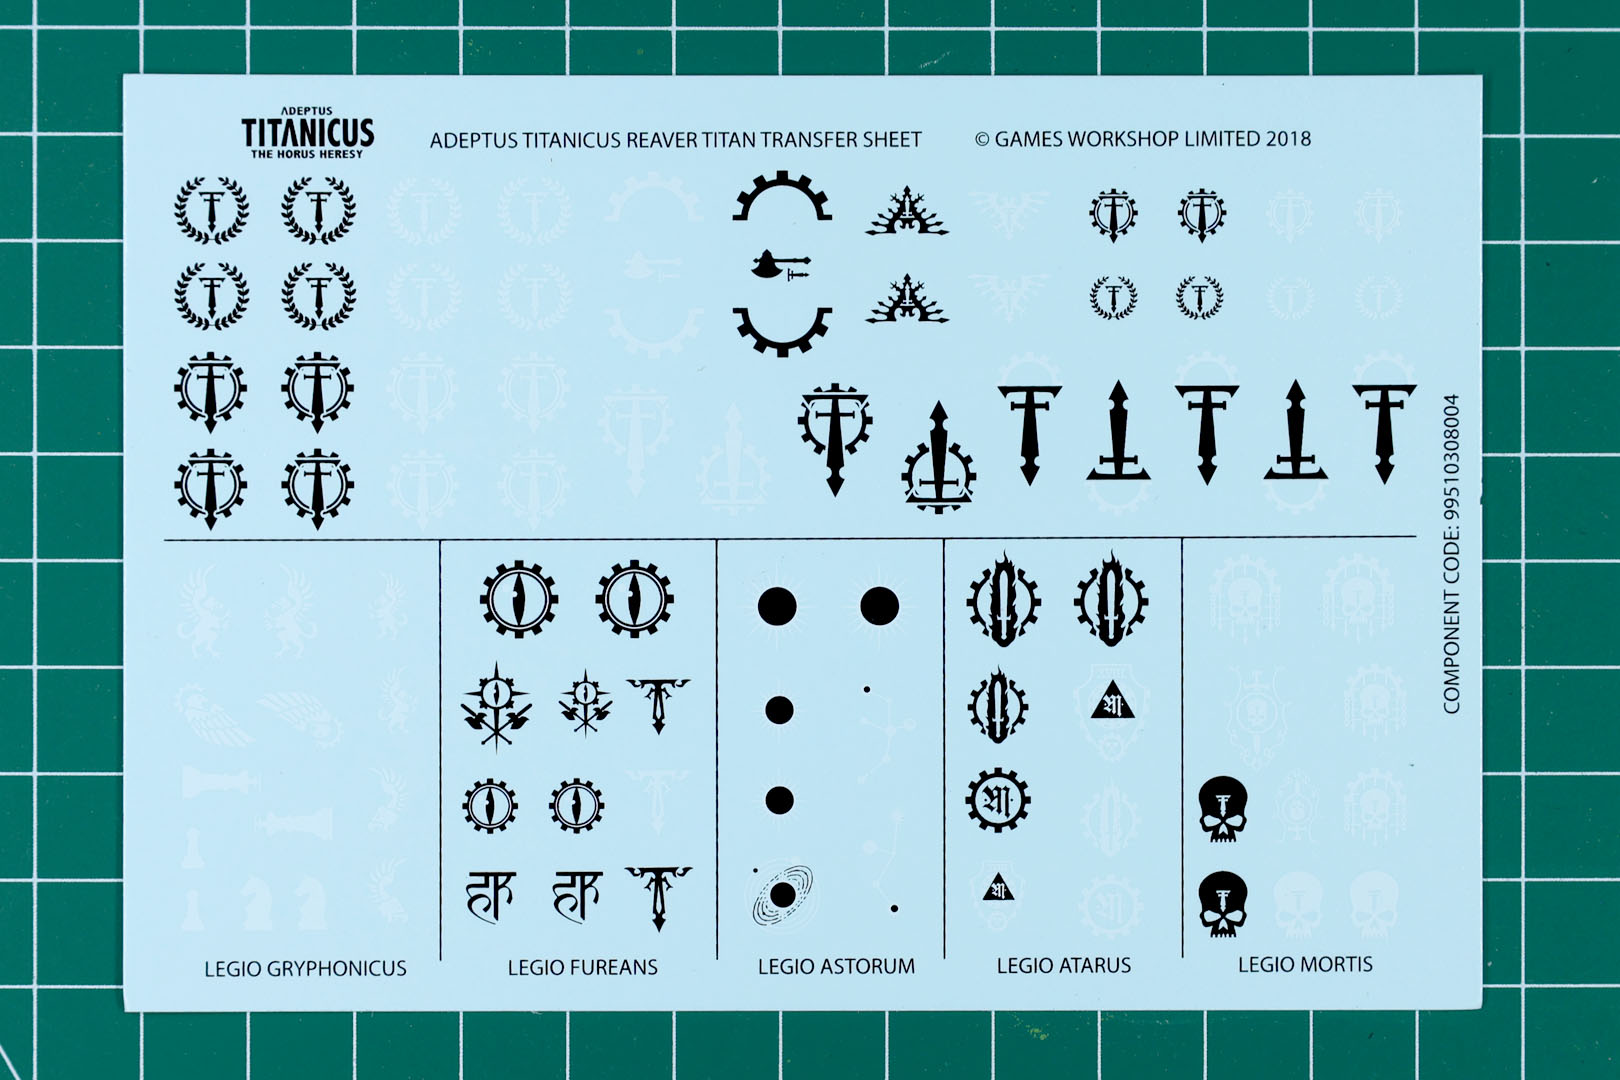
The instructions have been updated to match the design language of Legions Imperialis. You get the same decal sheet from the initial release in 2018, which still covers the same five houses as the other decal sheets for Warhounds or Warlord Titans: the three loyalist Titan Legions Gryphonicus, Astorum and Atarus, plus the two traitor houses Fureans and Mortis, and a couple of generic Reaver Class Titan Legion icons.
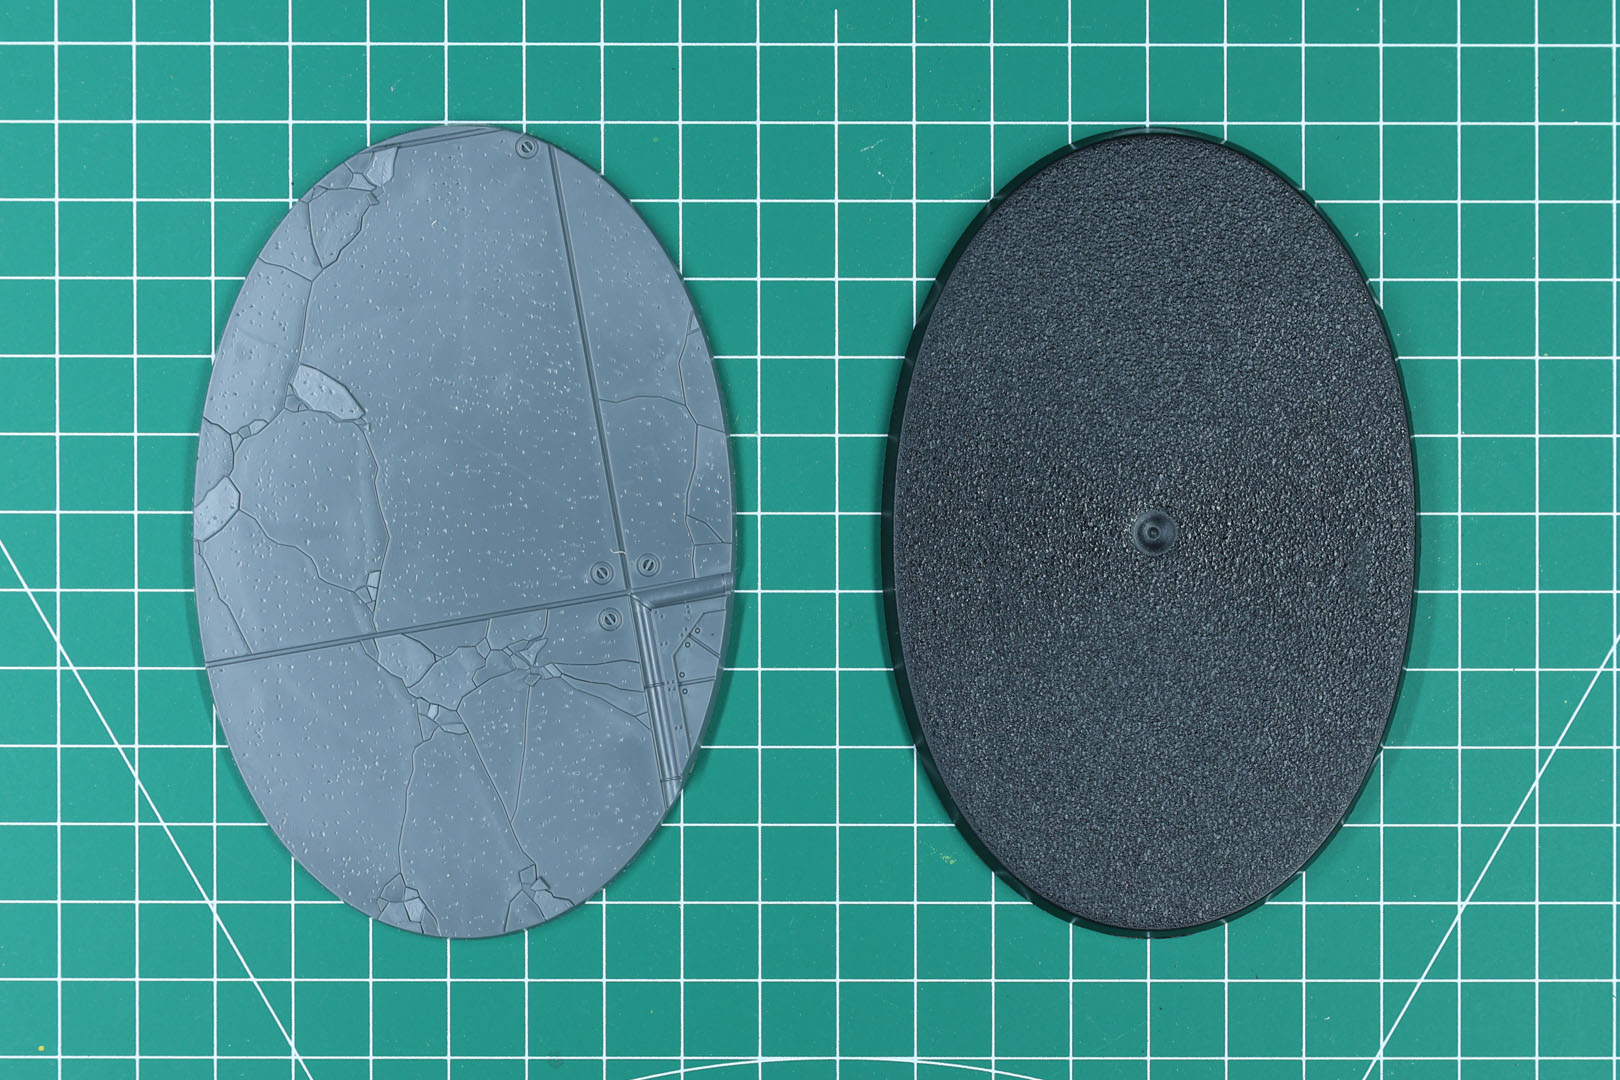
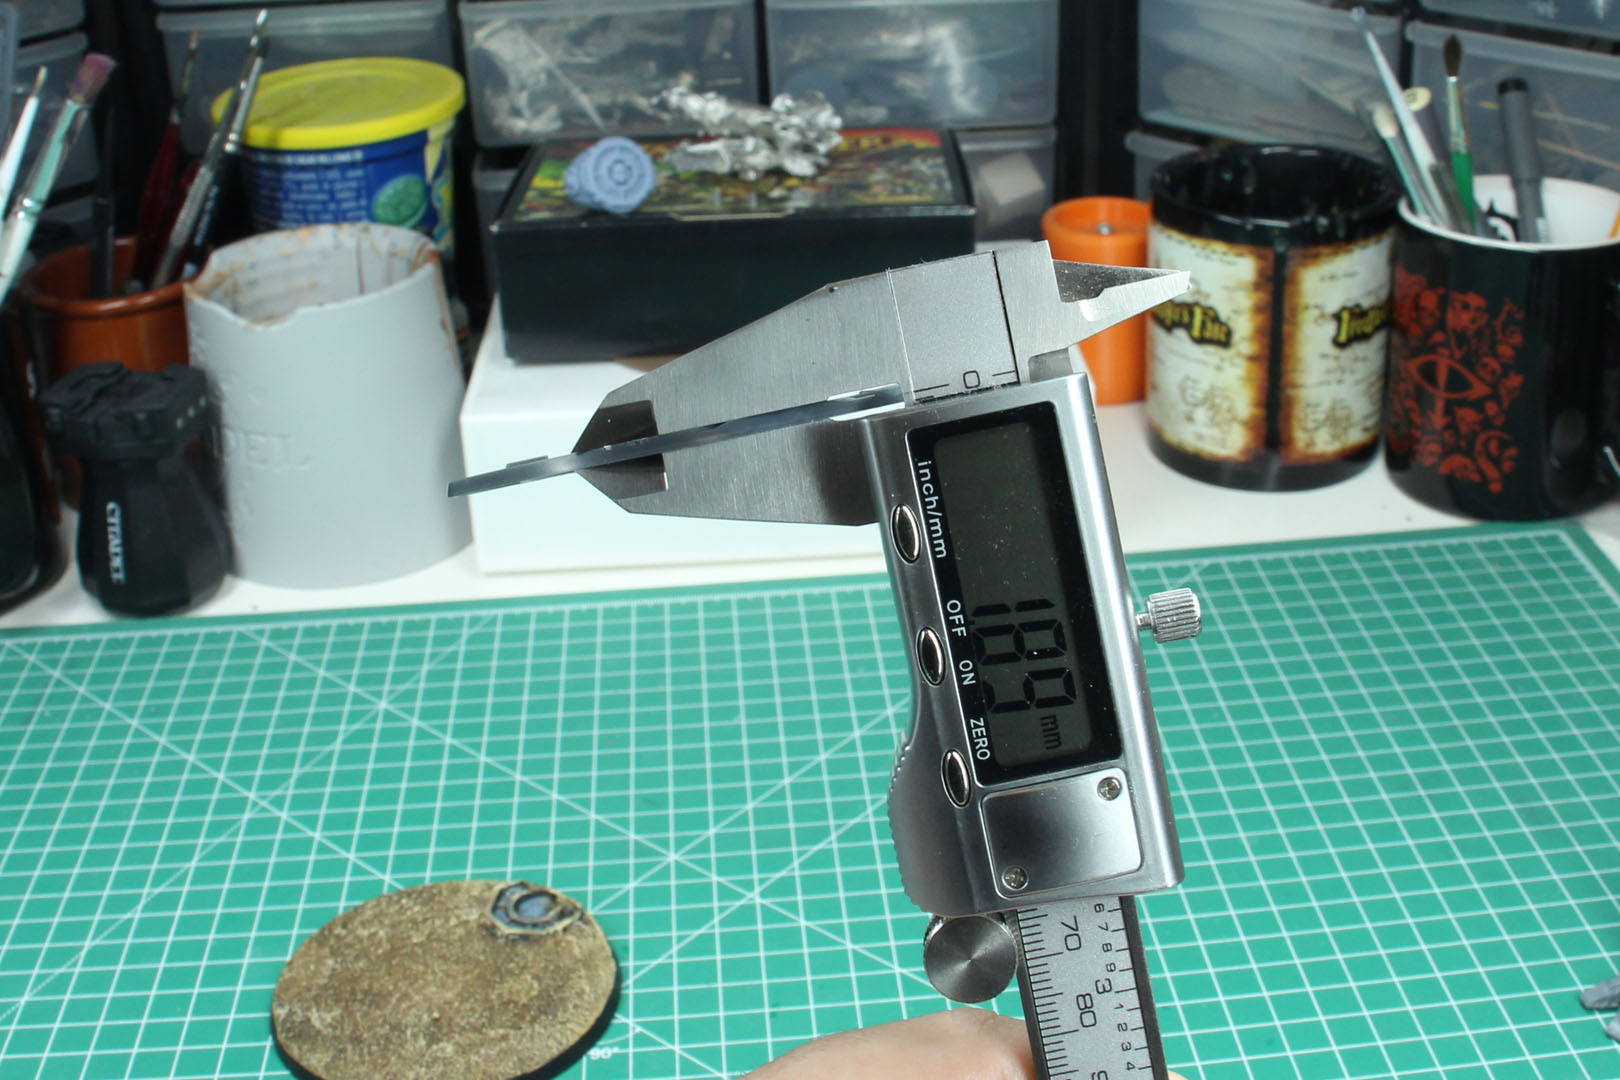
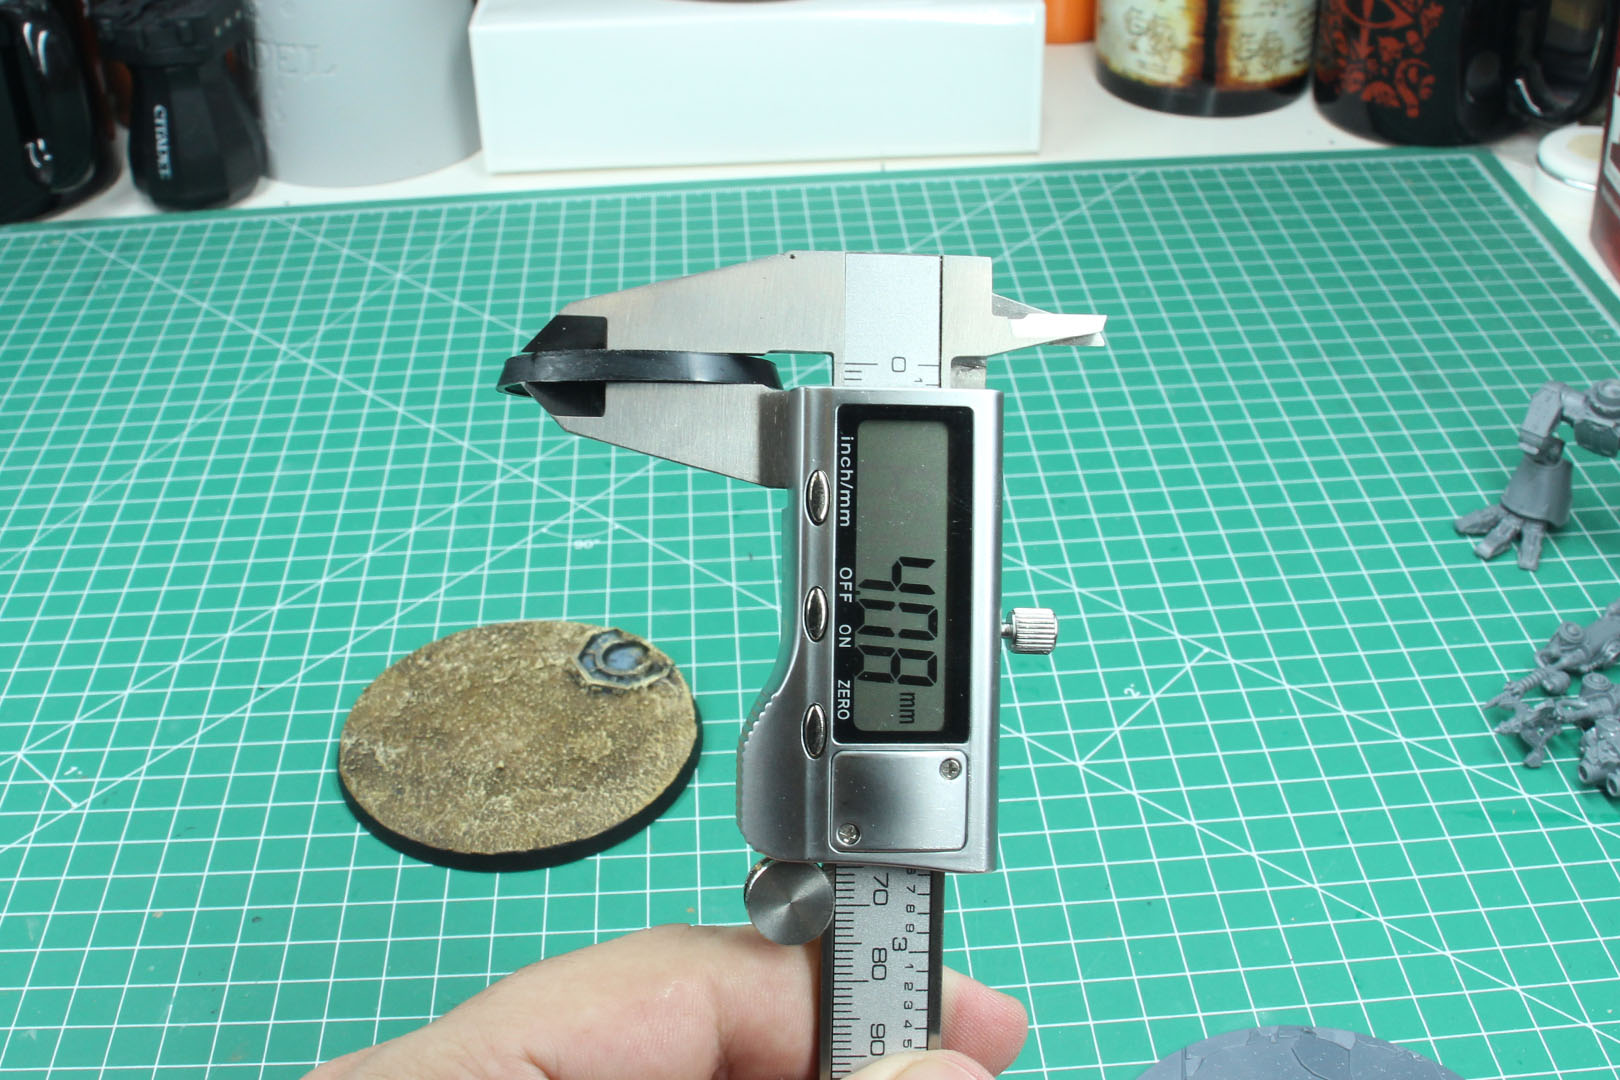
As this updated product is now completely embedded in the Legions Imperialis product range, the bases have been replaced. The size for the Reaver is still a 105mm oval base, but now with the flatter Legions Imperialis profile instead of the classic bevelled Citadel base (pictured side by side in the first image).
The height difference does not really matter in gameplay; it is mostly to provide better immersion with the other Epic-scale units of Legions Imperialis. I personally prefer the classic bases, as they give me the option to use name plates.
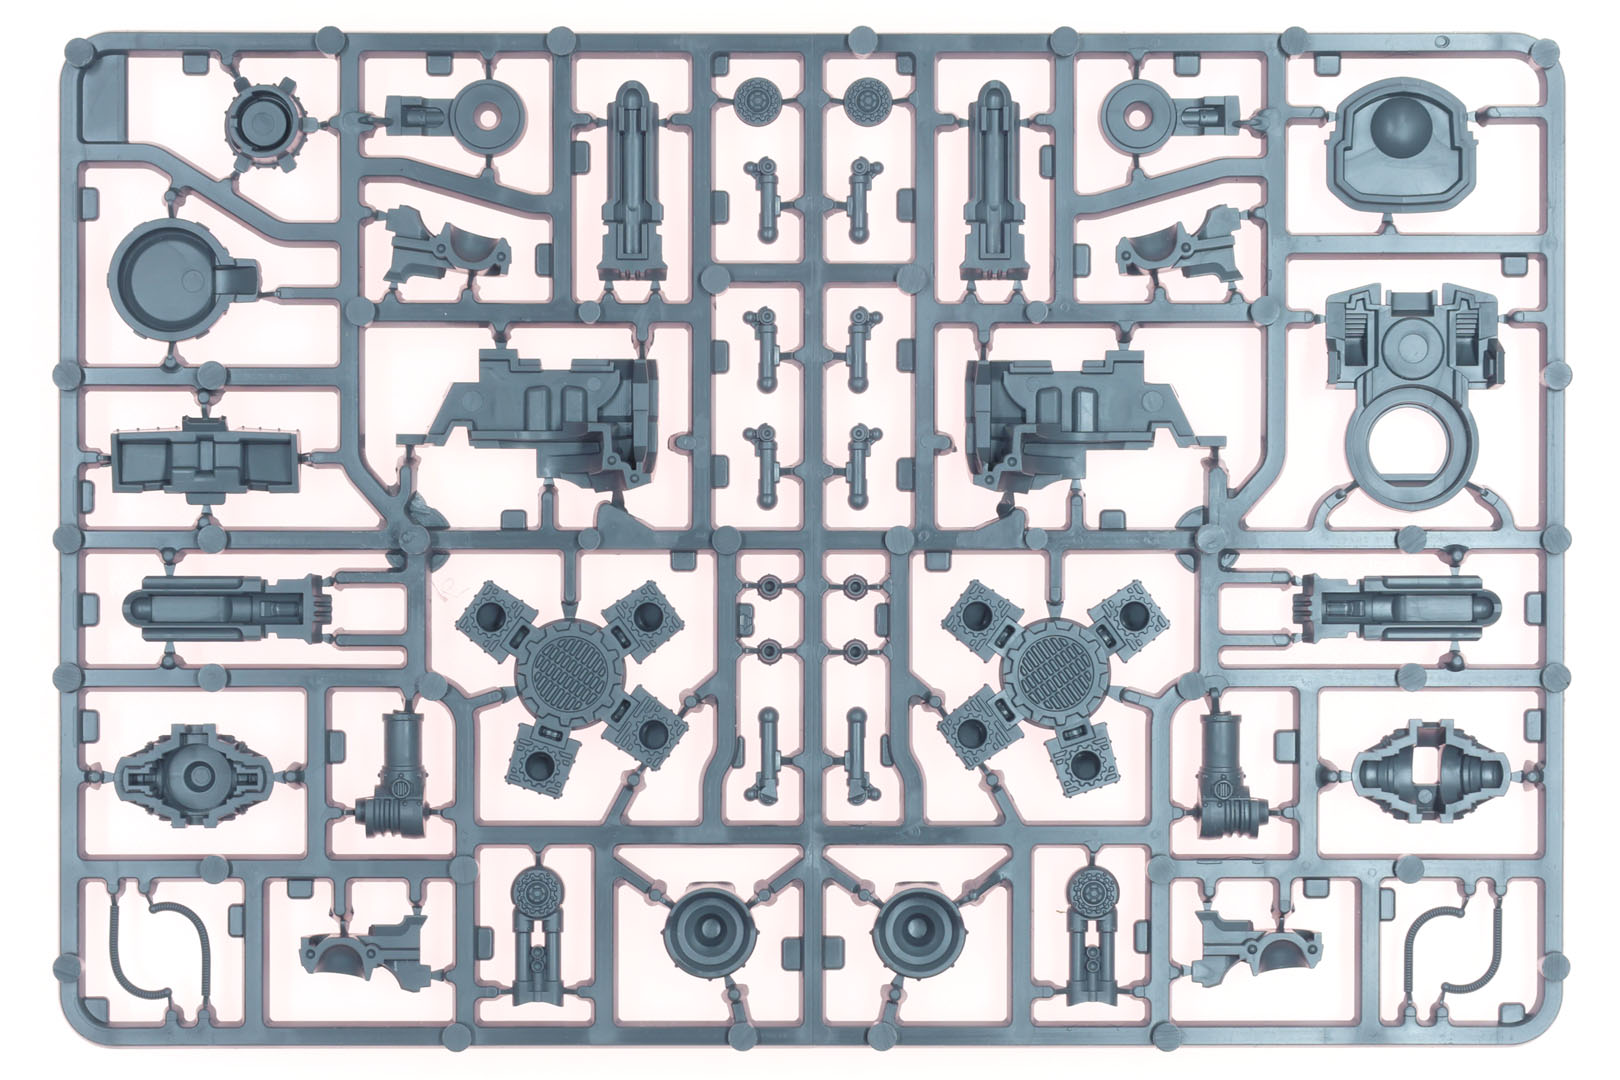
As mentioned above, a Reaver is built from three medium sized sprues. Two (A + B) are the base sprues, providing you with the pieces for the titan itself along with the armour plates. You get different designs on knees, shoulders and back for different affiliations. The third sprue (C, D or E, in this case E) provides all the weapon options of each load out mentioned above.
Production quality of the plastic is high. Clear details and minor mould lines. You get a lot of small components, giving you the opportunity to give them different poses.
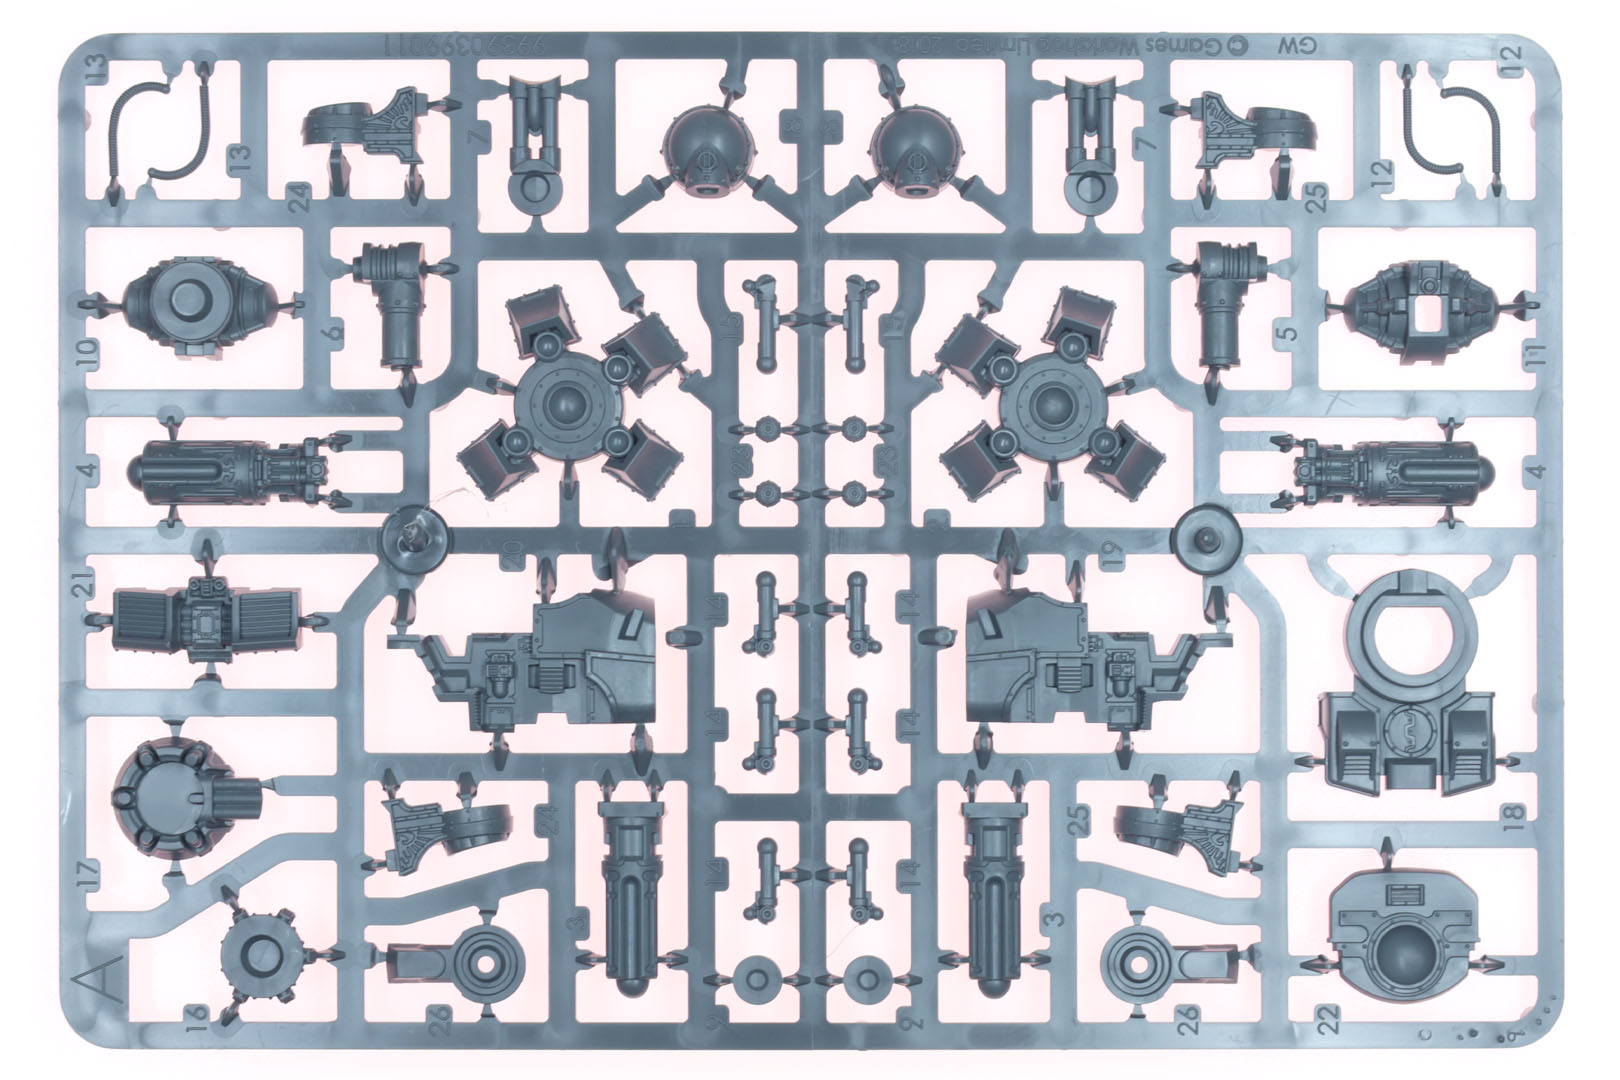
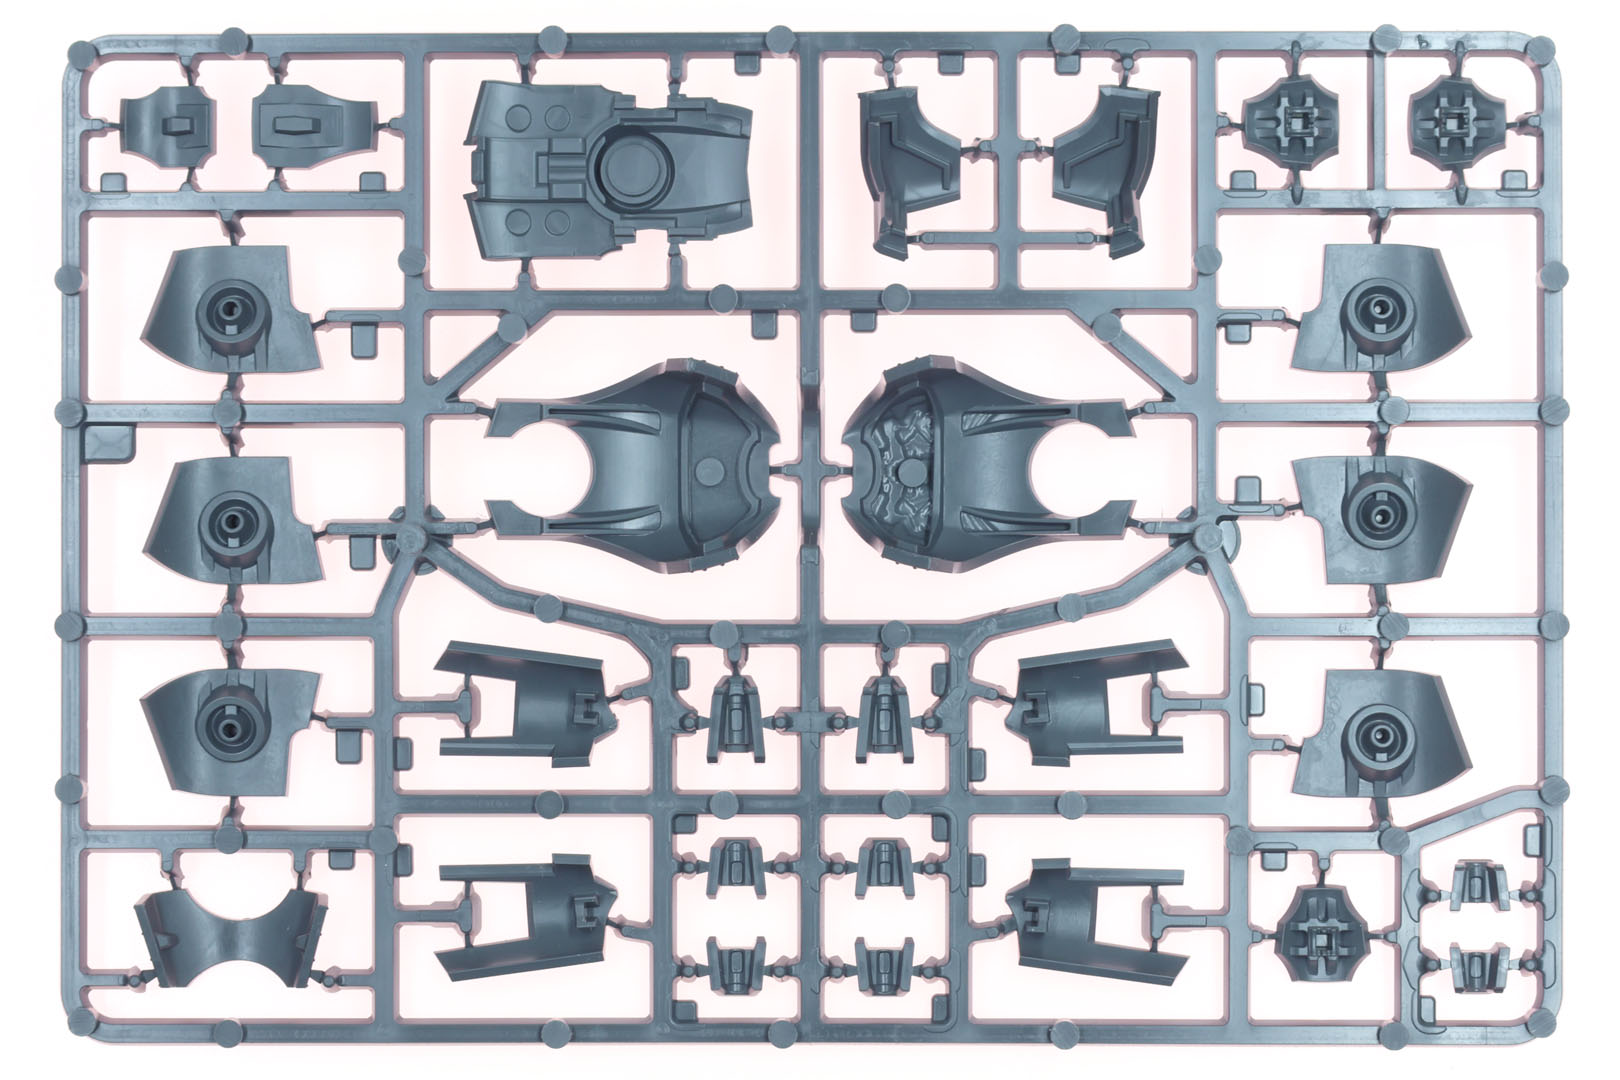
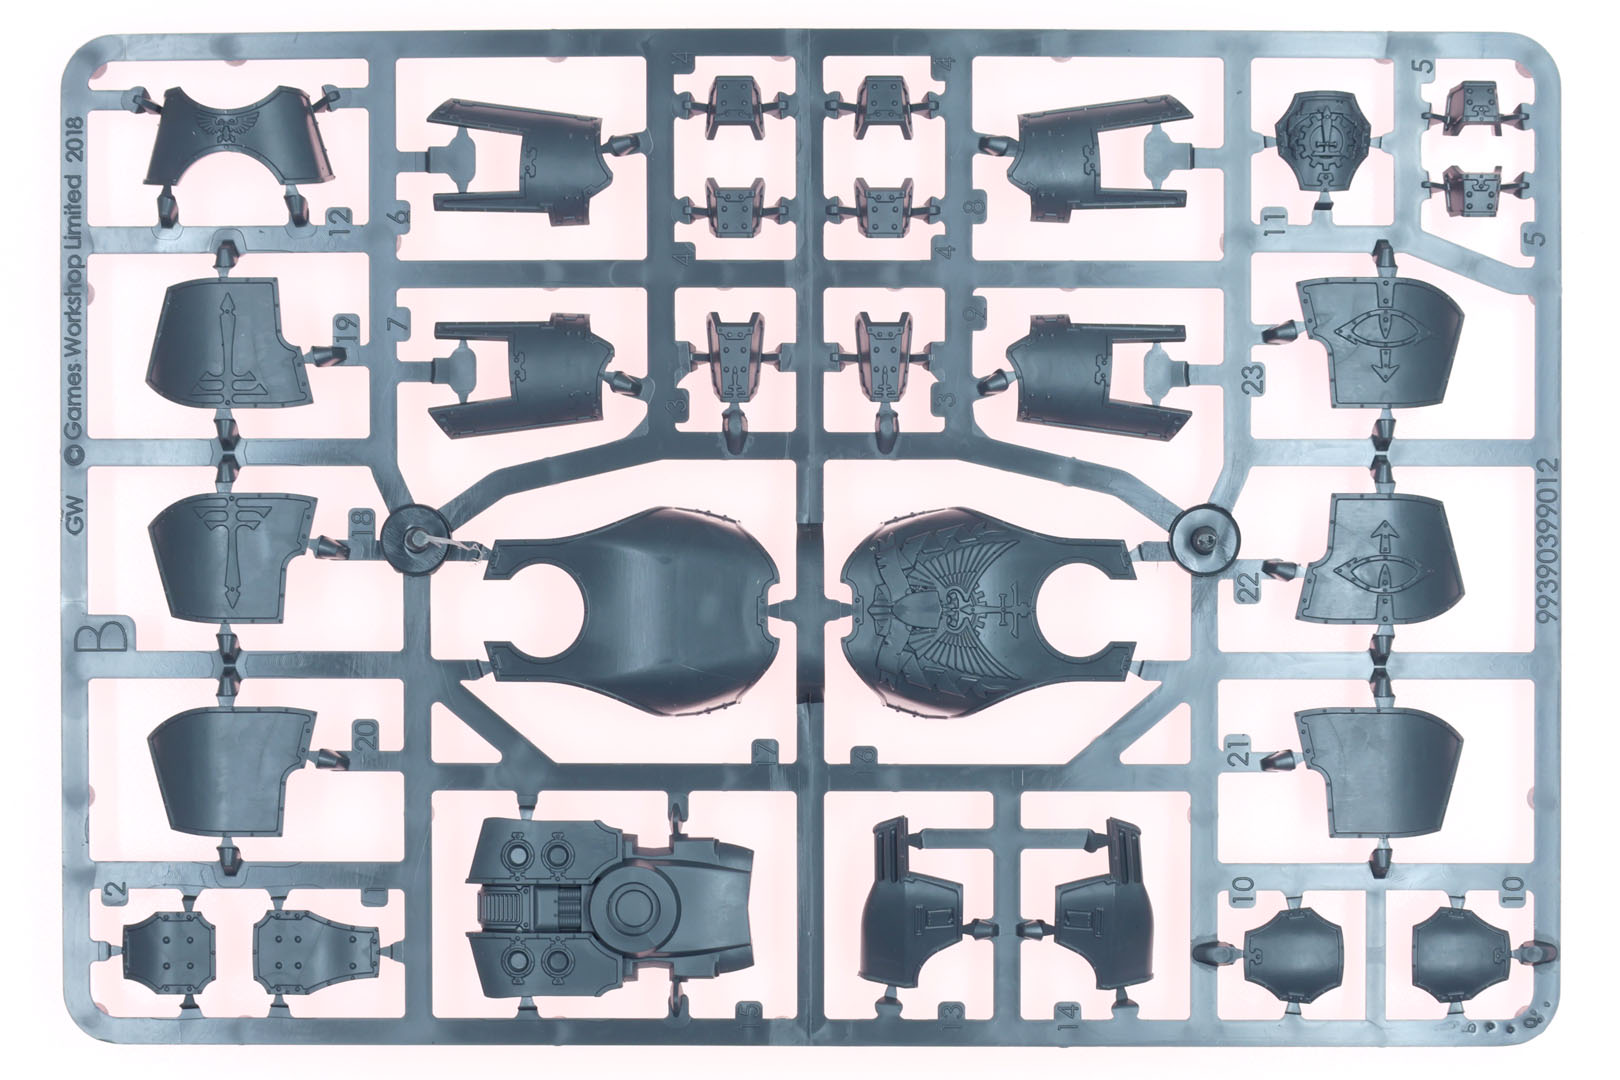
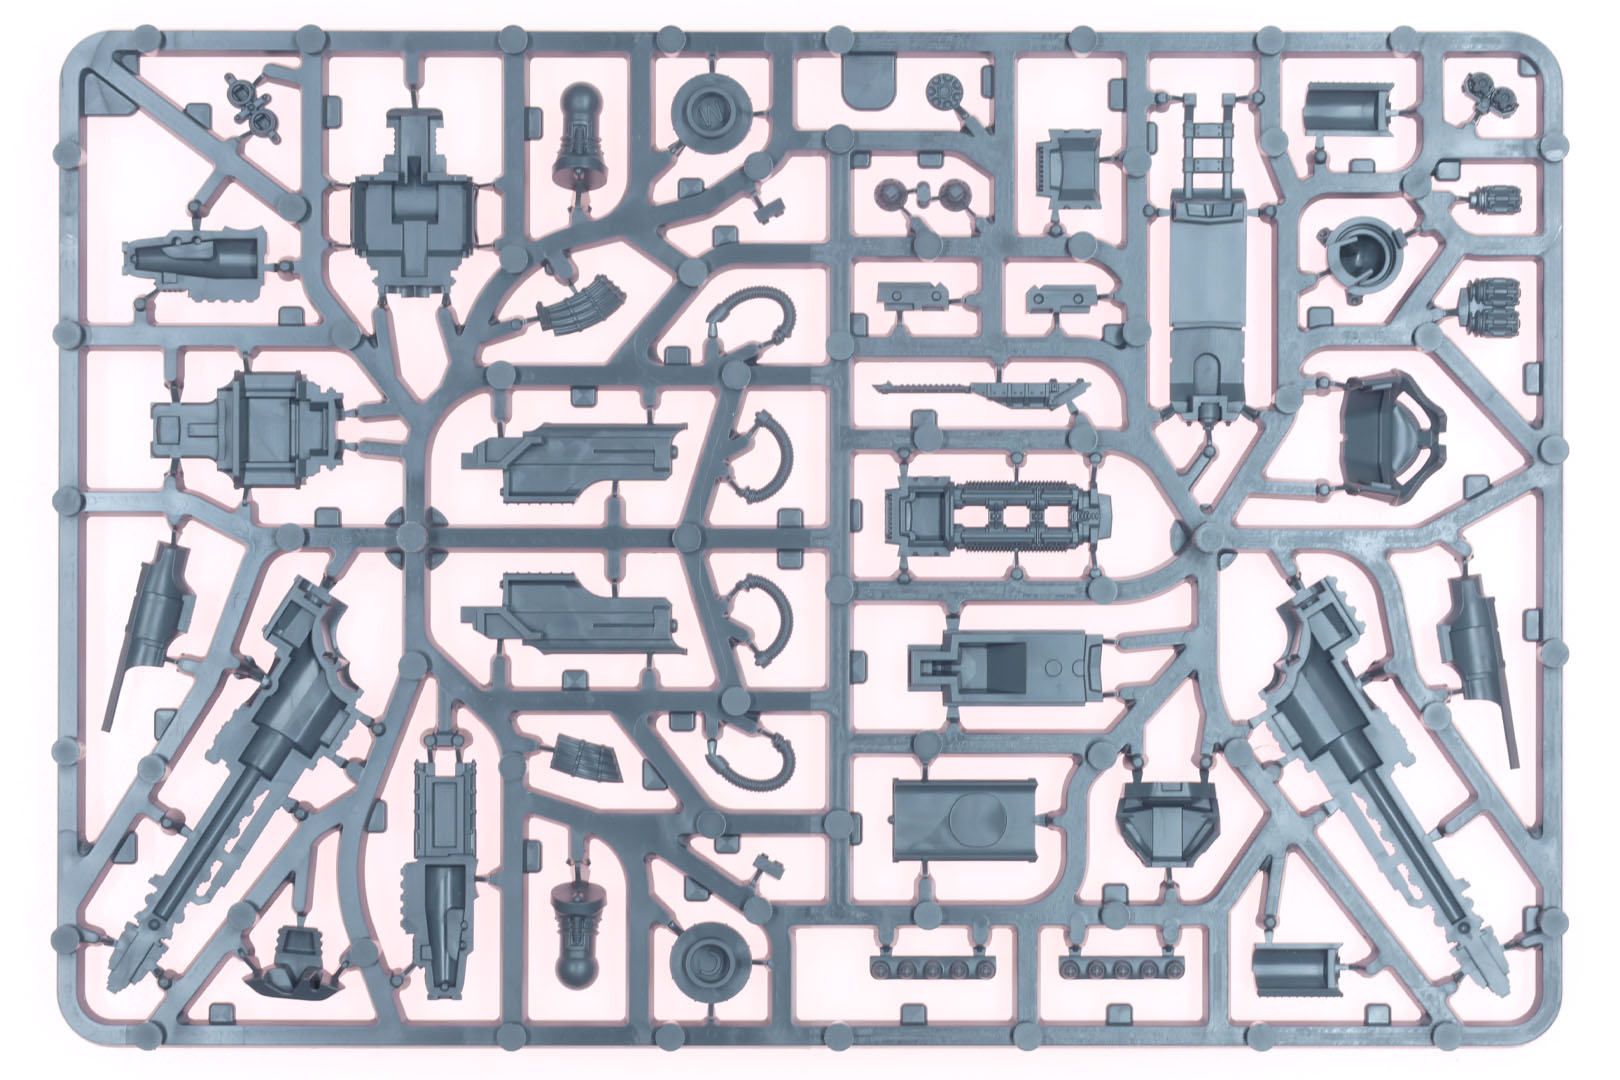
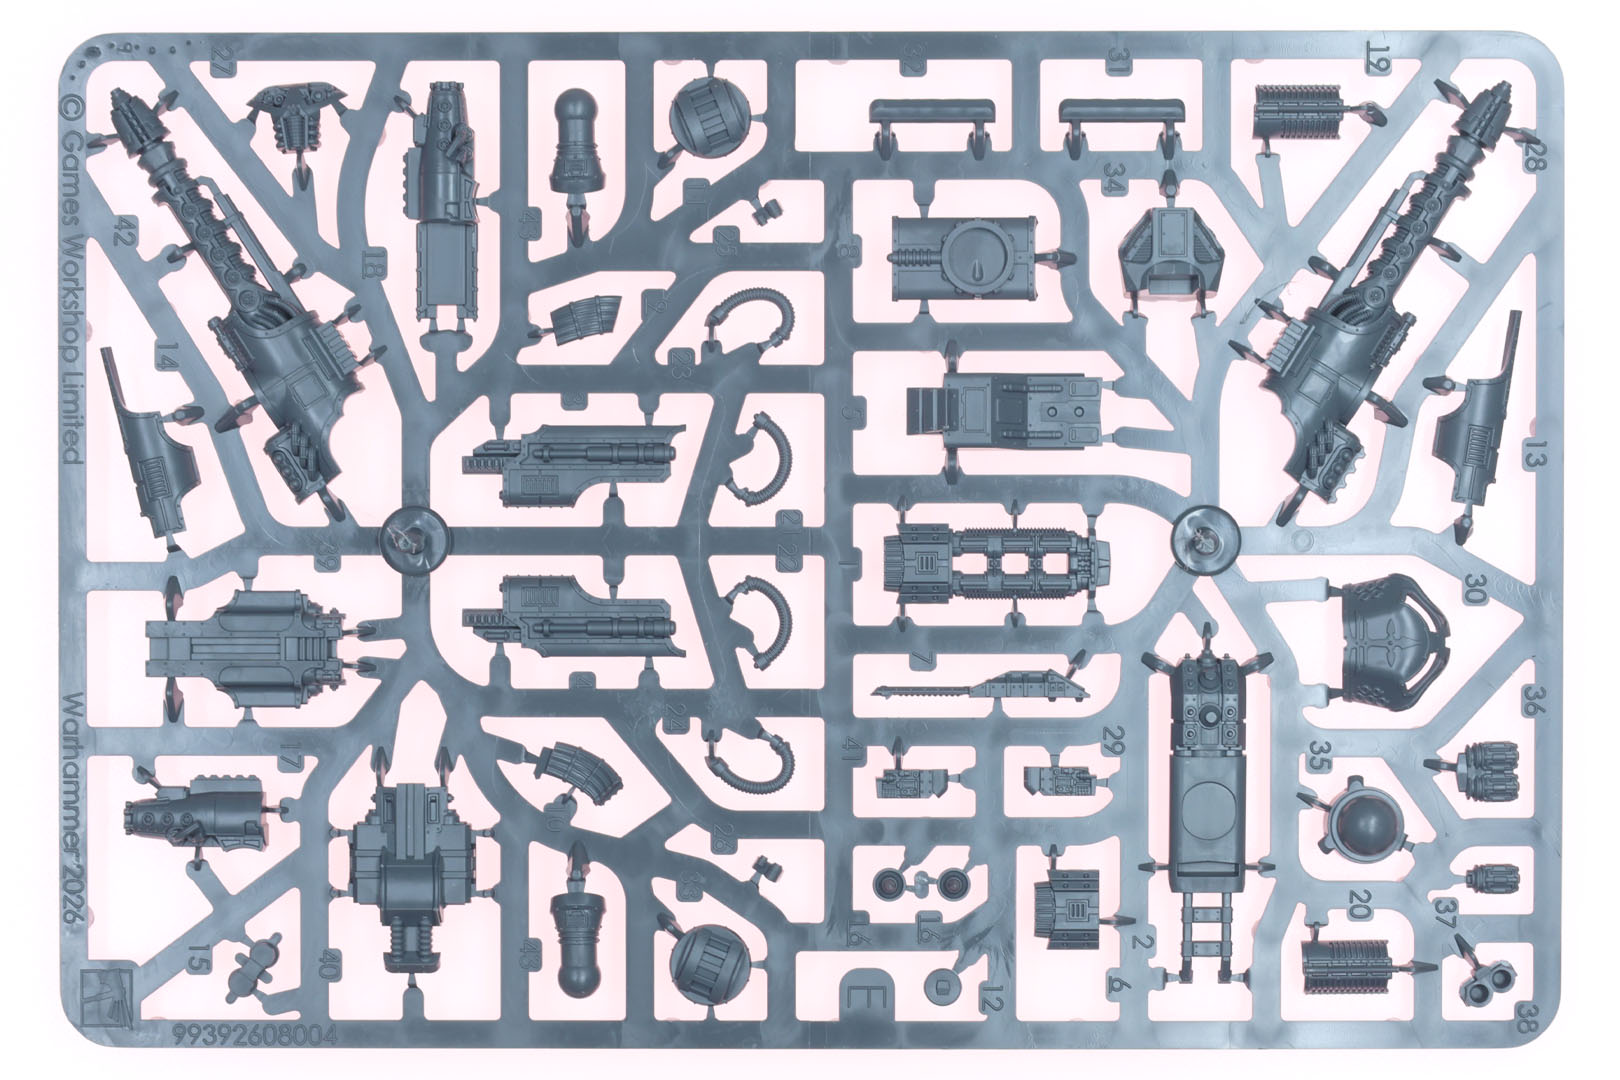
As the main difference in the build of the titans lies with the weapons, I updated the photography from the 2019 review at a higher resolution for this build walkthrough.
We will build the titan from the bottom to the top. We begin with their legs and groin. The taller Reaver build is much more flexible in the positioning than the pre-posed legs of the Warhound, yet limited due to the angles in which the legs can be posed with their armour plates on. Keep this in mind when choosing poses: do a dry run and ensure that these are "buildable". As the Reaver is quite detailed, with a lot of rods and pistons, this can be tricky, but take your time.
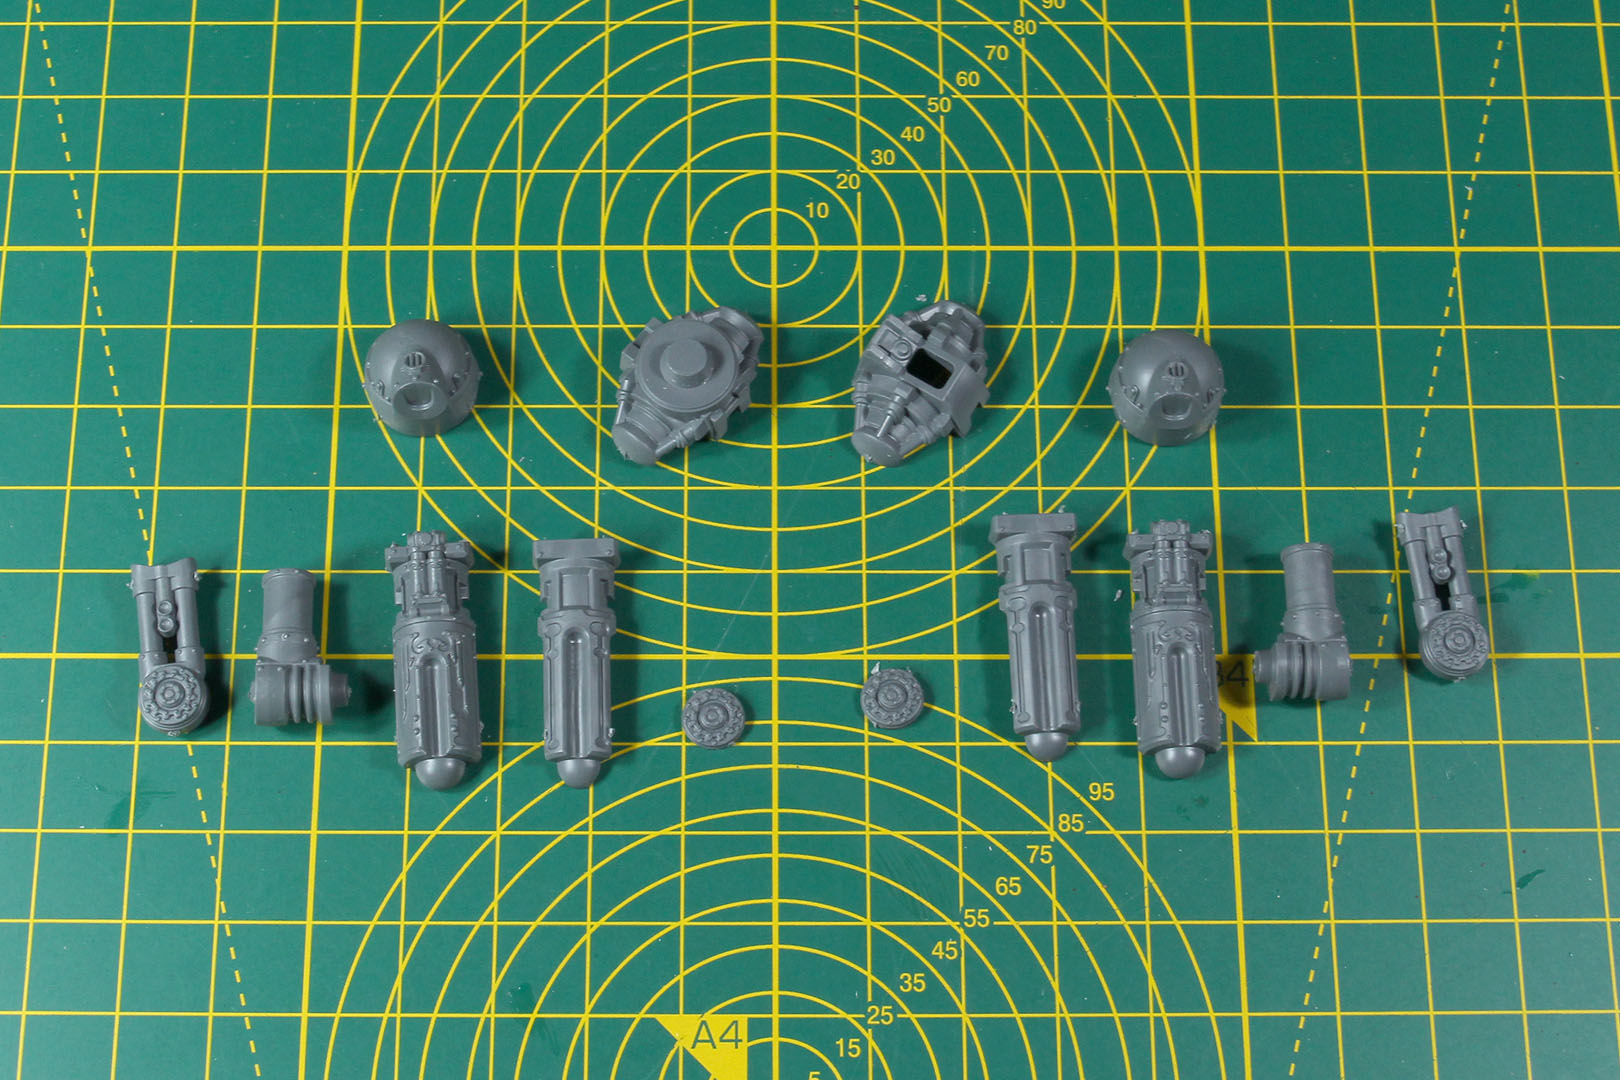
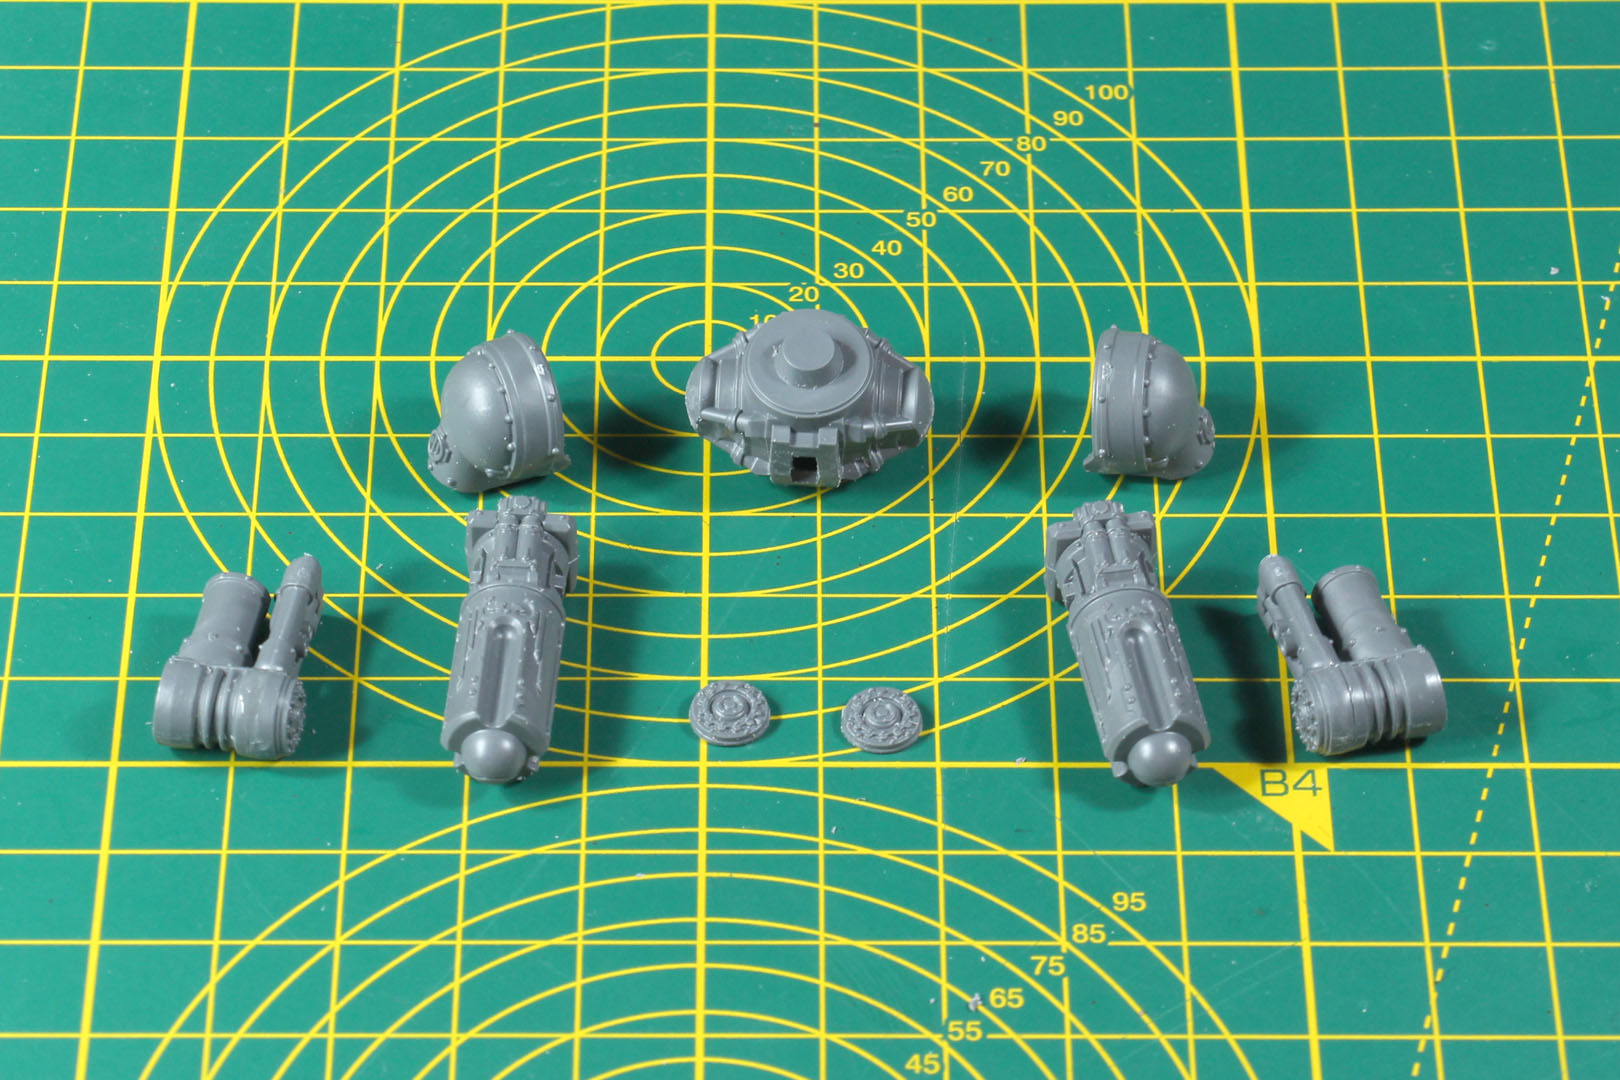
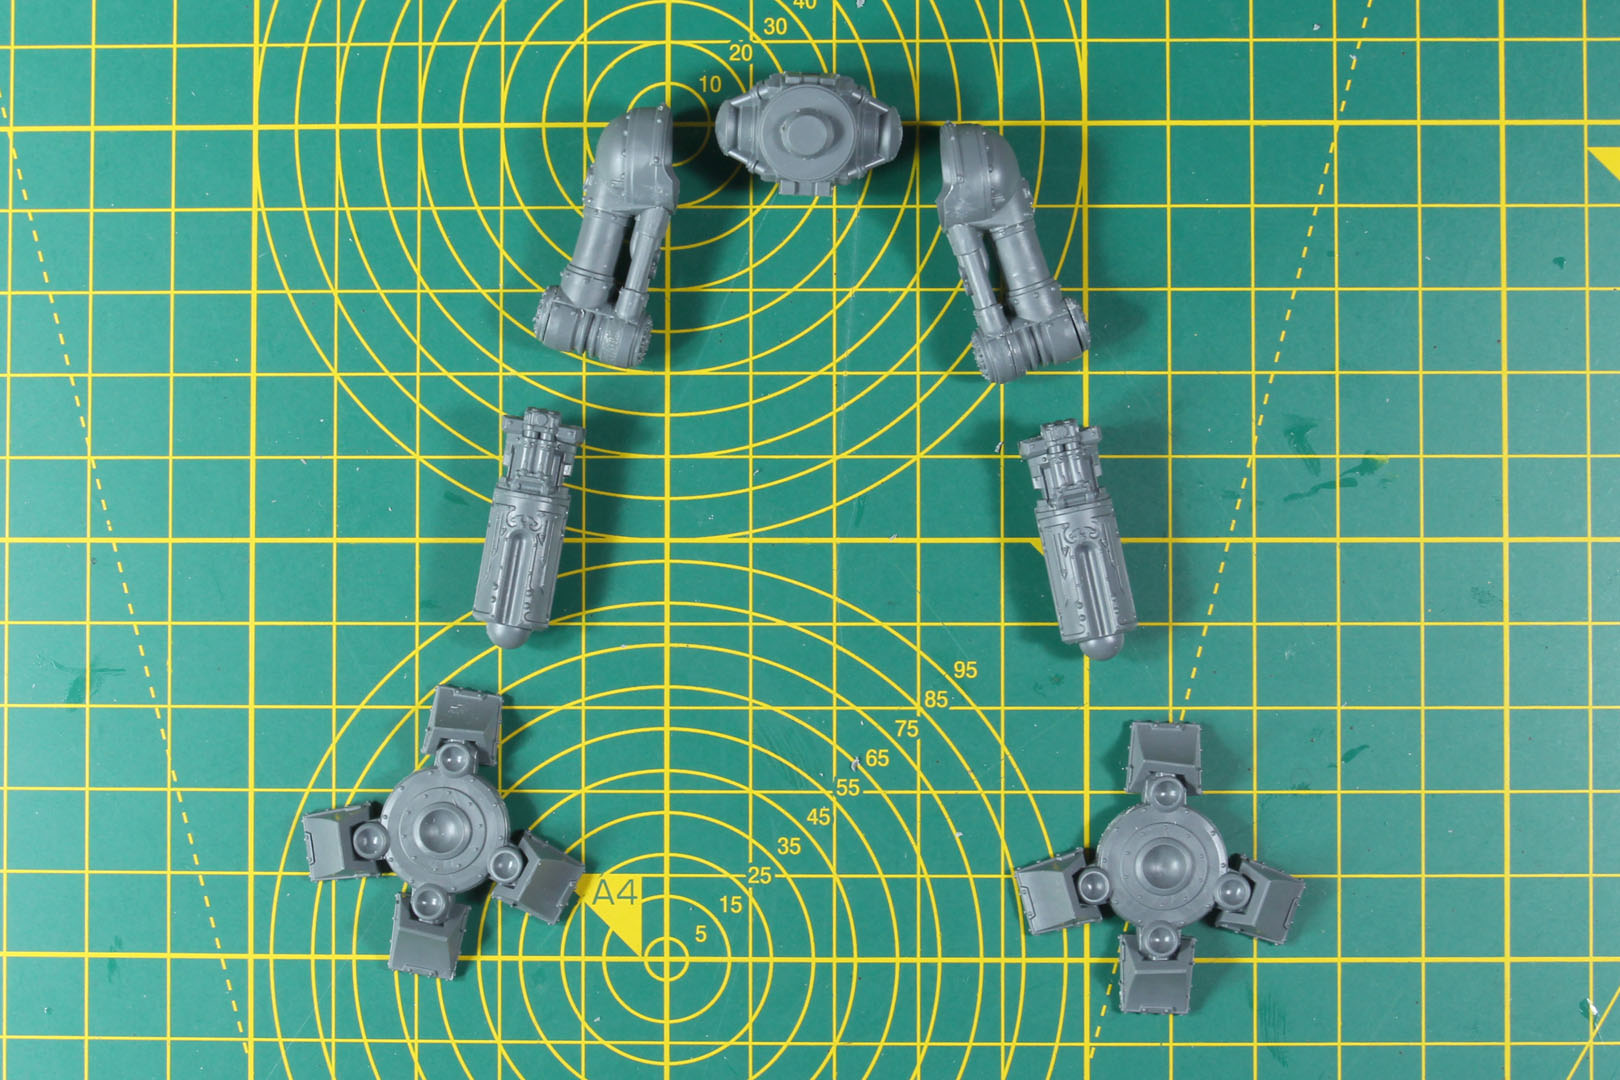
Therefore, just prepare the individual parts and only glue those in place once you are sure of their final position. I use Blu Tack to try out different poses and then partially build, once I'm sure about it.
Reavers can be posed in a walking pose, with one of the legs lifted or following, as well as a wide stand, right from the box. With a bit of modification to some of the fixed pieces (for example separating toes or shortening pistons), you can be even more creative.
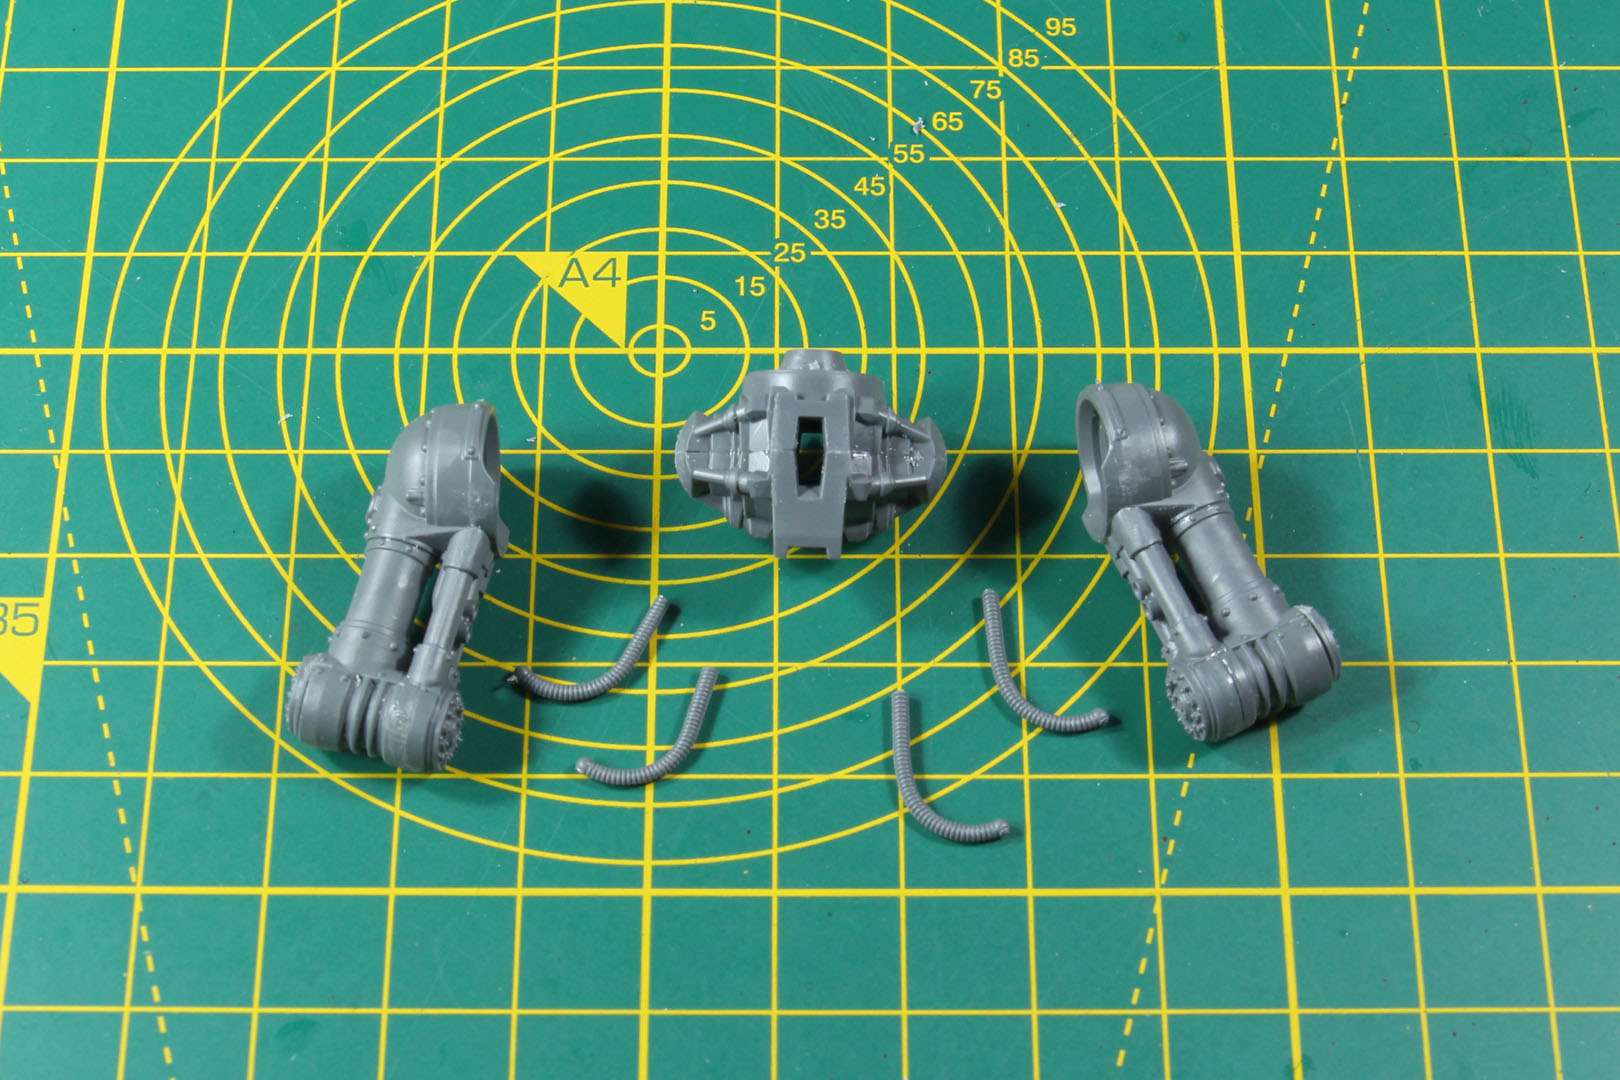
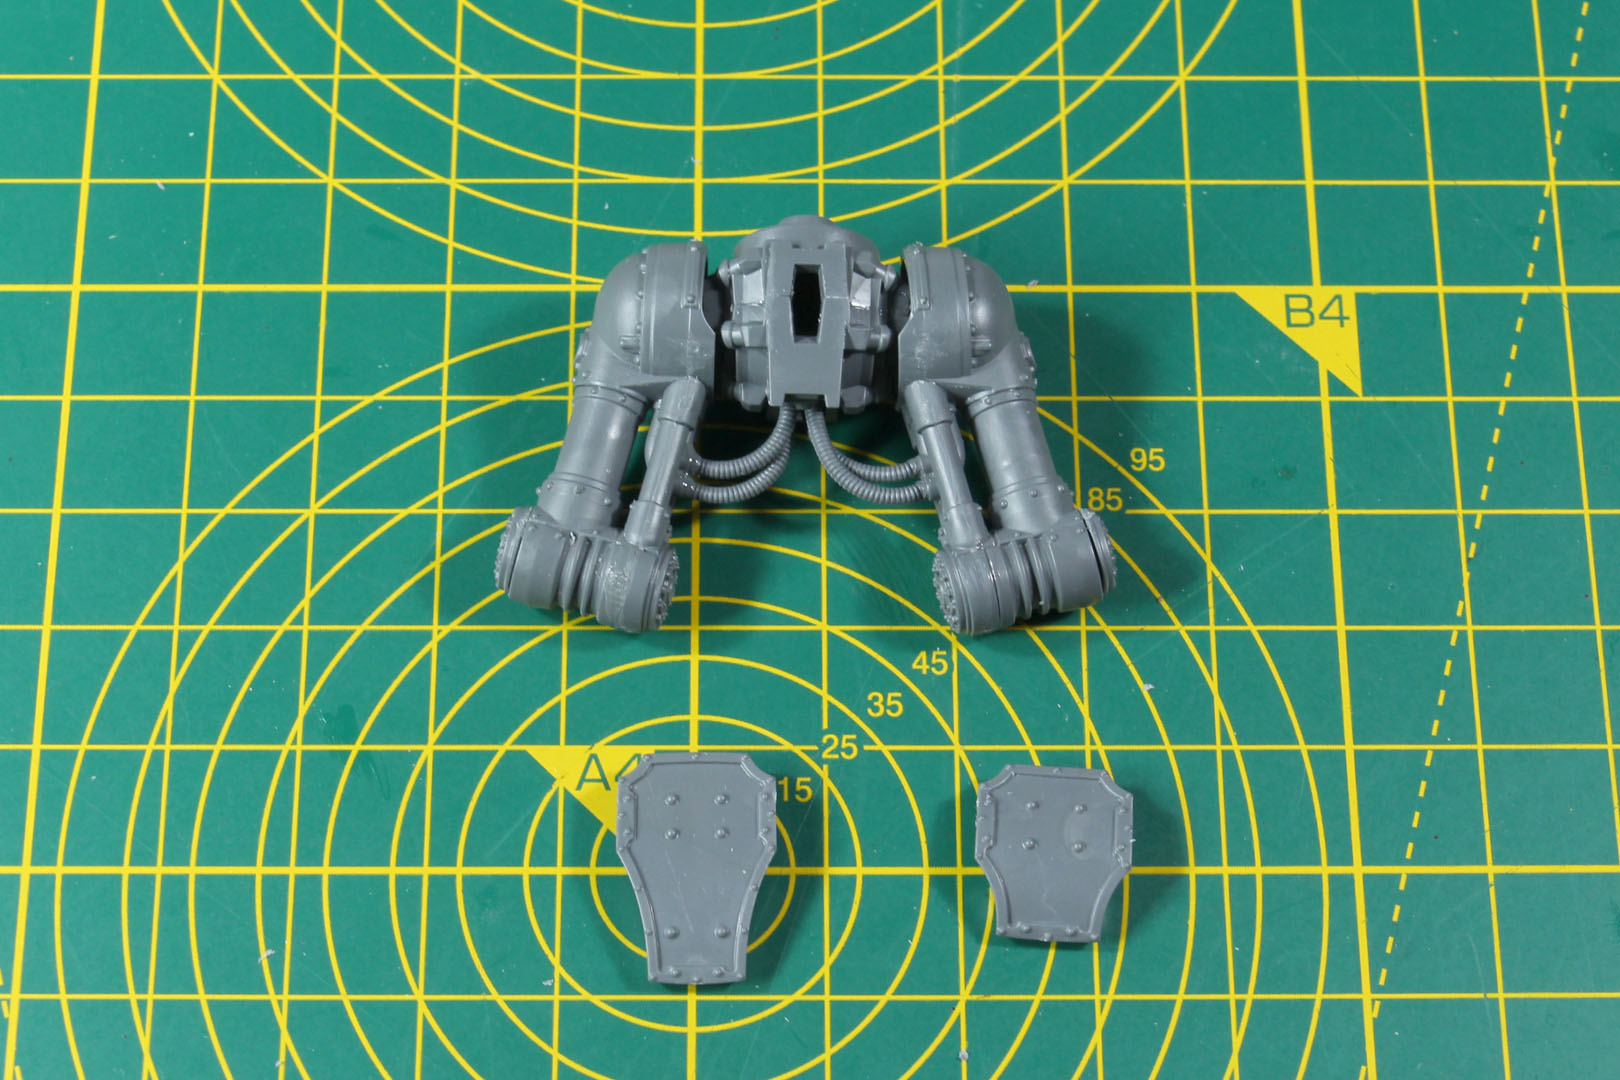
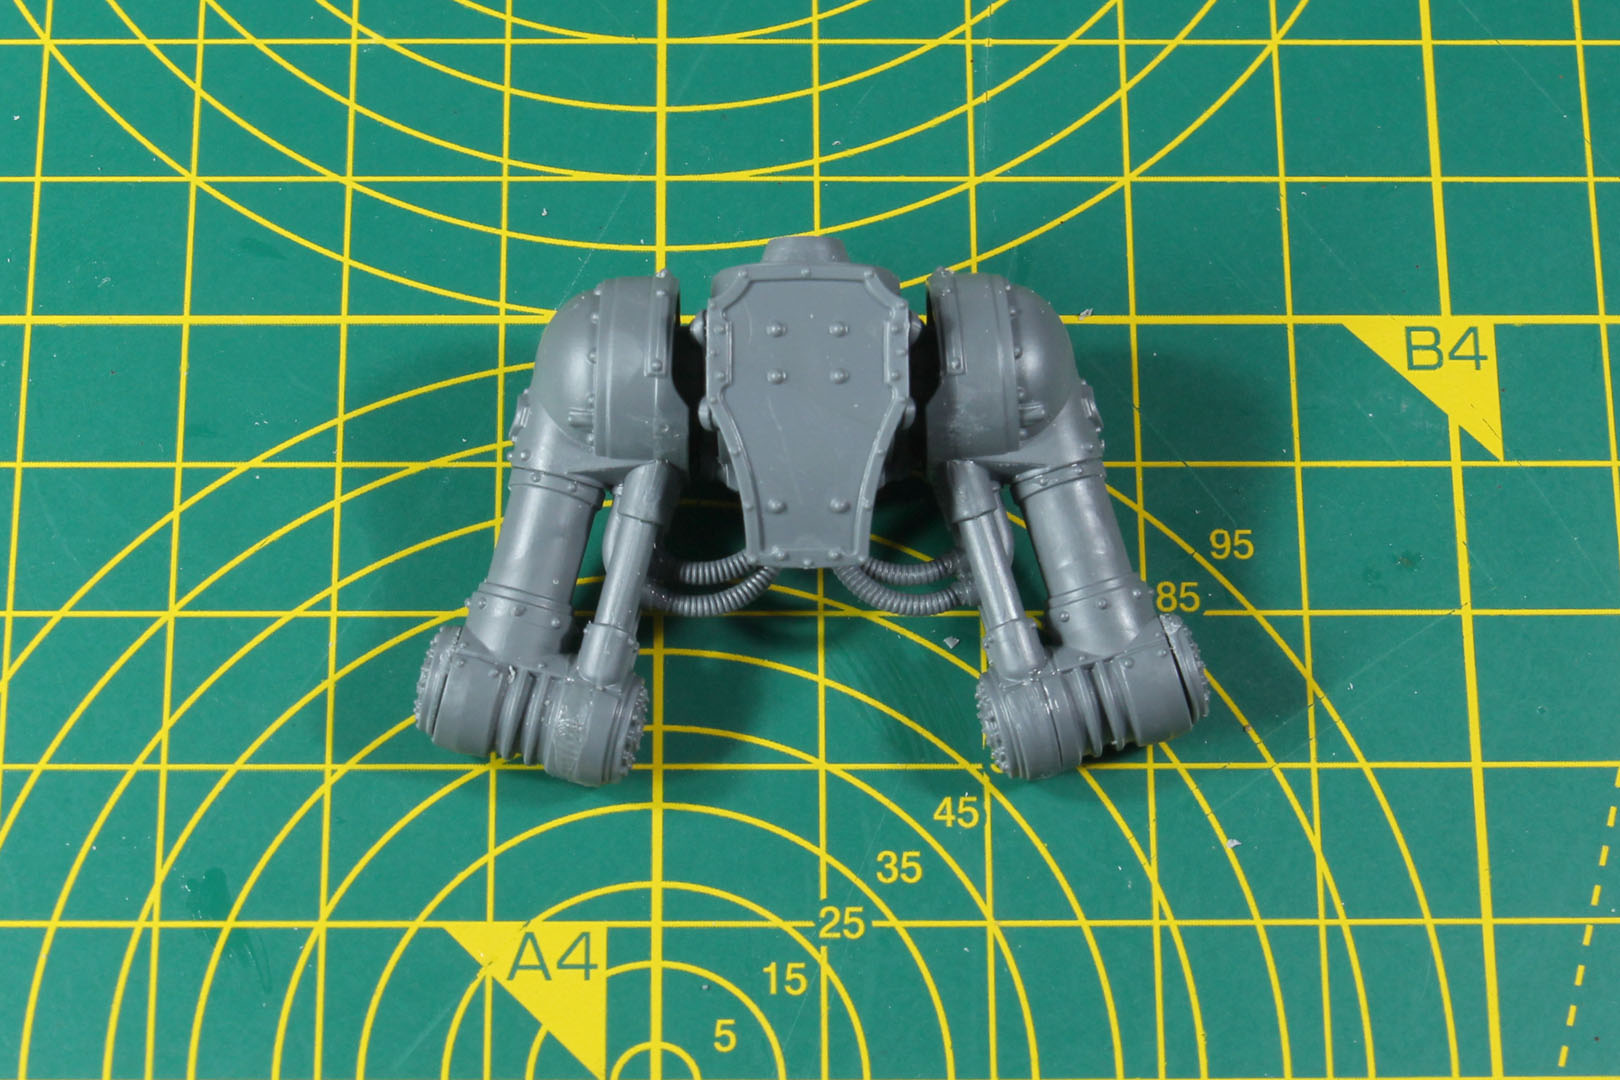
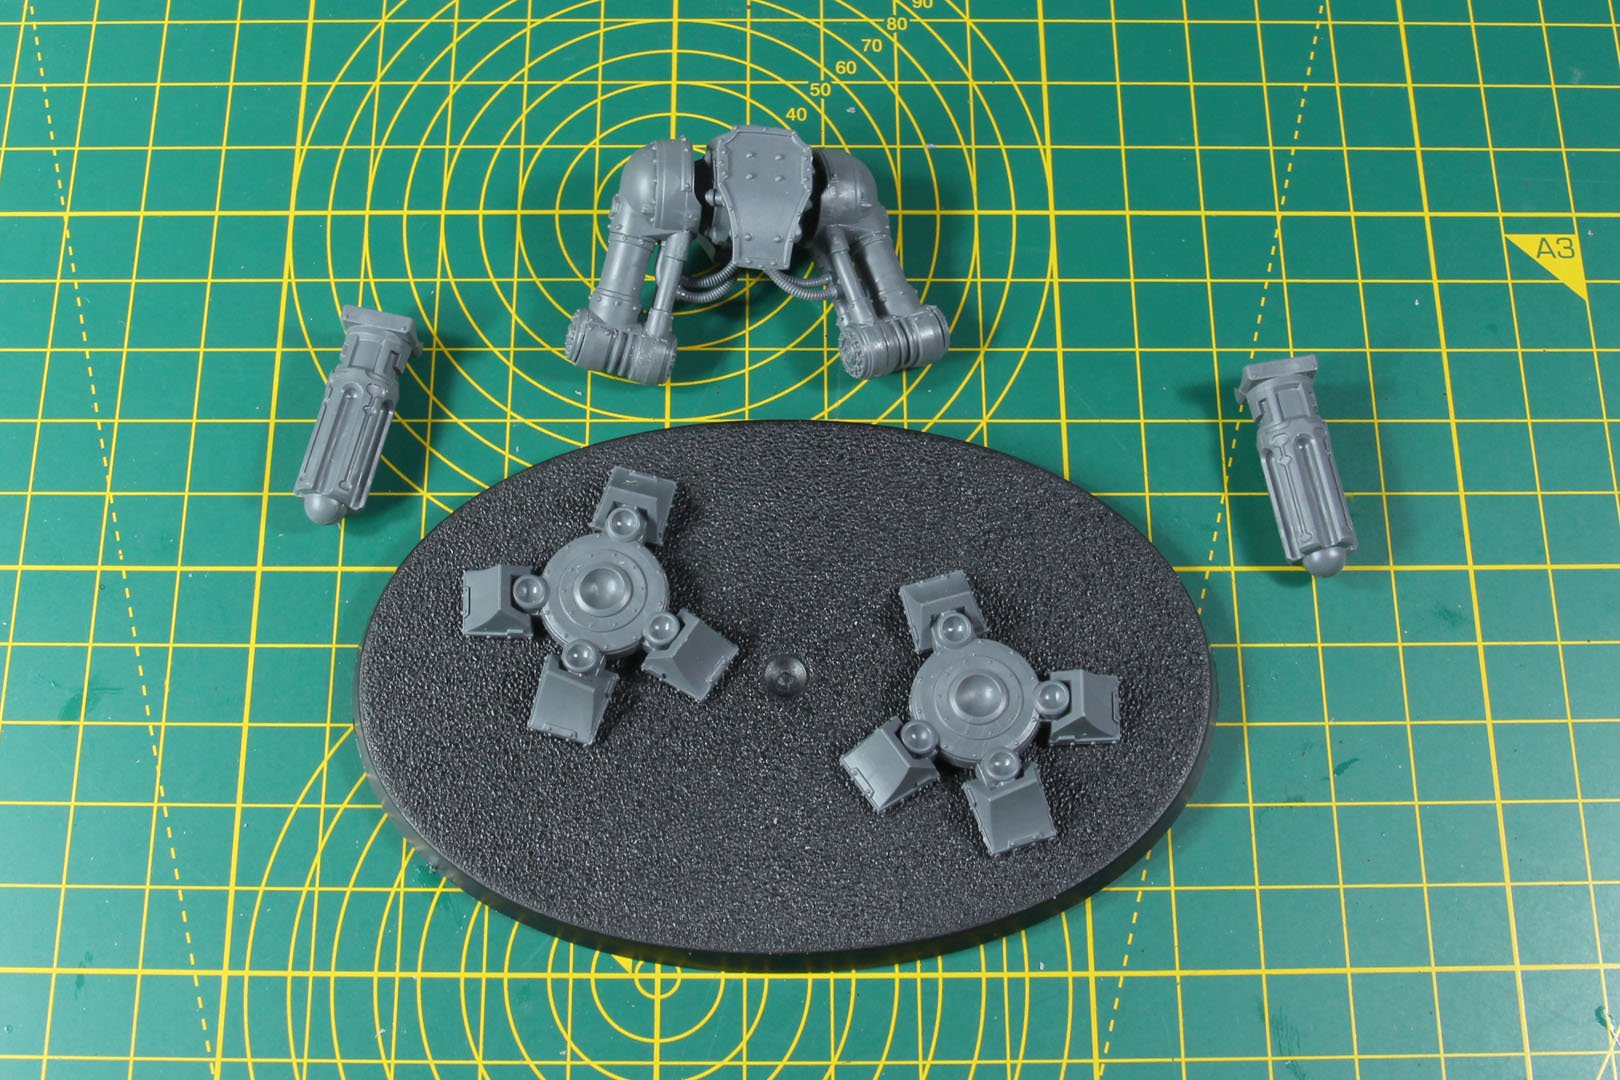
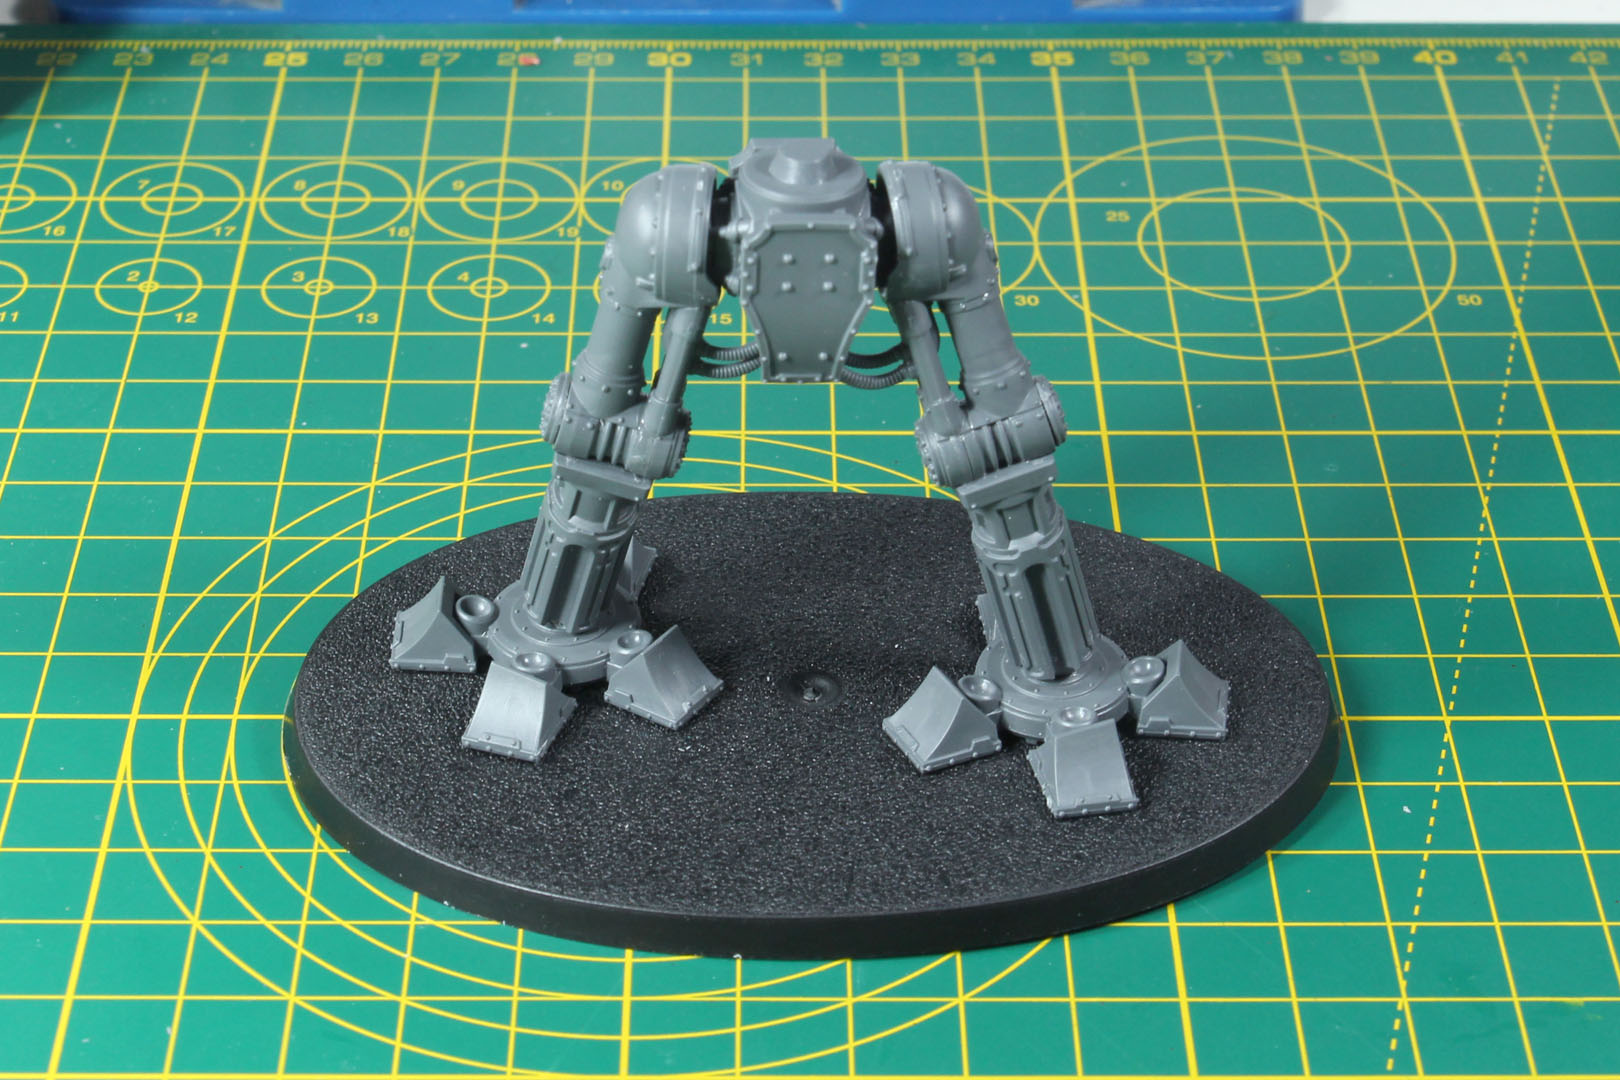
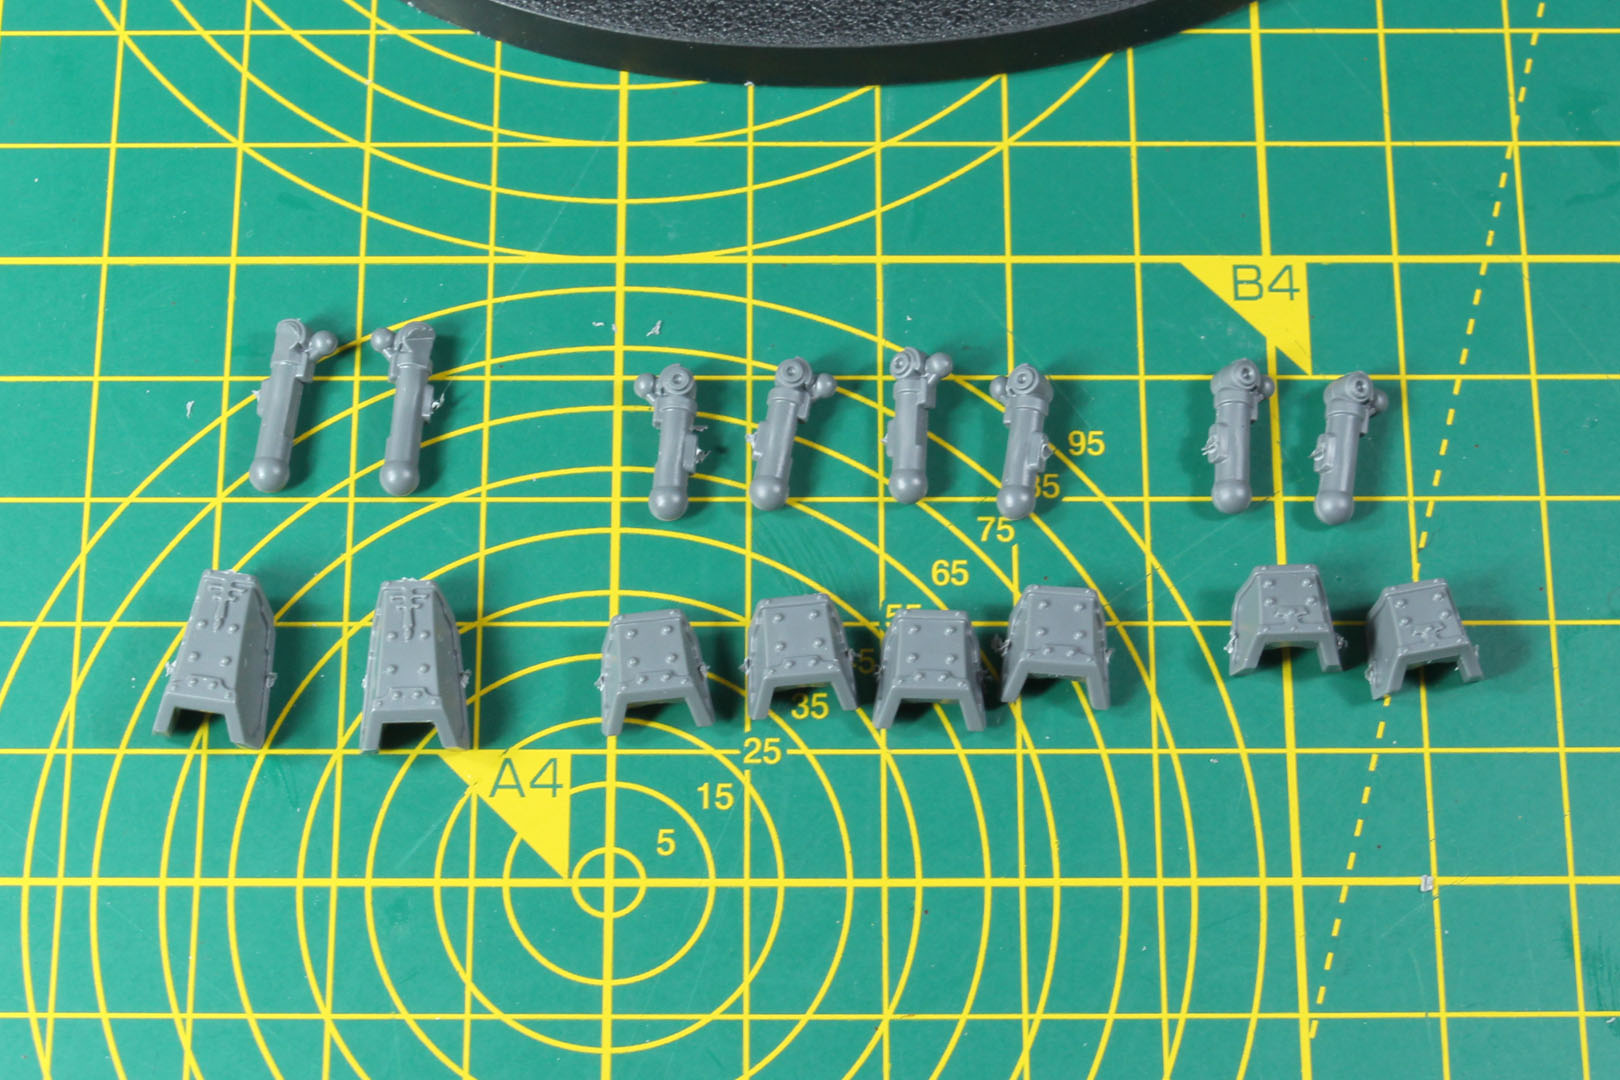
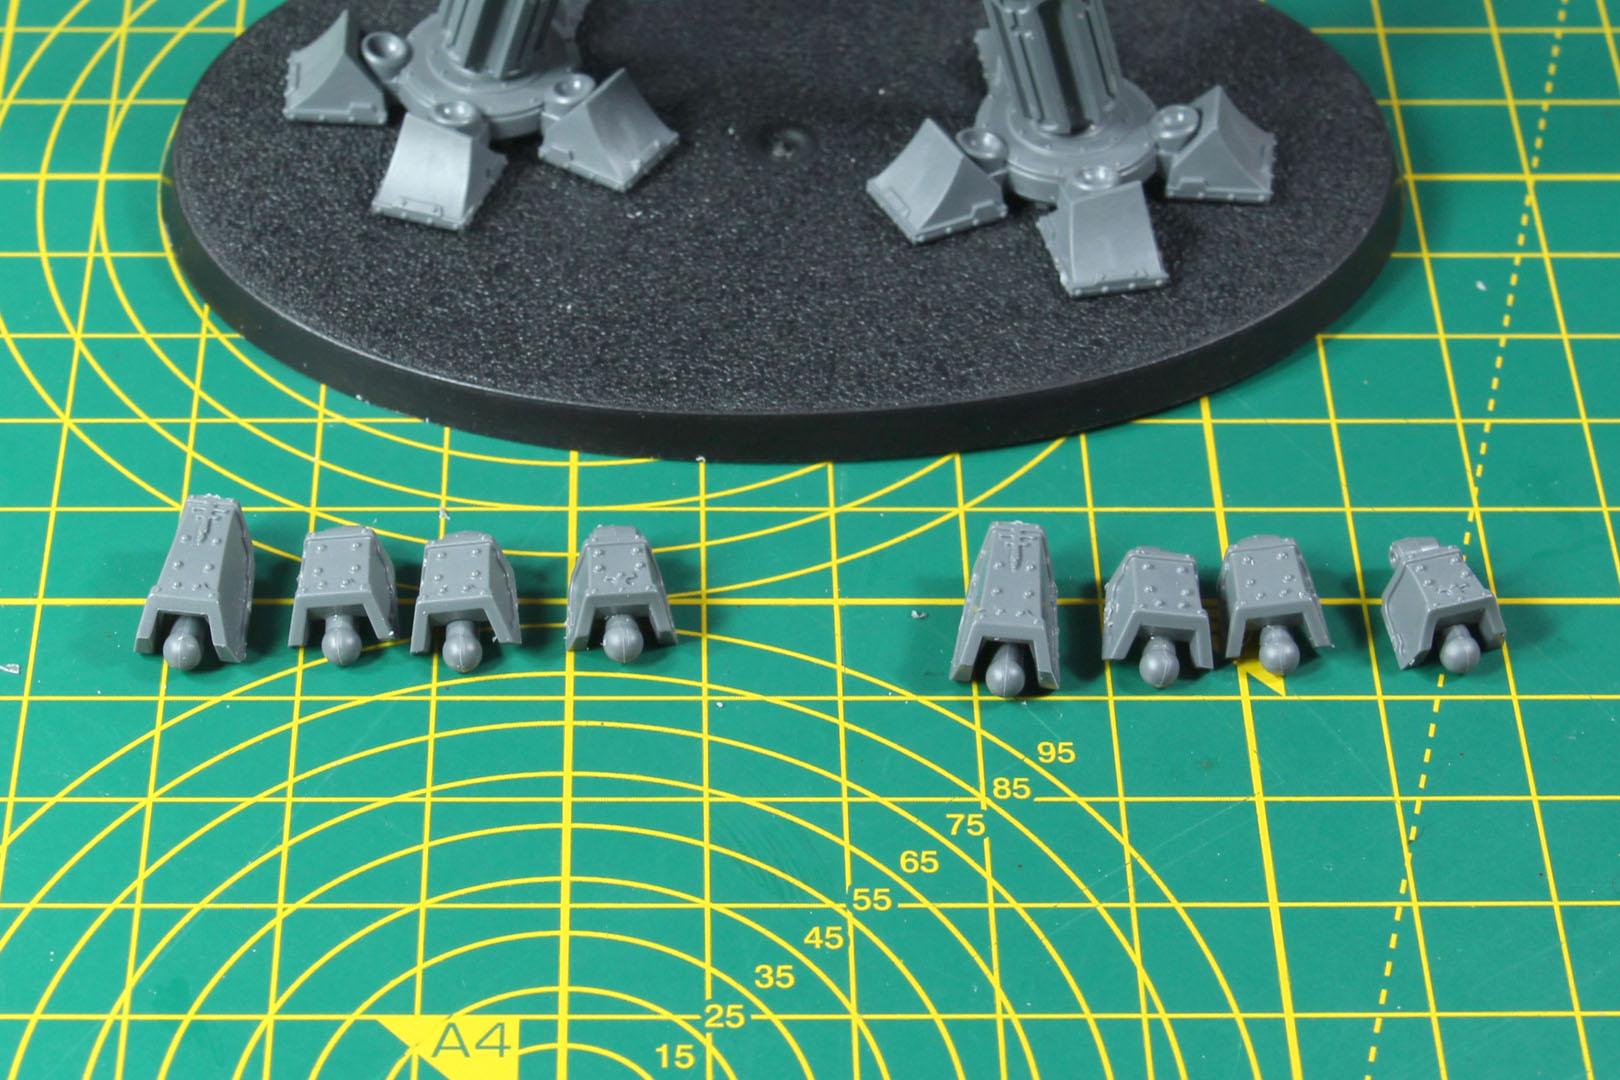
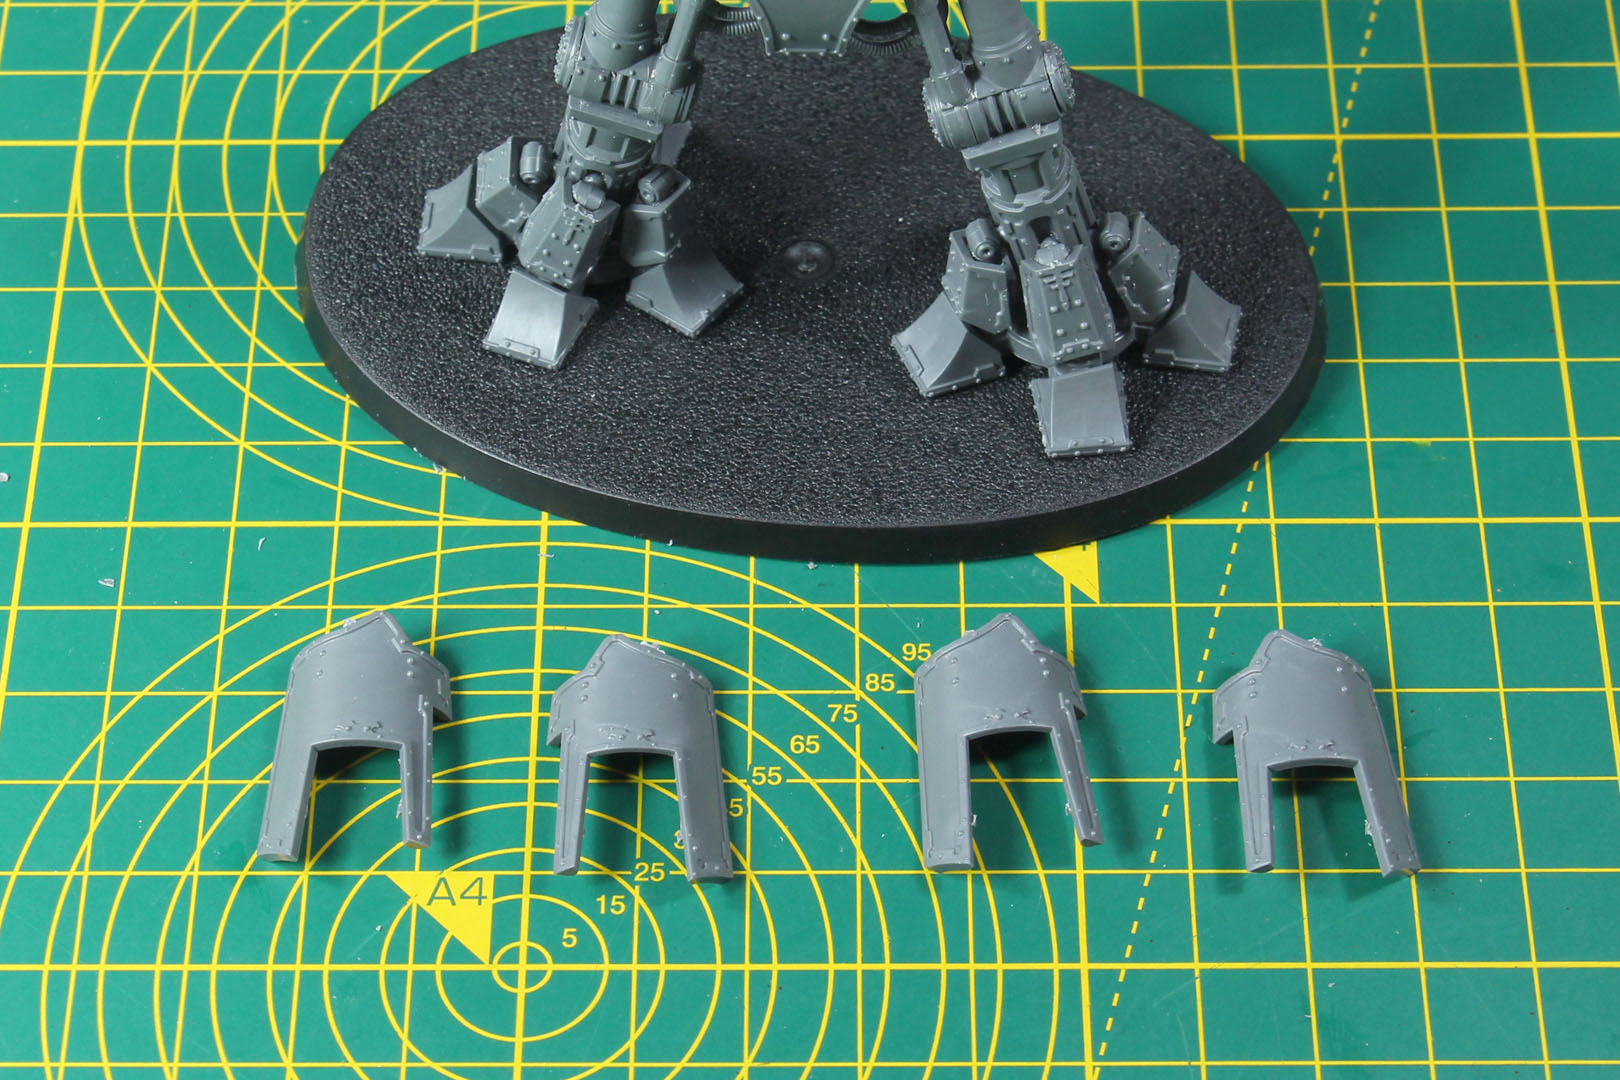
The linear drives around the ankles are quite demanding. These come in three different sizes and are covered with armour plates. As the lower legs have embedded rails, you are quite free to position them, for example for the walking poses mentioned above. Just make sure not to angle them too extreme, as you might have trouble adding the lower armour plates around the pistons. Do a dry run and continue.
With the titan kits in general, I recommend leaving off the armour plates and painting them separately. It makes it much easier to handle, speeds up the process of priming by rattle can or airbrush, and gives you much more control over the project.
You get three knee pads with two different designs, giving you a pre-sculpted option (the Opus Titanicus insignia) or an empty canvas for freehands and/or decals.
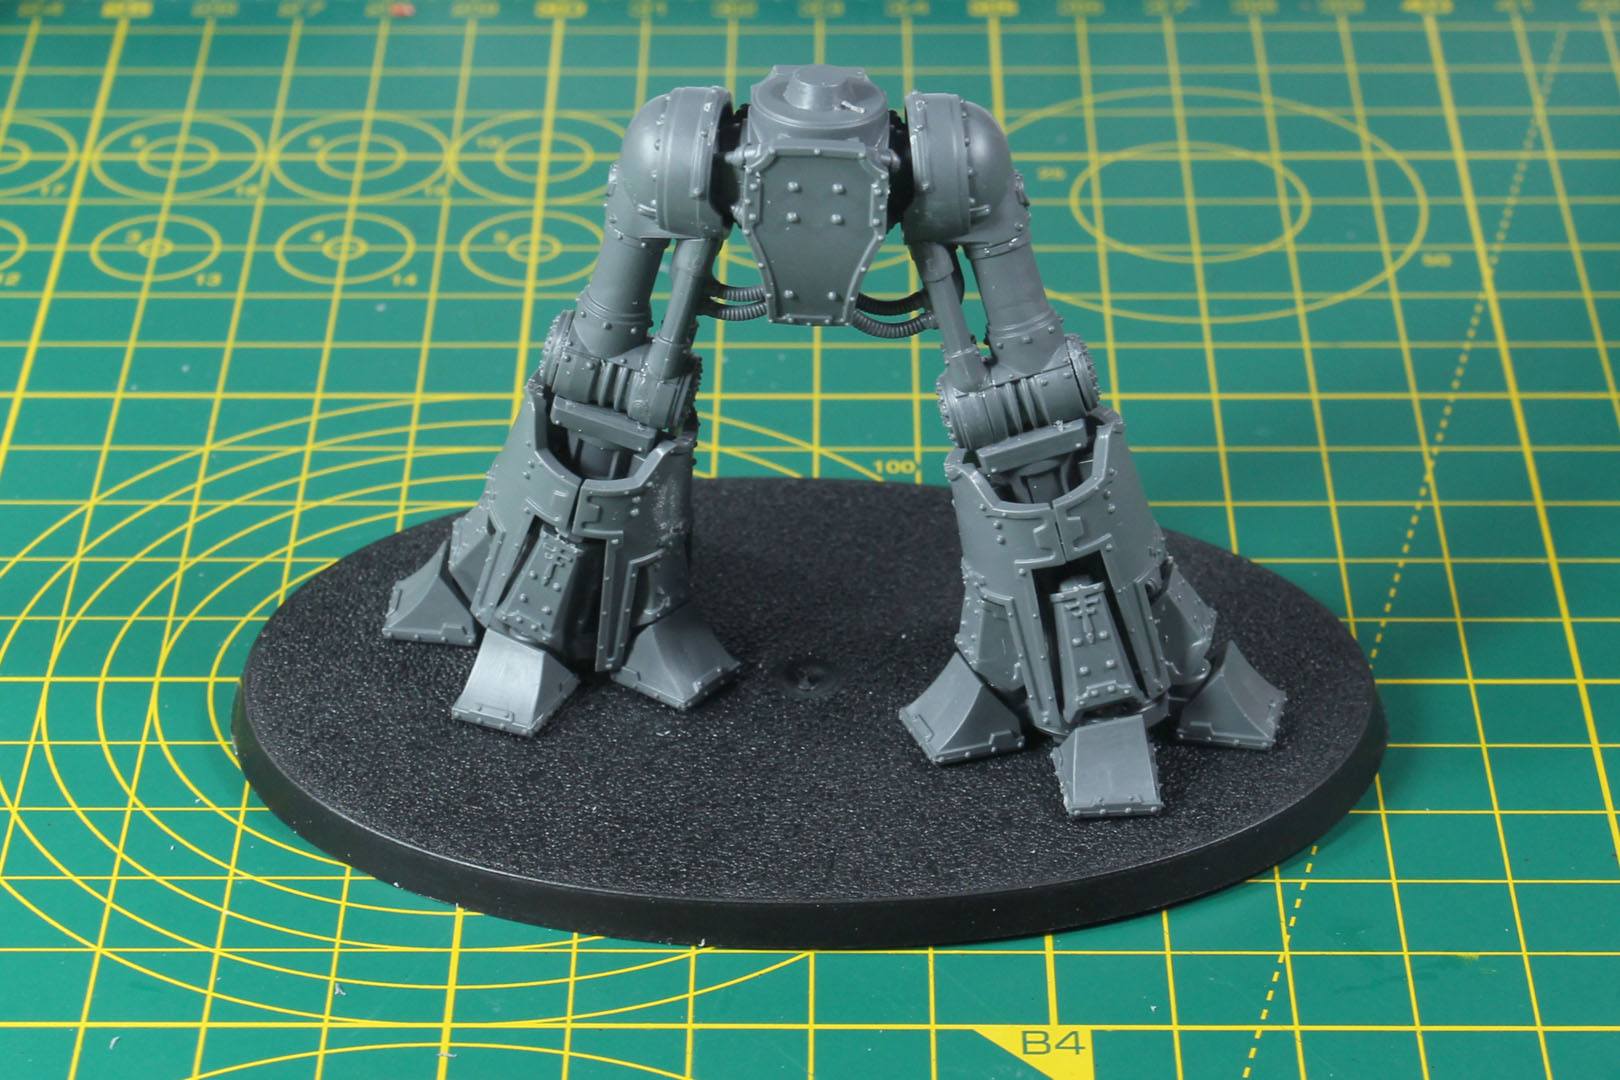
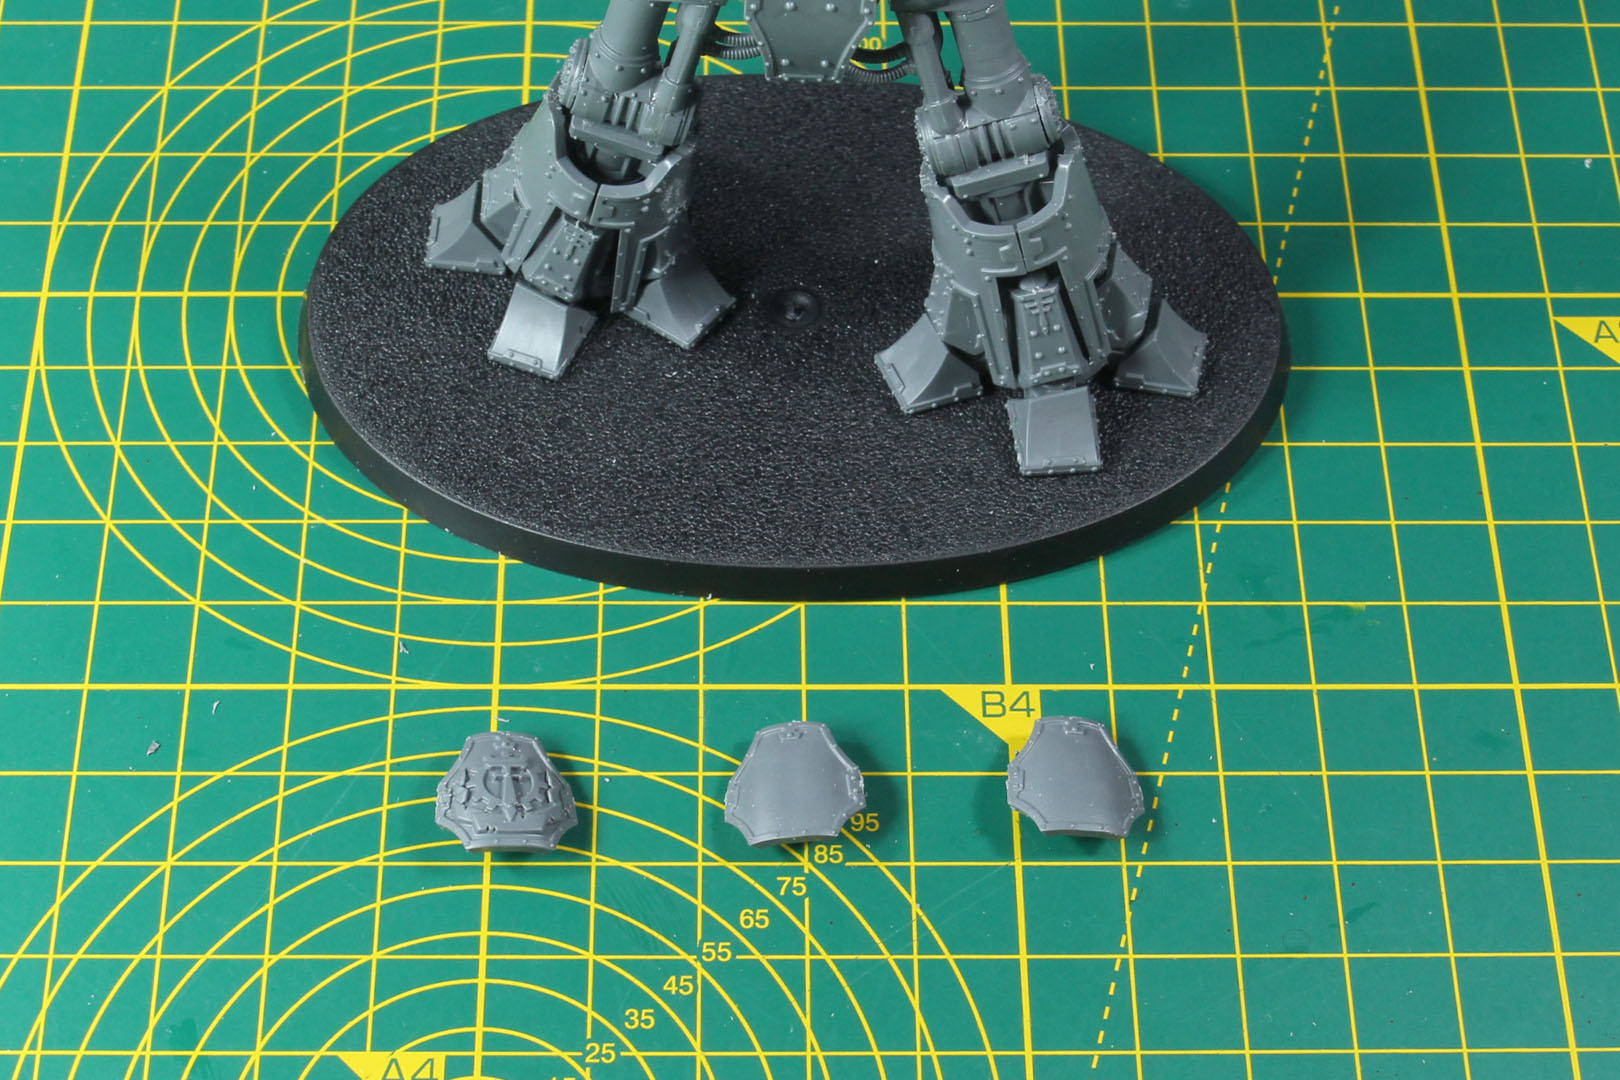
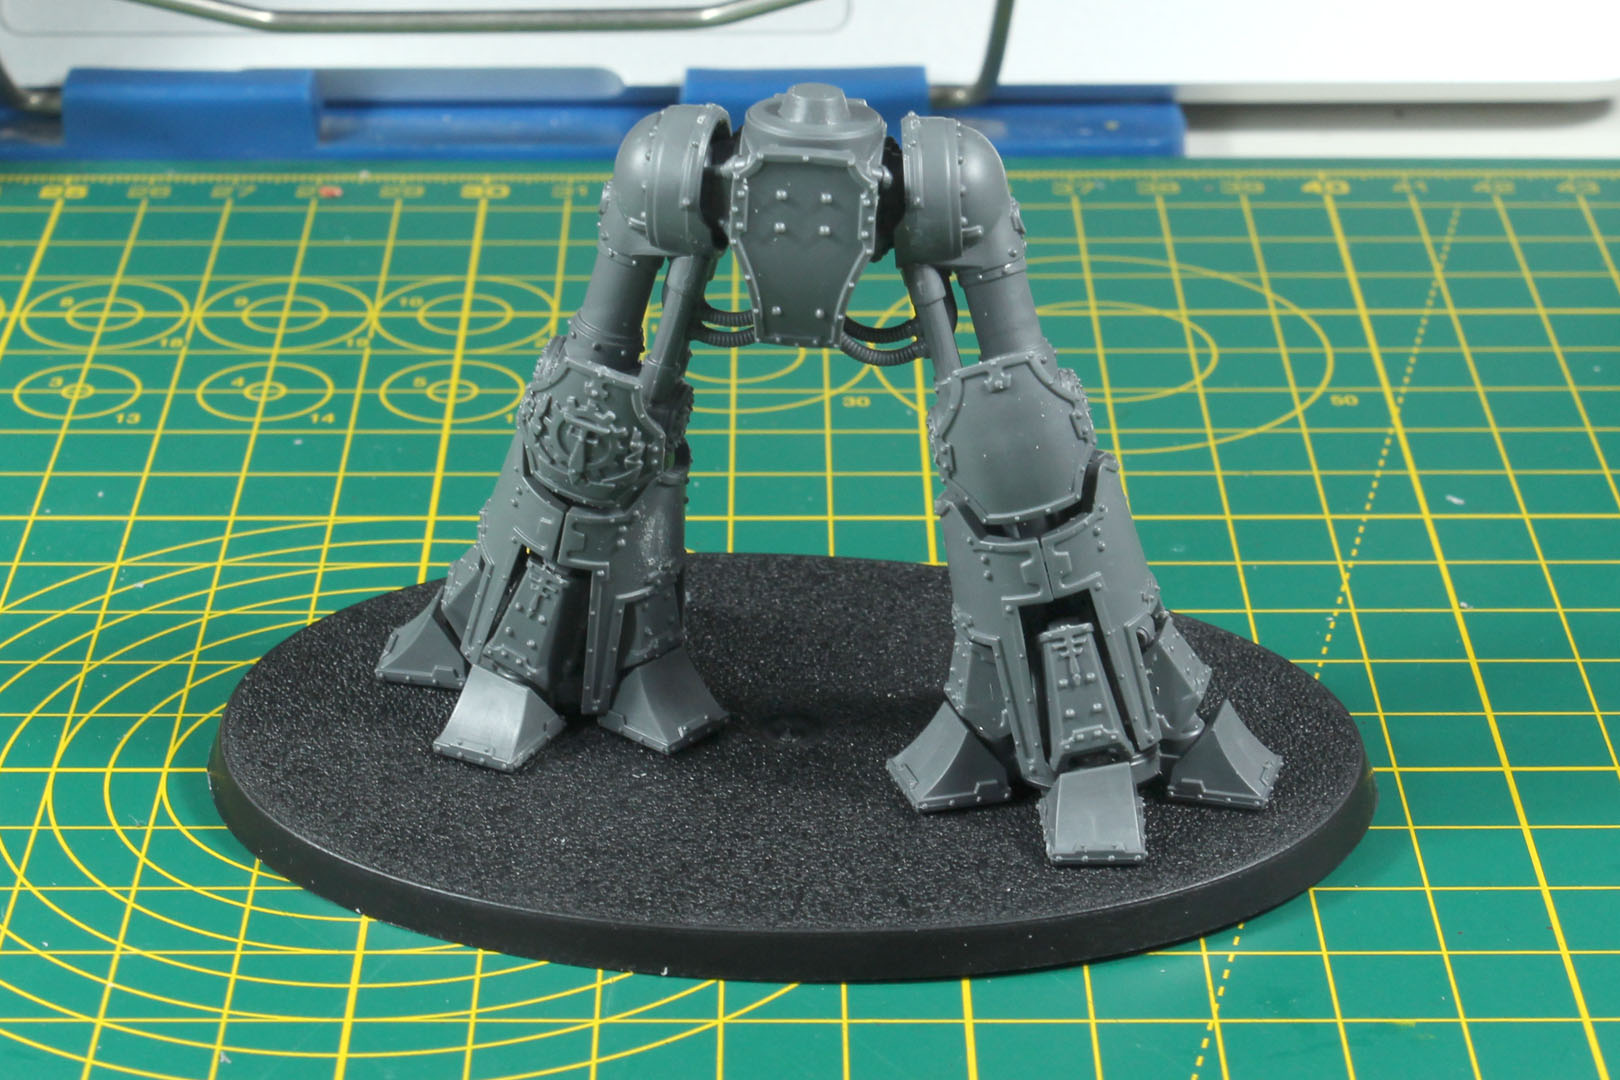
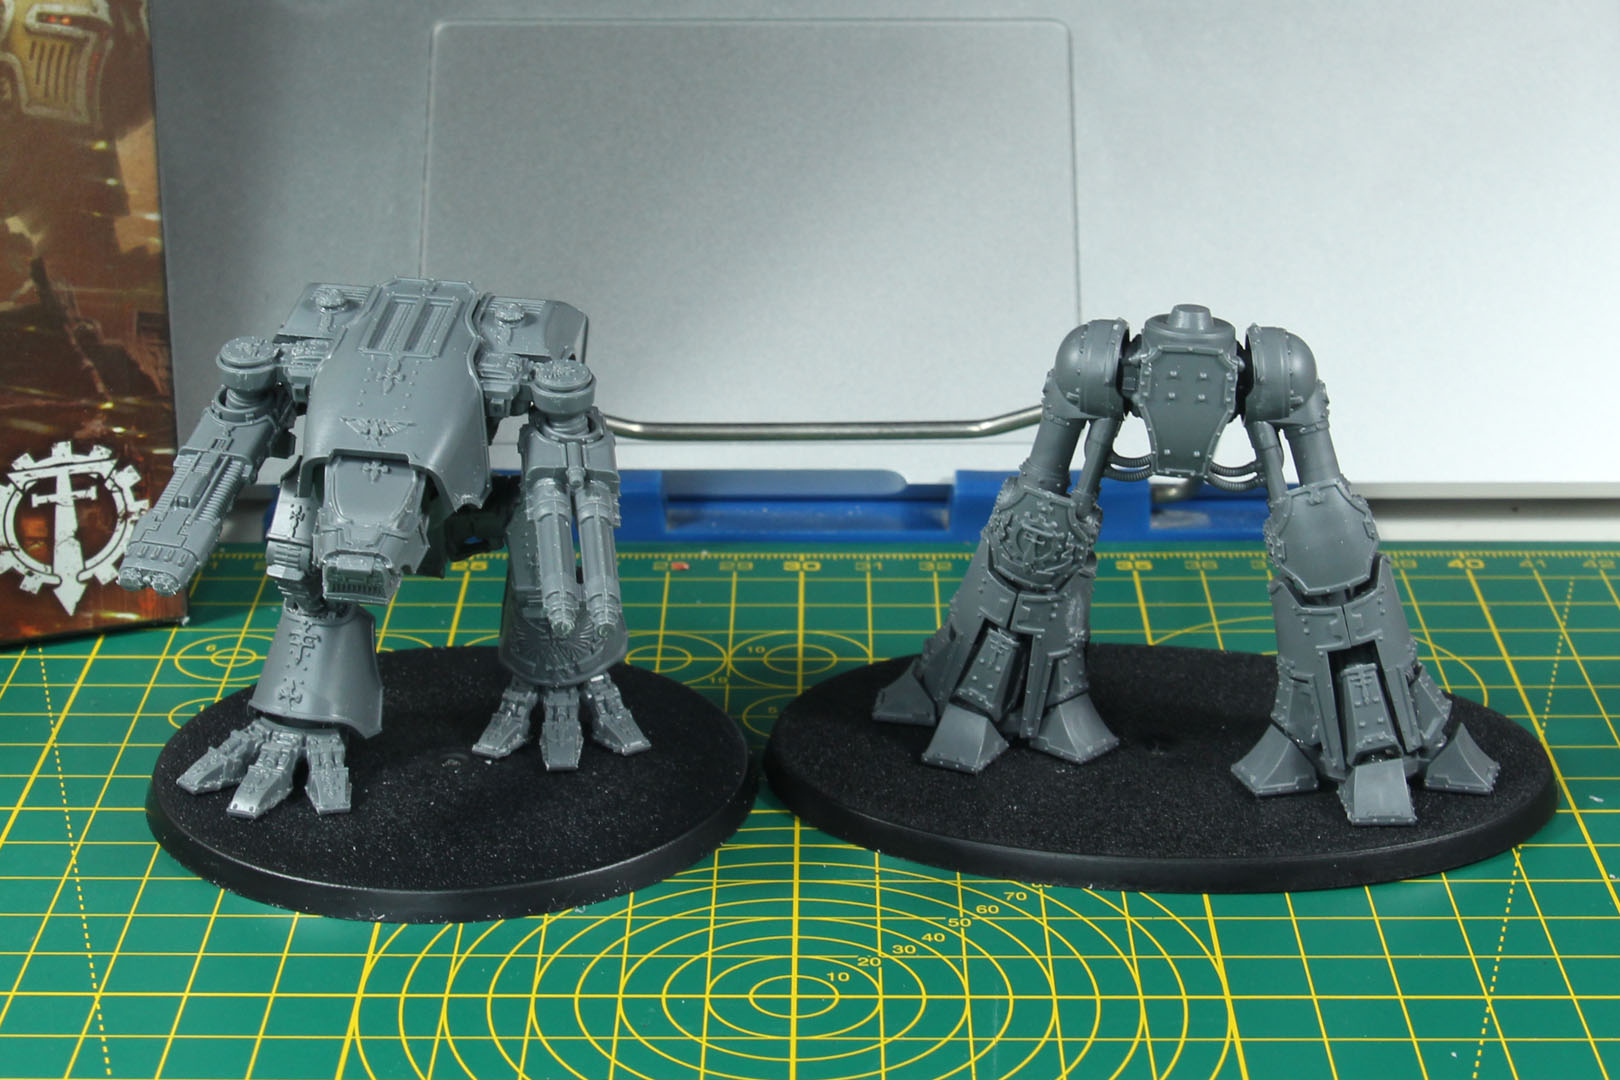
And to provide you with a quick idea of how tall the Reaver is, here's the comparison with the Warhound Scout Titan. The Reaver's hips are already as tall as the Warhound's shoulders.
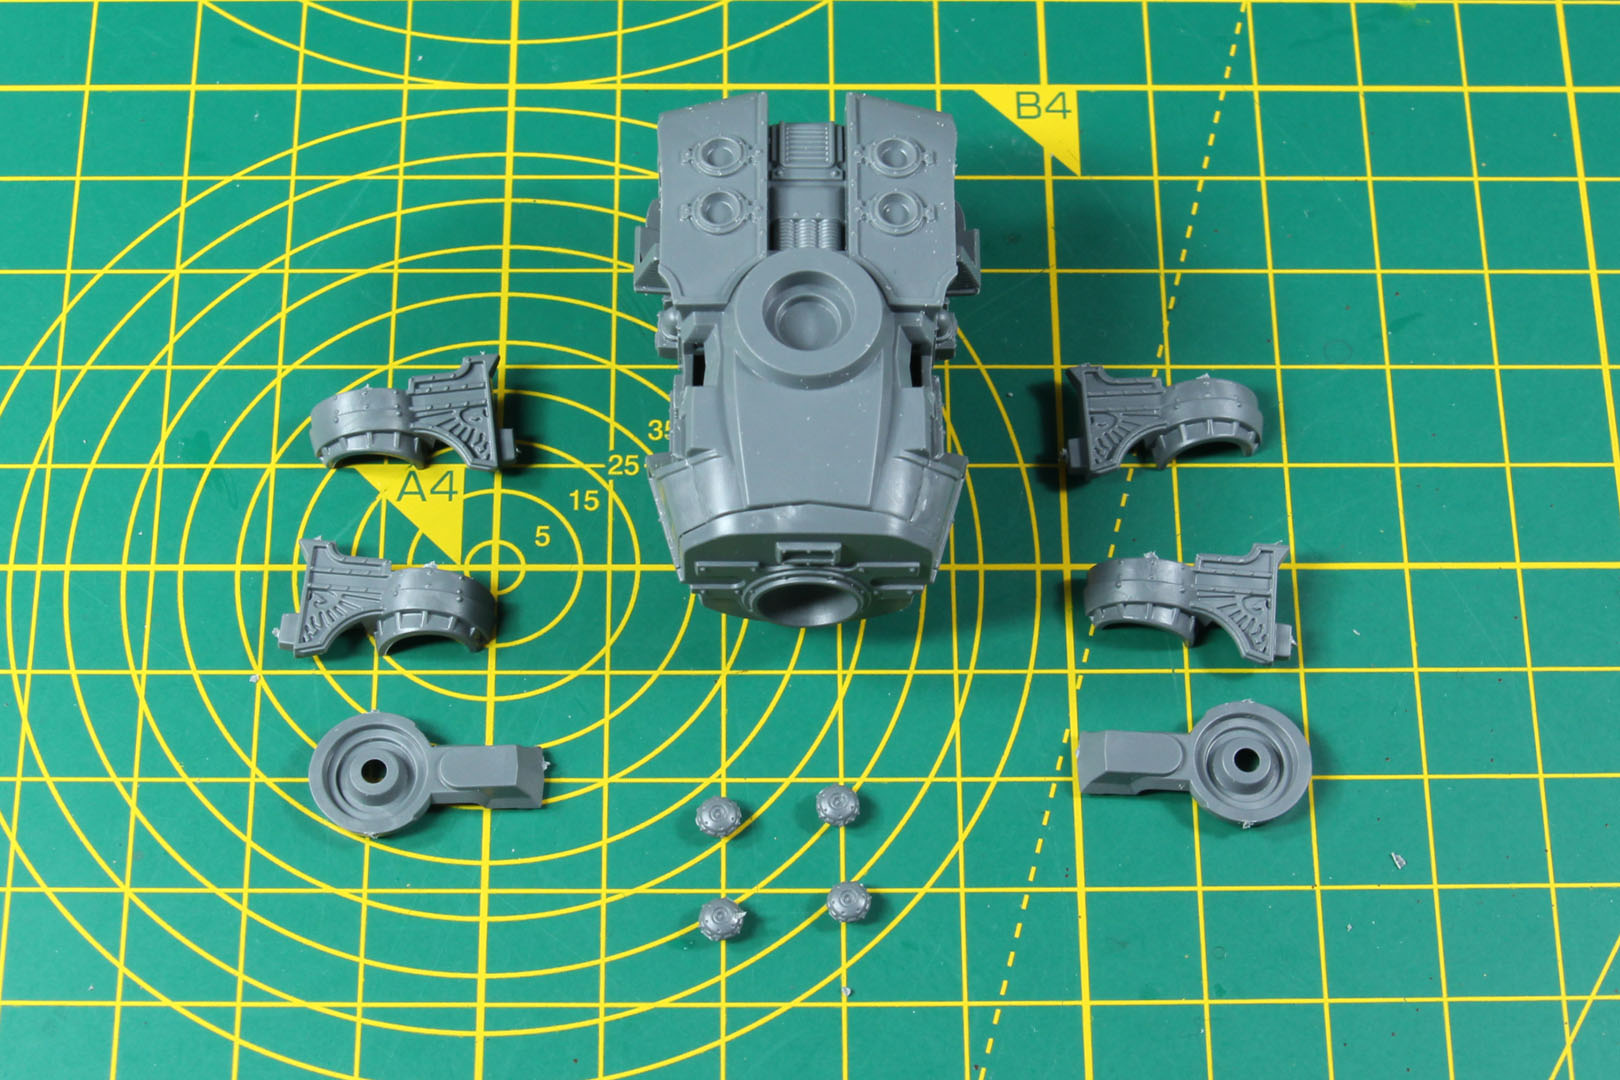
Now we continue with the upper body of the Reaver. It consists of many individual pieces to provide the plasticity of the design. It is a hunched corpus, similar to the Warhound's, but quite a bit larger.
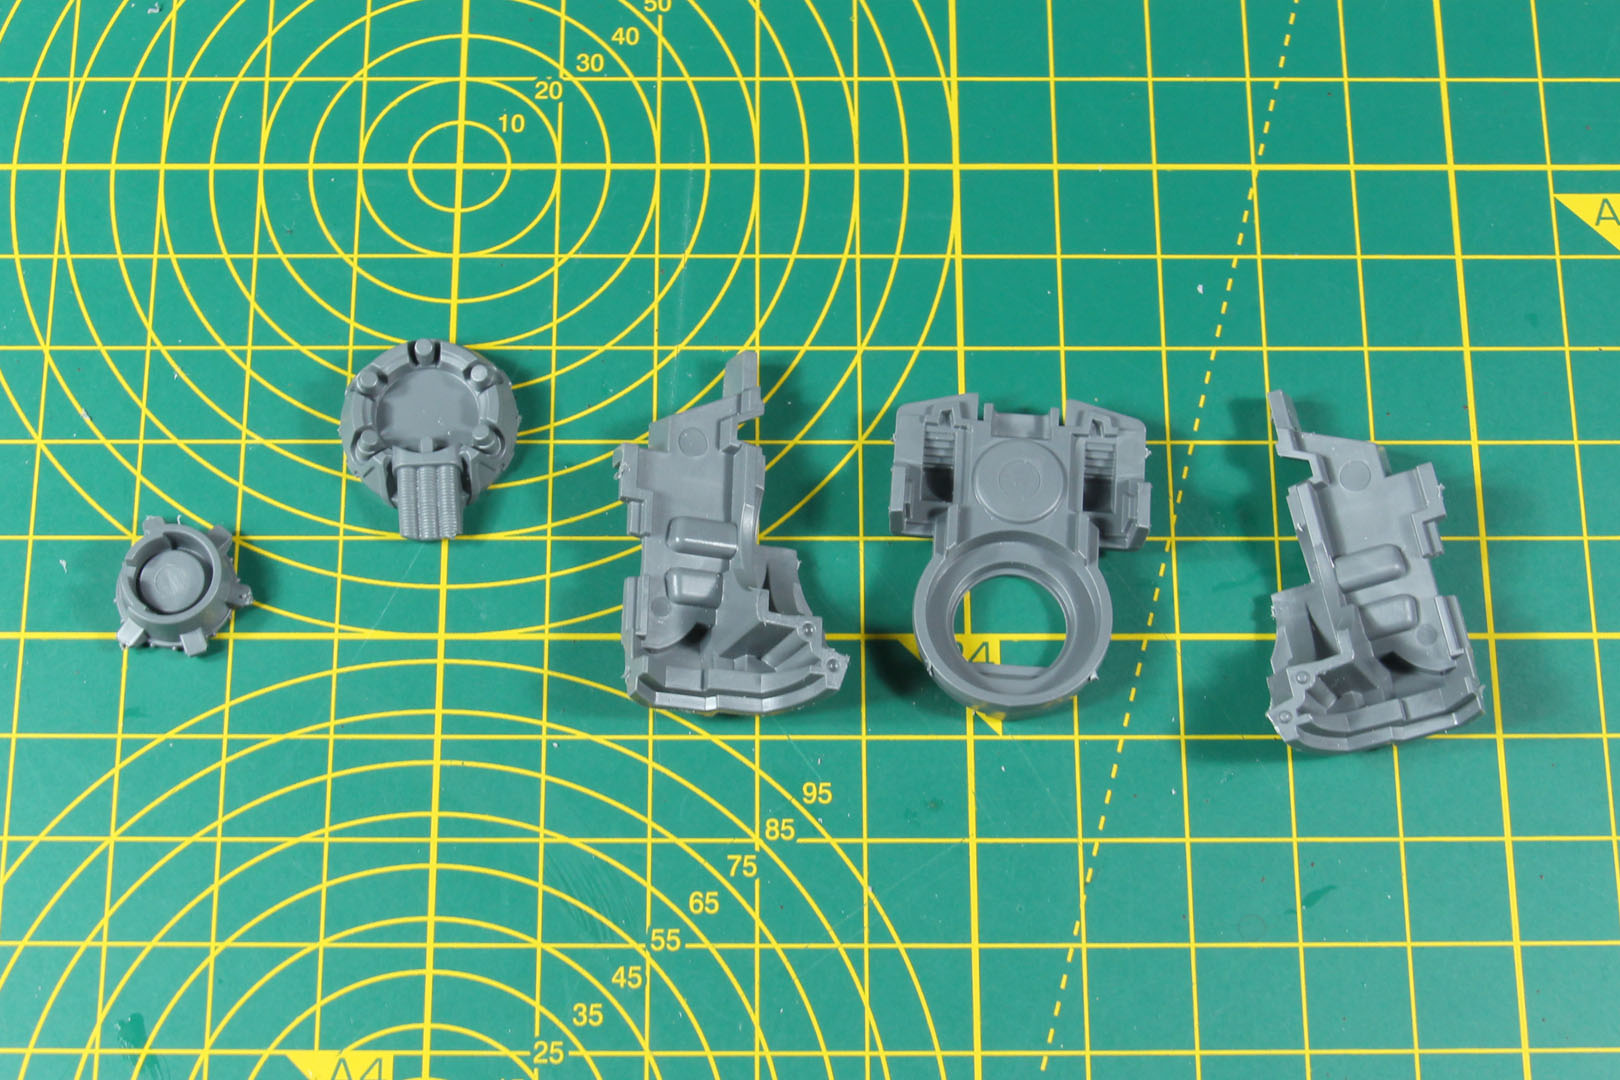
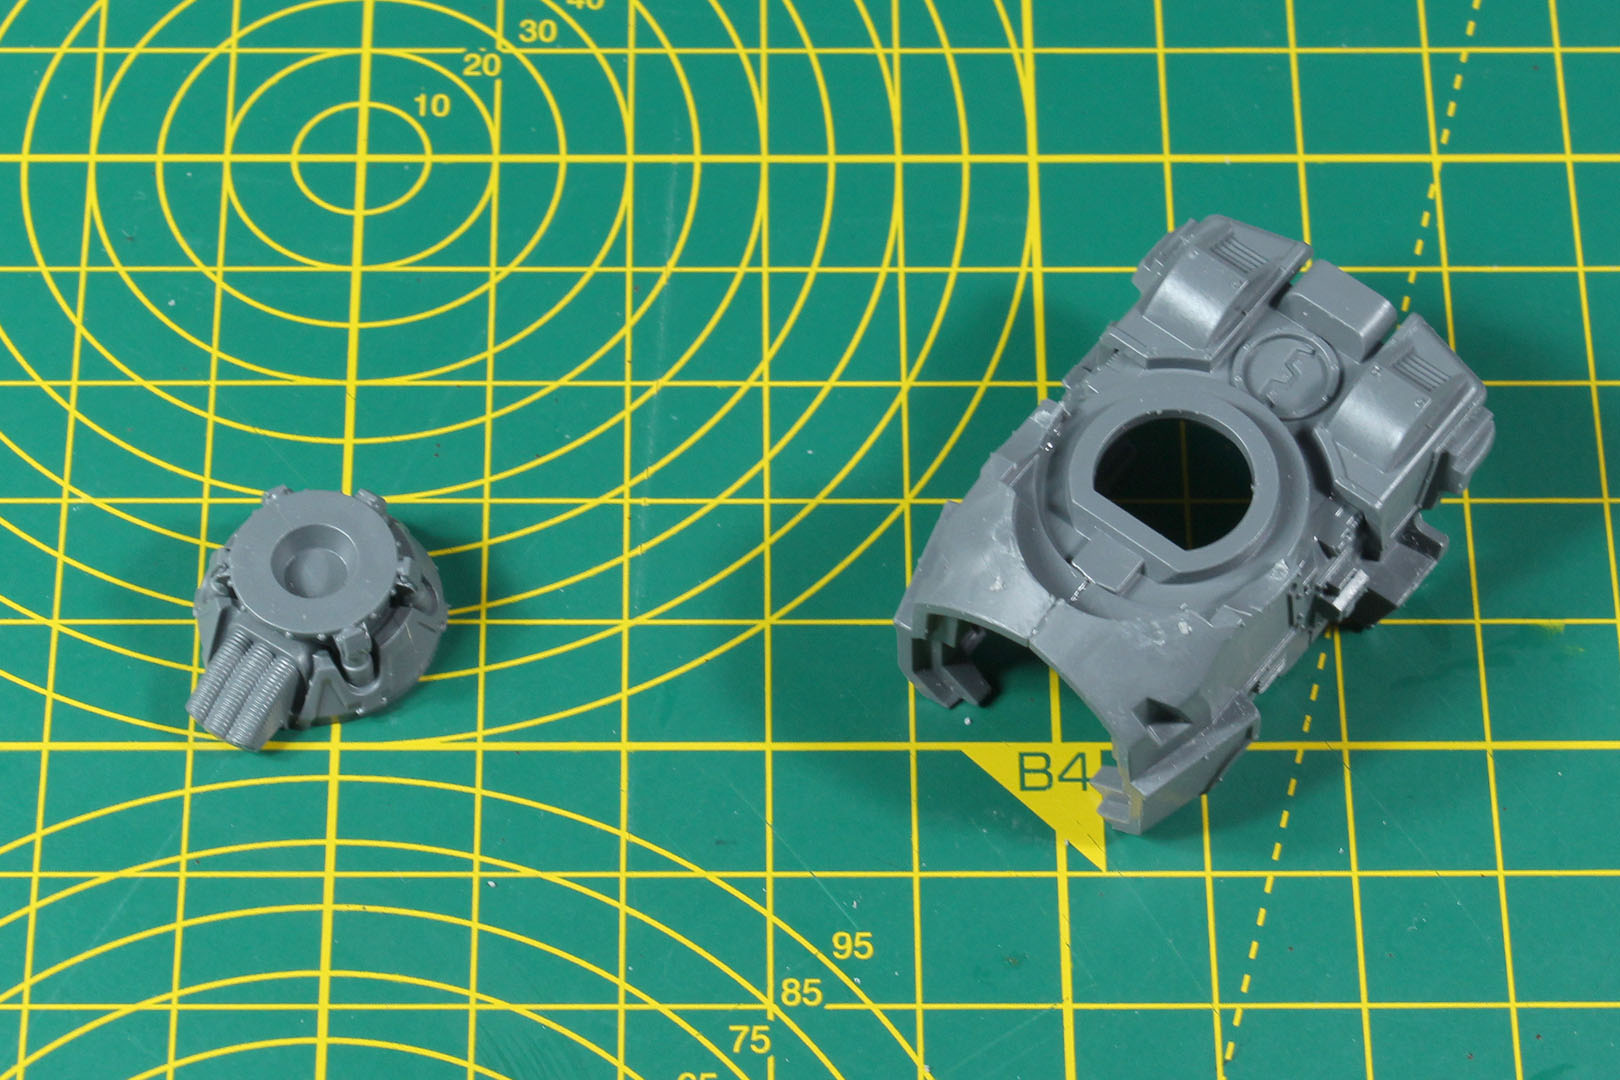
You add the upper arms (or rather their mounts) on the sides. On top of the power plant, you can see the four void shield generators. Adding the shield generators later is another detail that can speed up painting and make access to the trim easier.
The back part of the carapace armour is added later.
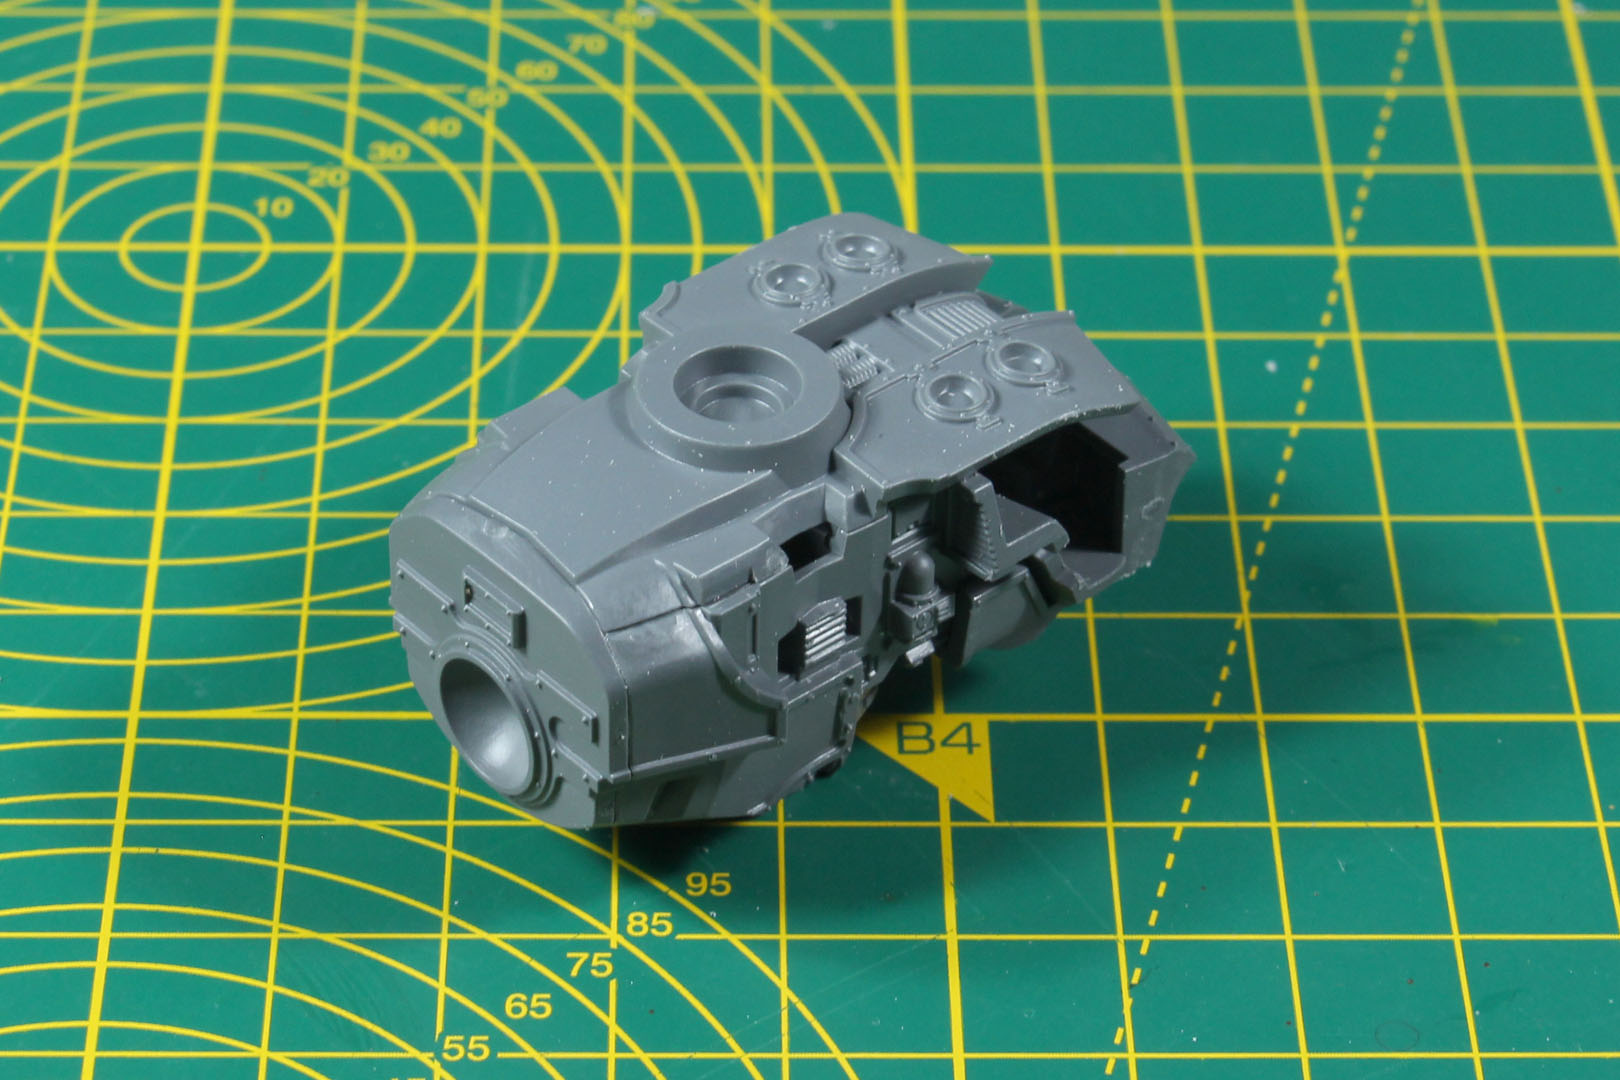
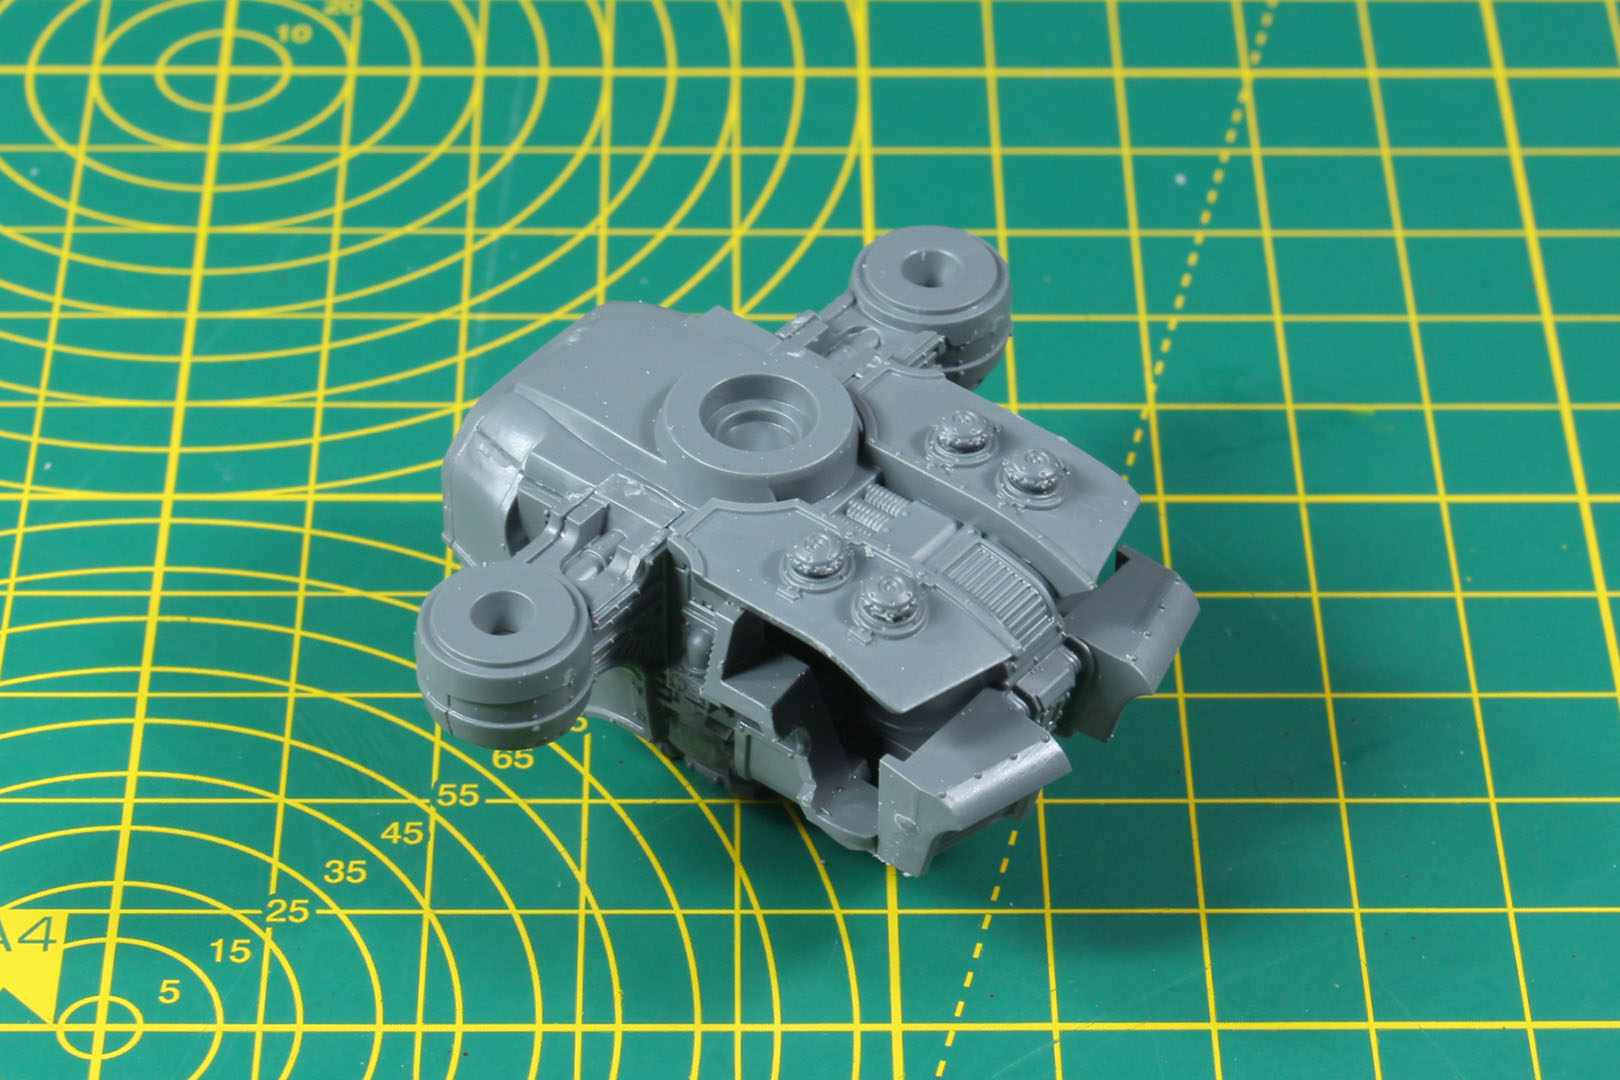
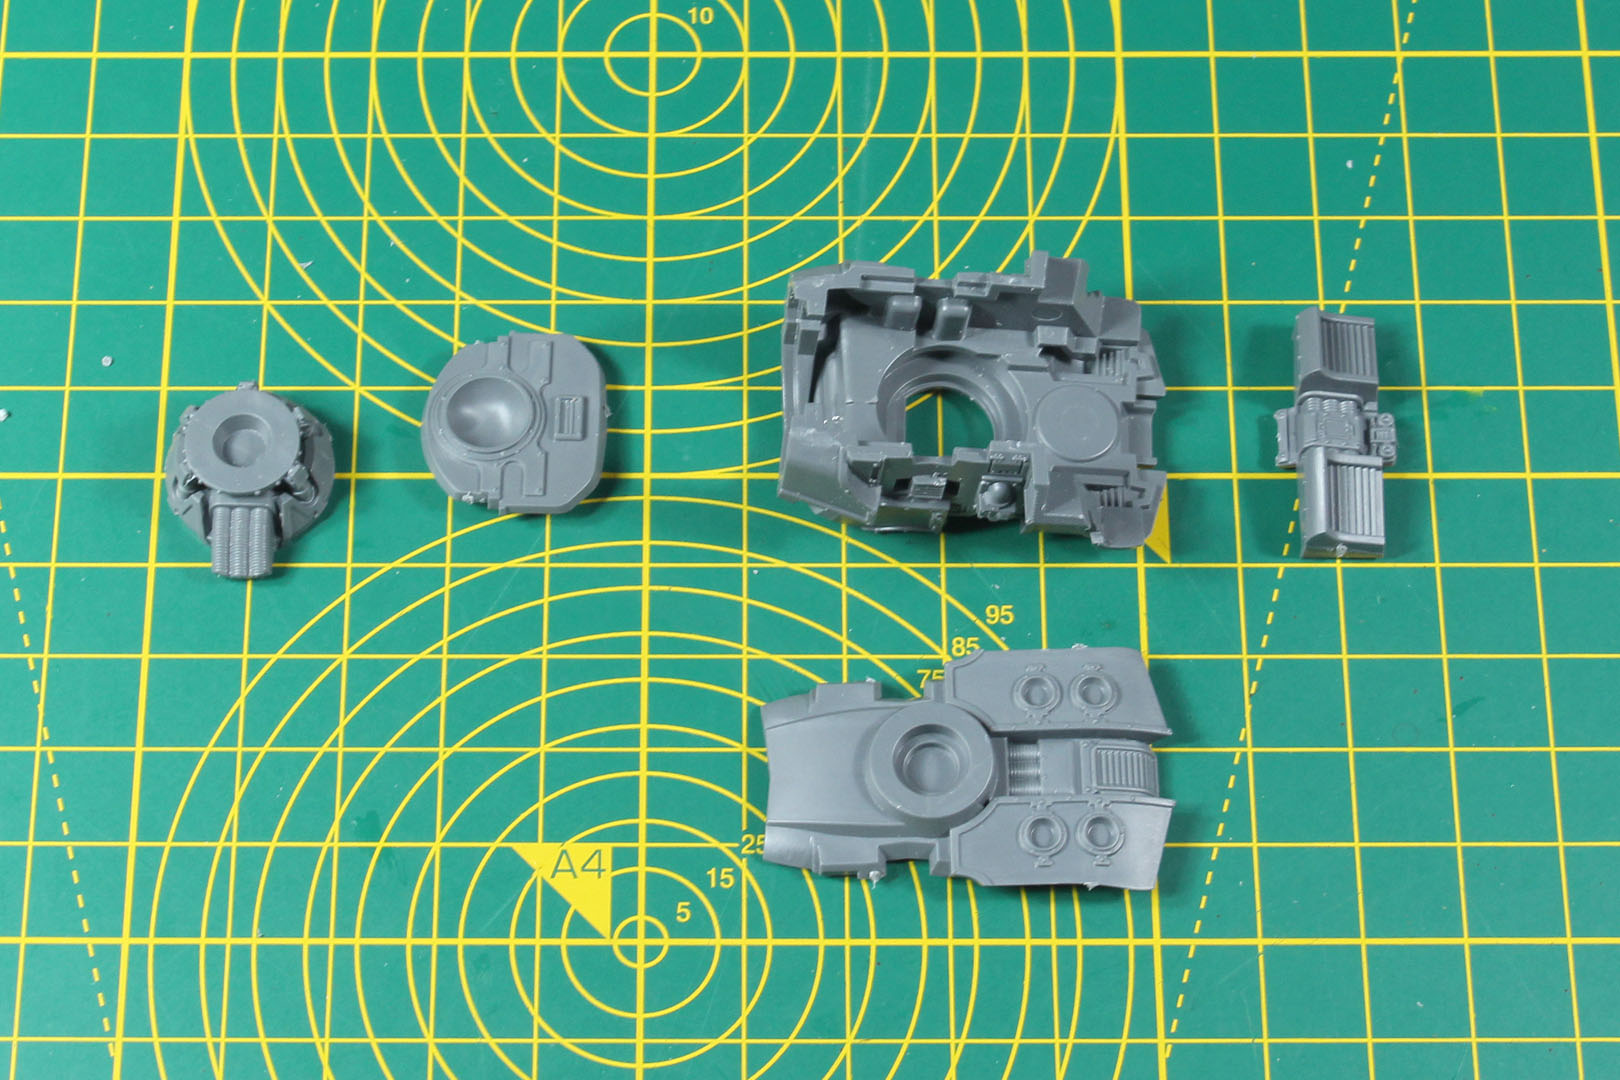
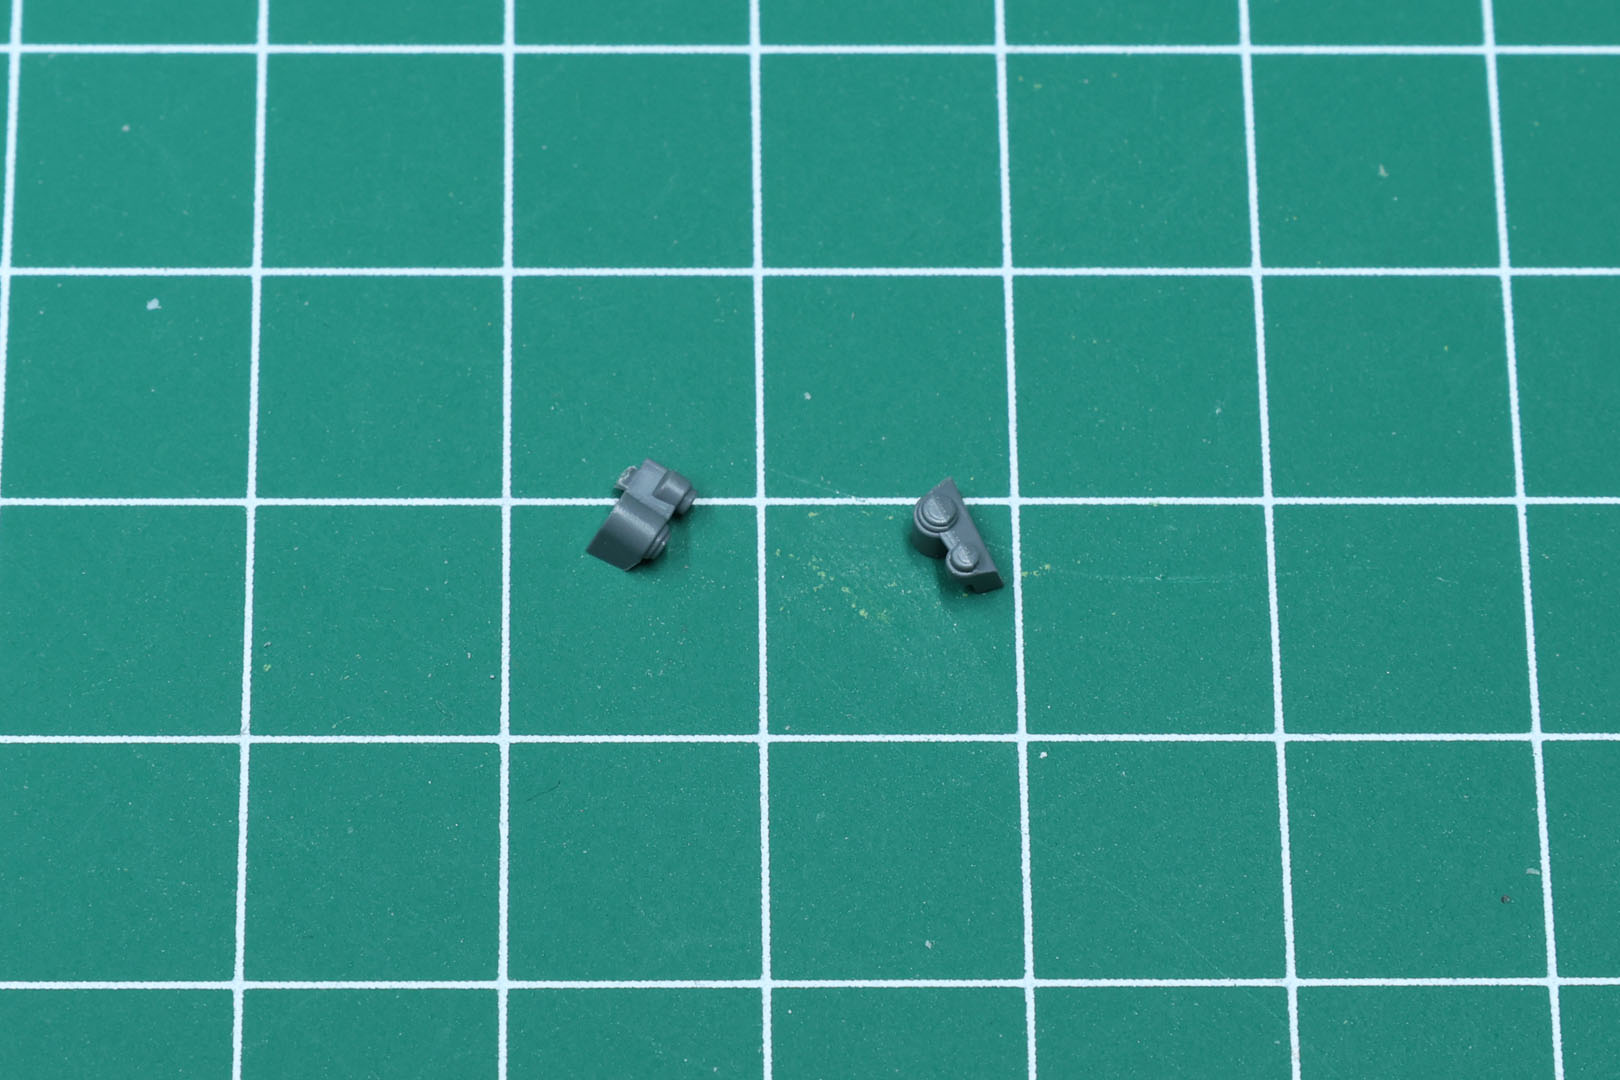
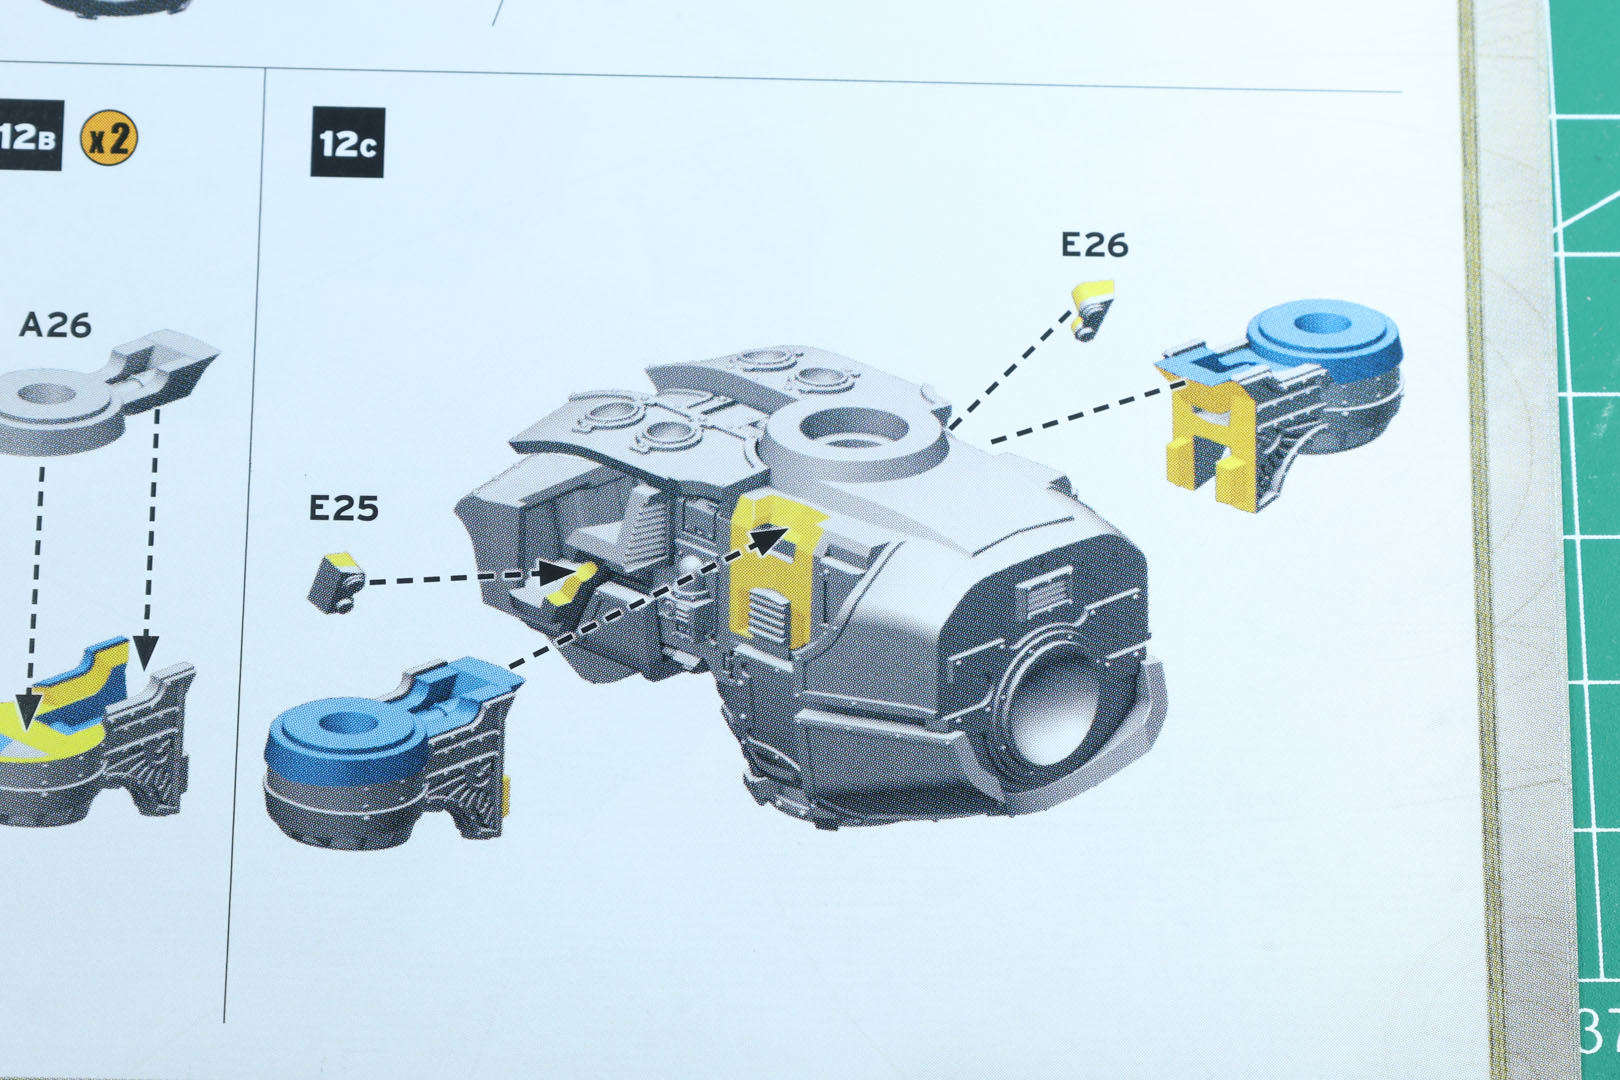
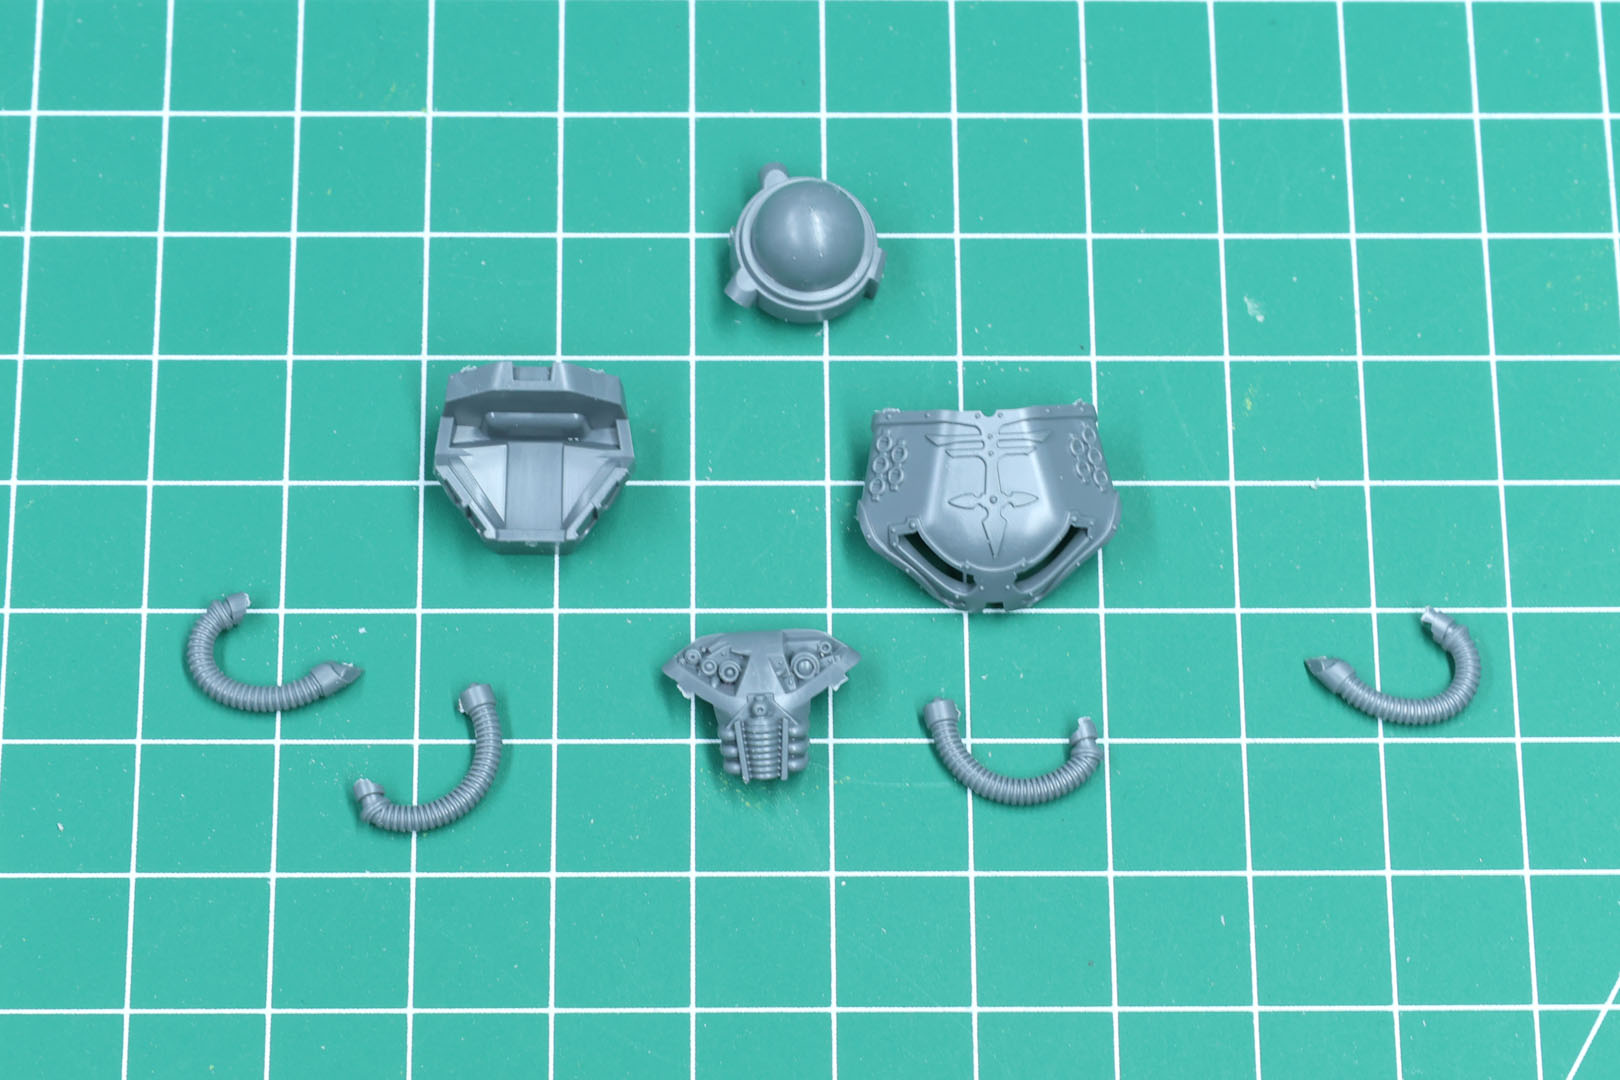
In the first Reaver set (with Gatling Blaster and Power Fist), the weapons were connected with cables to the body, making it impossible to swap them or have them at different angles. This new kit has two pieces to cover these holes (E25 and E26). As they are covered by the arms and angled in a way that you can barely see them directly, I usually just used the parts with the cables and cut them at the base to fill the holes. But it is neat that we now have covers directly in the kit.
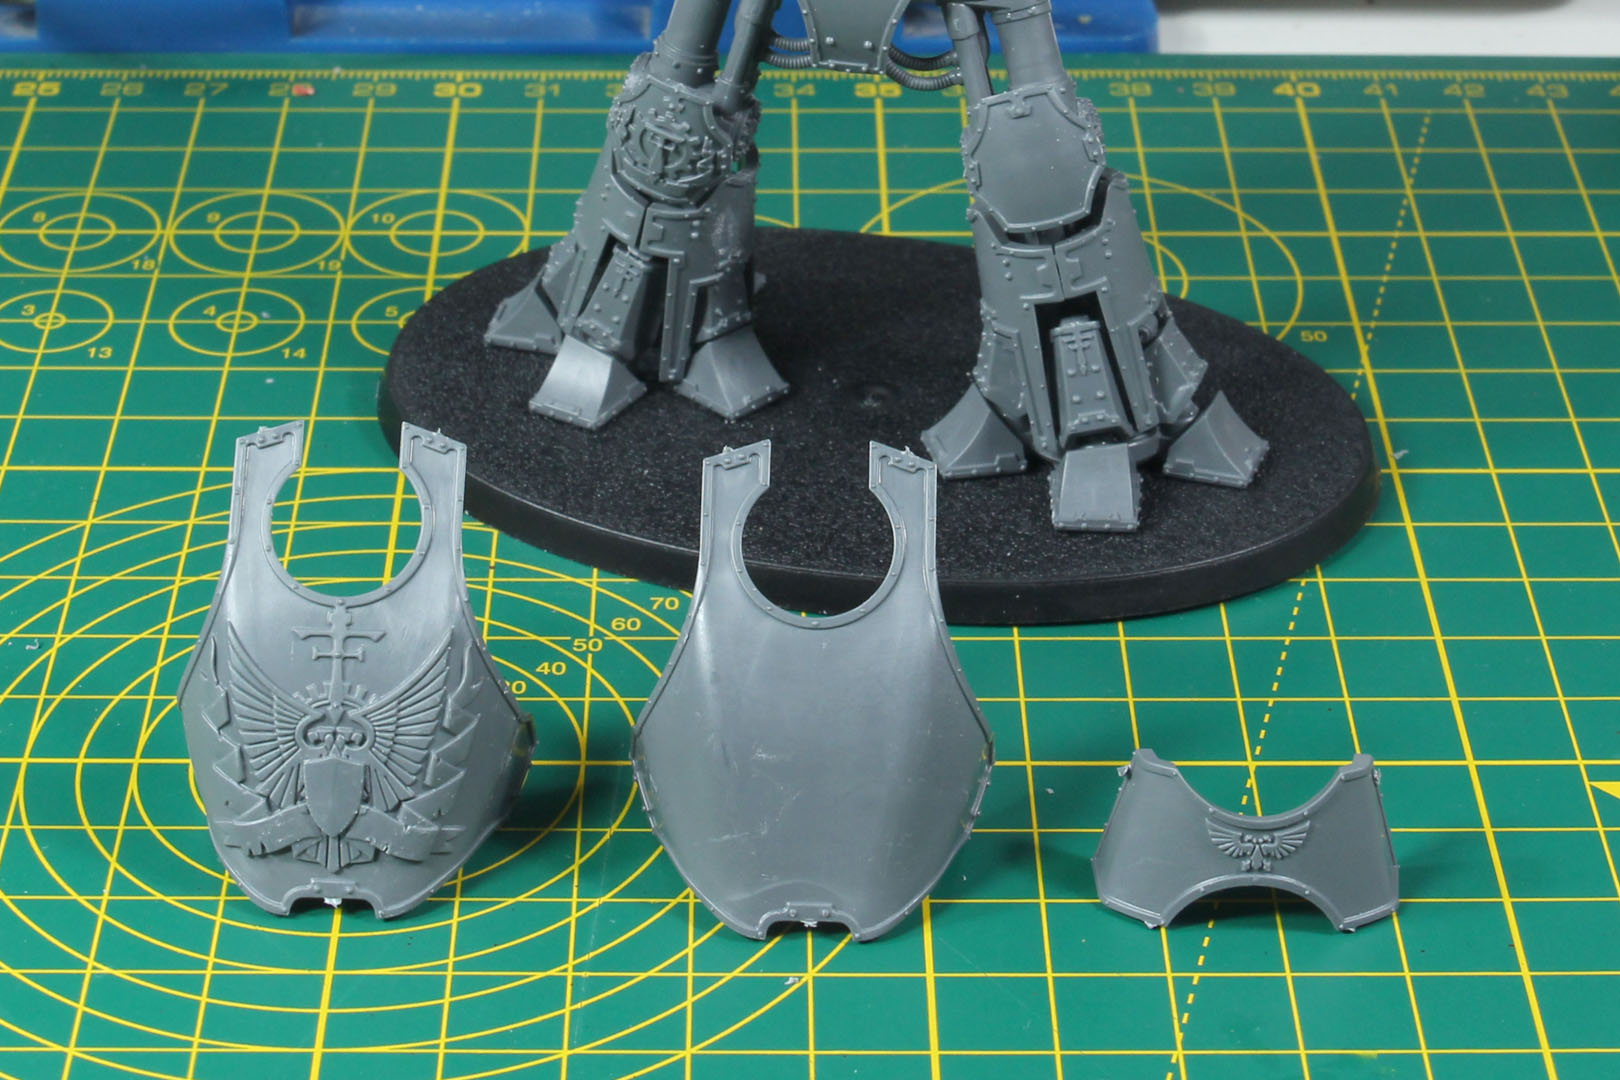
We add armour to the back and chest. You get two different designs for the back: one highly detailed with scrolls and banners, along with a sword, the other one blank, for decals or freehands. The upper body is just kept in place with a bit of Blu Tack at this point and not glued. I went on to magnetize the upper body to the legs, as it makes transportation easier. You can see how I did that over here: Legio Astraman - Ad Arma Part XI.
I wouldn't recommend gluing the upper body onto the legs prior to painting, as it makes handling and access to the details much easier this way.
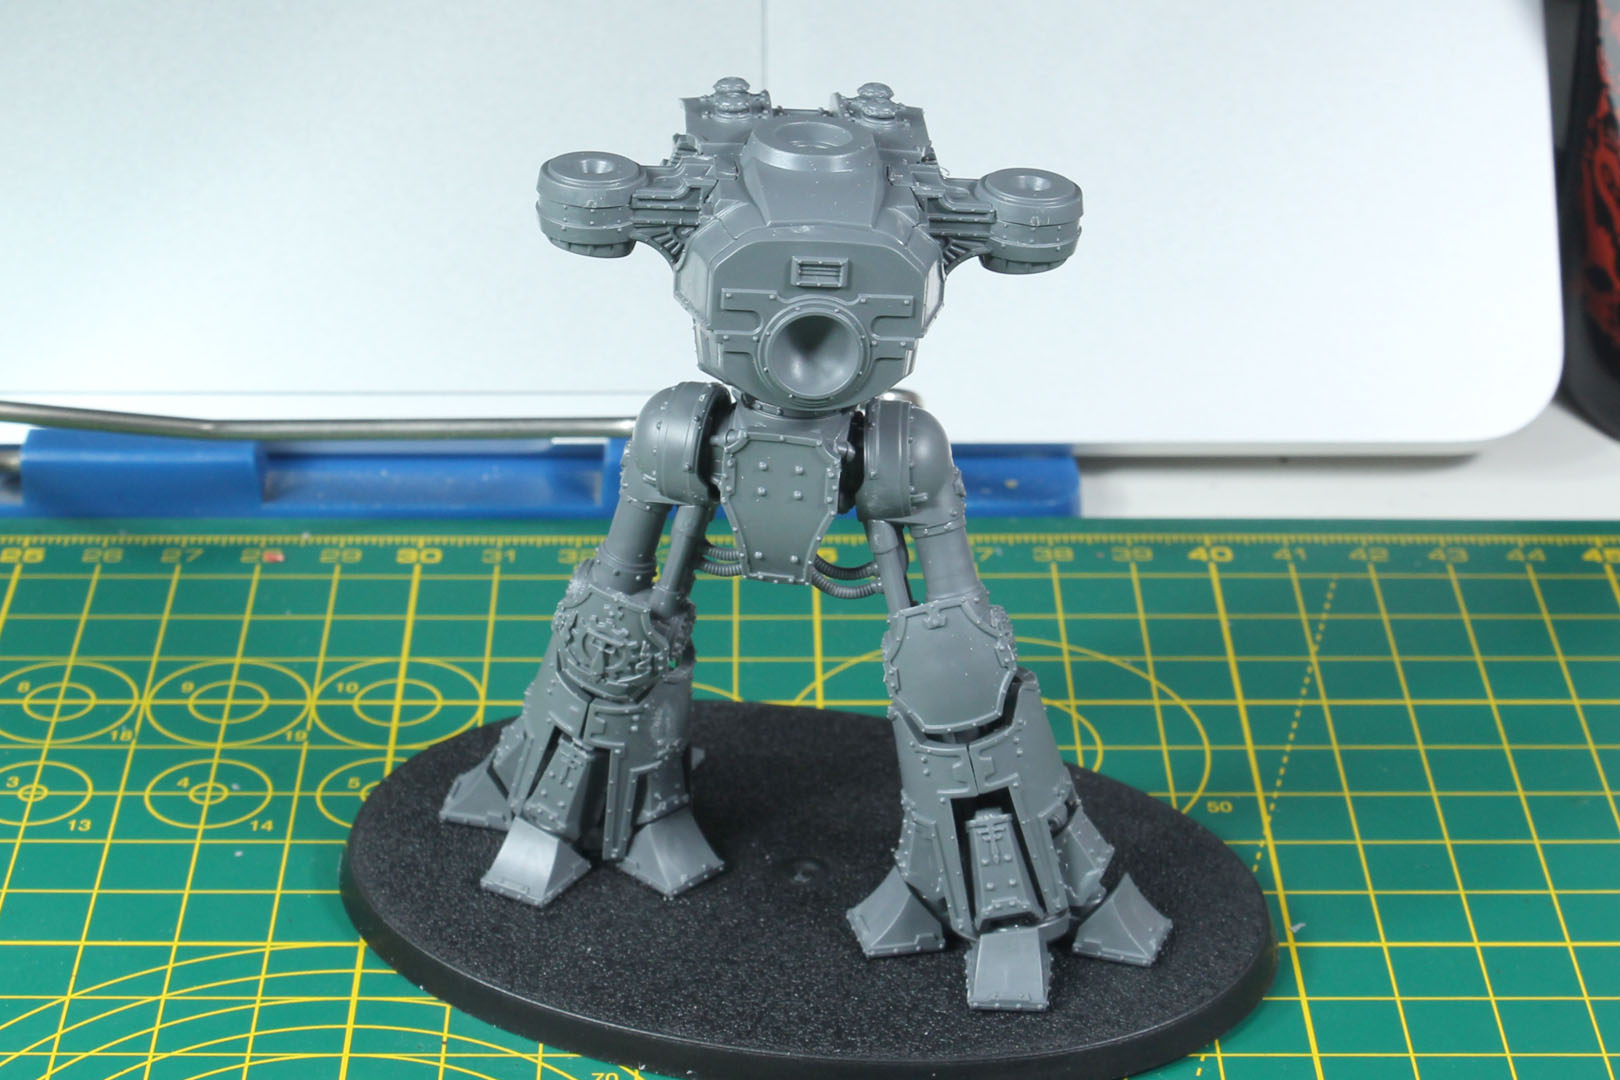
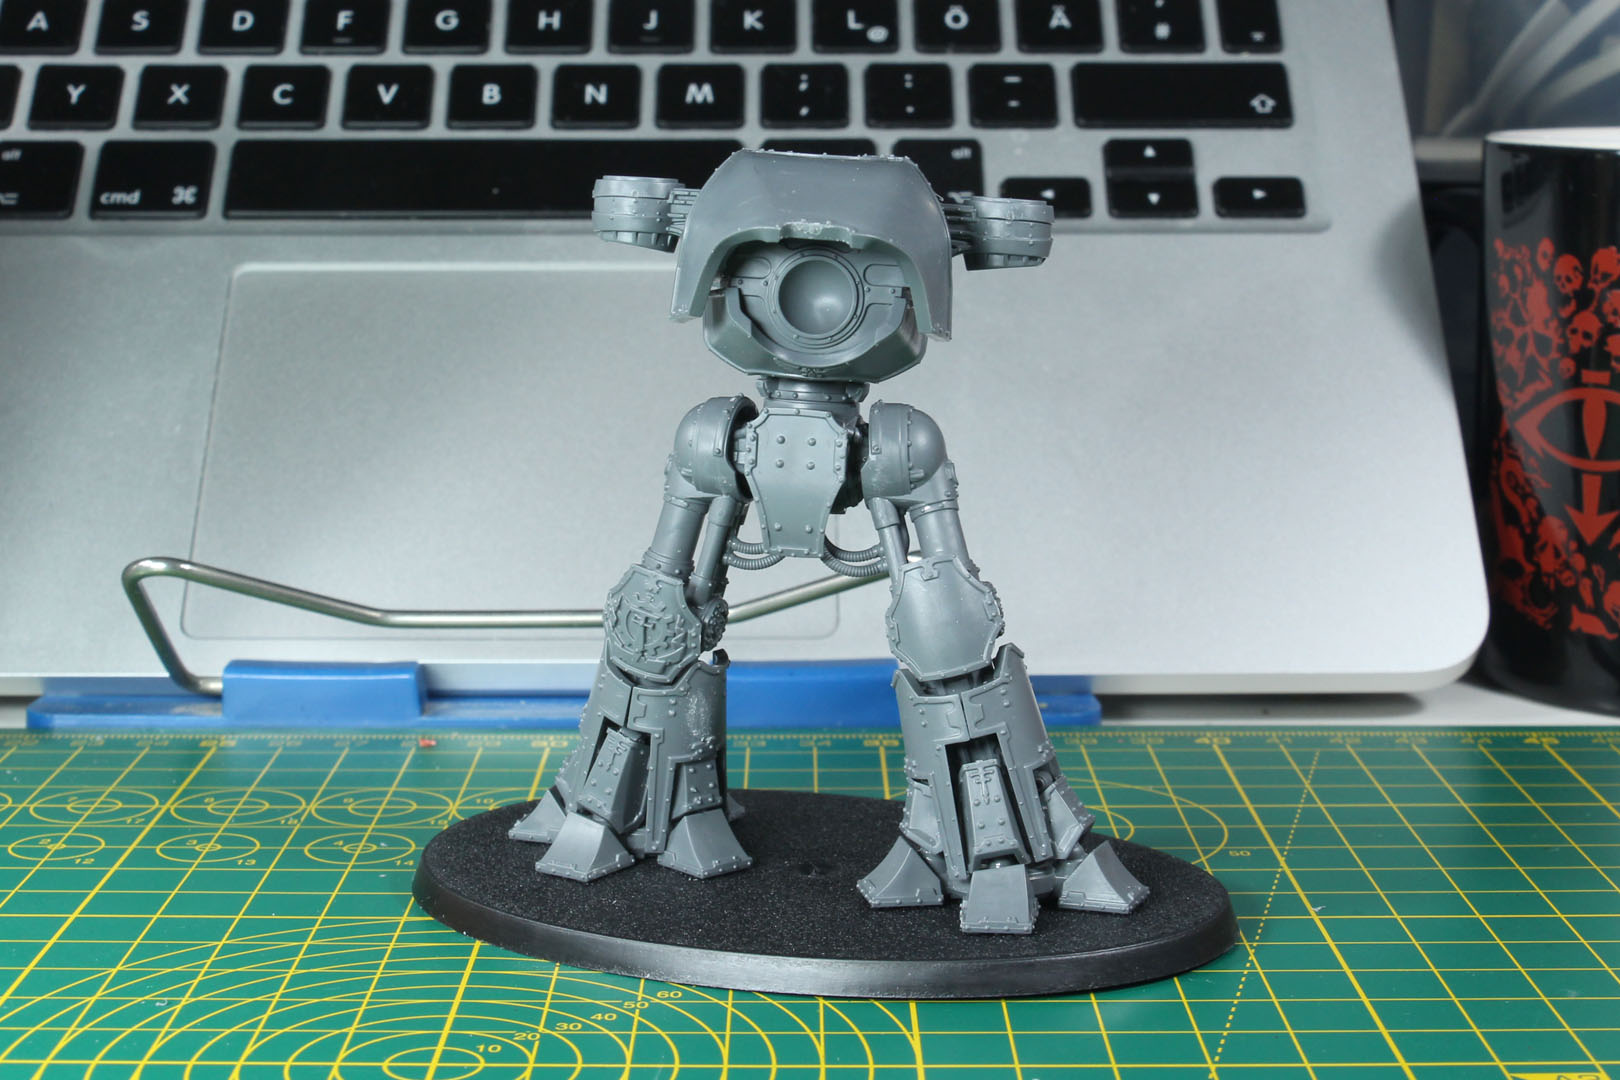
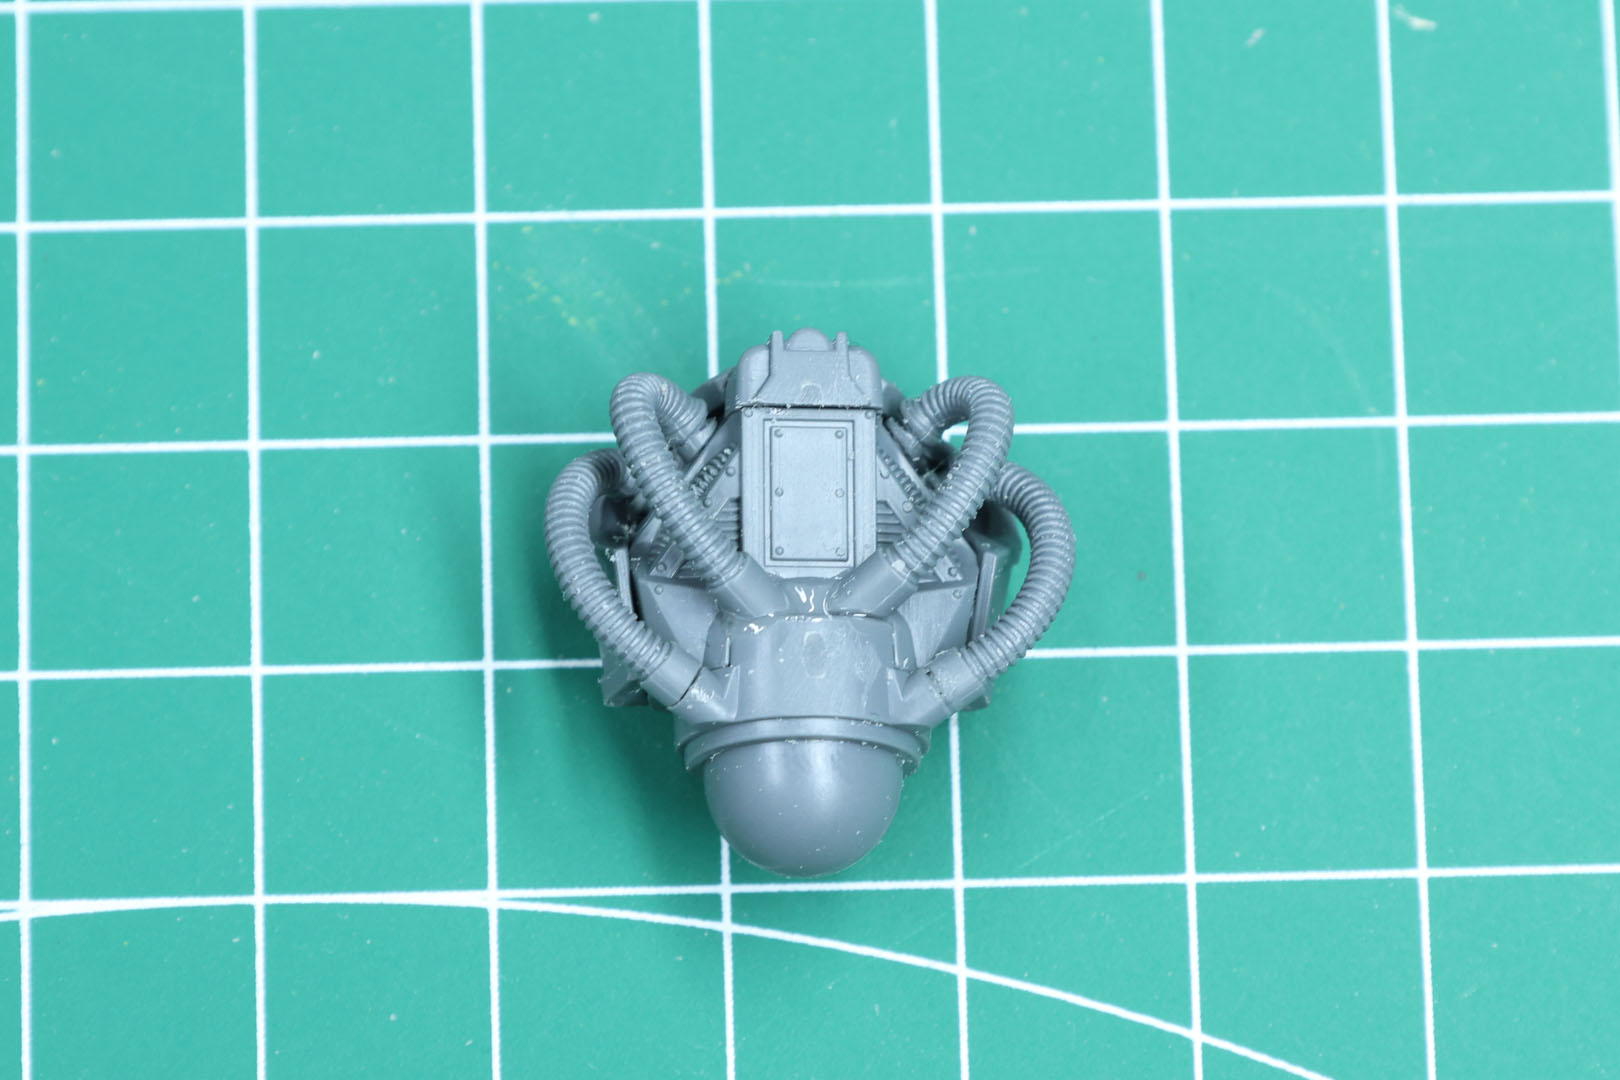
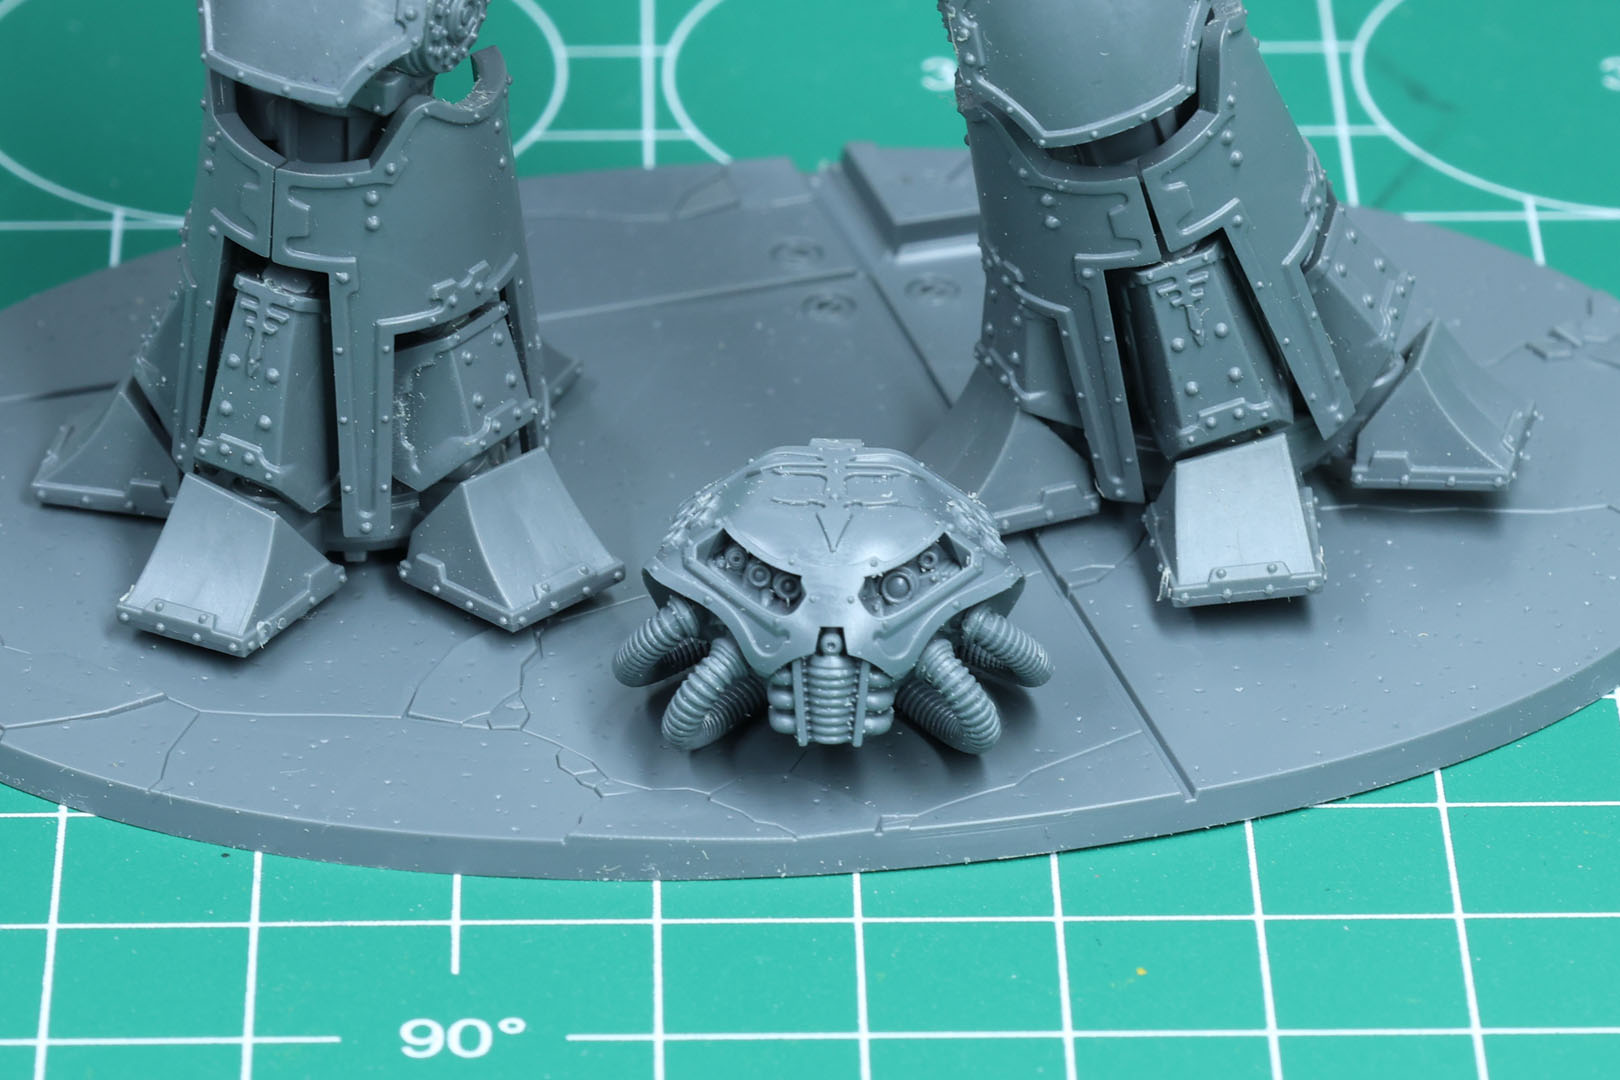
We now build the head. Usually each of the Reavers has a different head design; some come with different face plates. This one is fixed. But as the cable management is not really clear from the instructions, I added a picture from below to give you an idea of what goes where. Once again, do a dry run before adding glue, so as not to mess up any details. Epic scale is unforgiving in this department.
Now we start with the weapons. There are two for the arms, so no choice here.
The Graviton Obliterator needs a bit of attention to properly align, as you have flat insides with just a round pin in the back. So make sure the seams are aligned, otherwise you will end up with small gaps once the details are added. As this is quite tiny, it is tricky to clean that seam on top.
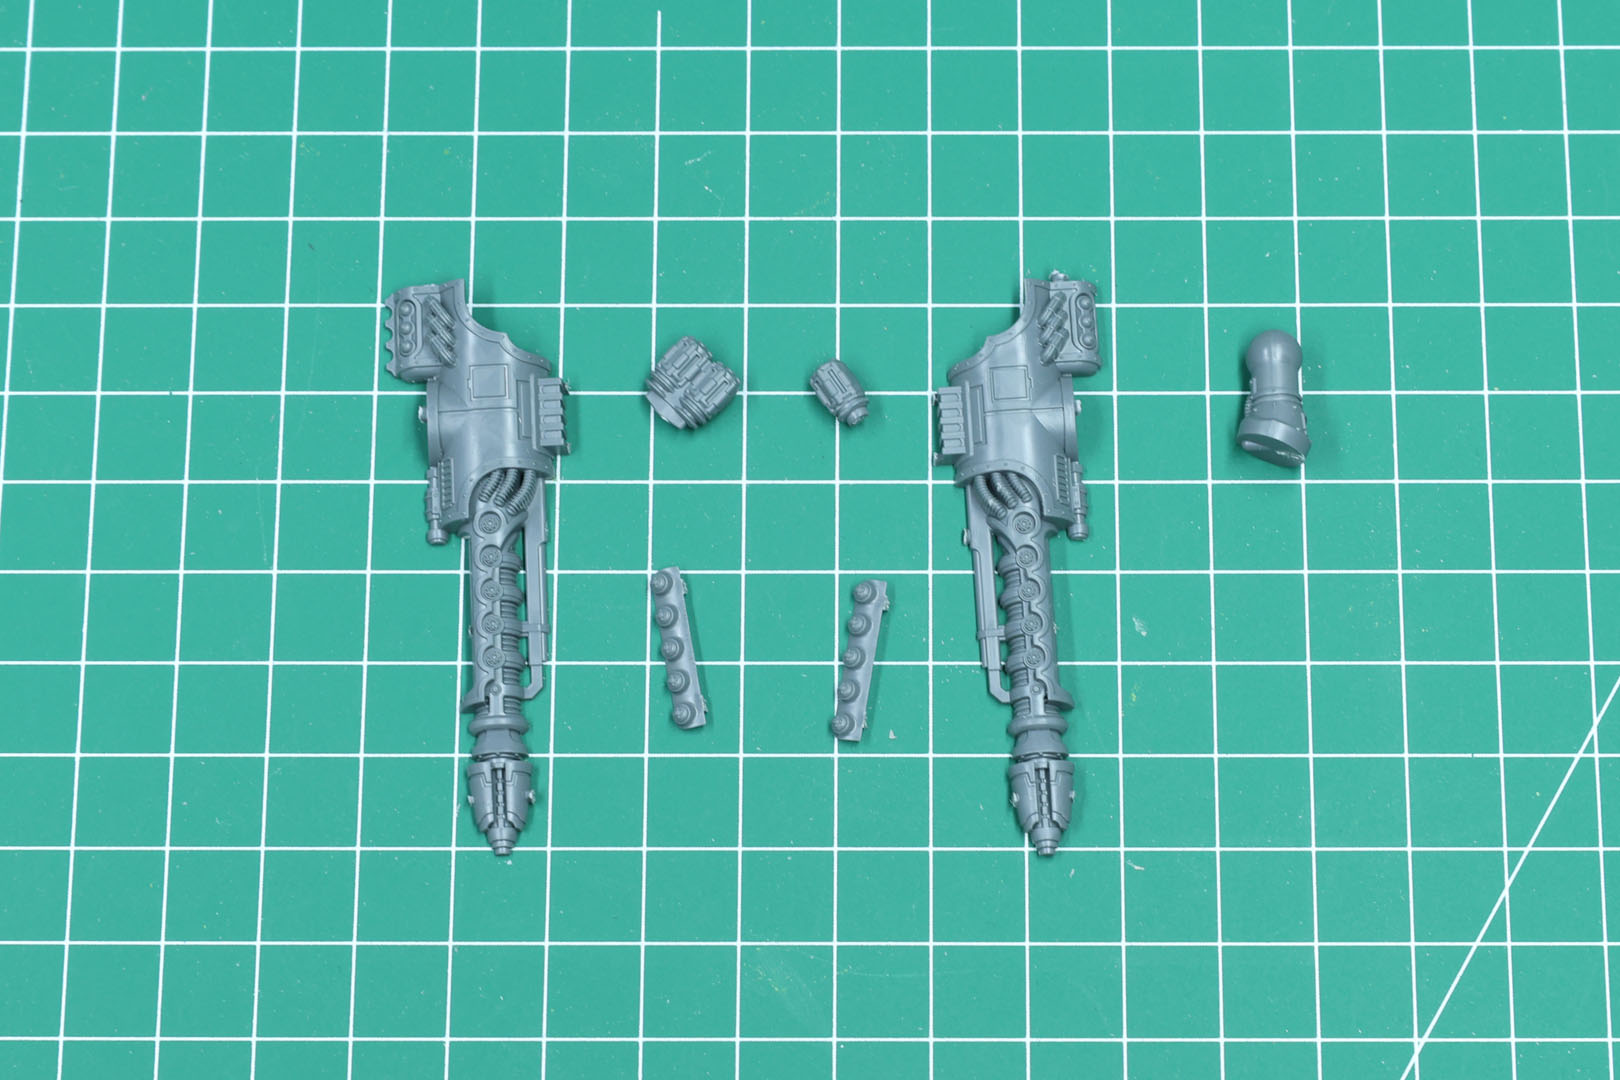
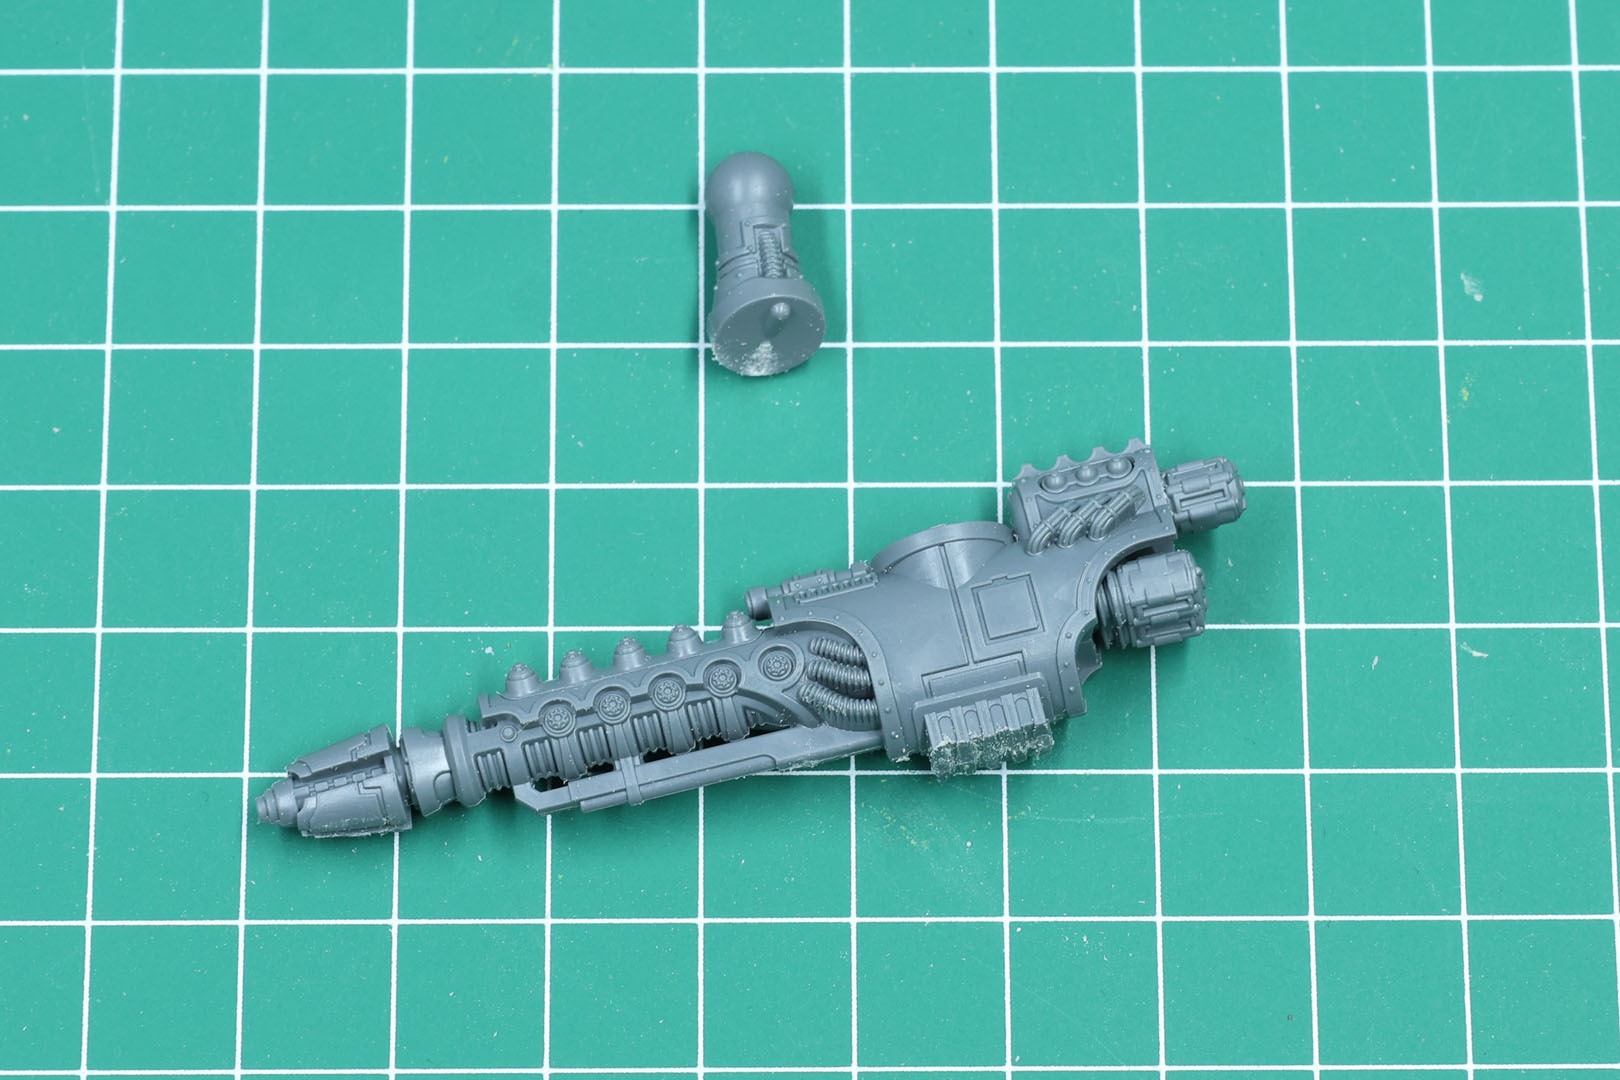
Among the Titan kits, the Reavers are probably the ones leaving the most potential on the table in terms of swappability and magnetization. The arms come with a fixed pin, and the weapons with a fixed slot. This means it has to go on the left arm. The Warbringer had this more flexible, at least giving you the option to swap left and right.
As you do not have any cable management, there is no reason for a fixed pose or angle at this point. You could have just designed them flat, or even better with an insert, to add a magnet to.
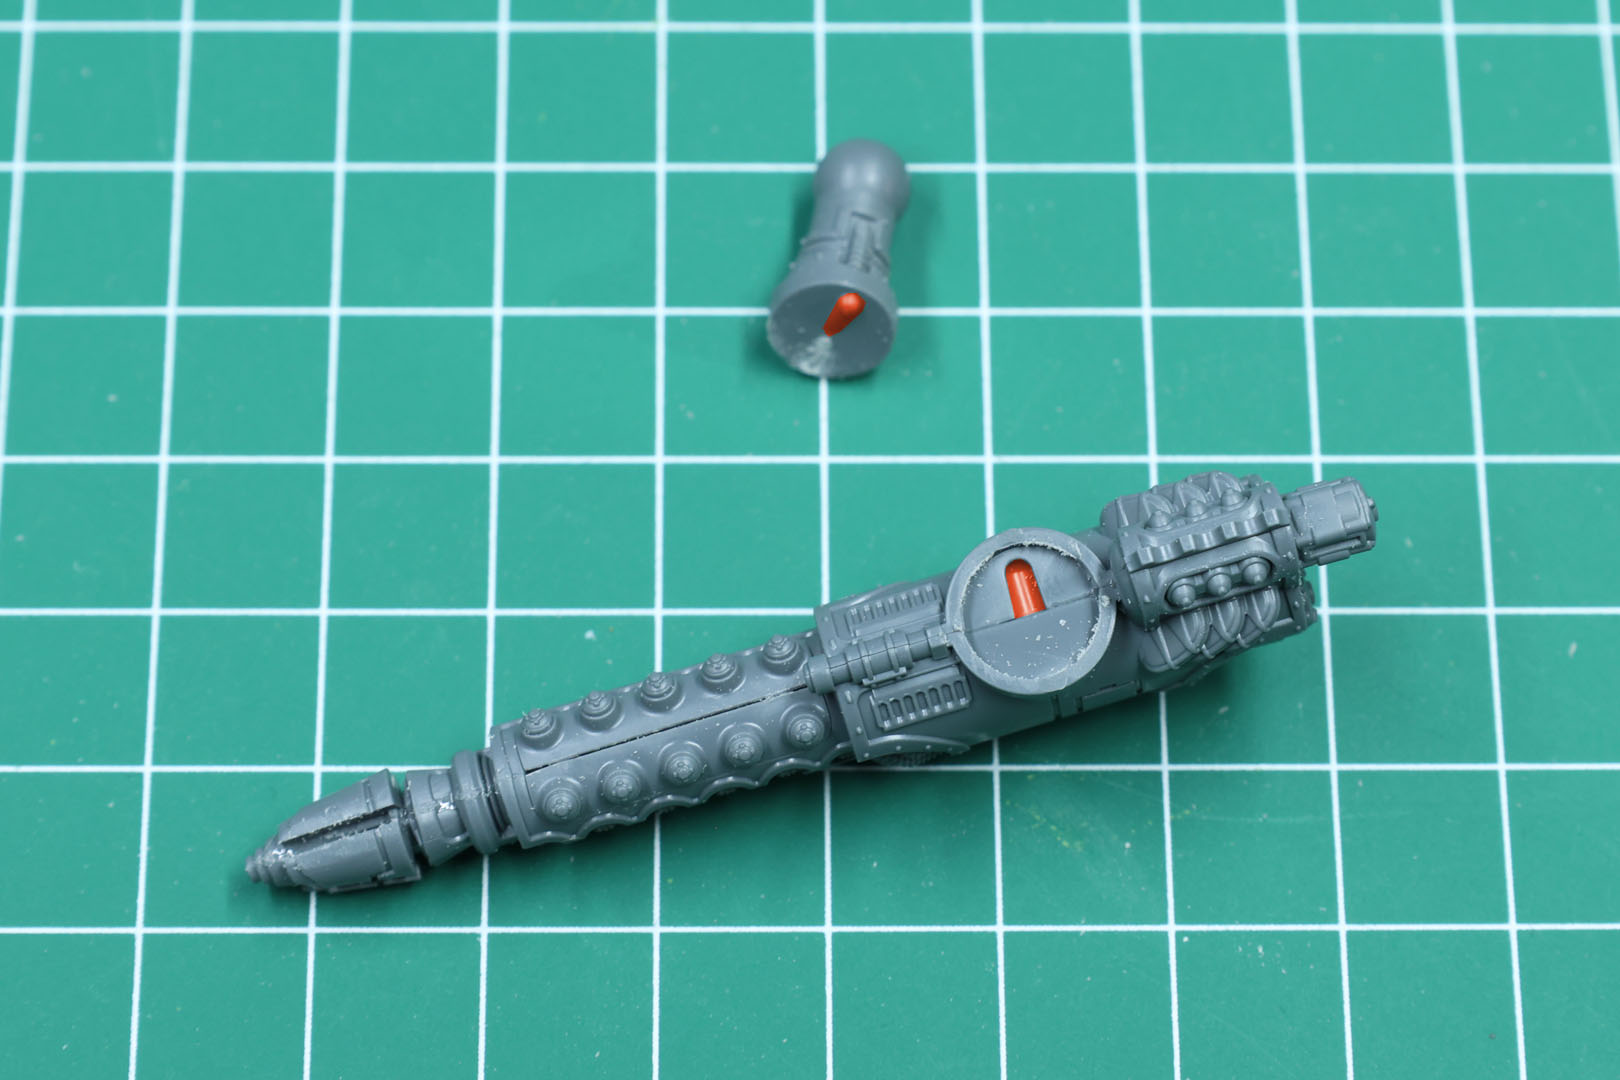
The second weapon option is the Volkite Annihilator, and this one is fixed for the right arm. Both the Graviton and Volkite weapon systems were introduced rather late to Titanicus, alongside the 2nd edition of Horus Heresy, and were initially provided by Forge World as resin upgrades, in both cases for the carapace rather than as a weapon slot for the arm.
Unlike the Warlord Titan's weapons, these usually do not have a left or right design option. You just build them as they are.
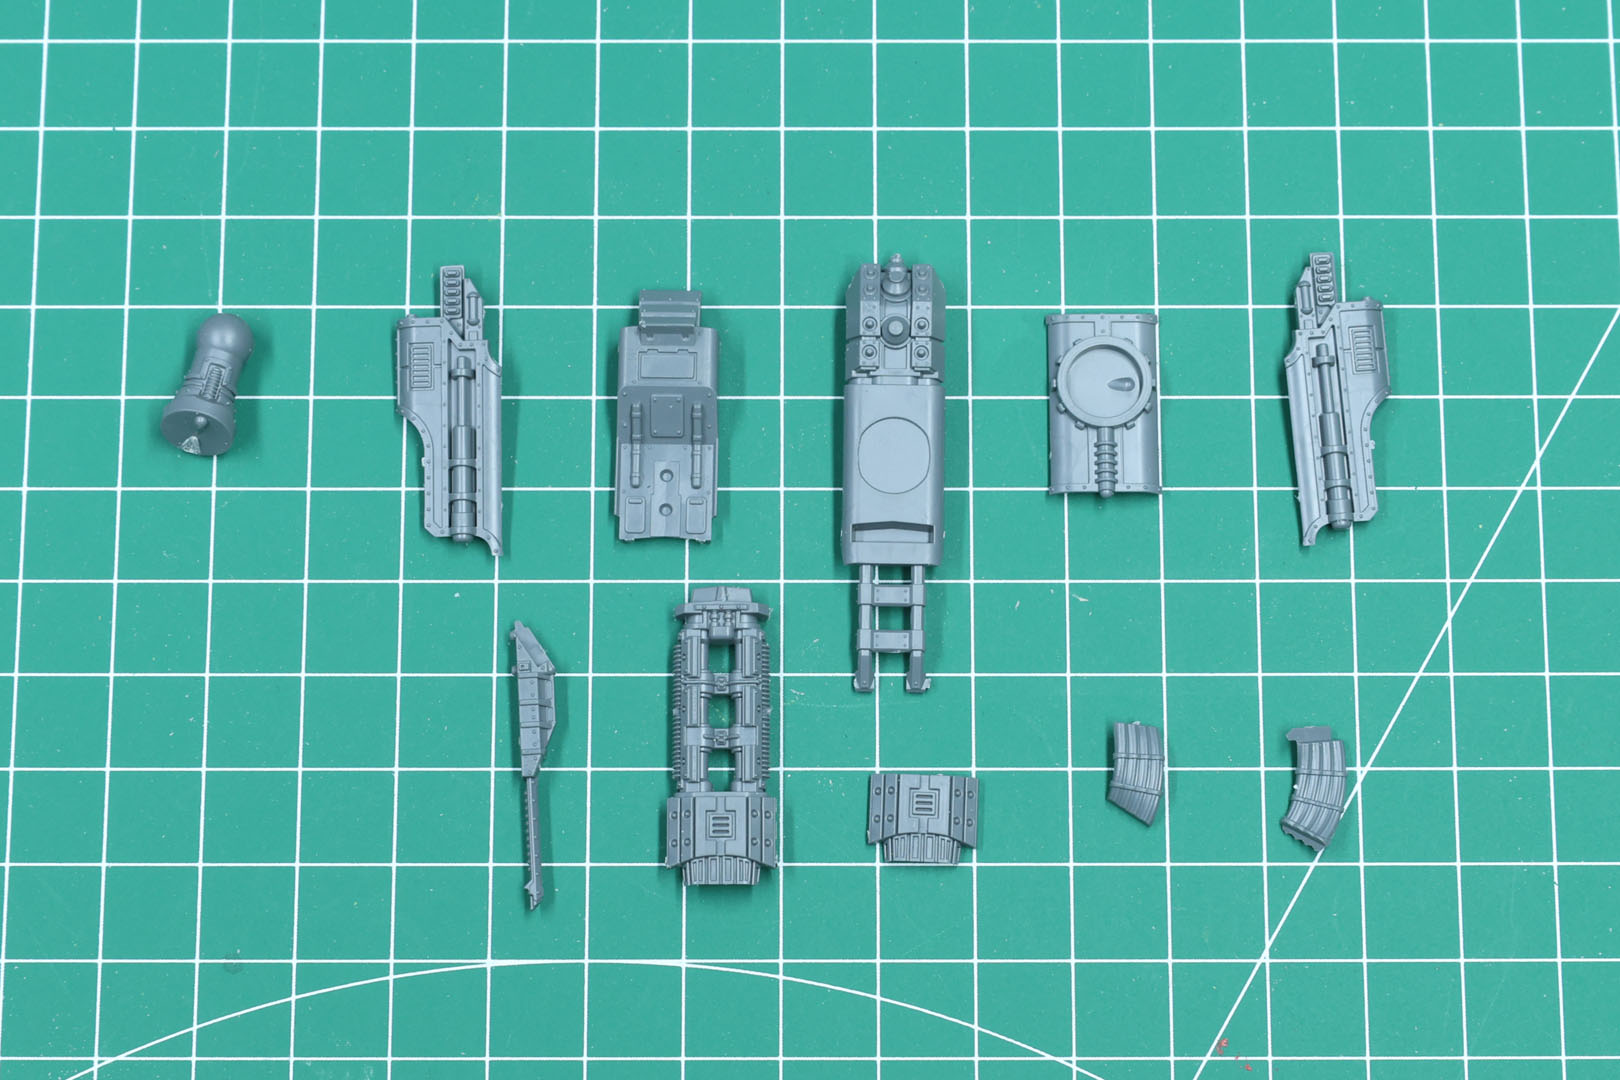
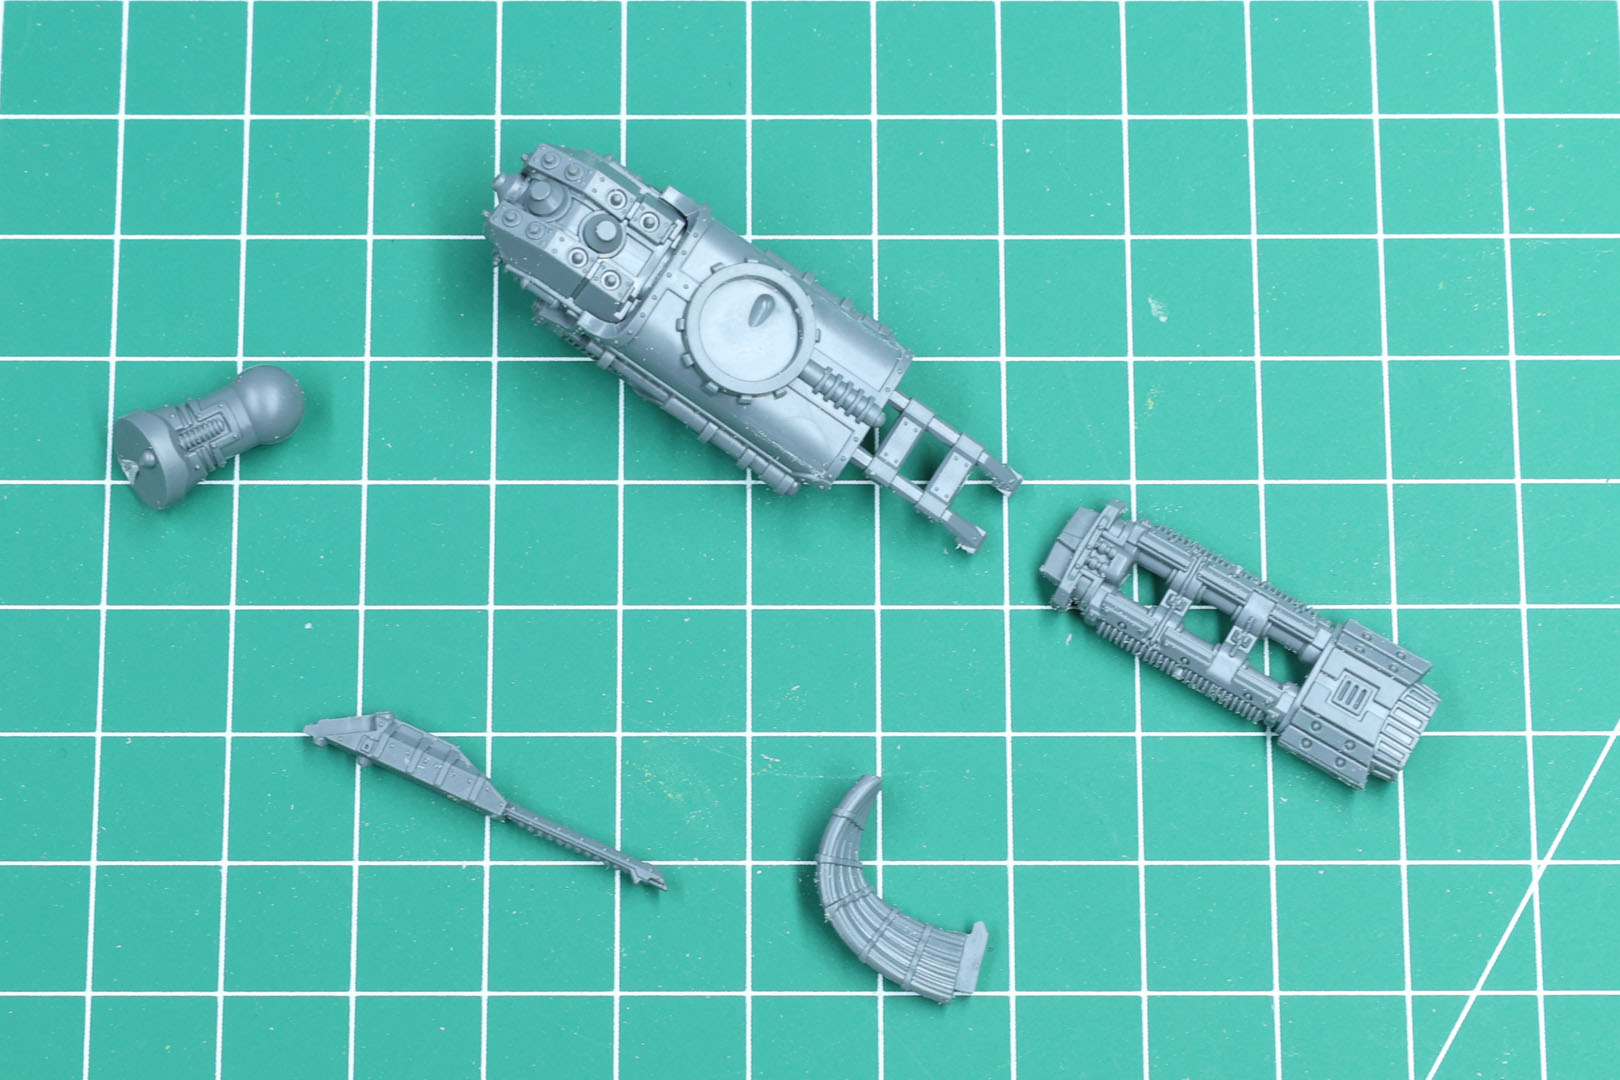
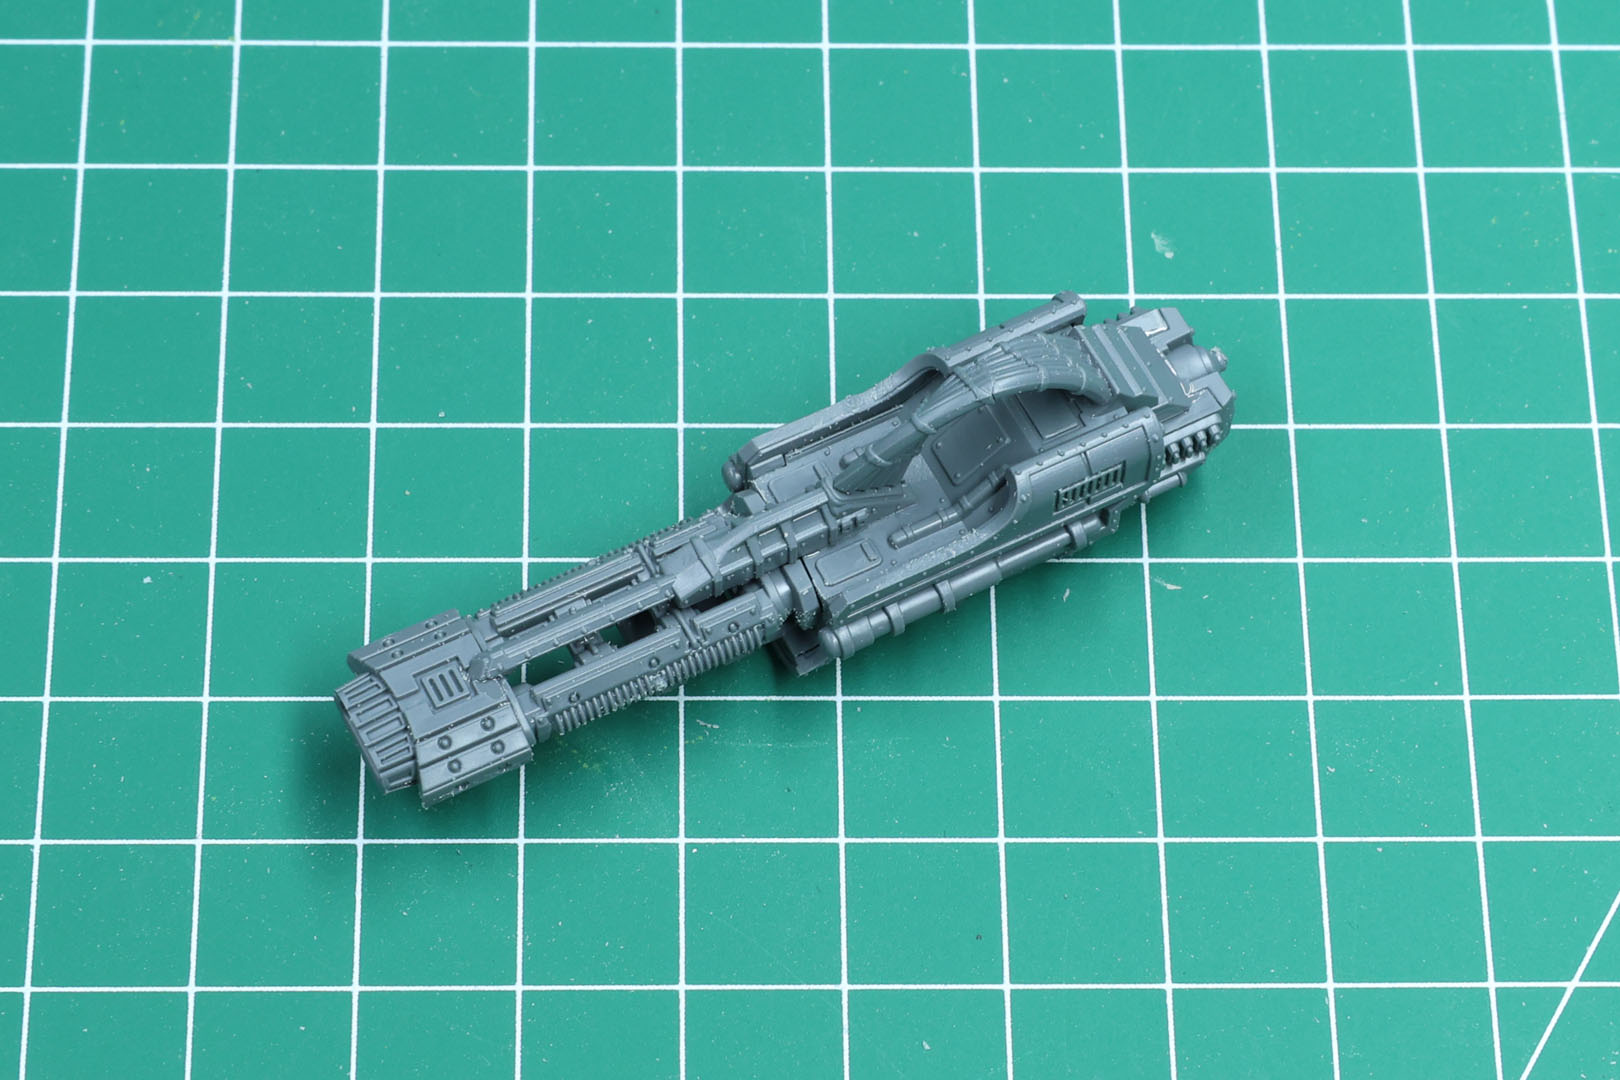
As you can see, both weapons have the insert for the little pin on the arm. The arms are identical and just oriented towards the outside to fit the "dimple". To make them swappable or to mount a magnet, there are two options. Get a drill in the size of your magnet, or use a 3D printed replacement. I went for the latter, with a mount for a 5x1mm round magnet.
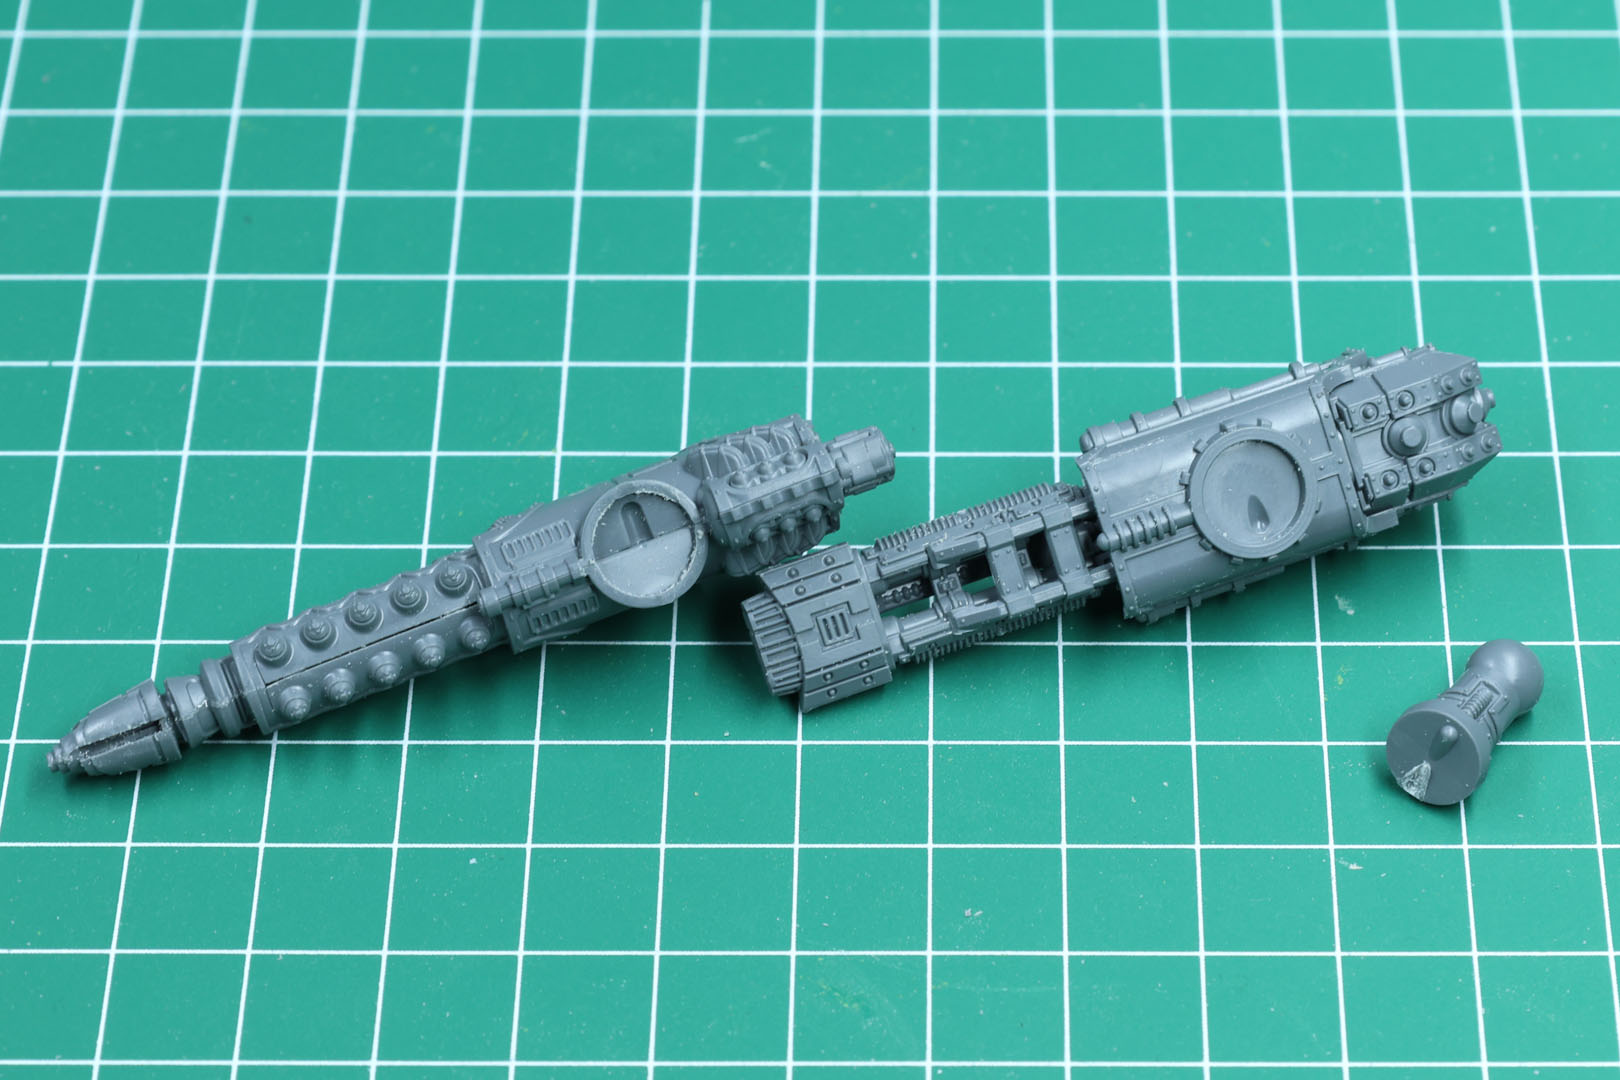
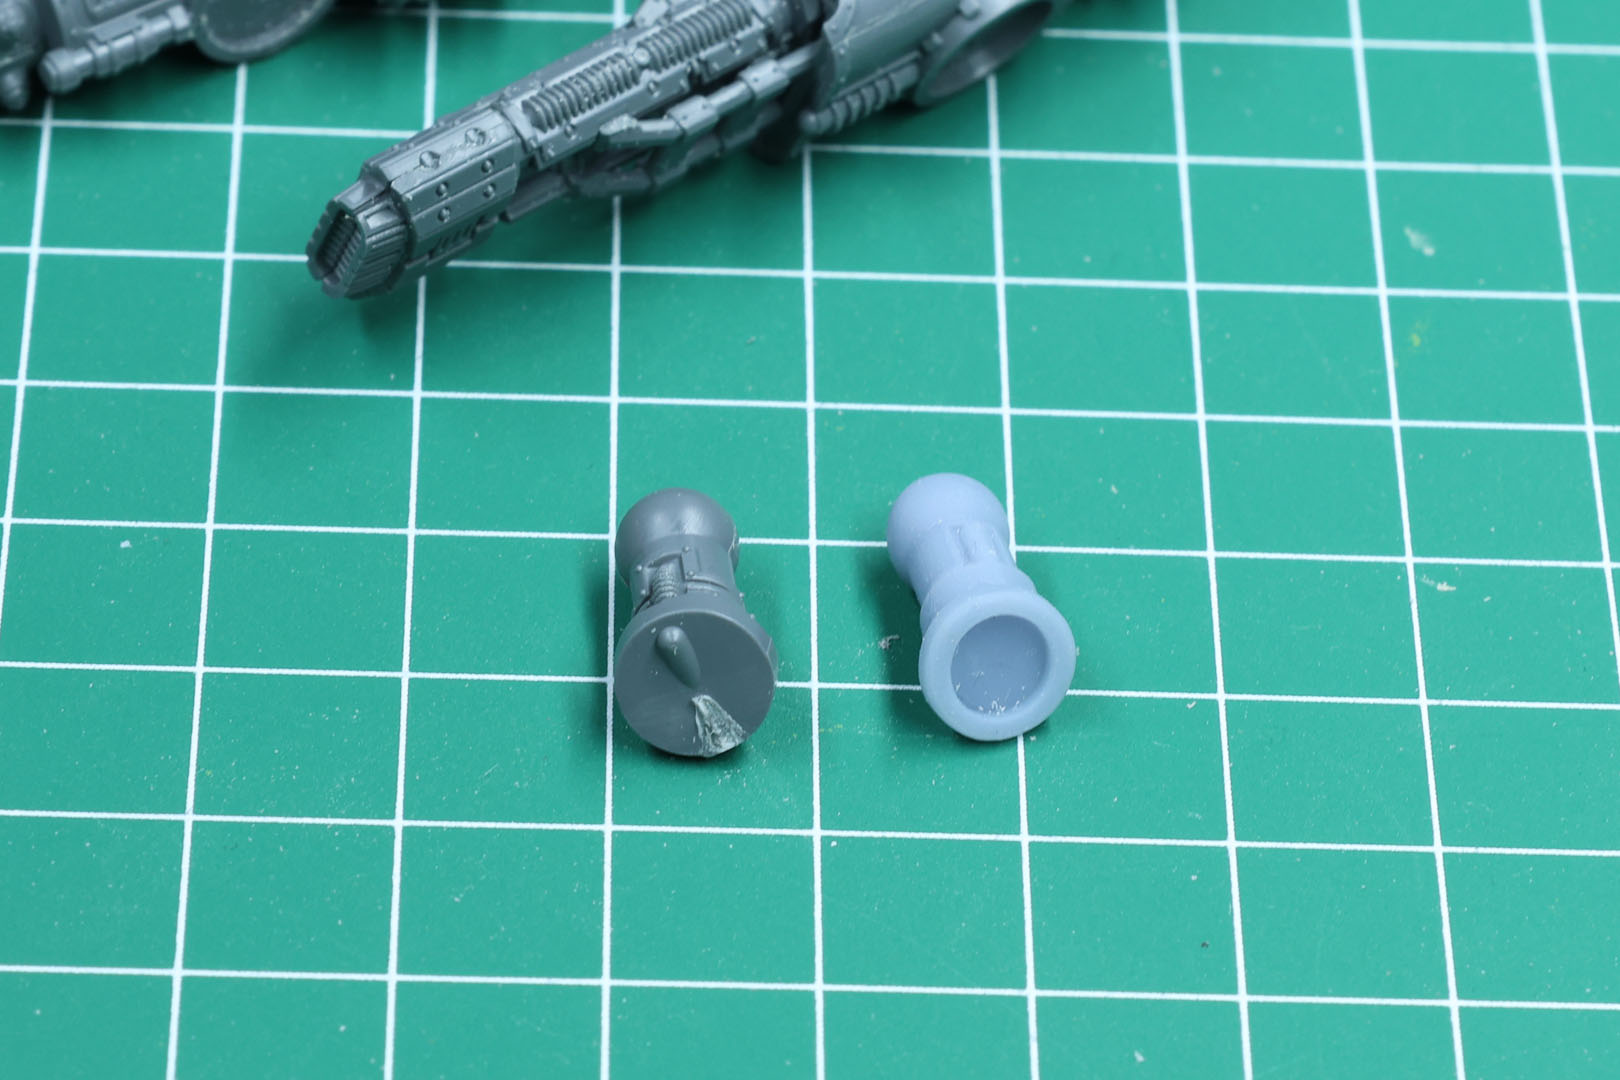
And then you just have to insert a fitting counterpart into the other side, meaning the flat area on the weapon. I used smaller 3mm round magnets for that, as it is enough to keep them in place. Here's a quick example from my Legio Astraman, and the modified version of the included weapon parts.
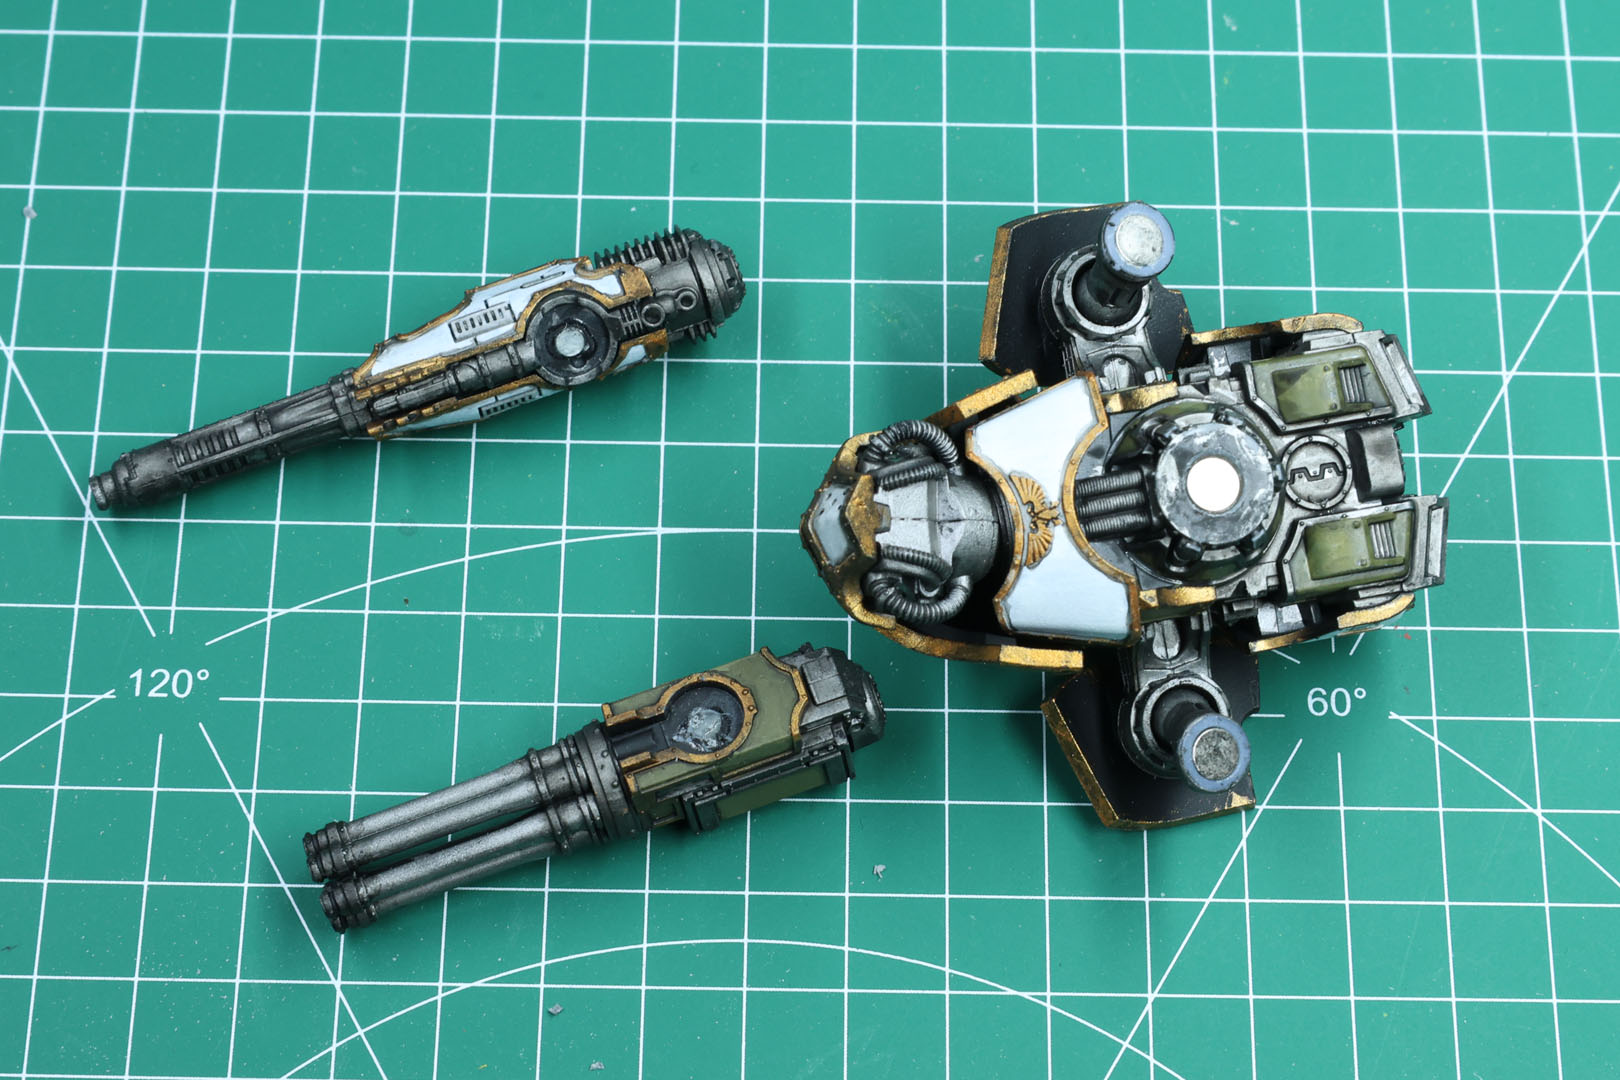
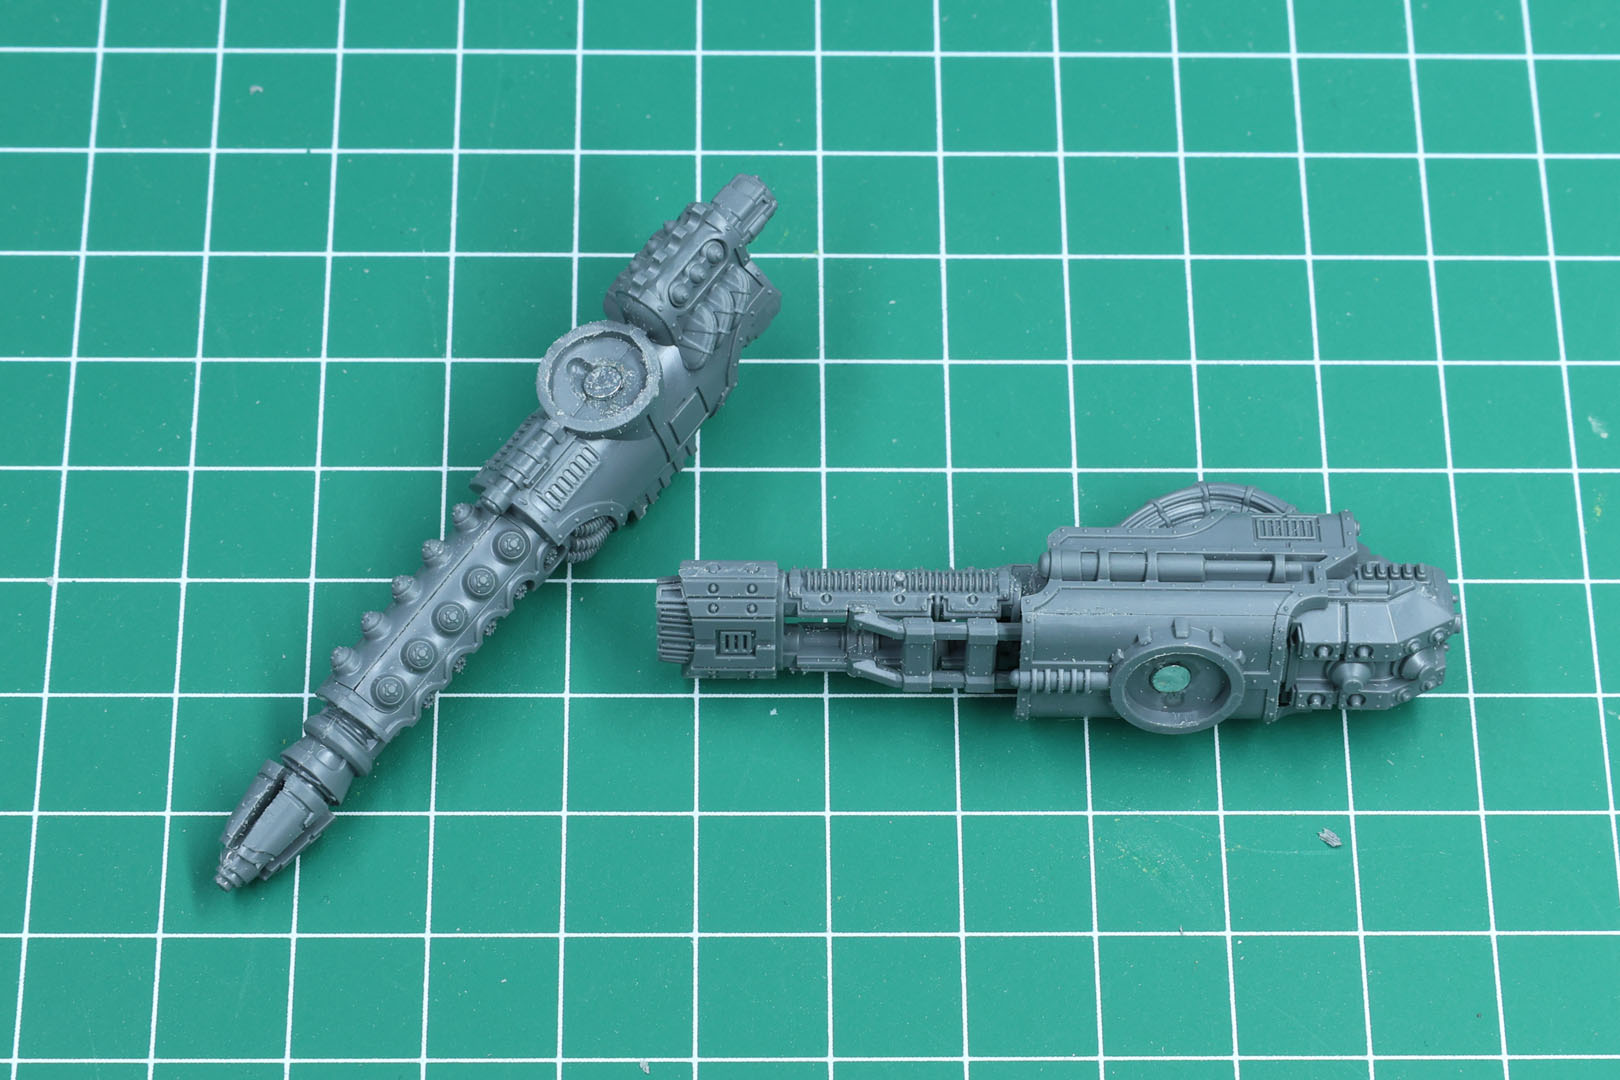
There are two options for the carapace slot in this load out. Both were former resin upgrades by Forge World as well. Quick to build, the Vulkan-Mega Bolter comes with a small platform that gives you the option not only to turn it on the back, but also to have an elevated or angled pose of the weapon.
Note the two platforms are of different design and are marked on the underside with an M (Mega Bolter) and a C (Conversion Beam).
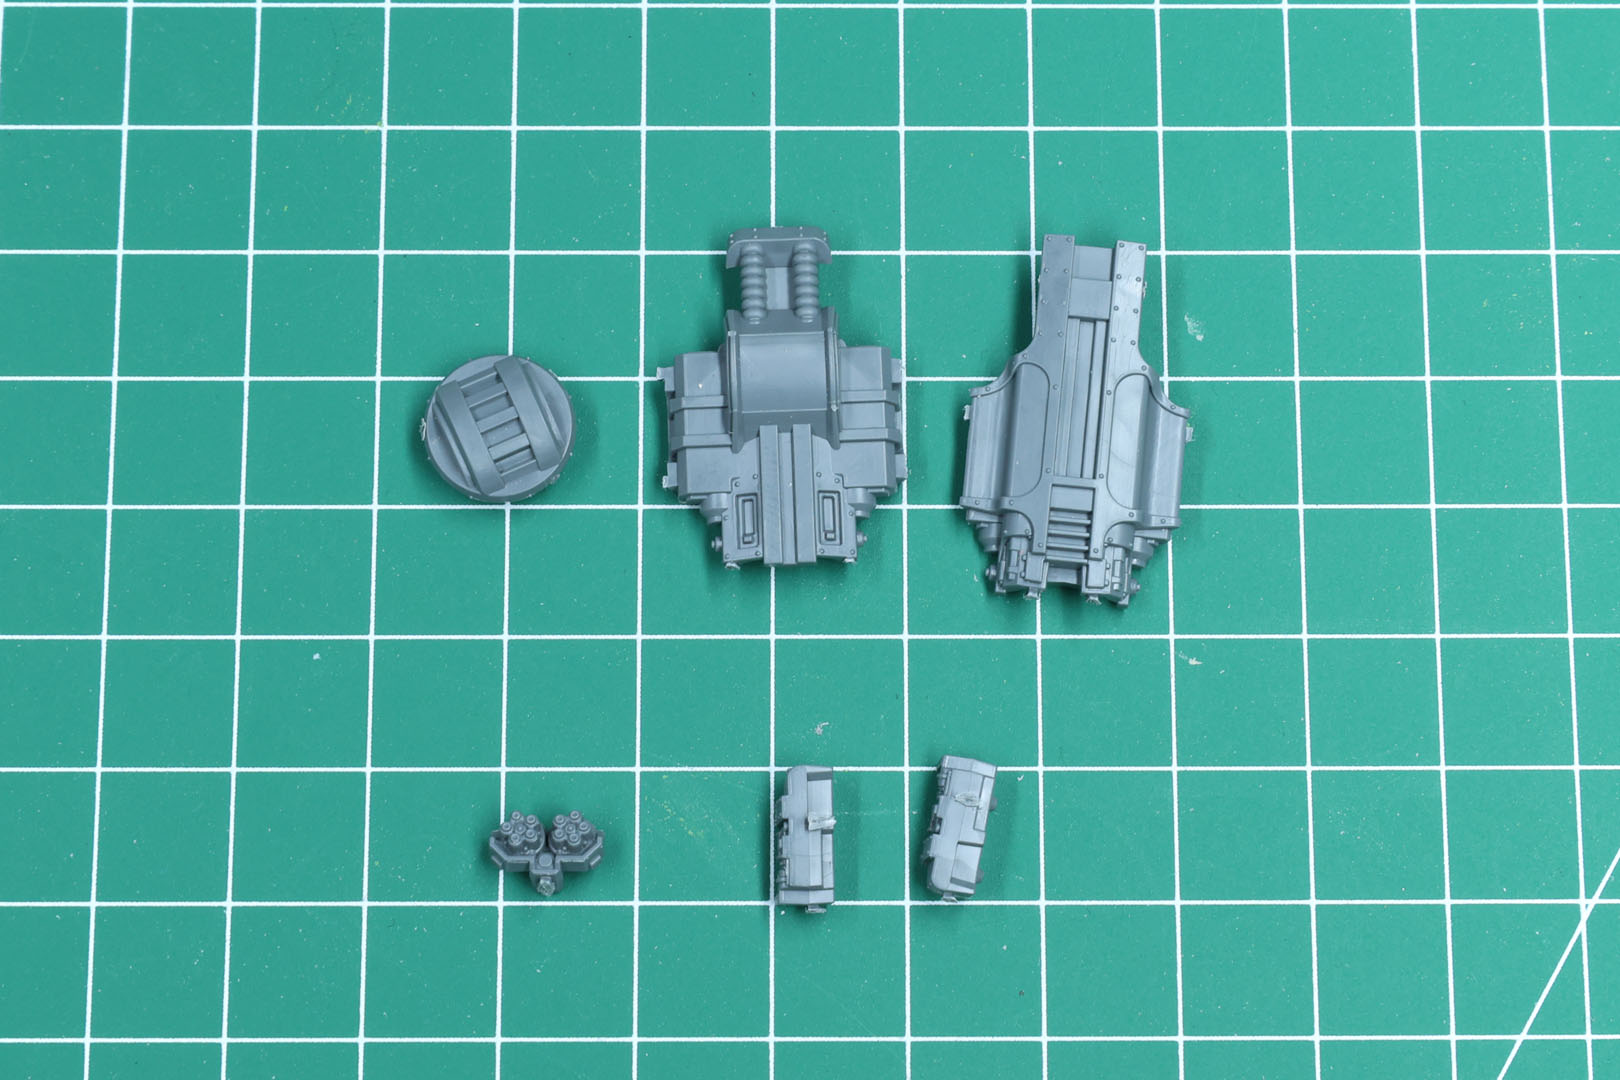
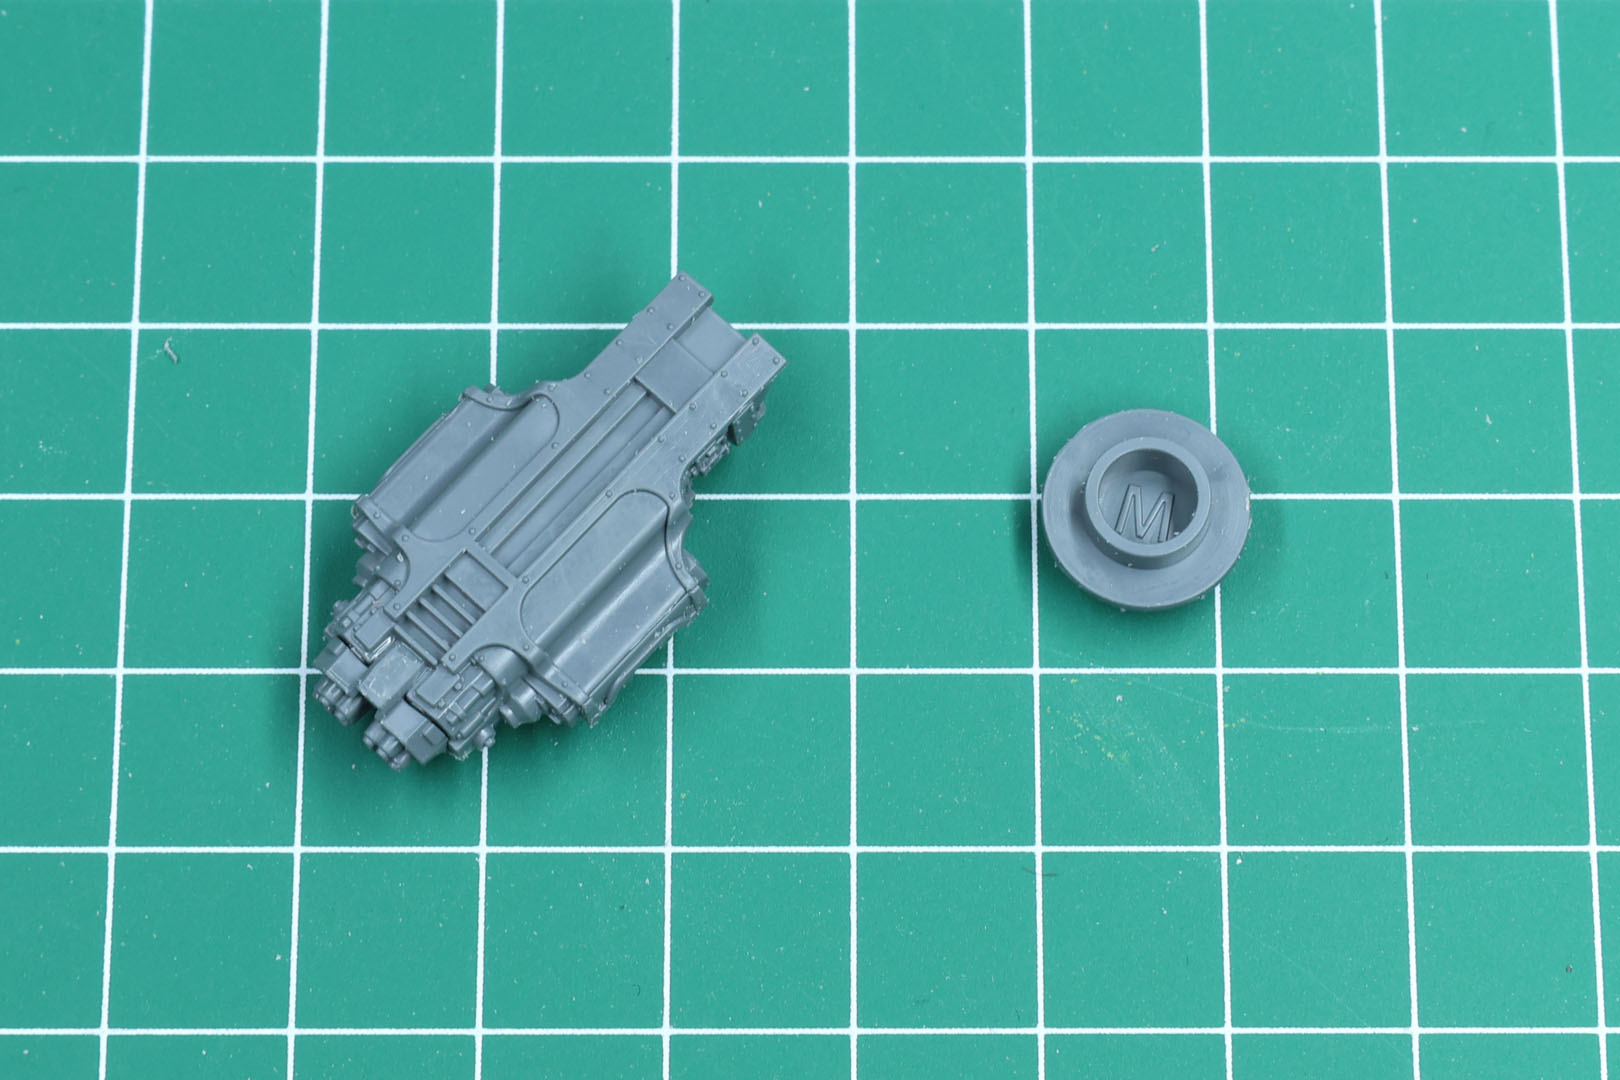
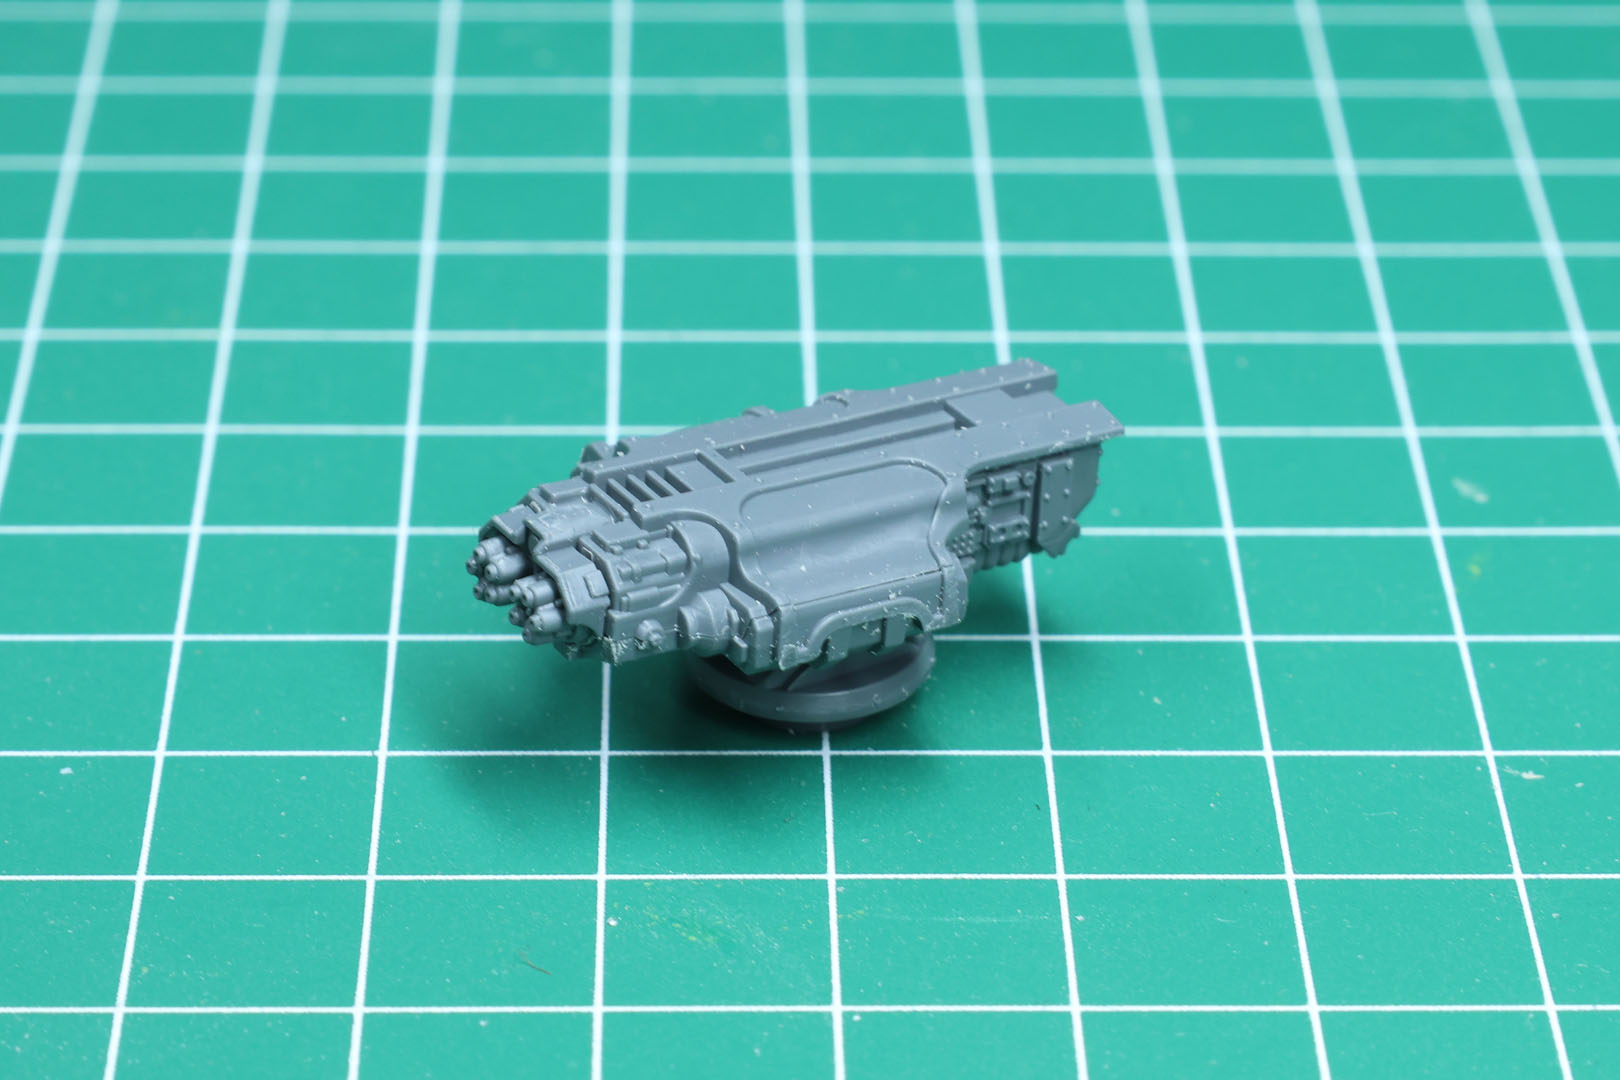
A bit more work goes into the Conversion Beam Dissolutor. Really nice details on this one. Just make sure to take your time when cleaning the mould lines, as the details are delicate and some of the rivets are quickly removed while scraping mould seams.
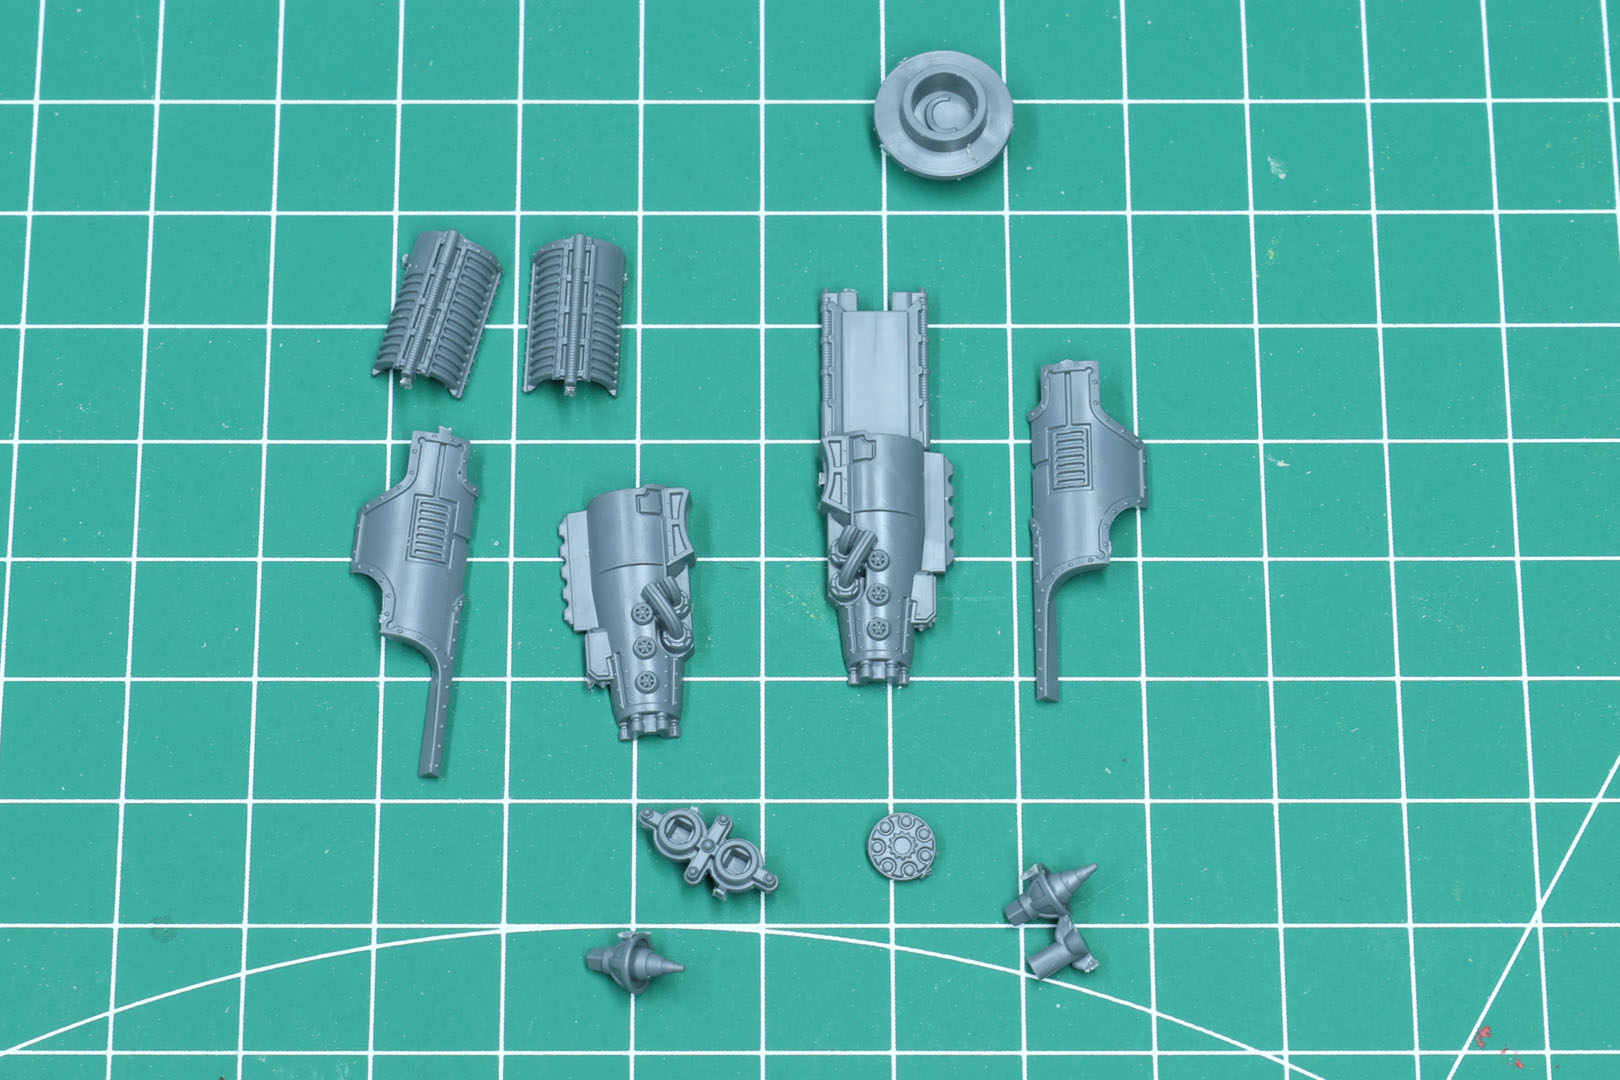
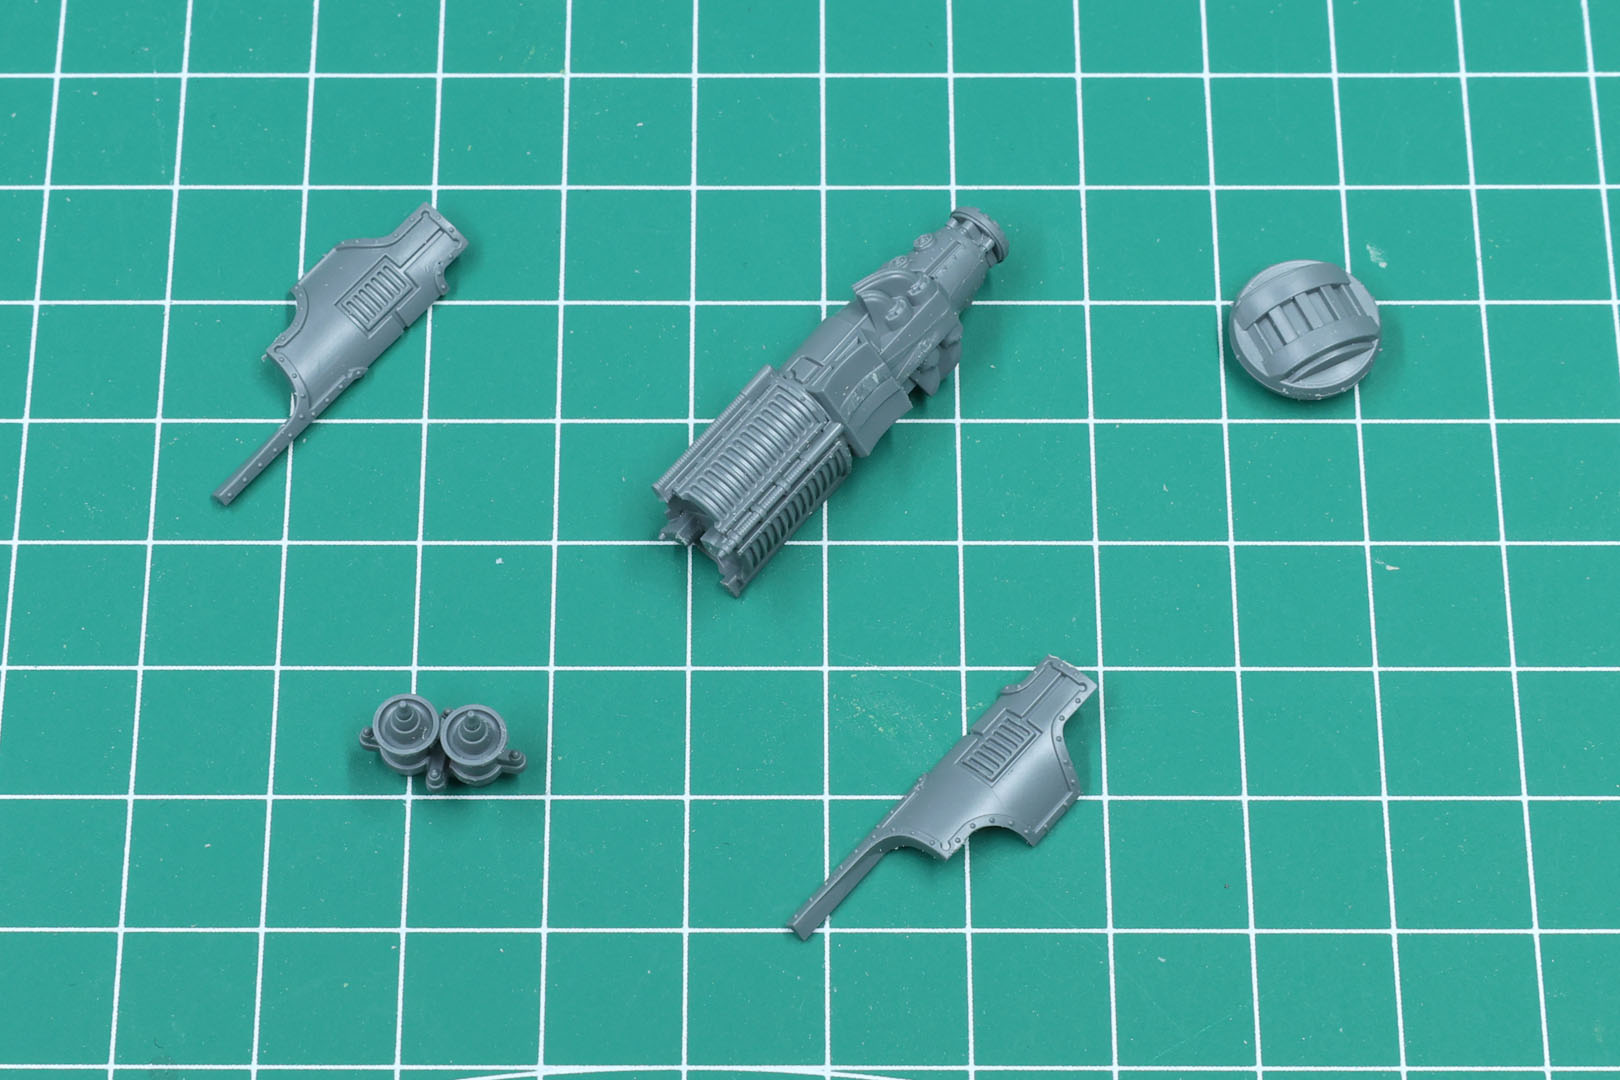
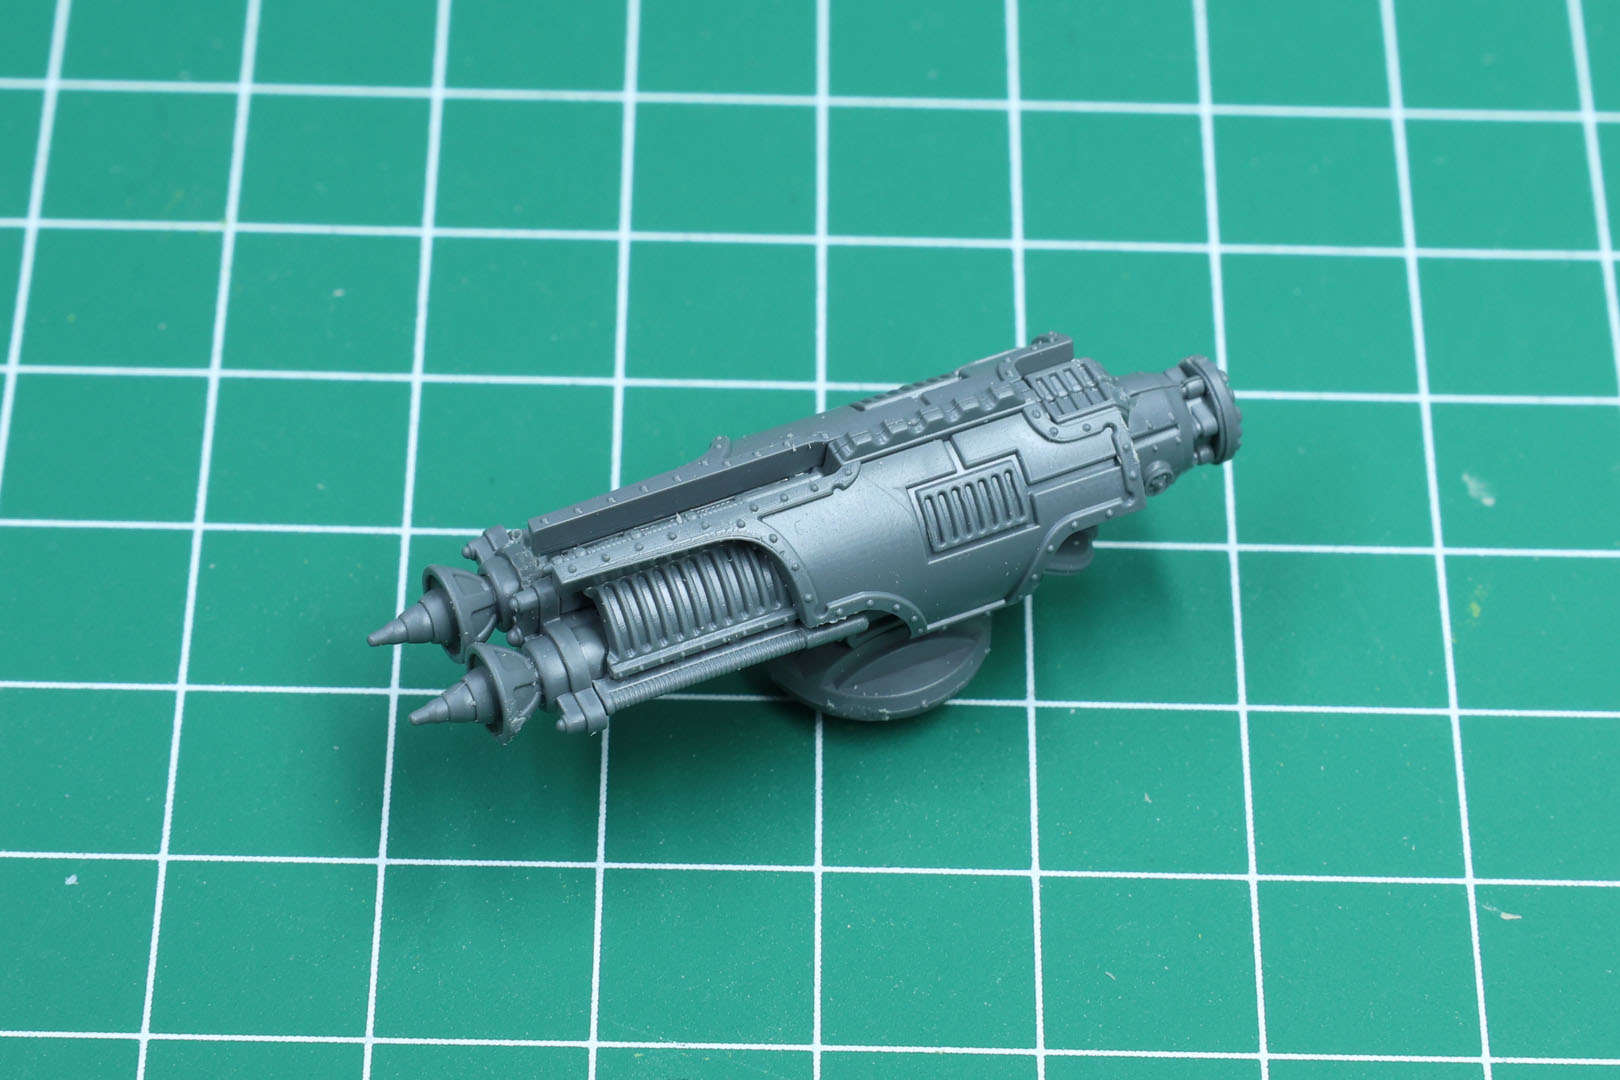
We now come back to the upper body. But as we do not have to care about "cable management" of the weapon systems, you can do this step earlier and complete the upper body entirely, then build the weapons.
The back of the hull is quite tricky, as it is challenging to create a clean finish on the curved surface. You need a soft and/or curved file to clean the seam without damaging the trim of the pieces. One more reason to leave the void shield generators until the end.

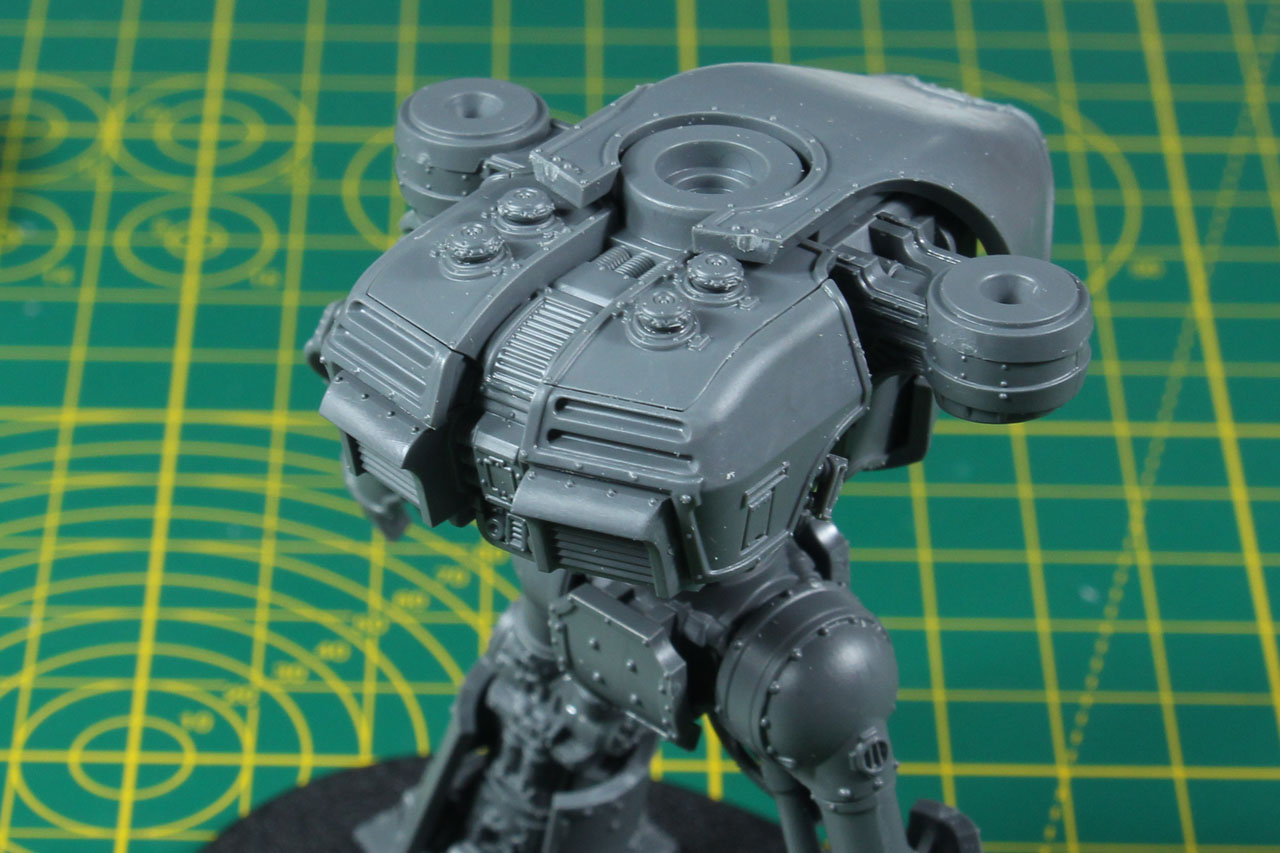
In addition to the back armour panel, the Reaver has armour plates on the shoulders. These come in three different designs: the Eye of Horus, the Opus Titanicus, and a blank pair.
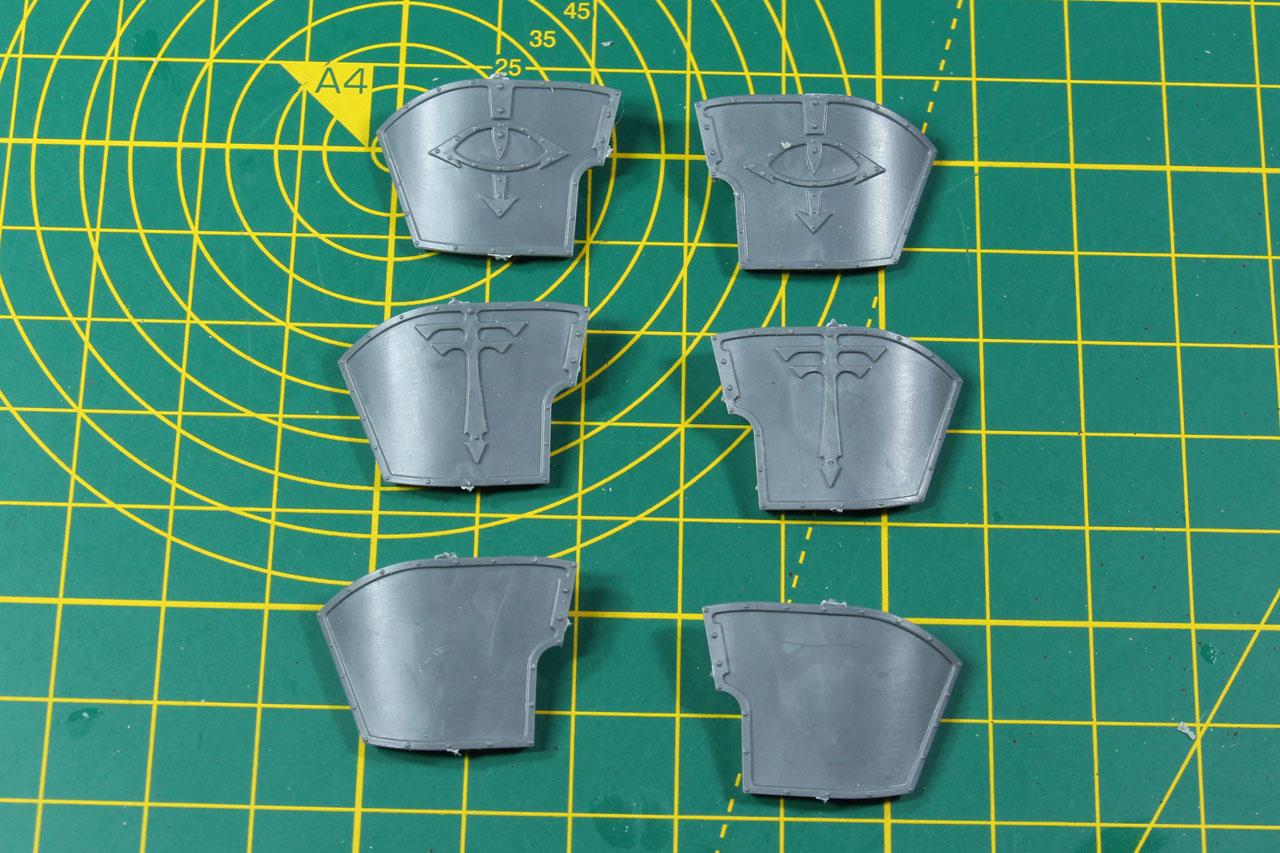
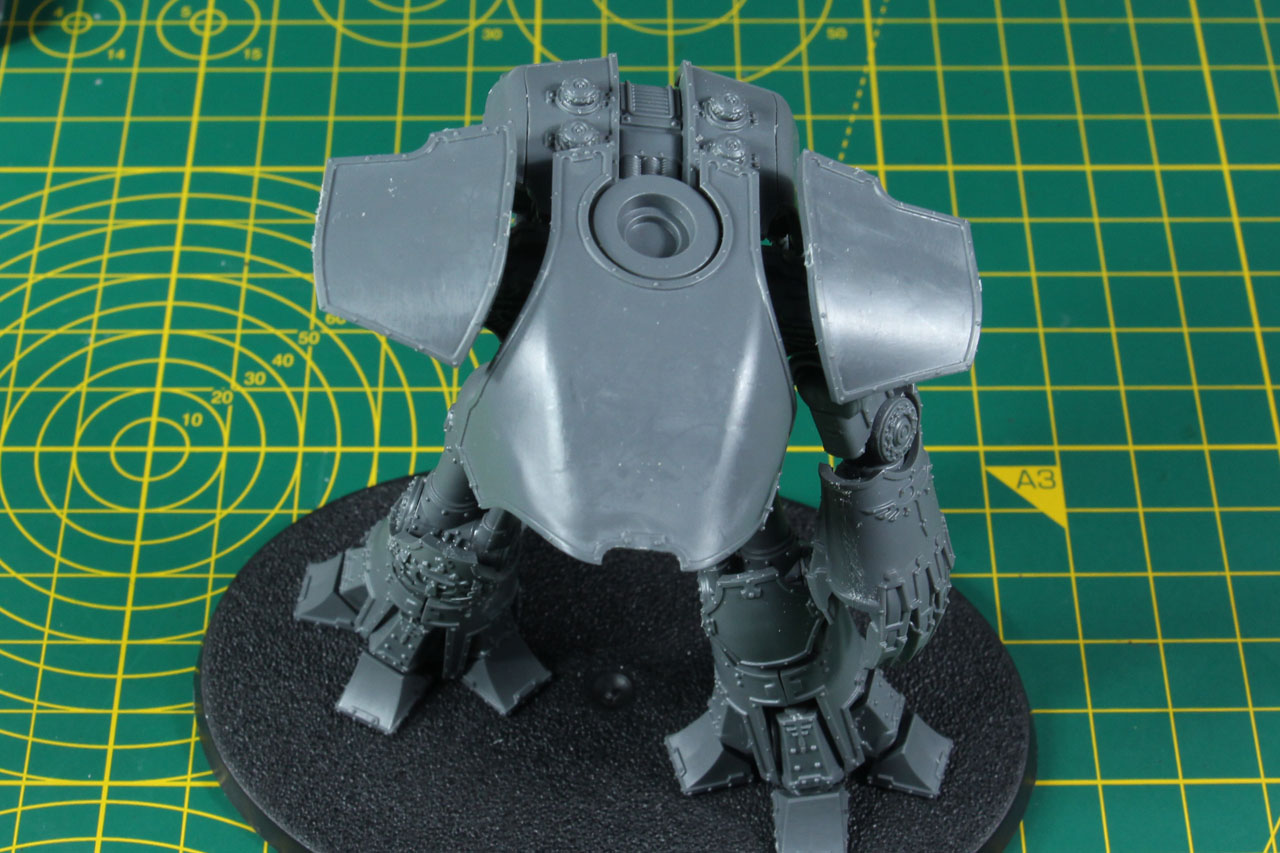
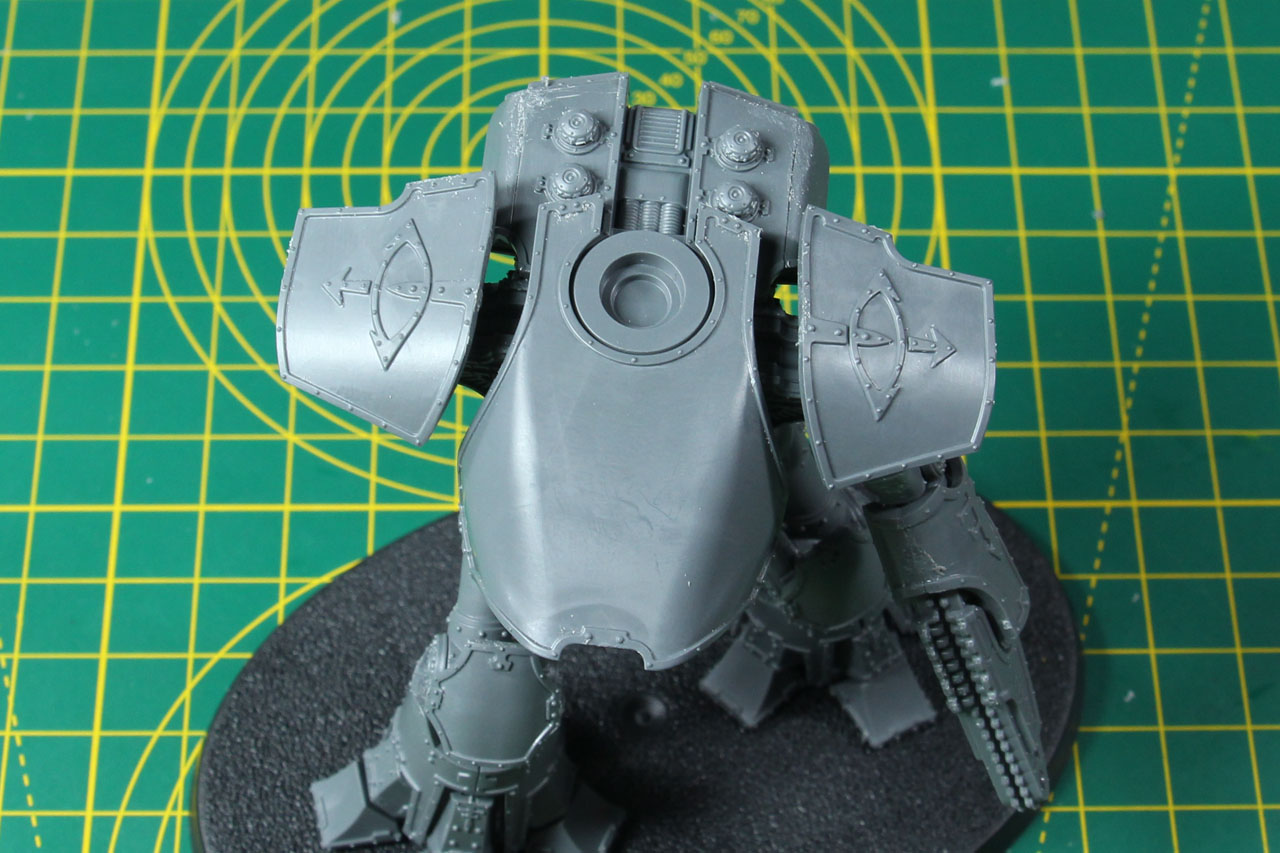
Here you can see how these options look on the Reaver body. The arms are magnetized; this isn't necessary with the carapace options, as these usually hold by gravity and friction. But they do come with a slot for a magnet, and it doesn't hurt, so feel free to do so.
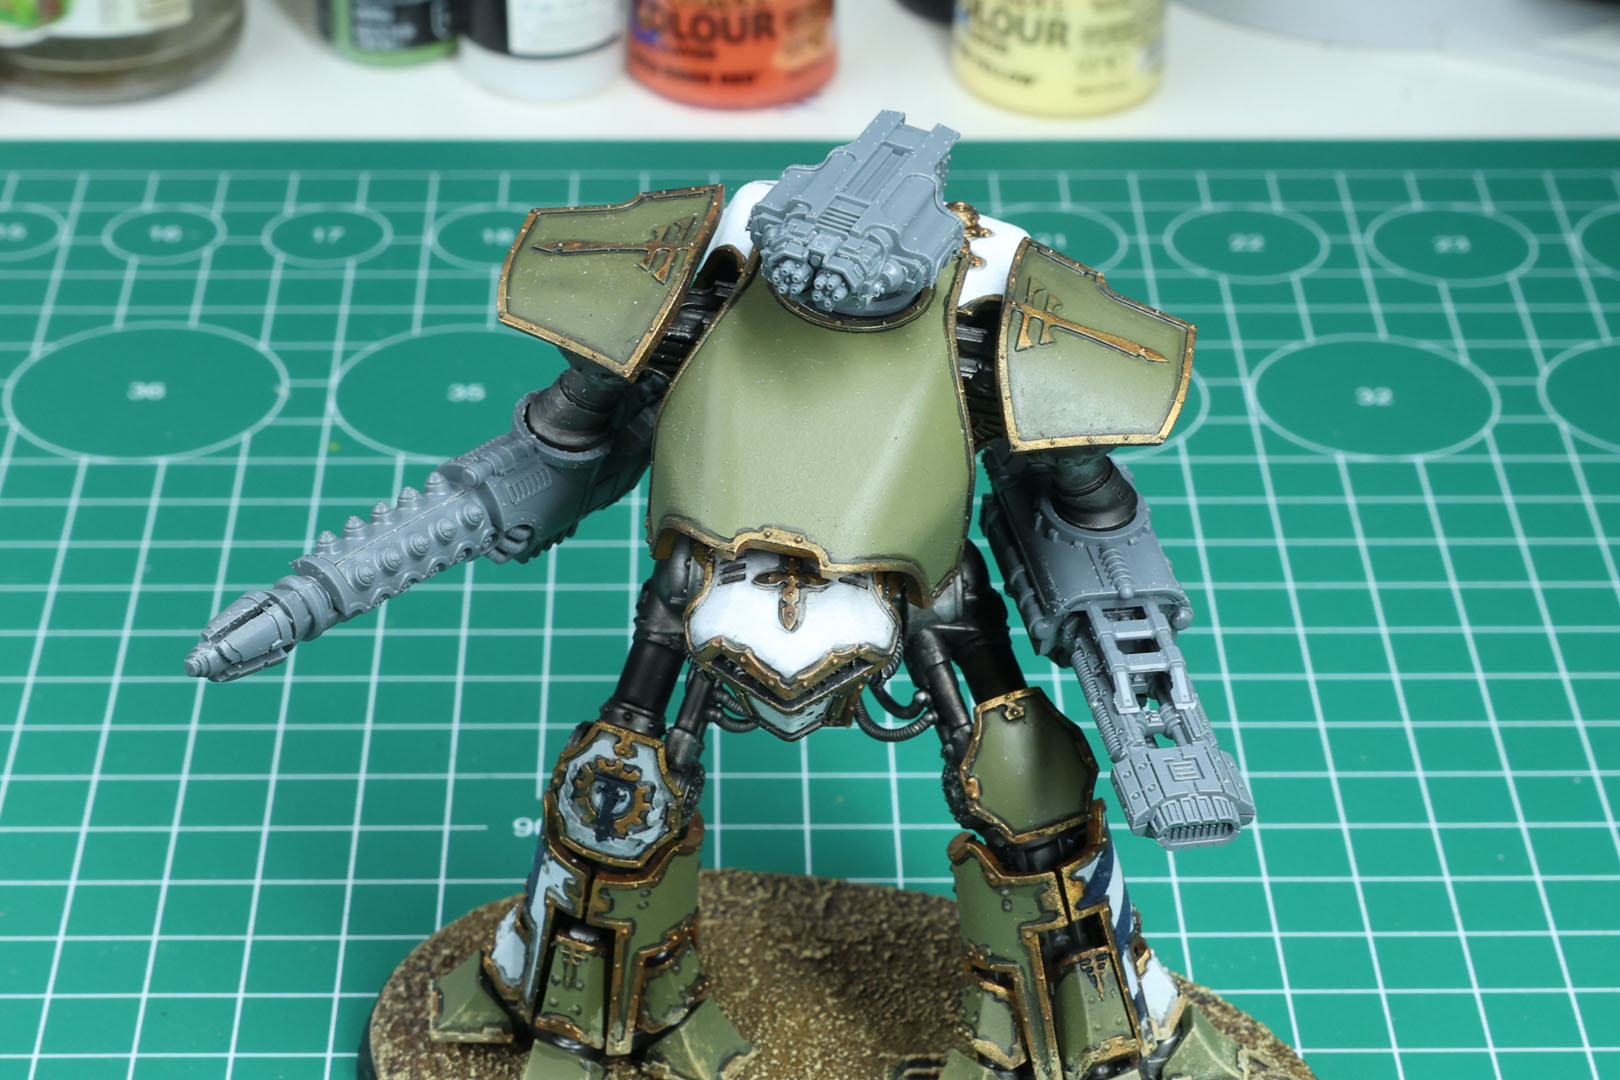
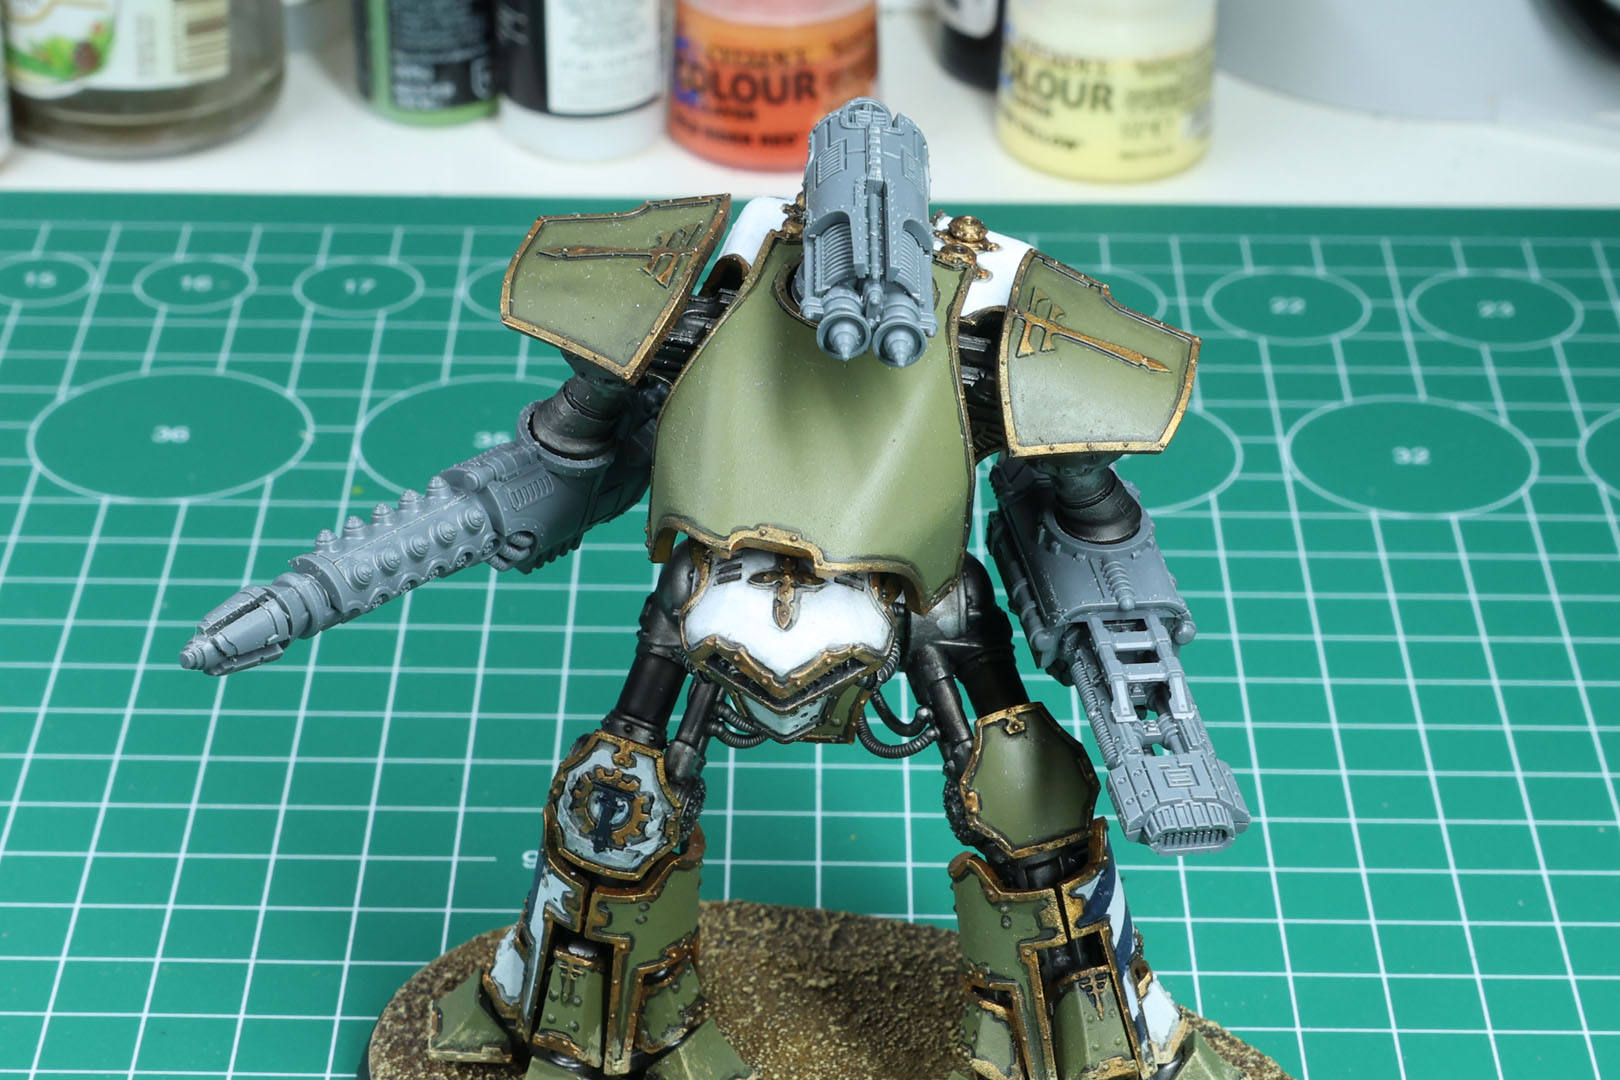
I am a huge advocate for magnetizing options on your titans. As you can see I have three Reavers in my Legio Astraman, and it is great to swap or add new weapons to your titans depending on the maniples or size of games you are running.
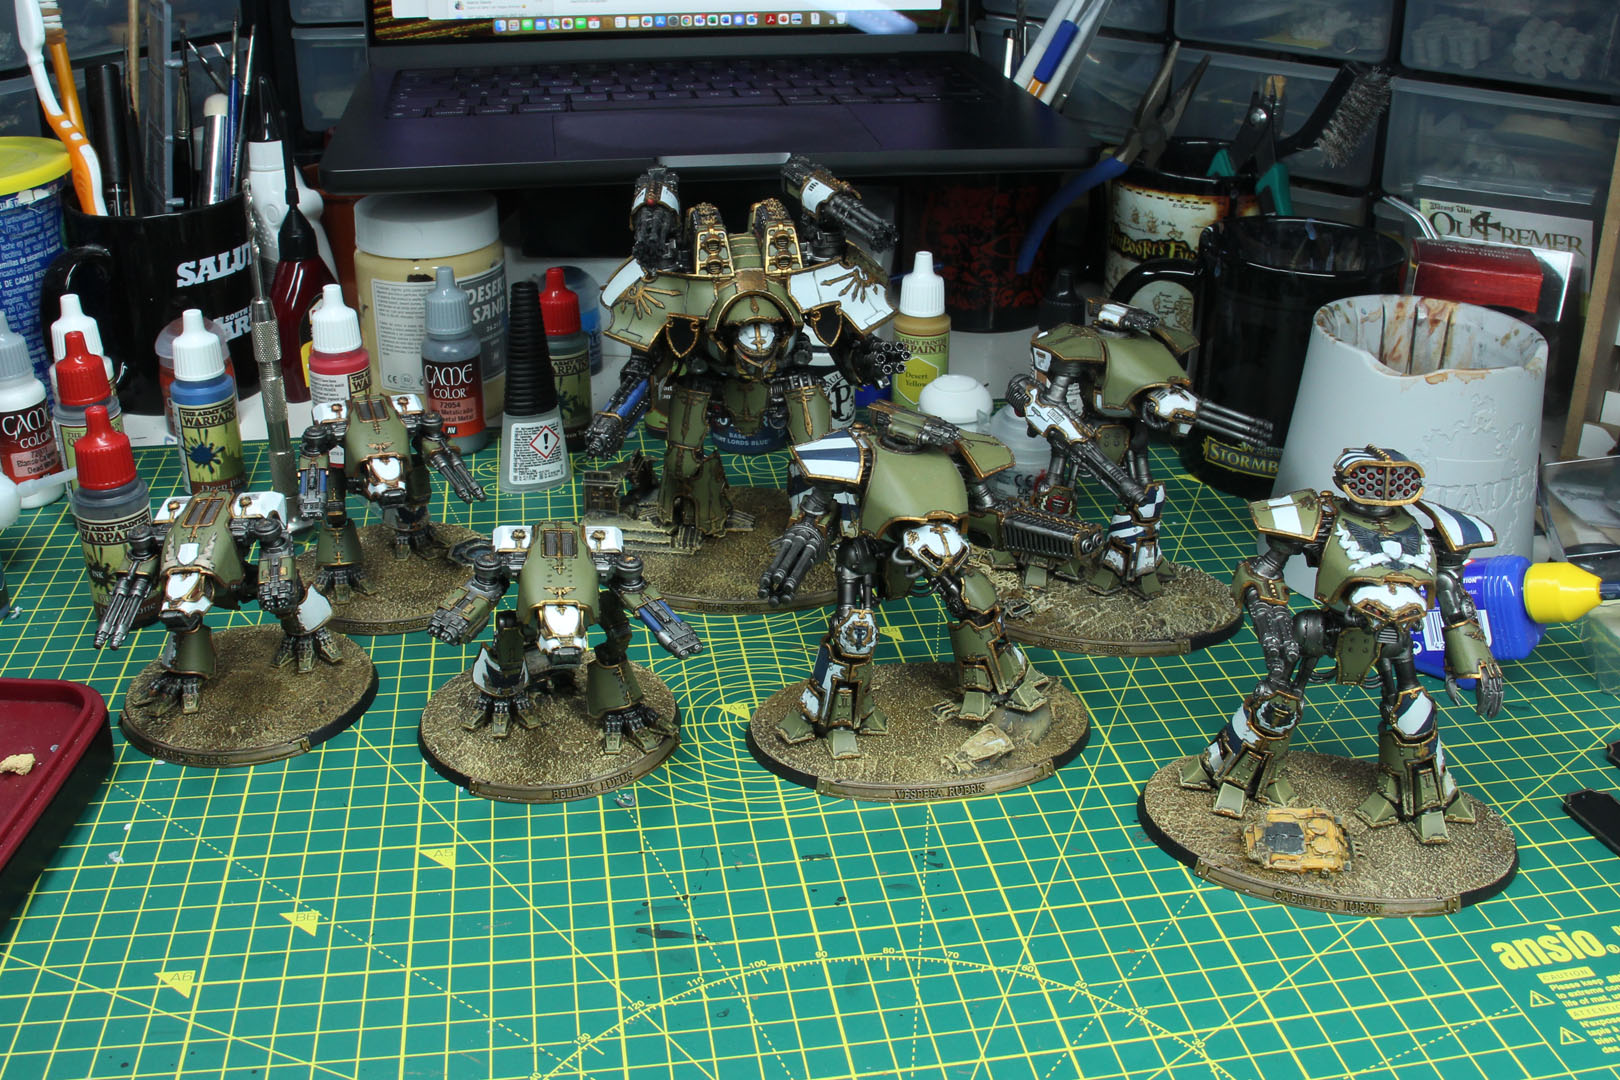
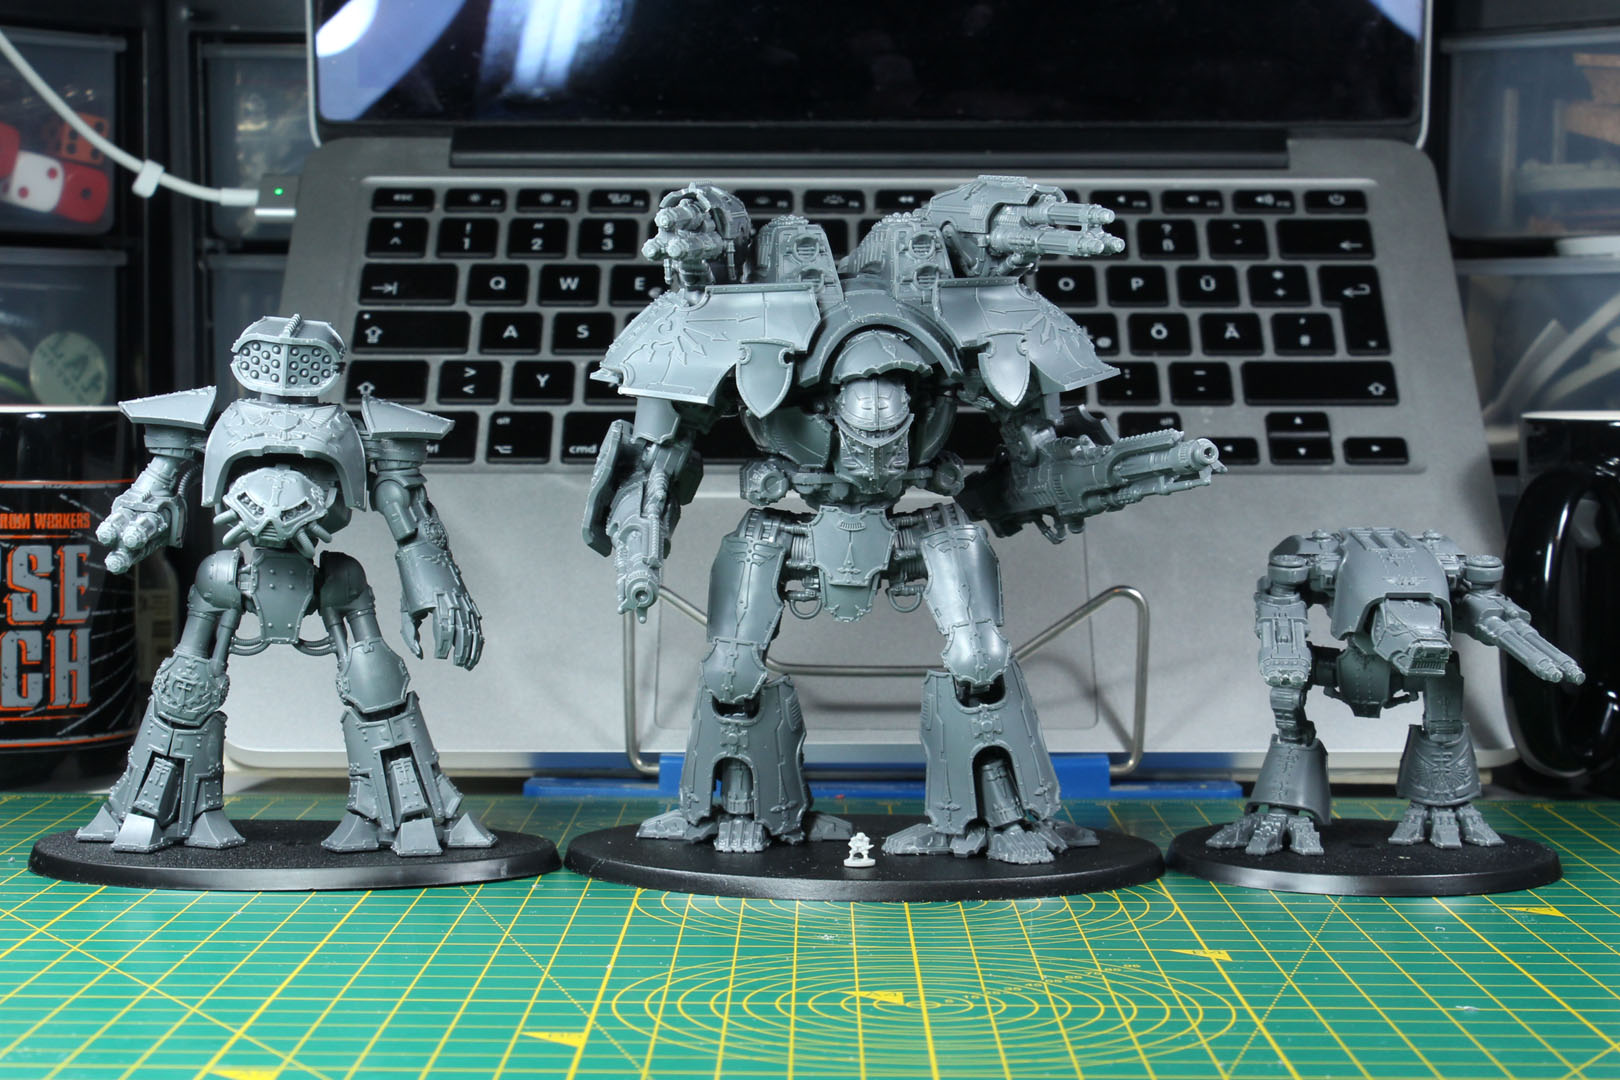
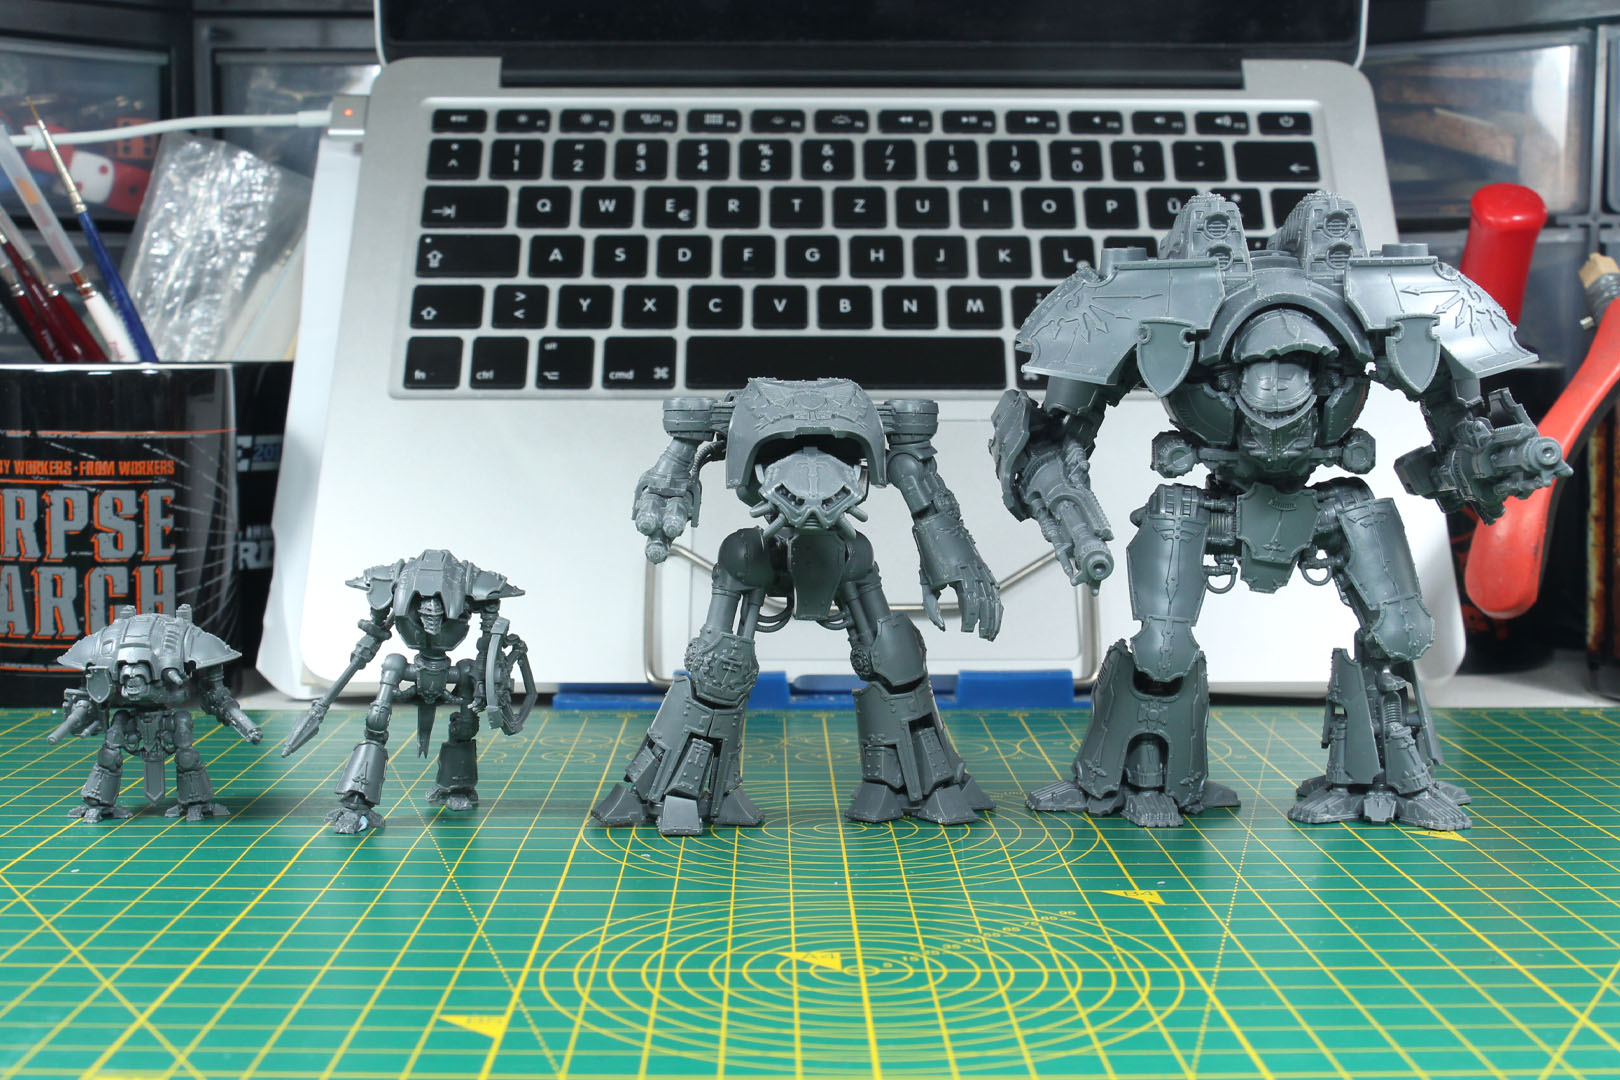
A brief size comparison of the Reaver Titan next to a Warhound Scout and Warlord Titan, as well as next to Knights in Epic Scale.
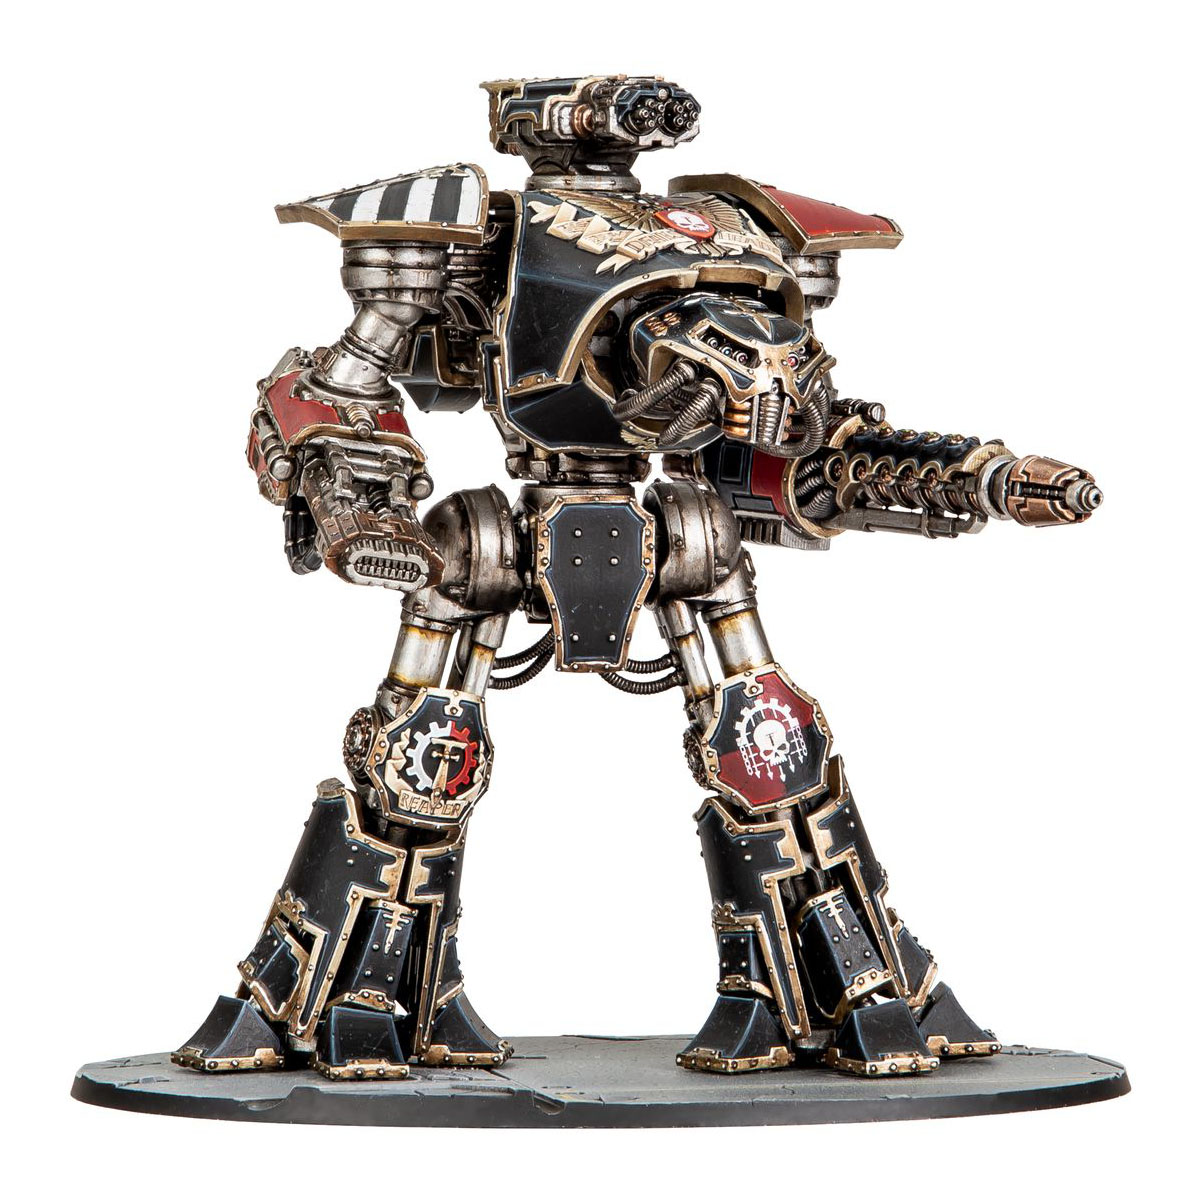
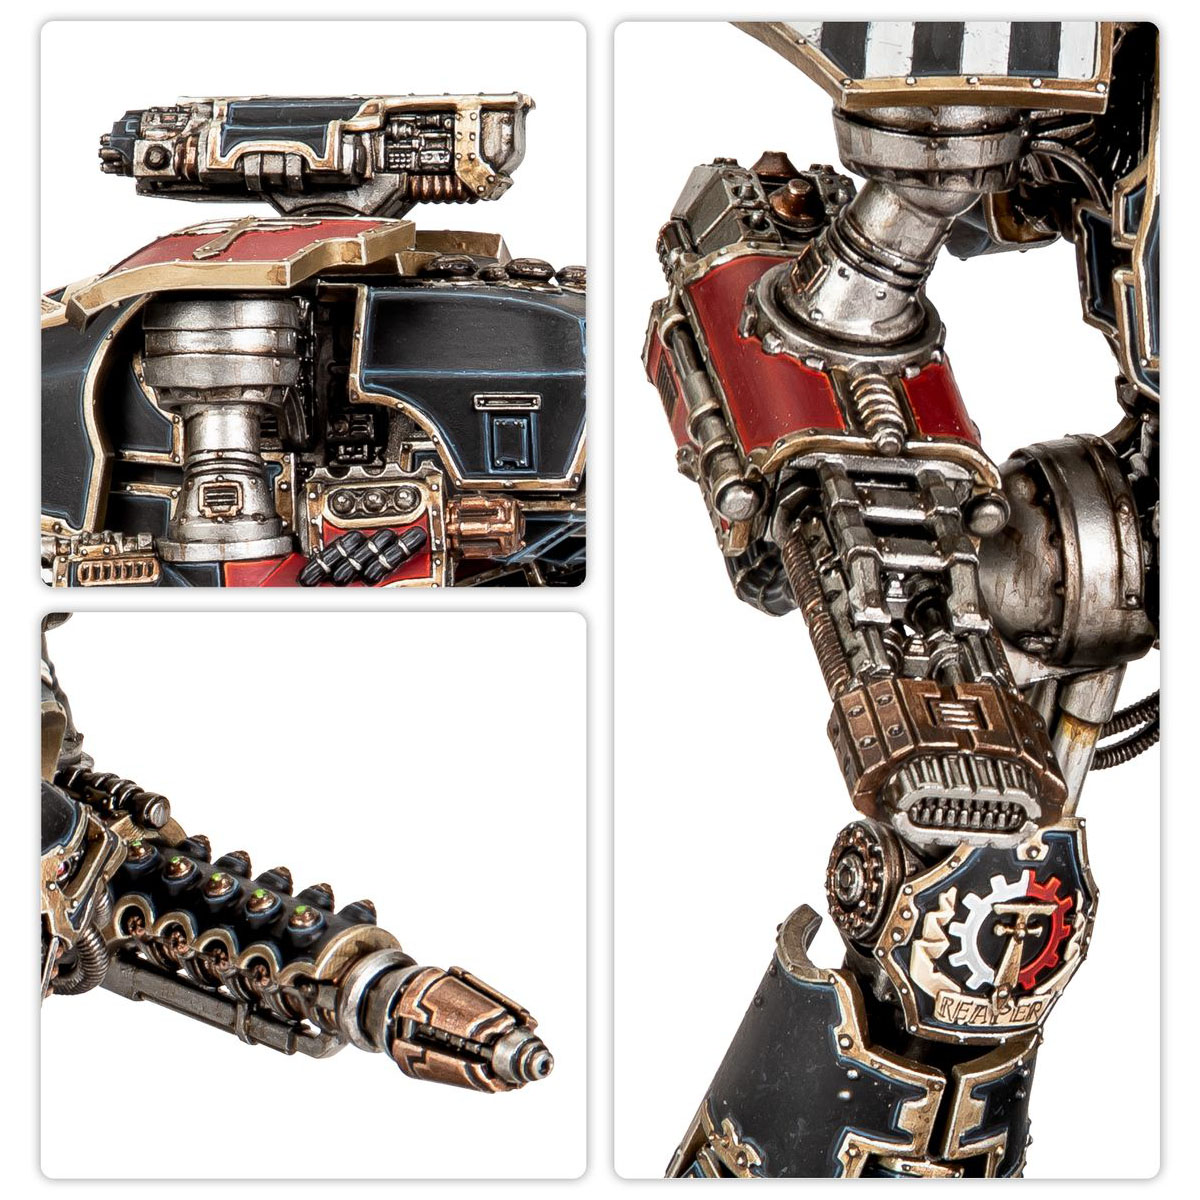
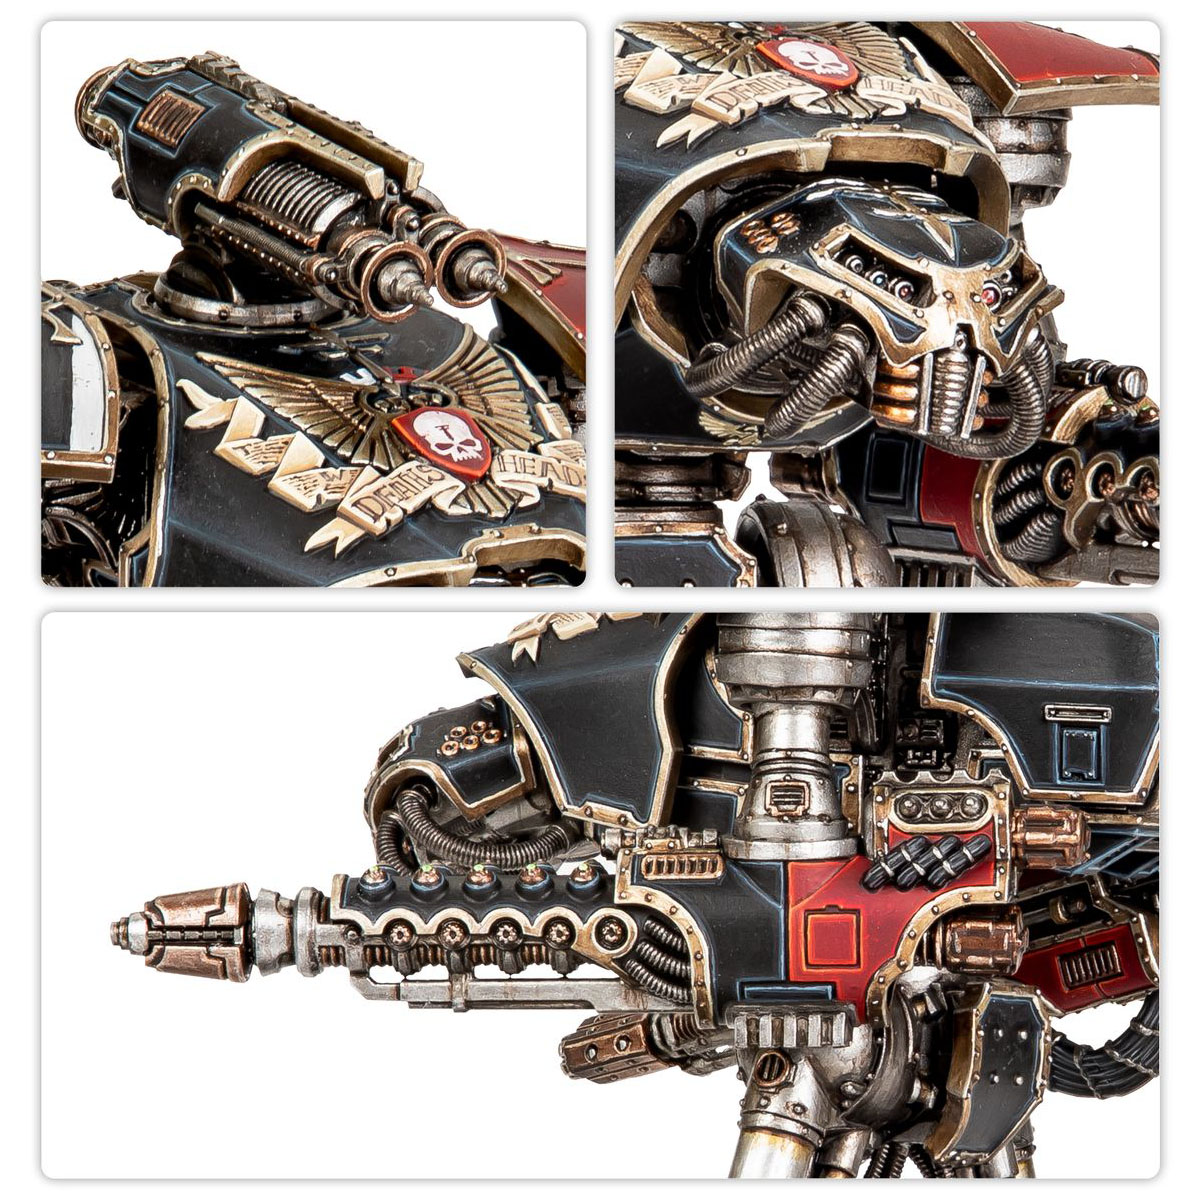
To conclude, here are some close-ups of the official build, to give you an idea of the painted model and some of the details.
Conclusion
At 51,50 EUR, the Reaver is roughly half the price of the Warlord Titan, and half in volume/size as well, which makes it fitting in terms of scale and pricing of the range. You can pick one of the kits up with a 20% discount at Radaddel, which makes the pricing more reasonable.
To be honest, the release of this third option came a bit as a surprise, as the two existing ones already covered a lot of ground, and you had the Forge World upgrades which didn't break the bank. But this third set gives you a good deal, as the full plastic kit is already cheaper at RRP than the sum of all four resin upgrades. Regarding the upgrade sprue: at just 23 EUR, it's clearly the cheapest option if you are just looking for the weapons. But compare that to the ~41 EUR the full kit costs you at a discount. It comes with cards, and it's quite likely that you didn't magnetize your older Reavers anyway, so I would suggest getting the full kit.
There is nothing to argue about the content. You get four weapons and a new head design. The real issue is that they didn't upgrade this kit to be more versatile by adding arms that can mount magnets or have more swappable weapons (by the way, Warbringer Nemesis weapon arms are the same size as Reavers and can be swapped as well). They basically did with the updated Warhound Scout Titans, or at least designed them in a way that makes it very easy to drill / insert magnets.
As this release covers all the former resin options from Forge World (and all those stated in the rules of Adeptus Titanicus and Legions Imperialis), with the exception of the Warp Missile, it feels a bit like the product life cycle of Adeptus Titanicus has concluded. Unless we see new options or new titans, the known parts are already available. With the Warmaster already being quite large and points-intensive in both rule settings, it is unlikely that we will see an Emperor Titan. But one thing that I would really love to see would be upgrade kits for different armour patterns like Lucius, or the possessed/corrupted titans, bringing some of the very impressive design of the Chaos Titans from Forge World into Epic Scale.
We have already covered the Warlord with Quake Cannon and Conversion Beam Extirpator, and Warlord Titan with Volkite Destructor, Macro-Gatling Blaster, Graviton Ruinator, and Vulcan Mega-Bolter Array from this latest wave.
- Production Quality: 4/5
- Design Appeal: 4/5
- Options / Customisation: 3/5
- Value for Money: 4/5
- Ease of Assembly: 3/5
The Horus Heresy and Legions Imperialis are brands by Games Workshop.
The reviewed product item was provided by Radaddel.
Enjoy this article?
Like us on Facebook

Follow me on Instagram

Categories
- events (210)
- fantasy (604)
- General (161)
- historical (644)
- Little Big Adventures (4)
- offtopic (5)
- reviews (552)
- science fiction (710)
- showroom (107)
- terrain (119)
- Uncategorized (1)
- work-in-progress (422)










August 7th, 2026 - 22:11
So, this reaver comes with just the one face design…? Shame, i really love the old design but the kits with it are sold out everywhere around me and i’m too broke to pay delivery fees. Prices are bad enough lol. Also FANTASTIC review/breakdown, couldn’t have found anything better. Thank you for making this!!!
September 13th, 2026 - 16:52
A note for reaver arms: the instructions include optional assembly. You cut the nub off the inside connector, and there should be alternative pieces to glue onto the cable connection points on the weapons. Thanks for the review!