Tutorial – Painting Bronze
In the German-speaking Facebook group for the Footsore products I was recently asked how I paint bronze. The answer is quite simple and is as so often: it depends. Depending on what you paint, there are different ways to paint bronze. In the following I will show you how I paint bronze parts on undead.
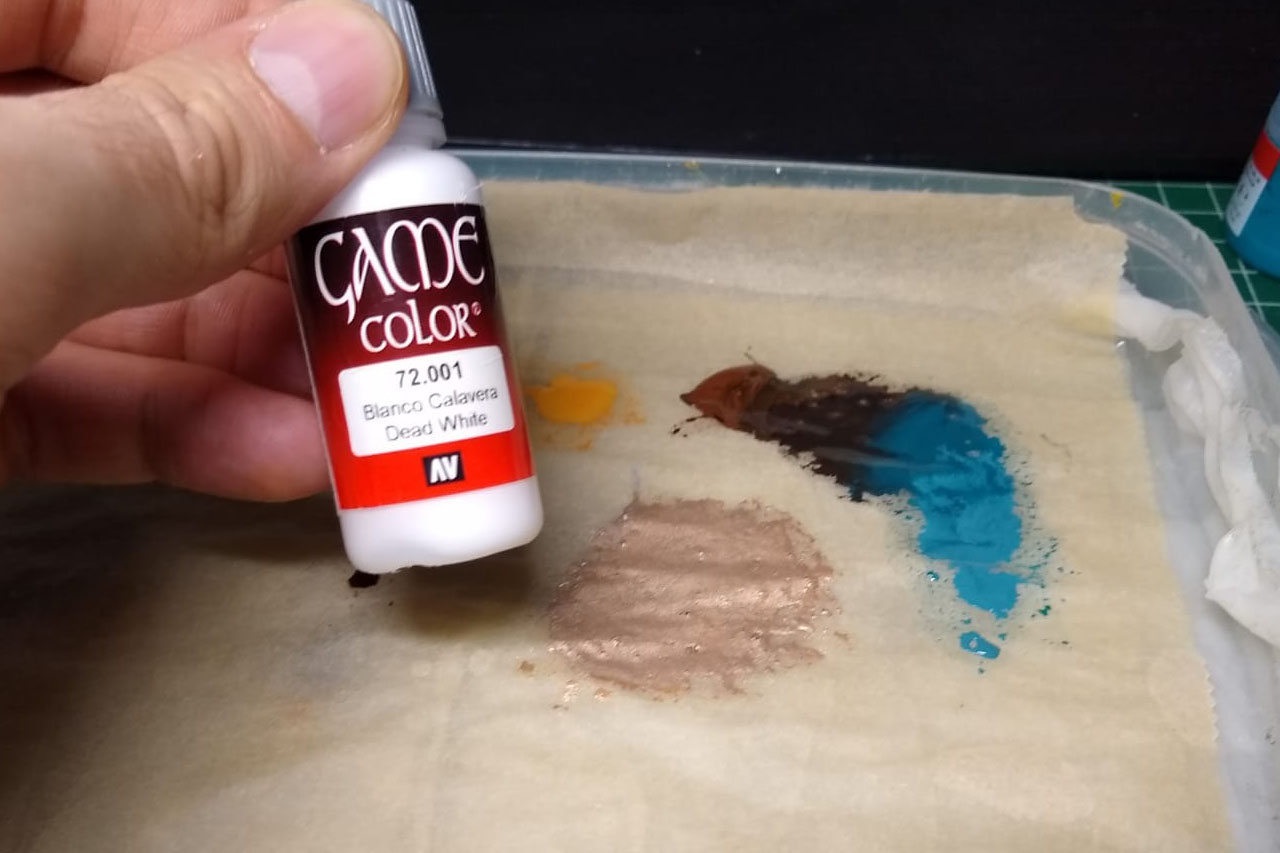
First of all, I didn't use a common metallic paint here, but mixed one. Why all this, when there are ready-made metallic paints? Well, metallic paints have a few annoying properties - they tend to pull skin quickly, or are too thick or too runny. They don't always cover well and are hard to control.
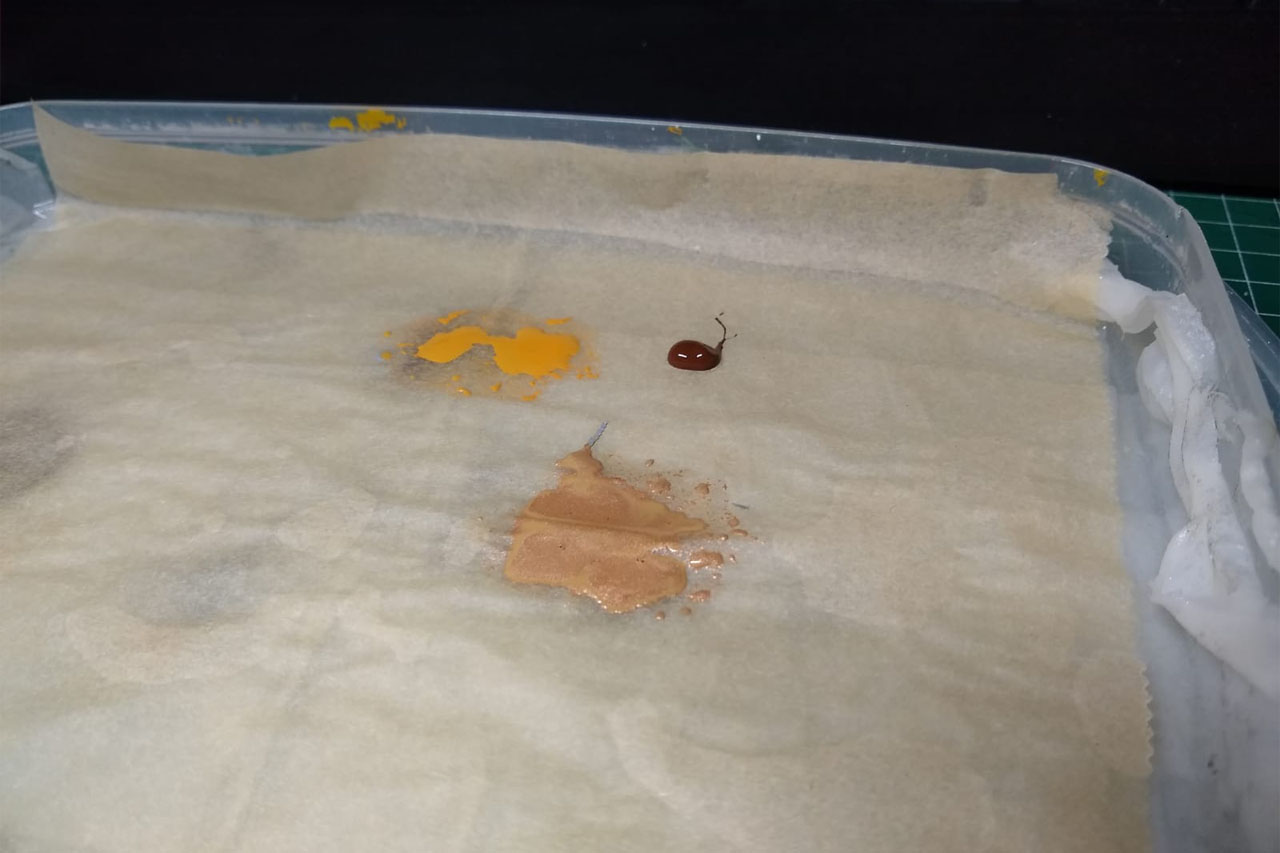
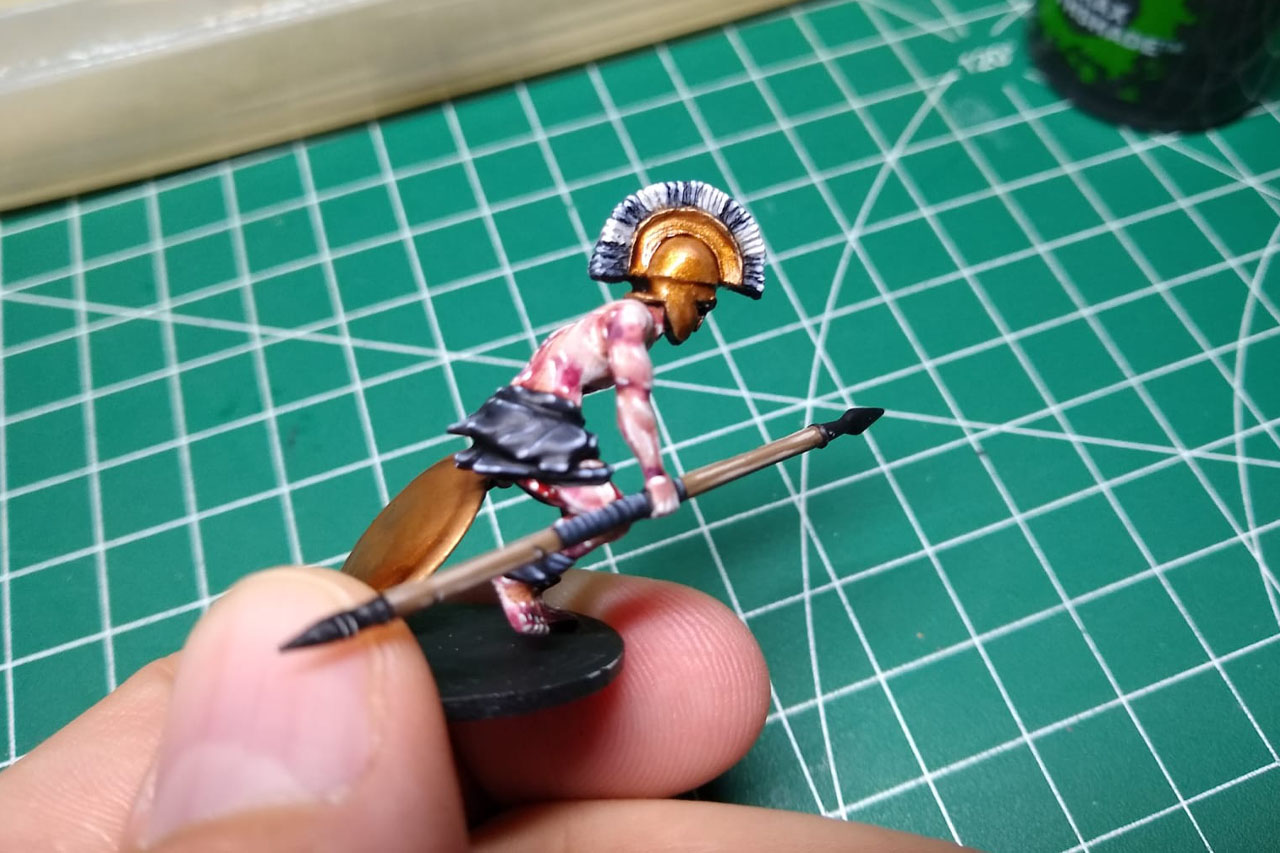
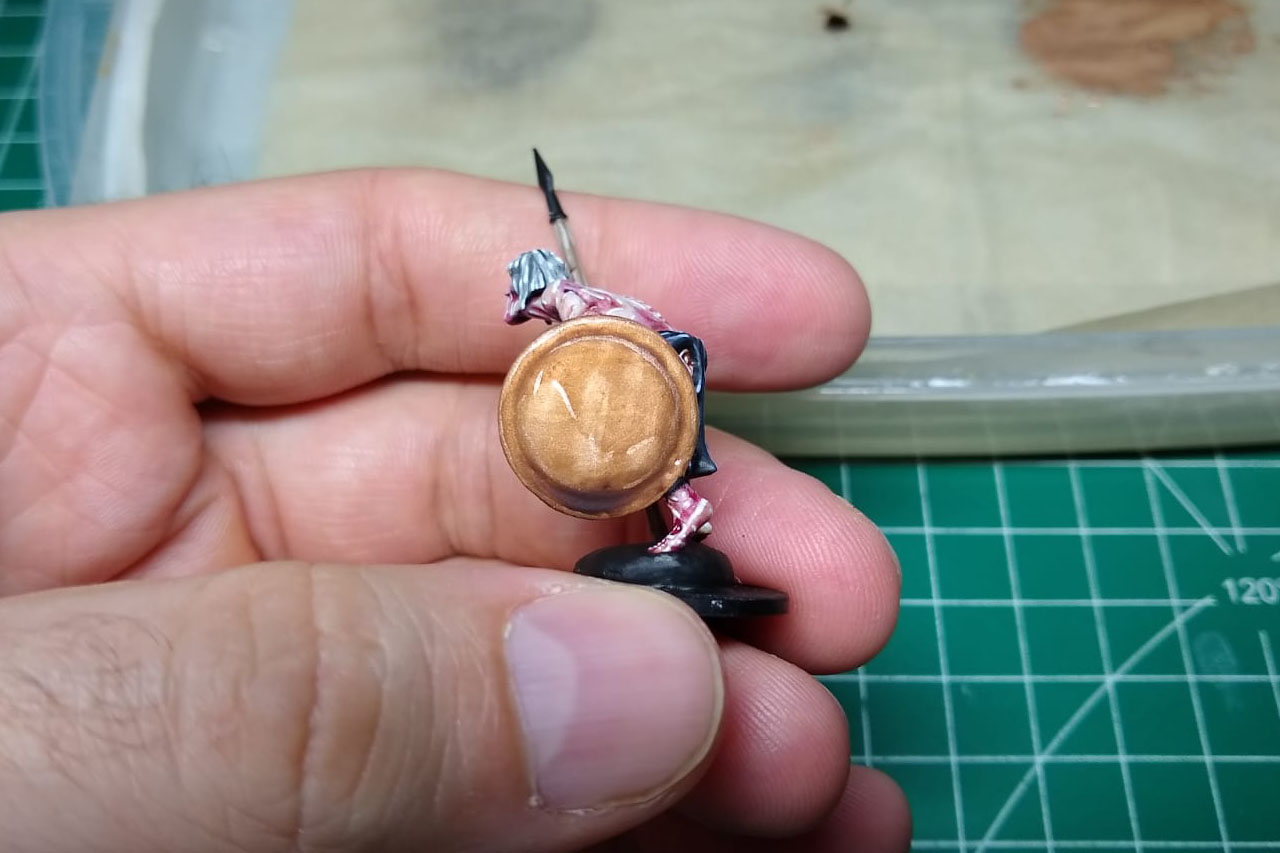
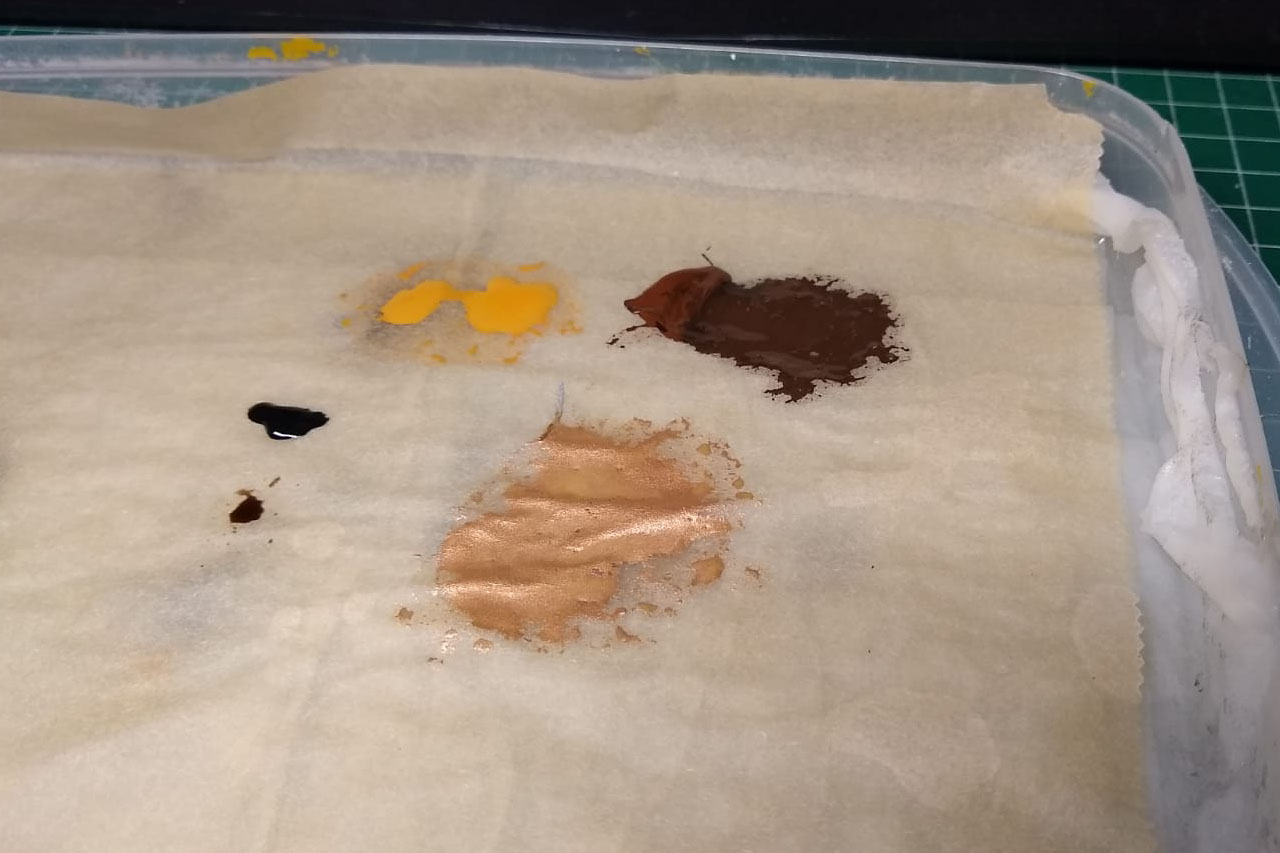
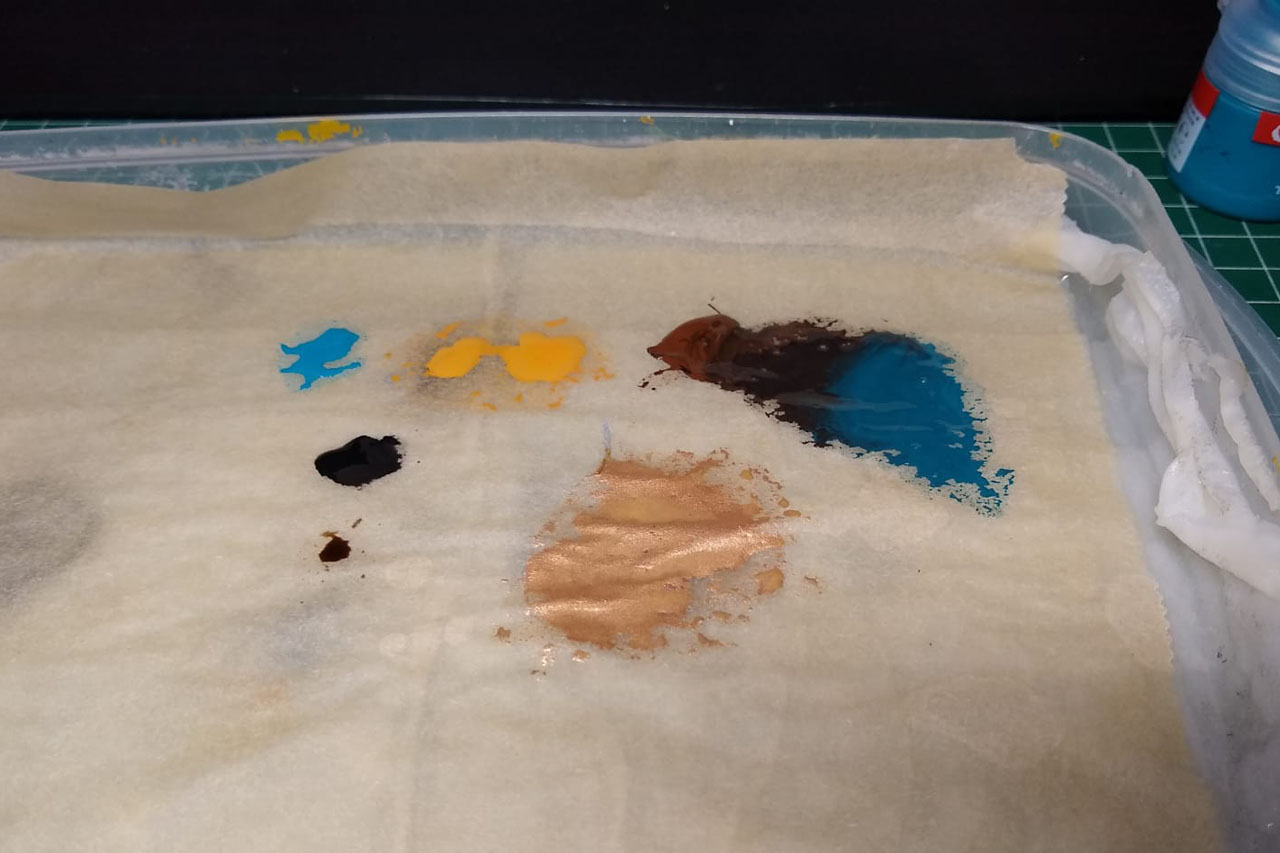
On the palette you can see a little Tau Sept Ochre from GW and some Oak Brown from Army Painter. I first added some White Aluminum from Vallejo Metal Color (an airbrush paint) to the wet palette and then mixed in Ochre, which resulted in a slightly yellowish, metallic color. As you can see, the result is a light, bronze tone that is visually indistinguishable from the paint you can buy.
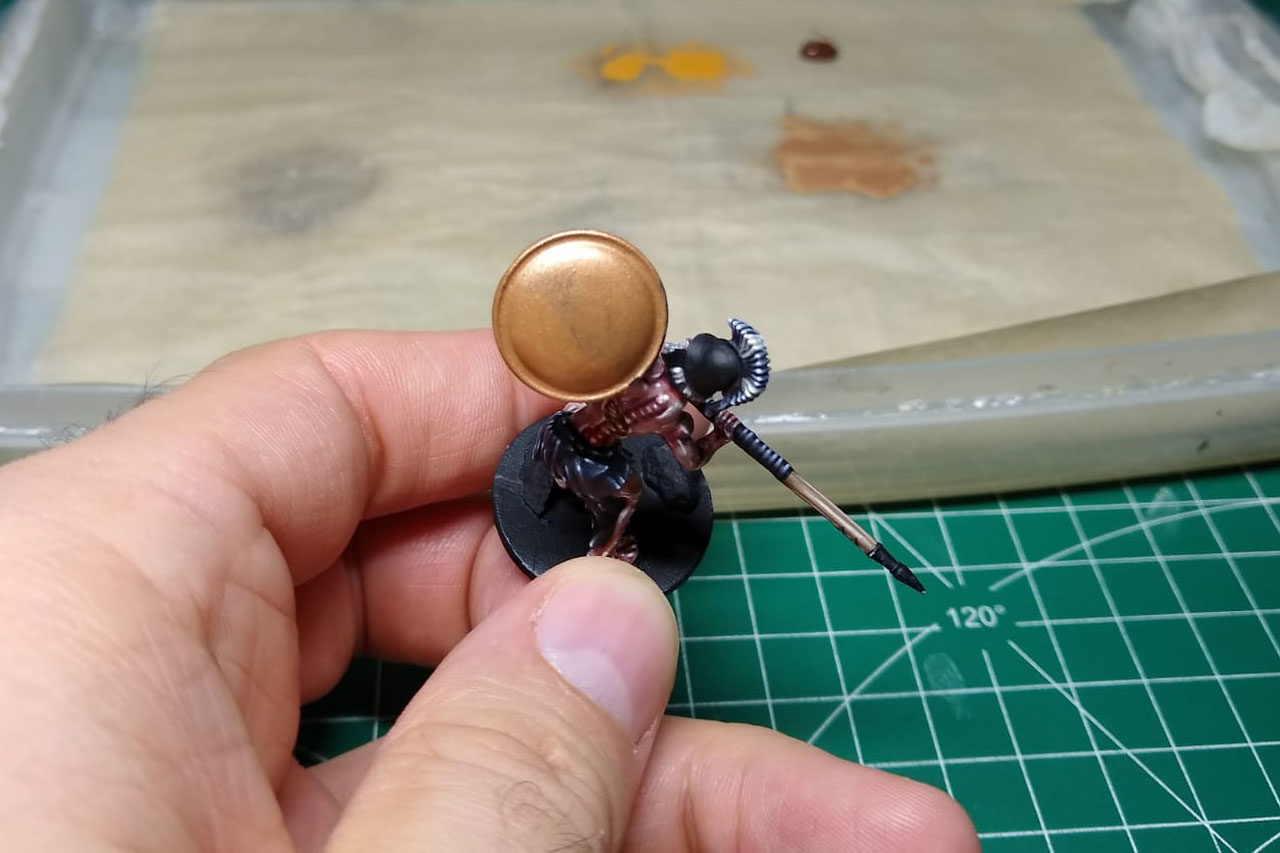
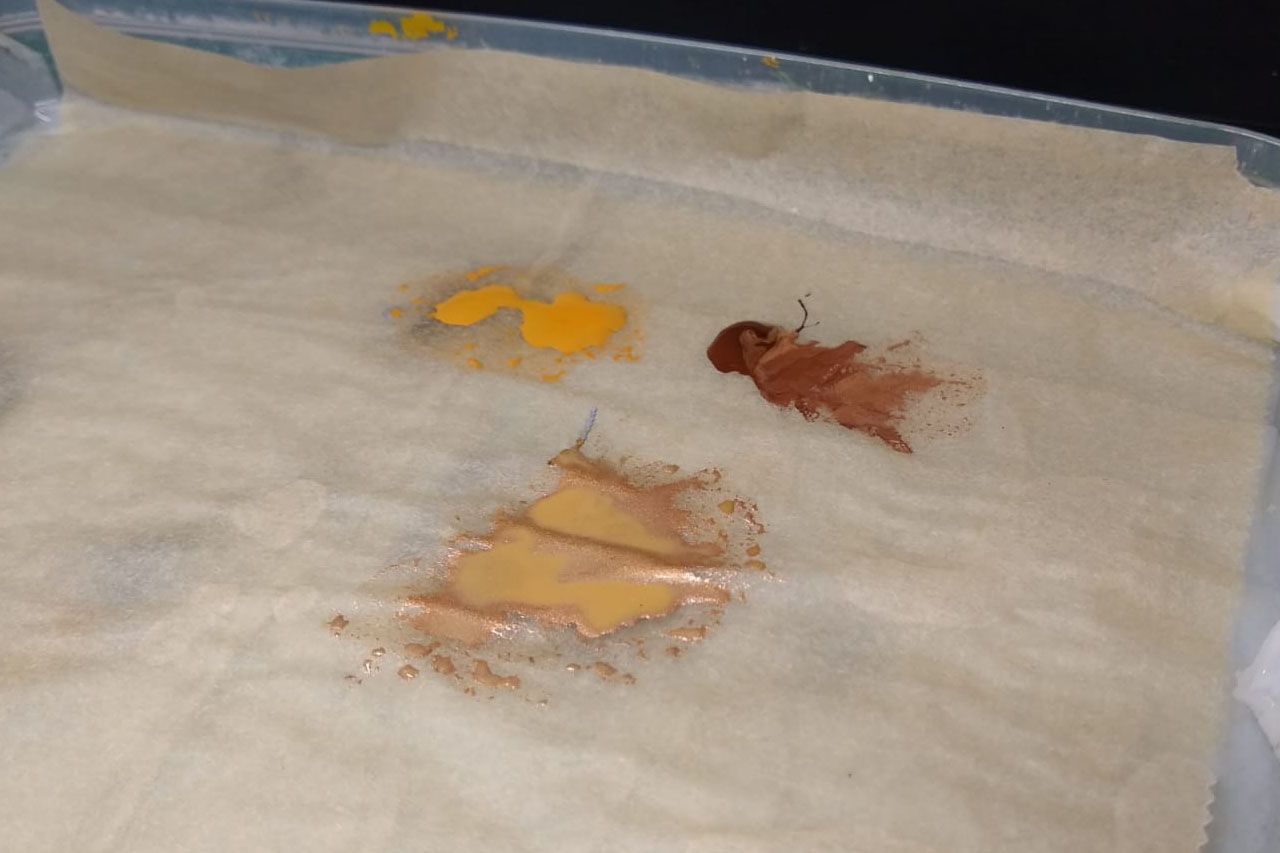
Mixing "true colors" and metallic colors has the advantage that you have to paint less often over the same surface and you can mix shades that you like. In the picture you can see the first layer, which I later painted over again to get a completely opaque result. In addition, the paint dries much less quickly with a skin on top, so you can paint with it for quite a while.
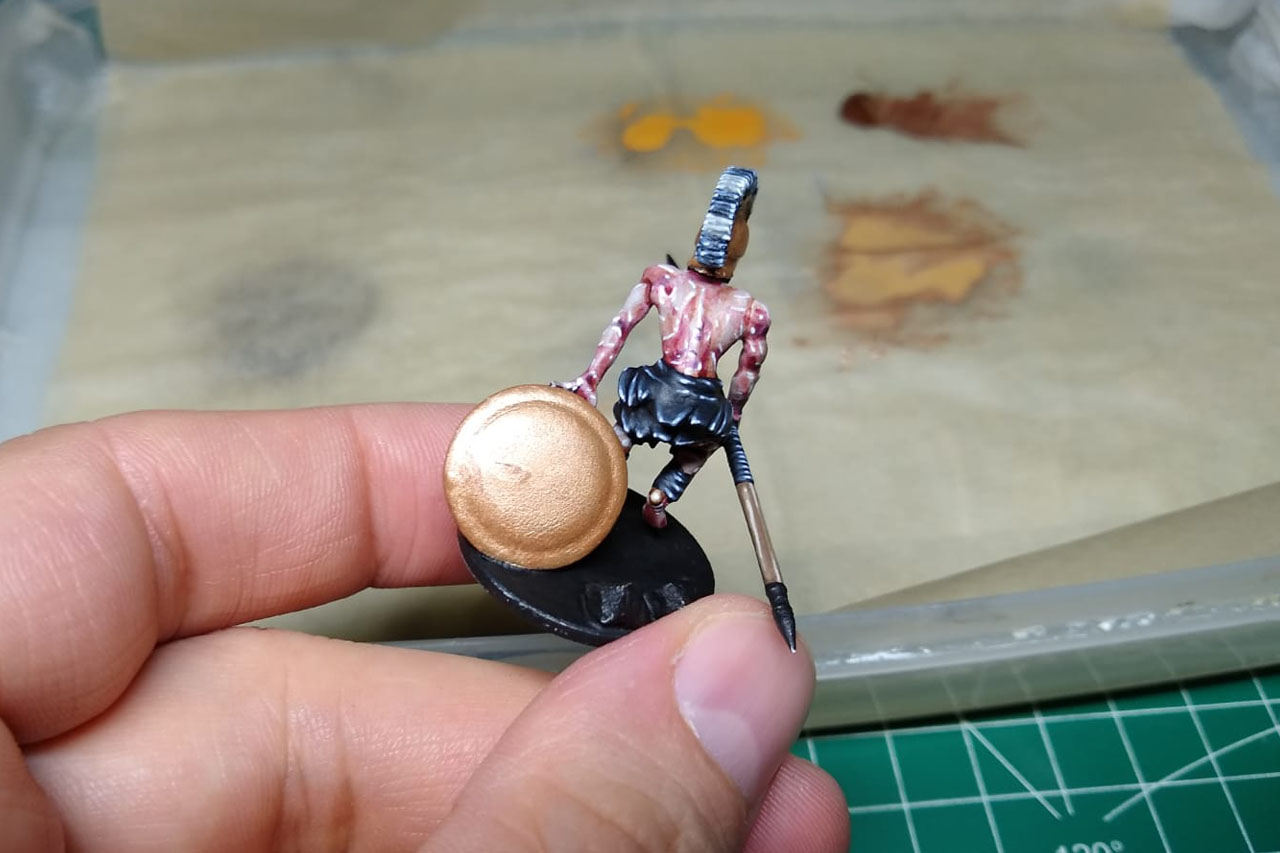
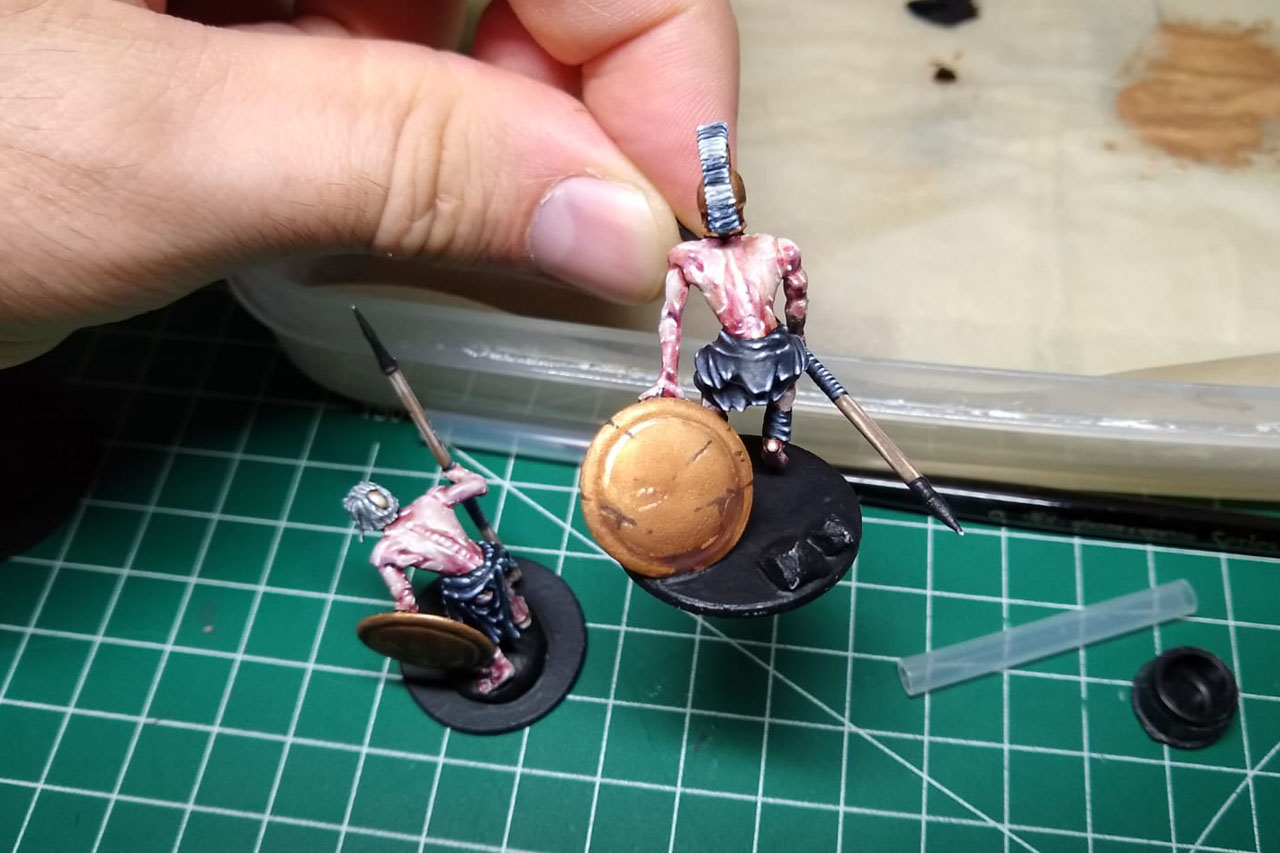
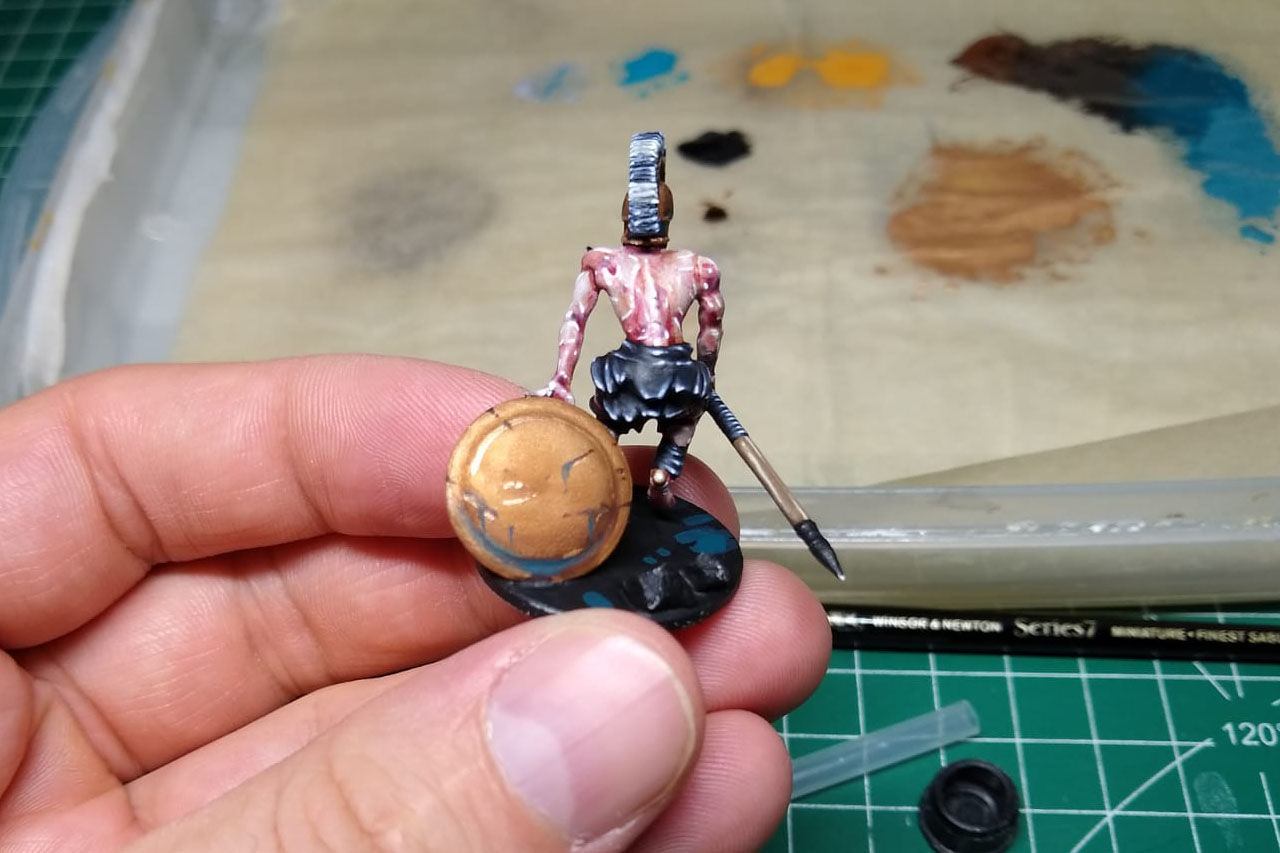
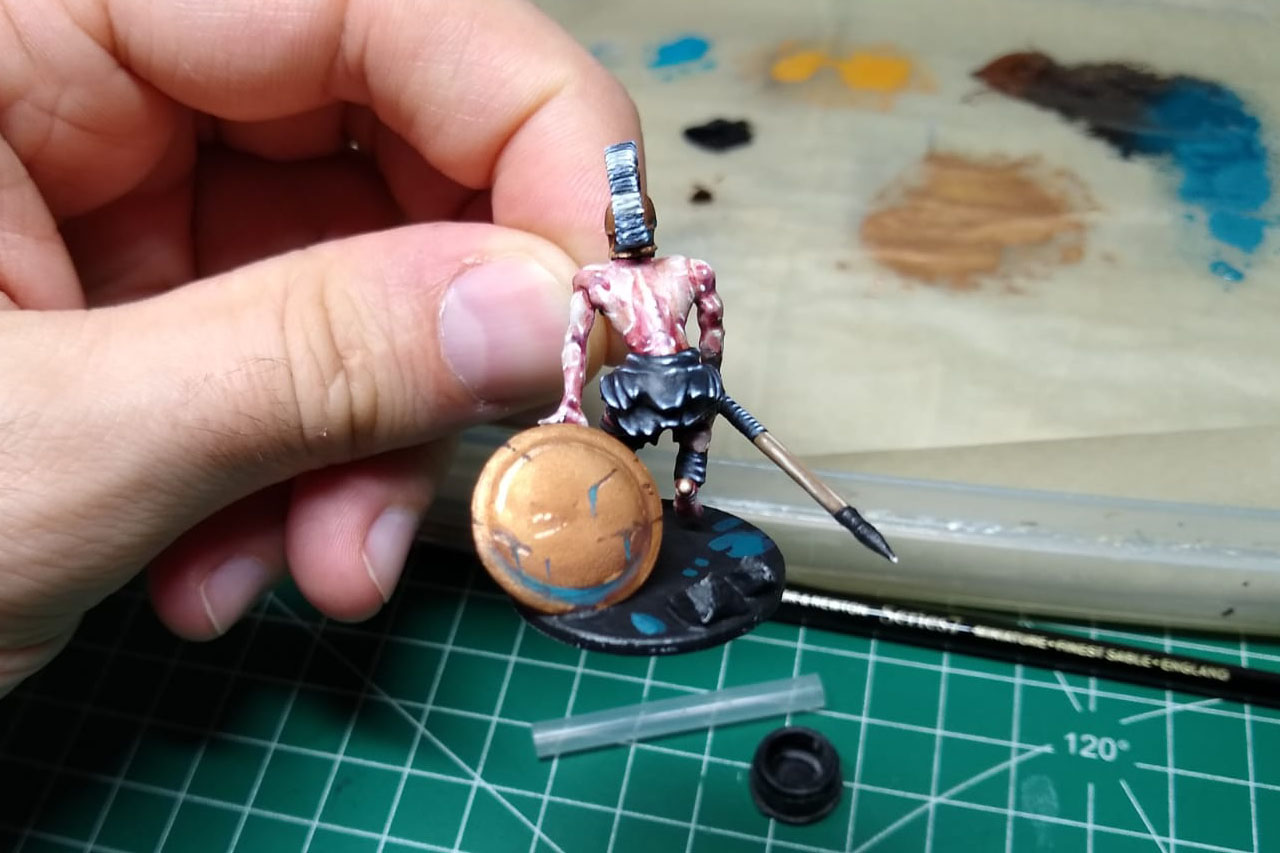
Shading is difficult with mixed metallic paints. To demonstrate this to you, I painted the lower half of the shield on one of my greek zombies again by mixing in Oak Brown. If you only want to shade, it's better to use a wash, and that's what I did in the next step.
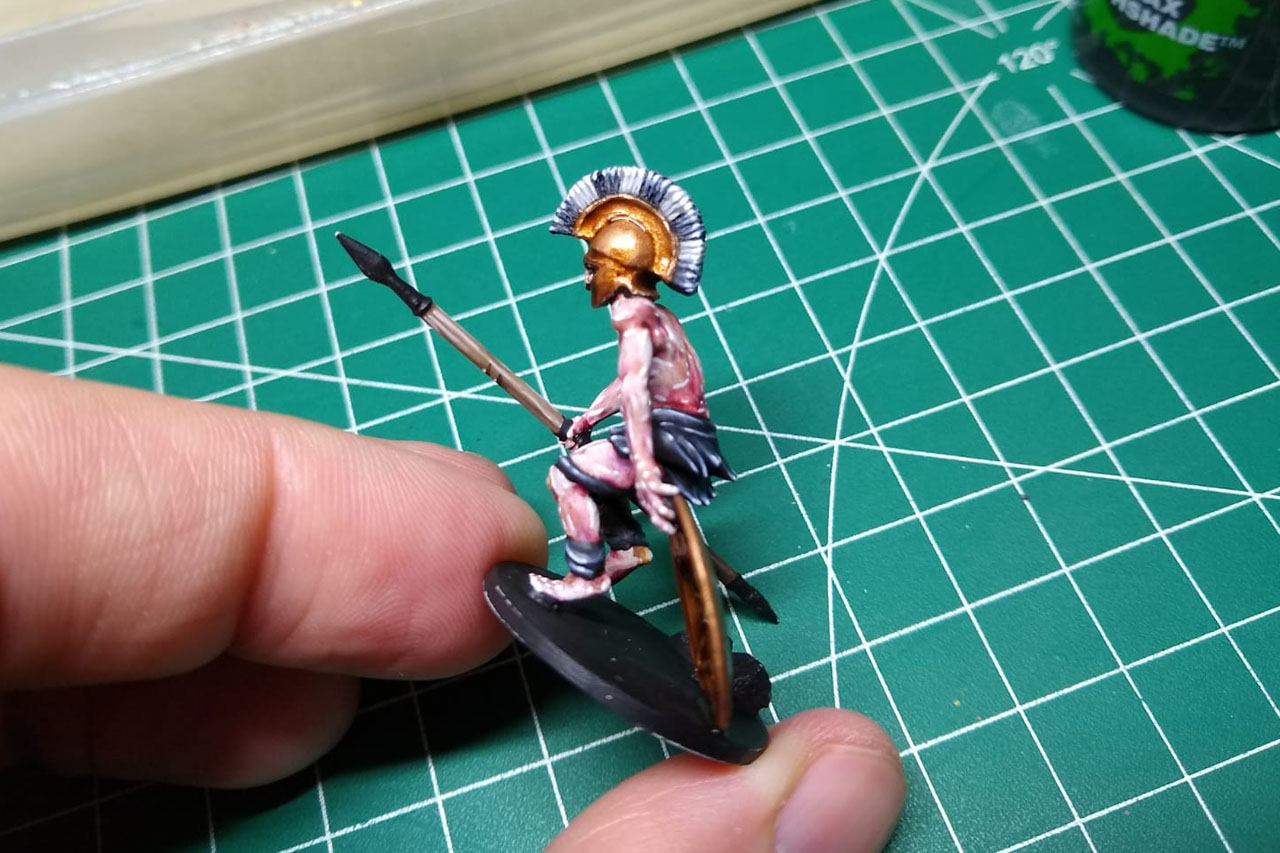

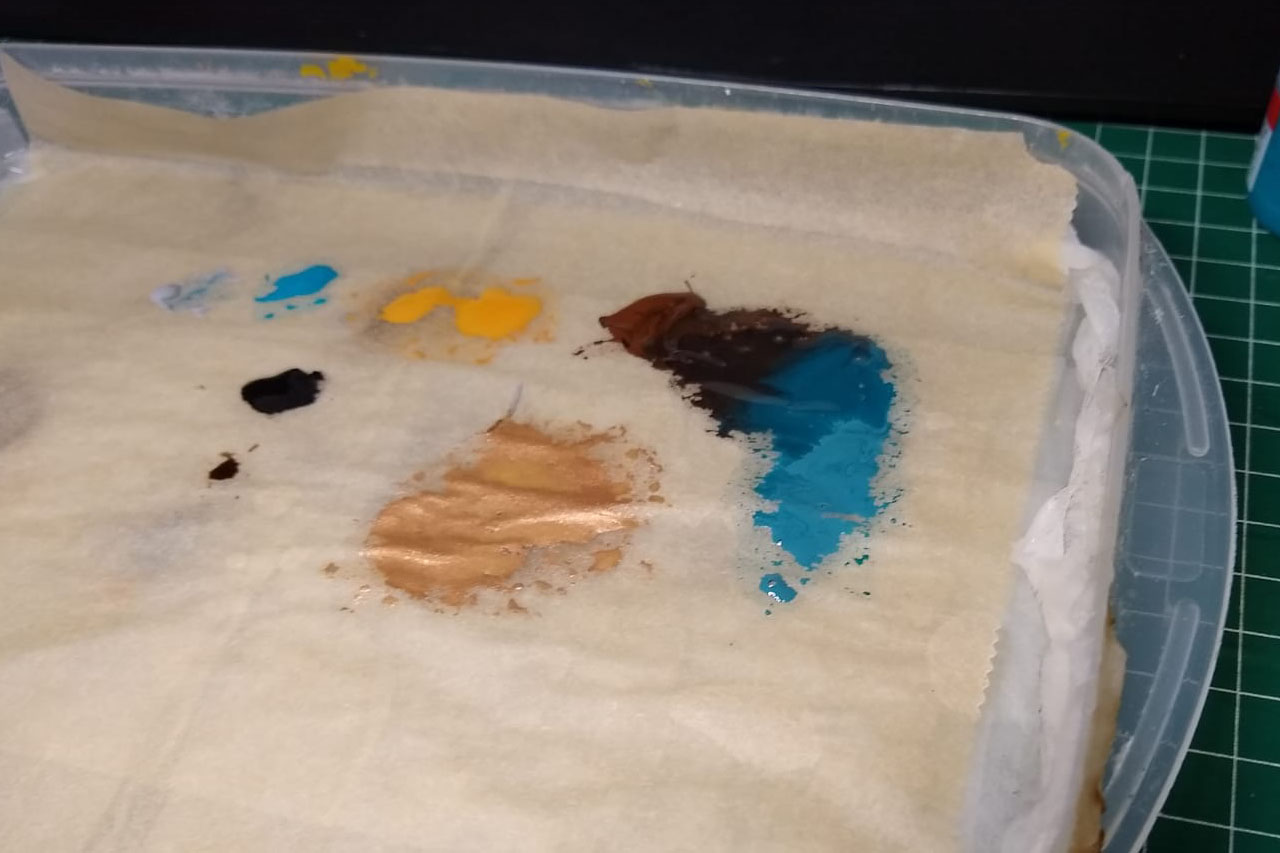
I generously applied Agrax Earthshade from GW to the metallic areas, but any of the other brown-colored washes work well too, or for example the Shades from Army Painter. The only important thing is that they create a contrast that stands out clearly against the base color. Once you've inked the areas, you'll need to wait a bit, or you might tear off the semi-dry wash from the previous layer:
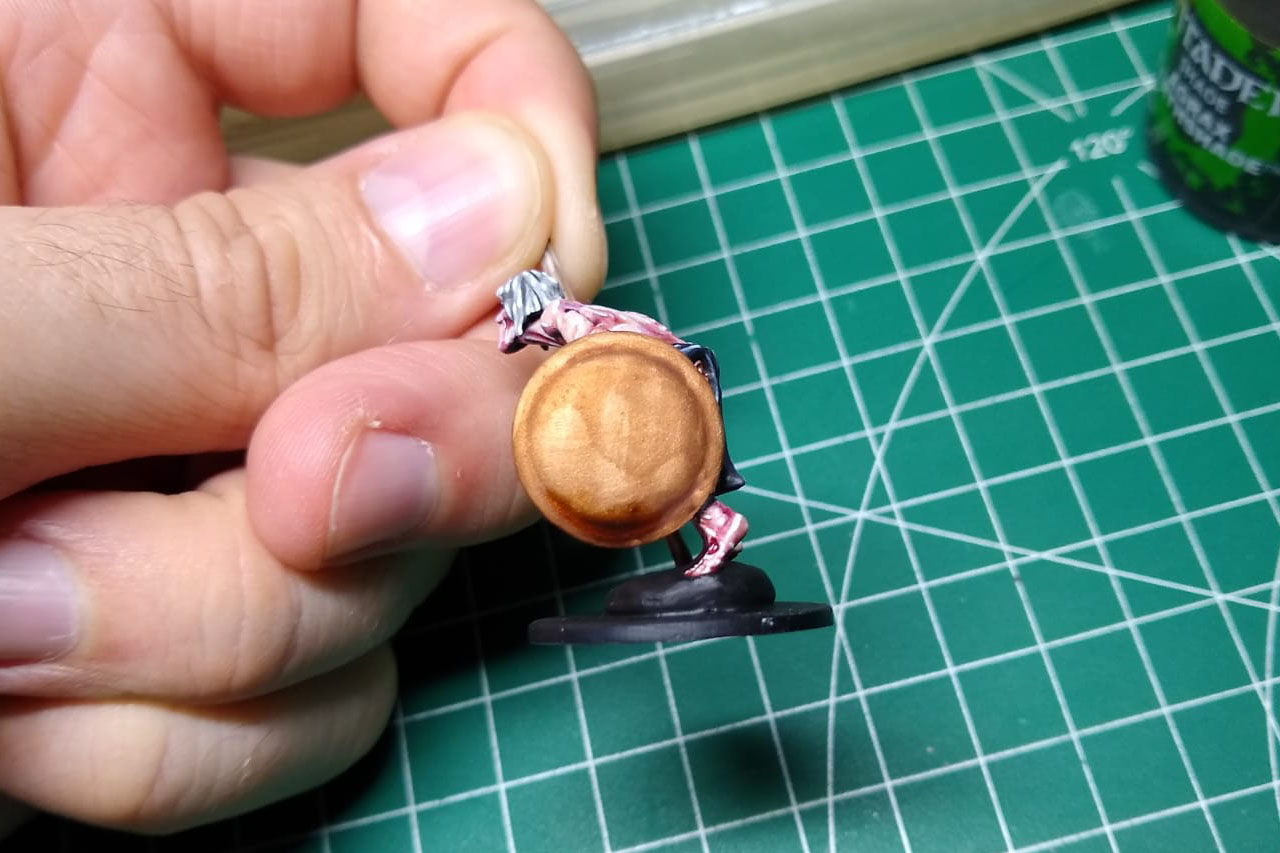
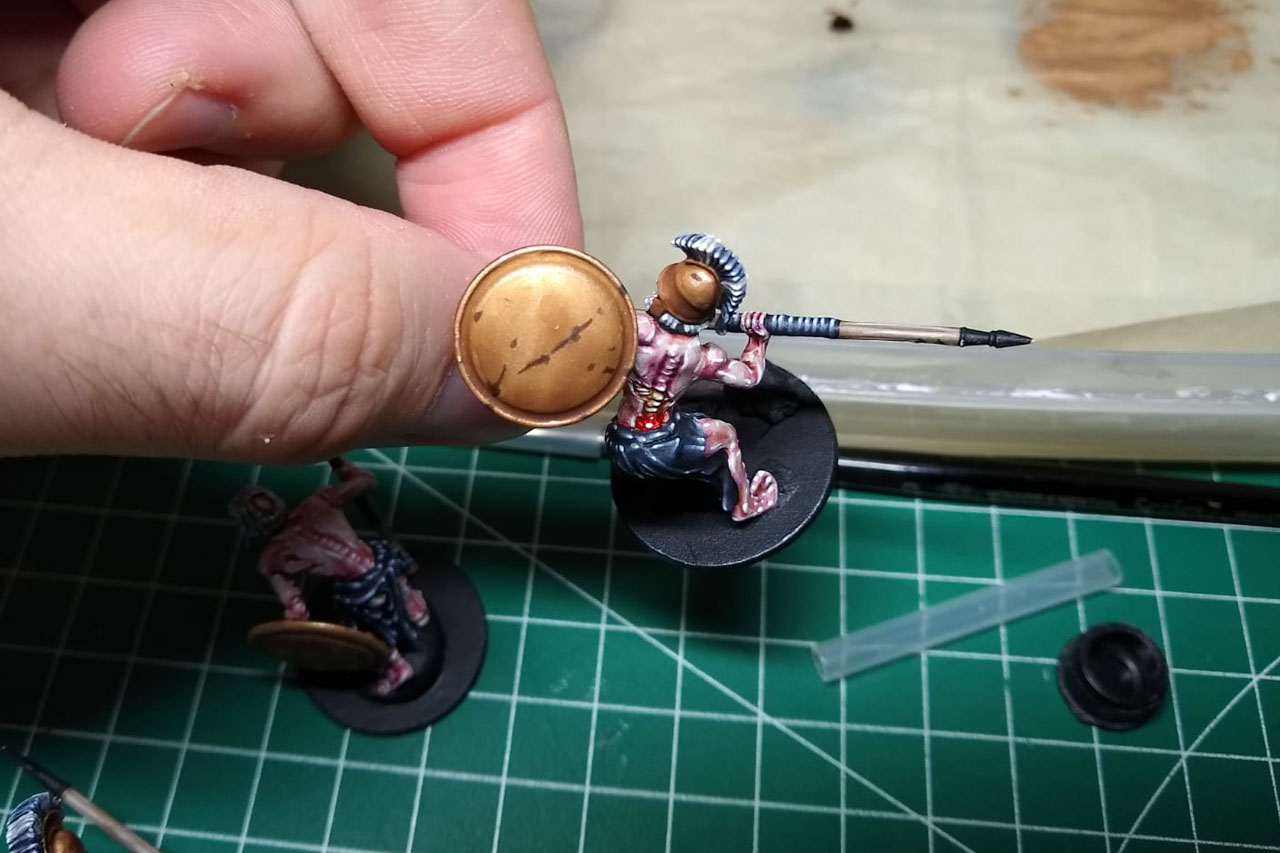
This is not a problem with undead models, but it is annoying with models that are supposed to look clean. I usually use these crack marks as an orientation to paint on scratches afterwards. By the way, this is also a good method to hide mold lines that have been overlooked. I used the mixed base color for the first highlights.
Then came all kinds of battle damage. I mixed some black into Oak Brown and placed the lines and dots randomly or, as mentioned, to compensate for mistakes.
Since bronze normally rusts greenish and these three are undead, I added Hawk Turqoise from GW to the Oak Brown Black Mix and painted the deeper areas with it. In a second step I diluted this mix heavily with water and softened a few of the harder painted areas.
In places where I thought "water could gather here and run down", I drew a thin line downwards with the brush to make it look as if dirt had run down there. To make it look a little more weathered, I now added Ash Grey from Army Painter and highlighted a few of the rust spots with it. I have to admit, I have no idea why this works, it just looked good in a previous try and so I sticked with it.
I mixed some silver into the bronze color to get a lighter tone. You can skip this step, but because zombies are not as long dead as skeletons, I wanted the metal parts to look a little better preserved. So I used it to roughly pre-paint the harder accents.
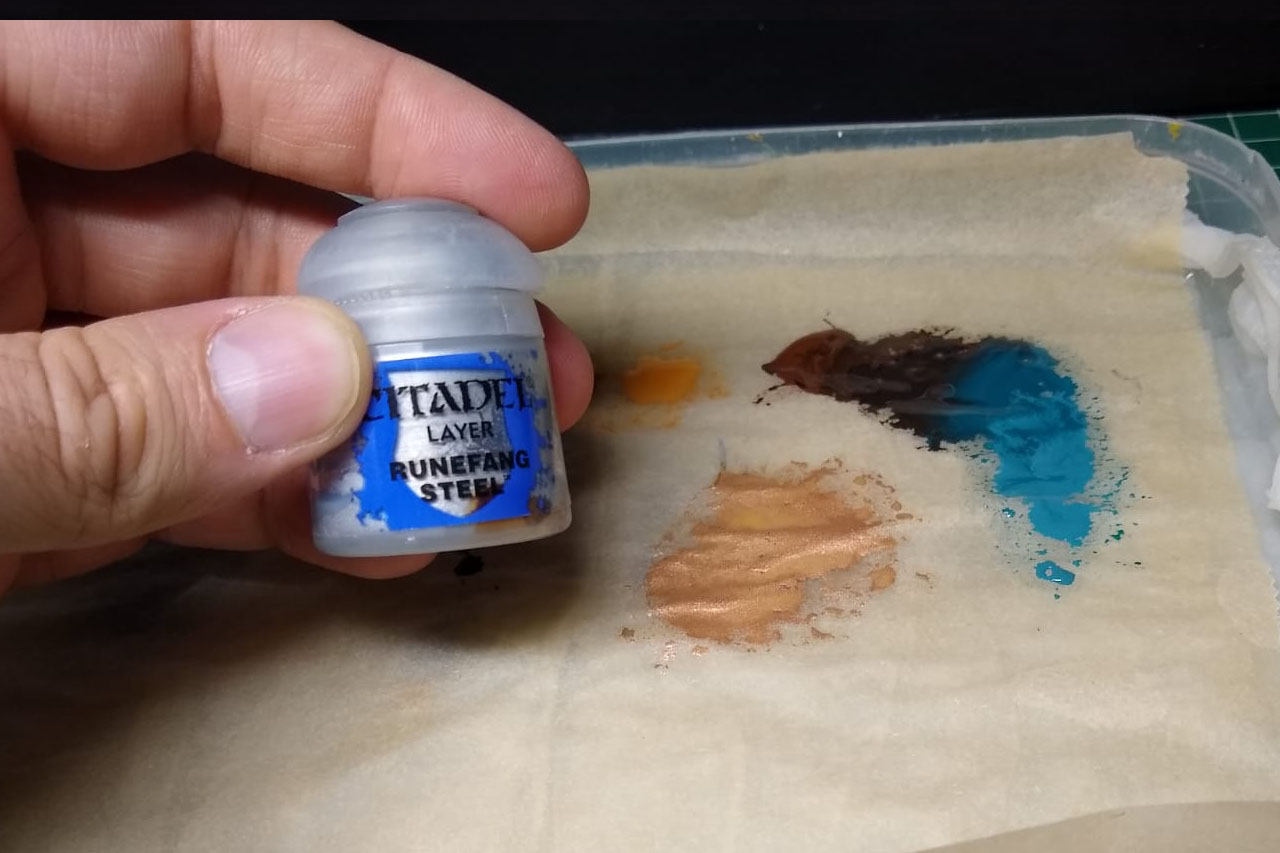

The final accent takes place in a somewhat unusual way - I simply mix white into the metallic color and use it to add accents in edgy places. This has a few advantages: the color is much more controllable than if you just add silver and the contrast is very visible. In addition, the artificially placed highlight is also visible from angles where less light shines on the metal, so the effect is not lost. Mind you, it's not a real metal color, it just has some metal in it left now. However, this "fake metal" technique works quite well, especially if you want to achieve a good, simple effect quickly.
I have used Fake Metal many times, for example with my Mortal Gods skeletons, or even with the mercenaries.
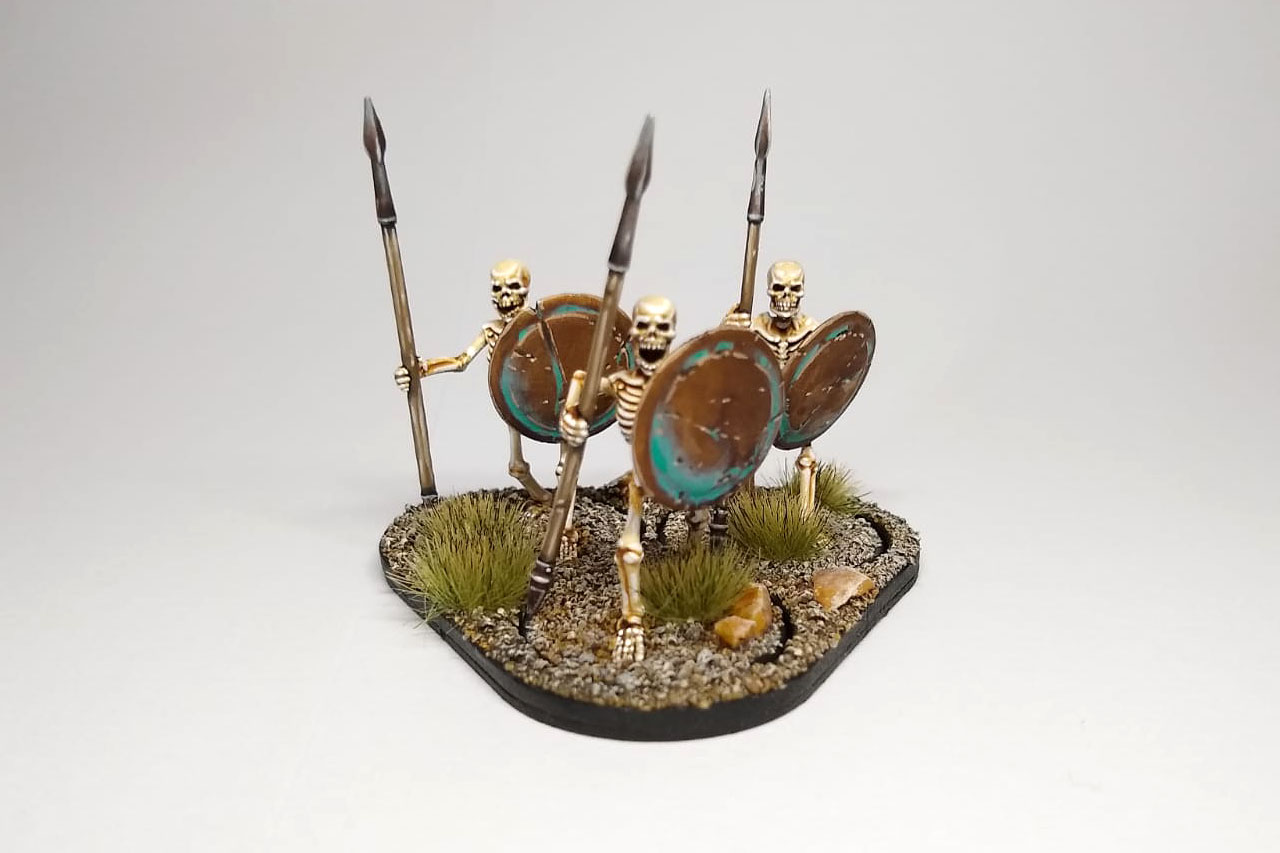
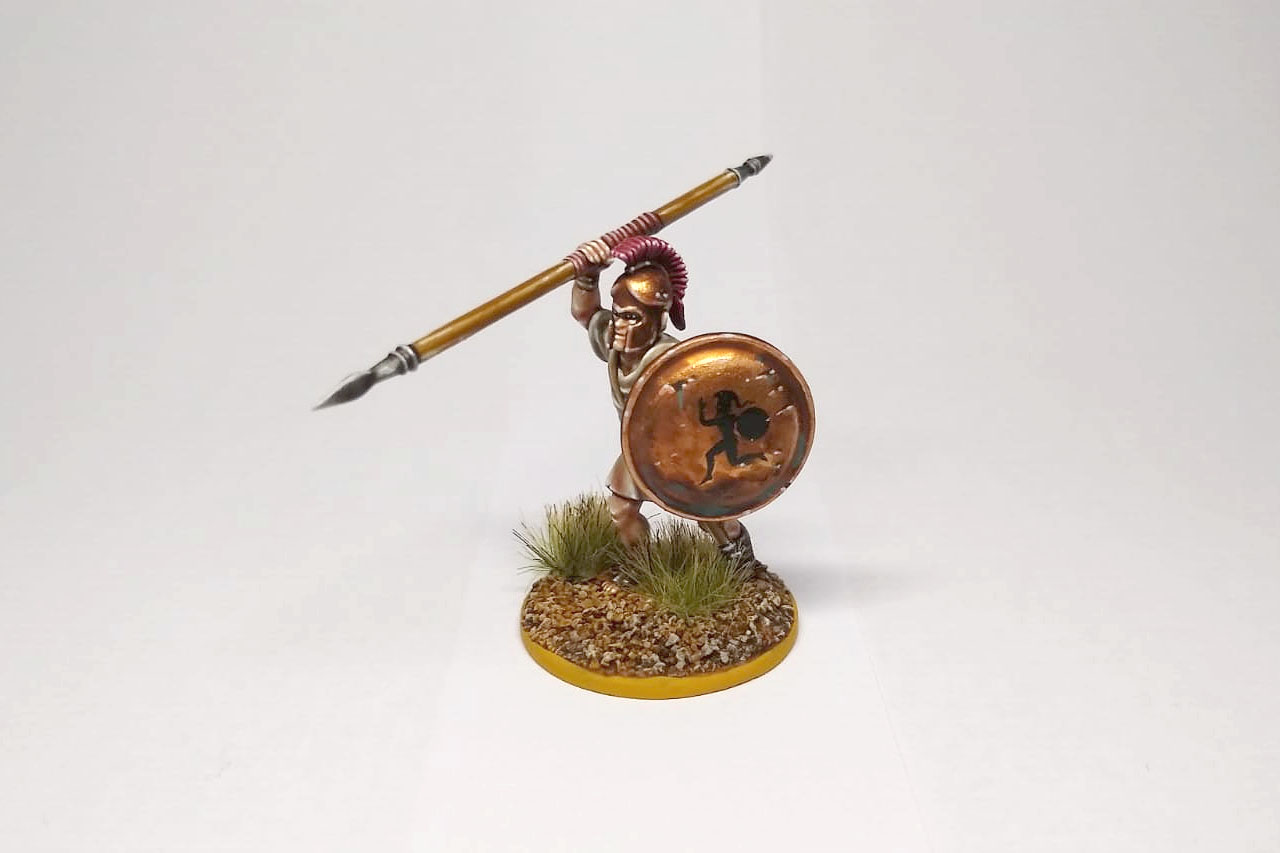
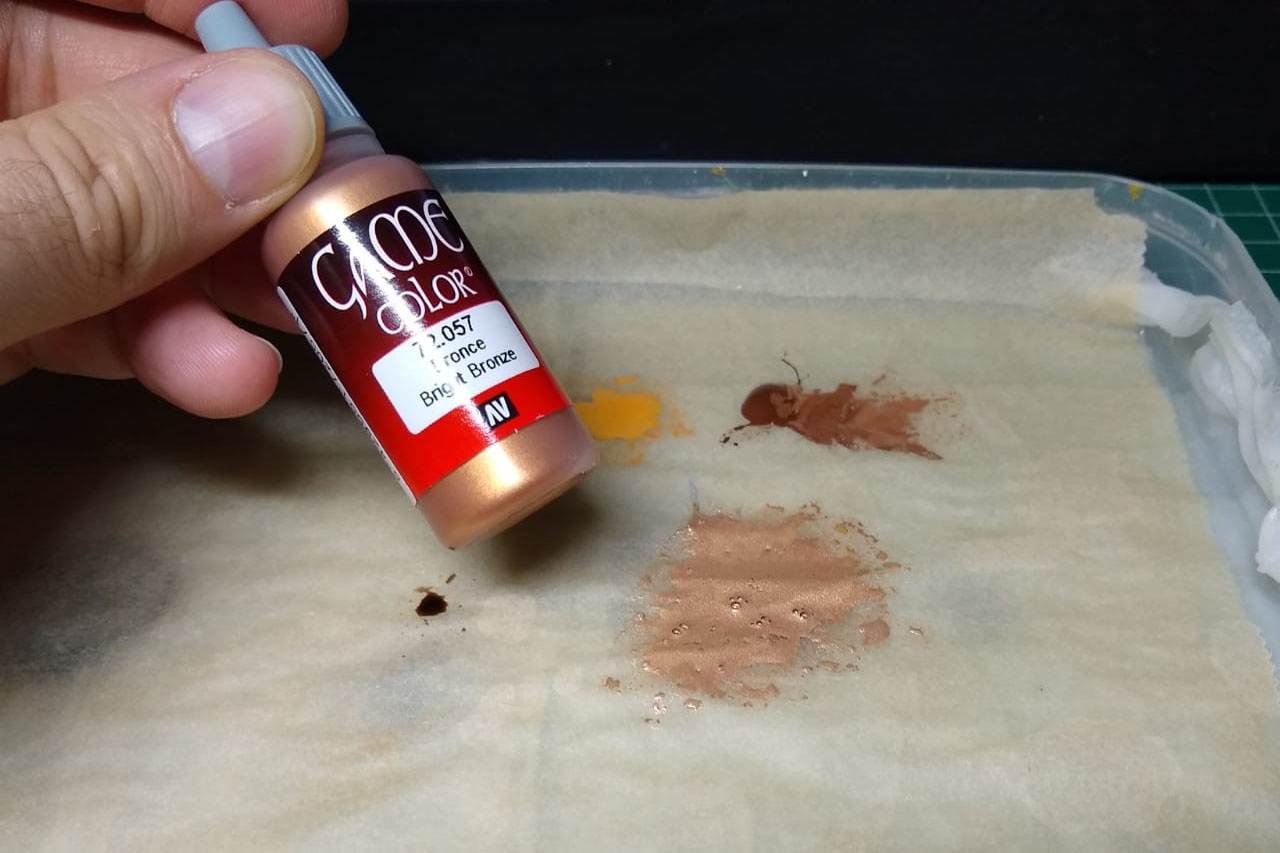
As you can see on these models, bronze can be painted in a variety of ways. For example, on the skeletons, instead of silver with Tau Sept Ochre, I mixed Glorious Gold from Vallejo with a little Charred Brown instead. This gives a darker tone overall. For Dromeas, I tested a simple metallic color, Bright Bronze from Vallejo as a base color that was just inked.
What is your recipe for bronze? Let us know and show us some pictures so we can inspire each other.
Greetings from the Chaosbunker
Dino
Enjoy this article?
Like us on Facebook

Follow me on Instagram

Categories
- events (206)
- fantasy (600)
- General (160)
- historical (637)
- Little Big Adventures (4)
- offtopic (5)
- reviews (540)
- science fiction (694)
- showroom (107)
- terrain (118)
- work-in-progress (420)


Leave a Reply